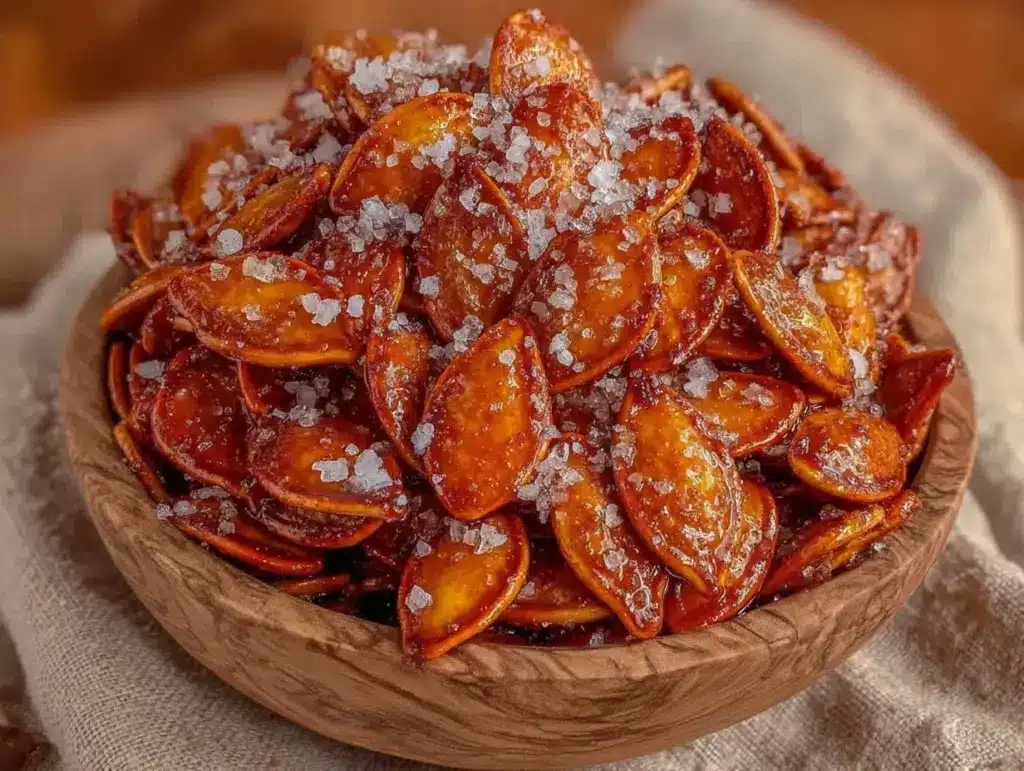
Last October, I was staring at a hollowed-out sugar pumpkin that looked like it had given up on life. I’d spent twenty minutes scooping out the guts, intending to roast the seeds as a side note to my main event: a massive pumpkin pie. But then, the phone rang. It was my sister asking if I wanted to come over for coffee. In the chaos of grabbing my coat, I dumped the wet, stringy seeds straight into the oven without rinsing them, without salting them, and honestly, without much hope.
When I got back an hour later, the kitchen smelled incredible. Not just pumpkin, but warm, toasted, maple-y goodness. I scraped them off the pan, expecting a mushy disaster. Instead, I found crunchy, caramelized treasures that tasted like autumn in a handful. I ate them right out of the baking sheet while my pie cooled, ignoring the fact that I was supposed to be decorating. That was the moment I realized my fall maple cinnamon roasted pumpkin seeds weren’t just a byproduct—they were the star of the show.
I’ve made this fall maple cinnamon roasted pumpkin seeds recipe probably thirty times since then. Thirty. Some weeks I make it just to have snacks while I write blog posts. Other times, it’s the go-to gift for neighbors who bring over casseroles. It’s simple, it’s cheap, and it turns what would be kitchen trash into something genuinely addictive. If you’re tired of buying overpriced, bland snack packs at the store, you need to try this. It’s the easiest way to get that cozy fall vibe into your kitchen without turning on the oven for a whole cake.
Why You’ll Love This Recipe
Let’s be real: most people think pumpkin seeds are just a garnish. They’re wrong. When you treat them right, they become the best crunchy snack you’ll make all season. Here’s why this fall maple cinnamon roasted pumpkin seeds recipe has earned a permanent spot in my rotation.
- Zero Waste Magic — I love that this uses the “waste” from my pie making. Instead of composting the seeds, I’m creating a premium snack. It feels satisfying to get every bit out of that pumpkin.
- Under 30 Minutes Active Time — Cleaning the seeds takes about 10 minutes. Roasting takes 15-20. That’s it. I can make this while my slow cooker hot apple cider simmers on the stove, making it the perfect companion snack for a rainy afternoon.
- Customizable Sweetness — Some people hate sweet snacks. Some people live for them. This fall maple cinnamon roasted pumpkin seeds recipe lets you dial the maple syrup up or down. I like it balanced, but my husband likes it barely sweet. You get to decide.
- Protein-Packed Satisfaction — Snacking on chips or crackers leaves me hungry an hour later. These seeds have protein and healthy fats. I had a handful while watching a movie last night, and I didn’t feel the need to raid the pantry an hour later.
- Gift-Ready Simplicity — I put these in mason jars with a ribbon and gave them to my book club. Everyone asked for the recipe. It’s a humble snack that feels thoughtful and homemade.
This is my go-to when I need a snack that feels indulgent but isn’t actually a dessert. It’s savory, it’s sweet, and it smells like home.
Key Ingredients for Perfectly Crunchy Seeds
You don’t need fancy ingredients for this. In fact, keeping it simple is the secret. Here’s exactly what I use and why.
Pumpkin Seeds (Raw)
(From 1 medium sugar pumpkin, approx. 1.5 cups shelled)
Use sugar pumpkins (also called pie pumpkins). They have denser flesh and better-tasting seeds than the giant carving jack-o-lanterns, which often have bitter or flat seeds. If you can’t find fresh pumpkins, you can buy raw, shelled pumpkin seeds (pepitas) at the grocery store. Just skip the cleaning step and go straight to roasting. I prefer fresh because the cleaning process feels like a ritual, and I love the smell of the pumpkin pulp.
Maple Syrup (Real)
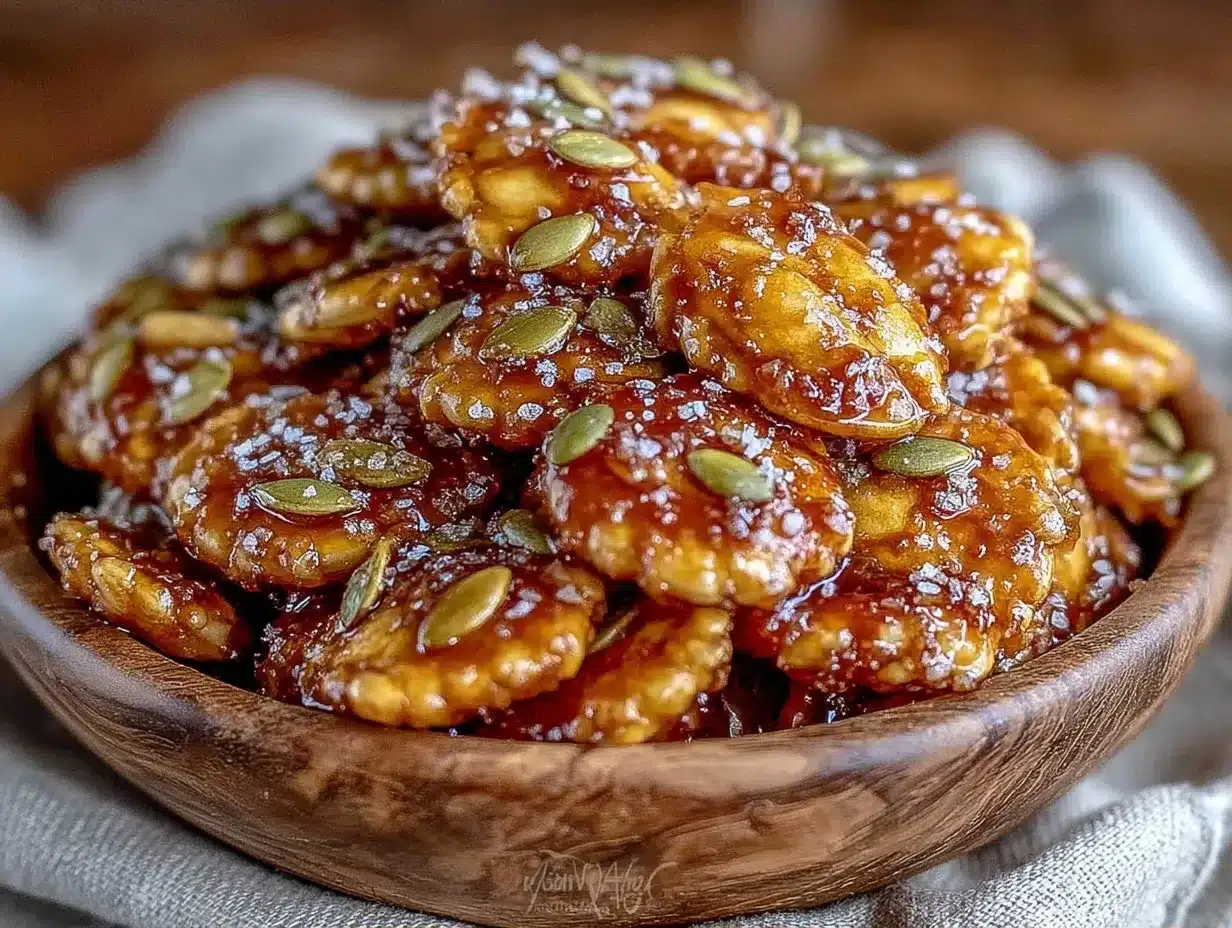
(2 tablespoons)
Not pancake syrup. Real maple syrup. It’s thick, it’s complex, and it caramelizes beautifully. I use Grade A Dark Amber because it has a stronger maple flavor that stands up to the cinnamon. If you use Grade A Light Golden, it’s a bit milder, which is fine if you want a subtler taste. Avoid “pancake syrup” made from corn syrup—it won’t caramelize the same way and will just make the seeds sticky and soggy.
Unsalted Butter
(2 tablespoons, melted)
Butter adds that rich, savory depth that balances the sweet maple. I melt mine in the microwave for 15 seconds. If you’re dairy-free, you can swap this for coconut oil or a neutral oil like avocado oil, but the butter really does make a difference in the mouthfeel. It helps the spices stick and creates that golden-brown crust.
Cinnamon
(1 teaspoon, ground)
Ground cinnamon is essential. I use a good quality brand like McCormick or Simply Organic. If you have a stick of cinnamon, you can steep it in the warm butter and remove it before tossing the seeds, but ground is easier and distributes more evenly. Don’t skip this—the smell alone is worth the calories.
Kosher Salt
(1/2 teaspoon)
Salt is non-negotiable. It cuts the sweetness and brings out the nutty flavor of the seeds. I use kosher salt because it’s easier to pinch and distribute evenly. If you use table salt, reduce the amount by half, as it’s much denser and saltier.
Optional: Red Pepper Flakes
(1/4 teaspoon)
If you like a little kick, add this. It pairs surprisingly well with maple and cinnamon. I add it sometimes when I’m making these for game day, like when I’d serve them alongside perfect gluten-free game day cheesy pepperoni pizza dip.
Tools Needed
You don’t need a fancy kitchen for this. Here’s what I use.
Large Bowl — I use a 4-quart mixing bowl. It needs to be big enough to hold all the wet, stringy seeds while you’re rinsing them. A smaller bowl just leads to splashing and frustration.
Baking Sheet — I use a standard half-sheet pan (13×18 inches). Make sure it’s flat. If you use a rimmed cookie sheet, the seeds might slide off if you’re not careful. I line mine with parchment paper for easy cleanup, but a well-seasoned pan works too.
Silicone Spatula — You need something to stir the seeds while they roast. A metal spoon works, but a silicone spatula is gentler and doesn’t scratch your pan. I keep one dedicated to sweet things so I don’t accidentally get onion flavor on my maple seeds.
Colander — A fine-mesh colander is best for rinsing the seeds. It catches the small seeds while letting the water and pulp wash away. If your colander holes are too big, you’ll lose seeds down the drain. Trust me, I’ve been there.
How to Make Fall Maple Cinnamon Roasted Pumpkin Seeds
Here’s exactly how I do it. It’s simple, but there are a few tricks to ensure they come out crunchy, not chewy.
Step 1: Clean the Seeds (10 minutes)
Once you’ve scooped the seeds from the pumpkin, dump them into your colander over the sink. This is the messy part. Use your hands to rub the seeds together under cold running water. You want to remove all the stringy pulp. It takes a little patience, but don’t rush it. If you leave the pulp on, the seeds will burn and stick to the pan. I’ve learned this the hard way. Once they’re clean, spread them out on a clean kitchen towel or paper towels. Pat them dry. The drier they are before they hit the butter, the better they’ll roast.
Step 2: Mix the Coating (2 minutes)
In your large bowl, whisk together the melted butter, maple syrup, cinnamon, salt, and red pepper flakes (if using). It should look like a thick, fragrant paste. Add the dried seeds to the bowl. Toss them with your hands or a spatula until every single seed is coated. You want them glossy and orange-brown. If some spots look dry, add a tiny bit more melted butter. Wet seeds roast better than dry ones because the fat conducts the heat.
Step 3: Roast the Seeds (15-20 minutes)
Preheat your oven to 325°F (160°C). I use a lower temperature than you might think. High heat burns the sugar in the maple syrup before the seeds are fully toasted. Spread the seeds in a single layer on your baking sheet. Don’t crowd them! If they’re piled on top of each other, they’ll steam instead of roast. This is the most common mistake. Use two pans if you have to. Put them in the oven and set a timer for 15 minutes.
Step 4: Stir and Check (5 minutes)
After 15 minutes, take the pan out. The seeds will look a bit pale. Stir them well, moving the ones from the edges to the center. Put them back in for 5-7 more minutes. Watch them closely now. They go from perfect to burnt in about 30 seconds. They’re done when they’re golden brown and you hear a light cracking sound when you shake the pan. They should smell nutty and sweet.
Step 5: Cool Completely (15 minutes)
Take the pan out and let the seeds cool on the counter. This is crucial. They will feel soft when they’re hot. They only crunch up as they cool down. If you try to eat them hot, you’ll think they’re undercooked. I usually wait at least 15 minutes, though my patience rarely lasts that long. Once cool, store them in an airtight container.
Total Time: 30-35 minutes. Yield: About 1.5 cups of roasted seeds.
Expert Tips for the Best Crunch
Here’s everything I learned from making this too many times.
Don’t Skip the Drying Step
I used to toss wet seeds straight into the butter. Big mistake. The water creates steam, and steam prevents crisping. After rinsing, I always spread them on a towel and let them air dry for 10-15 minutes. If you’re in a hurry, you can pat them very thoroughly with paper towels, but air drying is best.
Lower and Slower
325°F is the sweet spot. If you go to 350°F or higher, the maple syrup will burn and turn bitter. I’ve burned batches twice. Once I lowered the temp, they came out perfect every time. Patience pays off.
Stir Midway
Ovens have hot spots. Stirring halfway through ensures even coloring. I’ve had batches where half were dark brown and half were pale. Stirring fixes this.
Cool Completely
As mentioned, they crisp up as they cool. Don’t judge them while they’re hot. Let them sit for at least 15 minutes.
Recipe Variations
Once you’ve nailed the basic version, here’s how to mix it up.
Savory Garlic Parmesan
Skip the maple and cinnamon. Use olive oil instead of butter. Add 1 teaspoon garlic powder, 1/2 teaspoon onion powder, and 2 tablespoons grated Parmesan cheese after roasting. Sprinkle the cheese while they’re still hot so it sticks. This is great with grandmas labor day creamy bacon ranch pasta salad if you’re serving it as a side.
Chili Lime
Skip the maple and butter. Toss with lime juice and olive oil. After roasting, sprinkle with chili powder and lime zest. Bright and zesty.
Brown Sugar Pecan Style
Skip the maple. Use brown sugar instead. It’s deeper and more molasses-forward. Add a pinch of nutmeg. These taste like the topping on a pie.
Dairy-Free Option
Swap the butter for coconut oil or avocado oil. The flavor will be slightly different, but the crunch will be the same.
Vegan Option
Use maple syrup (which is naturally vegan) and swap the butter for coconut oil or a vegan butter alternative. Everything else is already plant-based.
Serving & Storage
Serving
I serve these straight from the bowl while watching TV. They’re also great on top of oatmeal or yogurt for breakfast. I’ve even crumbled them over my brown butter cinnamon fall bars for extra texture. They pair well with spiked apple cider margaritas as a savory snack contrast.
Storage
Room Temp: Store in an airtight container at room temperature for up to 1 week. They stay crunchy if kept dry.
Refrigerator: Not recommended. The humidity can make them soft.
Freezer: Yes, these freeze well. Put them in a freezer-safe bag for up to 3 months. Thaw at room temperature before eating. I often make a double batch and freeze half for later.
Nutrition Information
I’m not a nutritionist, but here’s the breakdown. These are calorie-dense because of the nuts and fats, so portion control matters.
Per serving (approx. 1/4 cup):
| Nutrient | Amount |
|---|---|
| Calories | 160 |
| Protein | 7g |
| Carbs | 14g |
| Fiber | 3g |
| Fat | 10g |
| Sodium | 180mg |
My Take: These are a healthy-ish indulgence. They’re packed with protein and healthy fats, which is great. But the maple syrup adds sugar, so don’t treat them like popcorn. Enjoy them mindfully. They’re better than chips, but they’re not a salad.
Final Thoughts
Making fall maple cinnamon roasted pumpkin seeds is one of those small culinary adventures that rewards you with cozy vibes and a delicious snack. It’s a reason for your taste buds to thank you for branching out from the usual chip aisle. I hope you try this and find your own favorite way to enjoy them. If you make this, drop a comment! I love hearing how it turns out in your kitchen. Happy cooking!
FAQs
Can I use seeds from a carving pumpkin?
You can, but the seeds are often flatter and less flavorful. Sugar pumpkins (pie pumpkins) are better. If you must use a carving pumpkin, rinse them very thoroughly and roast them a bit longer to ensure they’re dry.
Why are my seeds chewy instead of crunchy?
They probably weren’t dry enough before roasting, or you didn’t cool them completely. Also, if you crowded the pan, they steamed. Make sure to spread them in a single layer and let them cool for 15 minutes.
Can I make these ahead of time?
Yes! They keep well at room temperature for up to a week. I often make them on Sunday for the week ahead.
Do I need to rinse the seeds?
Yes. The stringy pulp will burn and stick to the pan if you don’t rinse it off. It’s the most important step for clean, crunchy seeds.
Can I substitute honey for maple syrup?
You can, but honey burns faster than maple syrup. If you use honey, lower the oven temp to 300°F and watch them closely. Maple syrup is more forgiving.
How do I store them to keep them crunchy?
Store them in an airtight container at room temperature. If your kitchen is humid, add a packet of silica gel (the kind that comes in new shoes) to the container to absorb moisture.
Can I add other spices?
Absolutely. Try pumpkin pie spice, ginger, or even a little cayenne for heat. Get creative. The base recipe is very flexible.
Pin This Recipe!
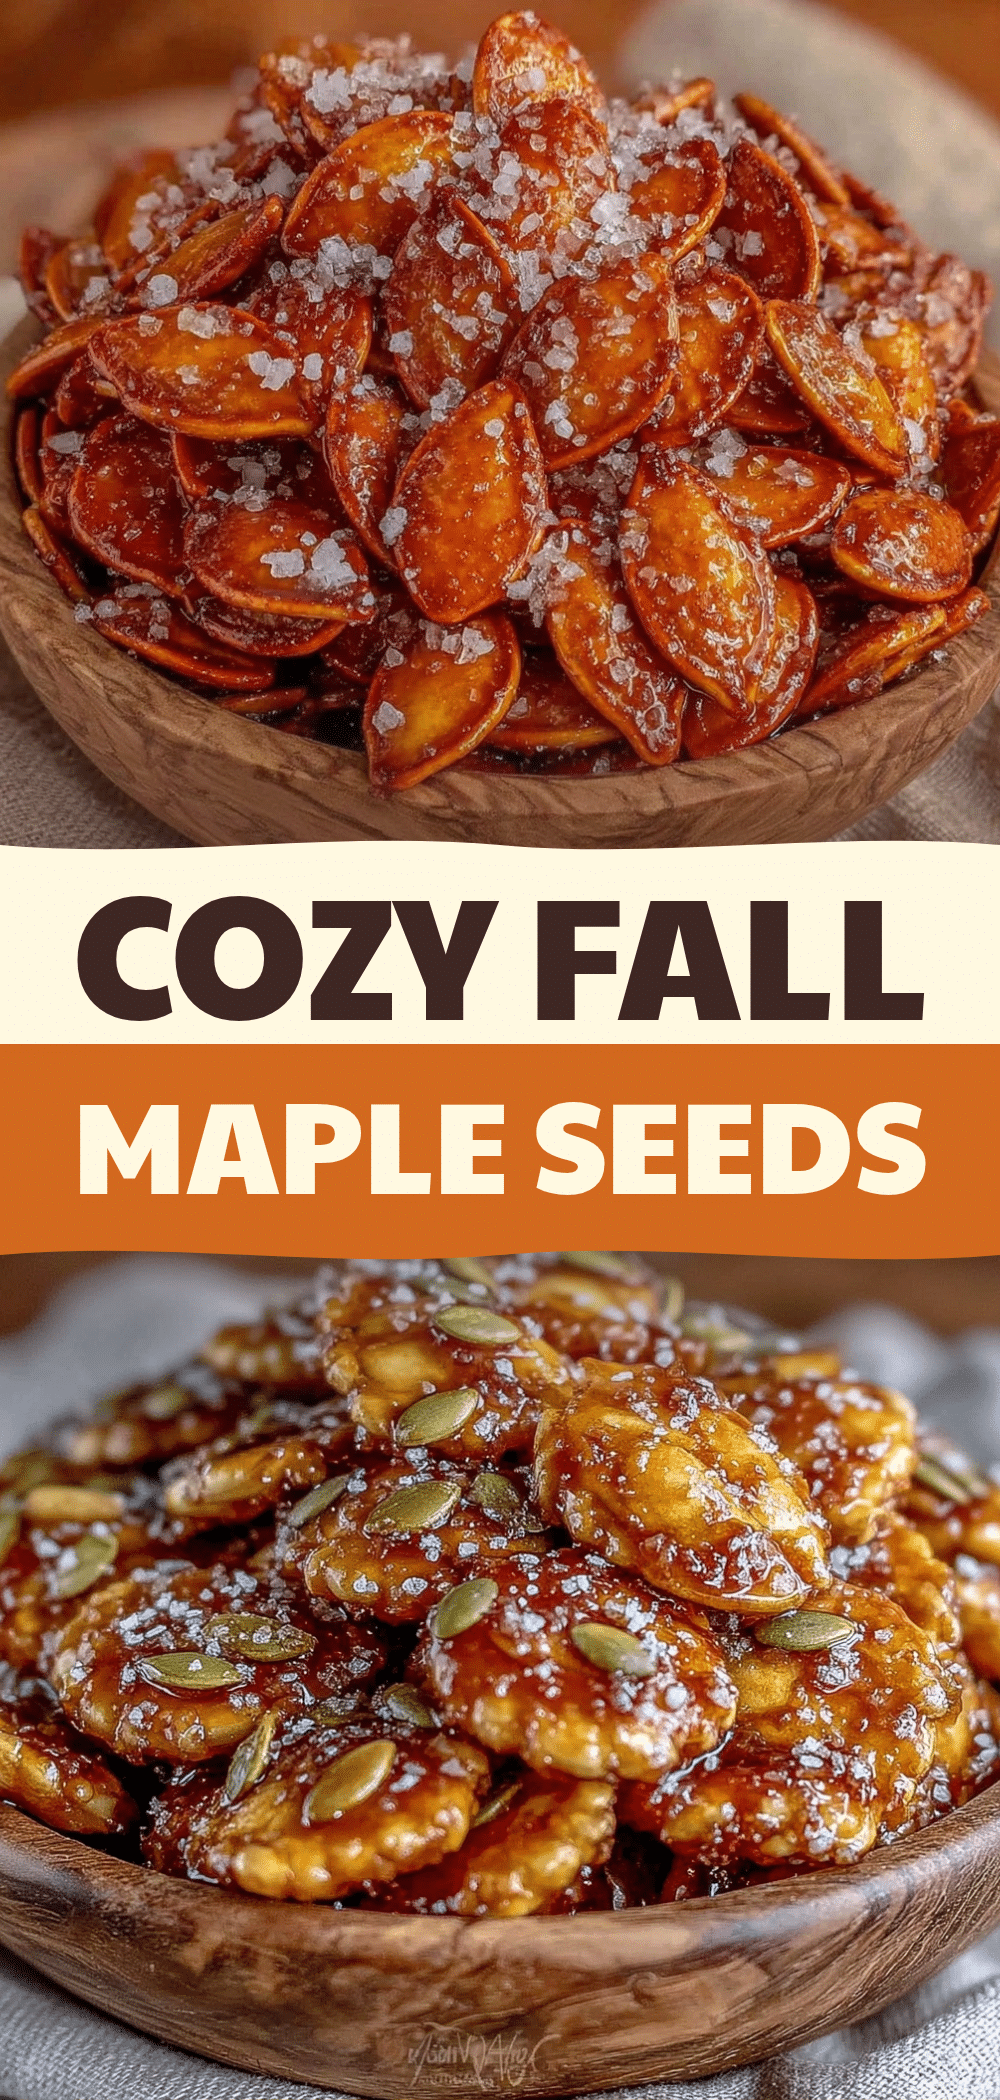
Fall Maple Cinnamon Roasted Pumpkin Seeds
- Total Time: 30 minutes
- Yield: 1.5 cups 1x
Description
A cozy, crunchy snack made from roasted pumpkin seeds coated in maple syrup, cinnamon, and butter. This recipe transforms pumpkin guts into a sweet and savory treat perfect for autumn.
Ingredients
- 1 medium sugar pumpkin (yields approx. 1.5 cups shelled raw seeds)
- 2 tablespoons real maple syrup (Grade A Dark Amber recommended)
- 2 tablespoons unsalted butter, melted
- 1 teaspoon ground cinnamon
- 1/2 teaspoon kosher salt
- 1/4 teaspoon red pepper flakes (optional)
Instructions
- Preheat oven to 325°F (160°C).
- Clean the seeds: Scoop seeds from the pumpkin and place in a colander. Rinse under cold water, rubbing seeds to remove all stringy pulp. Pat dry thoroughly with a towel or let air dry for 10-15 minutes.
- Mix the coating: In a large bowl, whisk together melted butter, maple syrup, cinnamon, salt, and red pepper flakes (if using).
- Coat the seeds: Add the dried seeds to the bowl and toss until every seed is evenly coated and glossy.
- Roast: Spread seeds in a single layer on a parchment-lined baking sheet. Do not crowd the pan. Roast for 15 minutes.
- Stir: Remove pan, stir seeds well to ensure even cooking, and return to oven for 5-7 more minutes until golden brown and crunchy.
- Cool: Let seeds cool completely on the counter for at least 15 minutes before eating or storing. They will crisp up as they cool.
Notes
Ensure seeds are completely dry before roasting to achieve maximum crunch. Do not crowd the pan, as this causes steaming instead of roasting. Seeds will feel soft when hot but will crisp up as they cool. Store in an airtight container at room temperature for up to 1 week.
- Prep Time: 10 minutes
- Cook Time: 20 minutes
- Category: Snack
- Cuisine: American
Nutrition
- Serving Size: 1/4 cup
- Calories: 160
- Sugar: 8
- Sodium: 180
- Fat: 10
- Saturated Fat: 3.5
- Carbohydrates: 14
- Fiber: 3
- Protein: 7
Keywords: pumpkin seeds, roasted pumpkin seeds, maple cinnamon seeds, fall snack, vegan snack, gluten-free snack, zero waste recipe, cozy autumn snack


