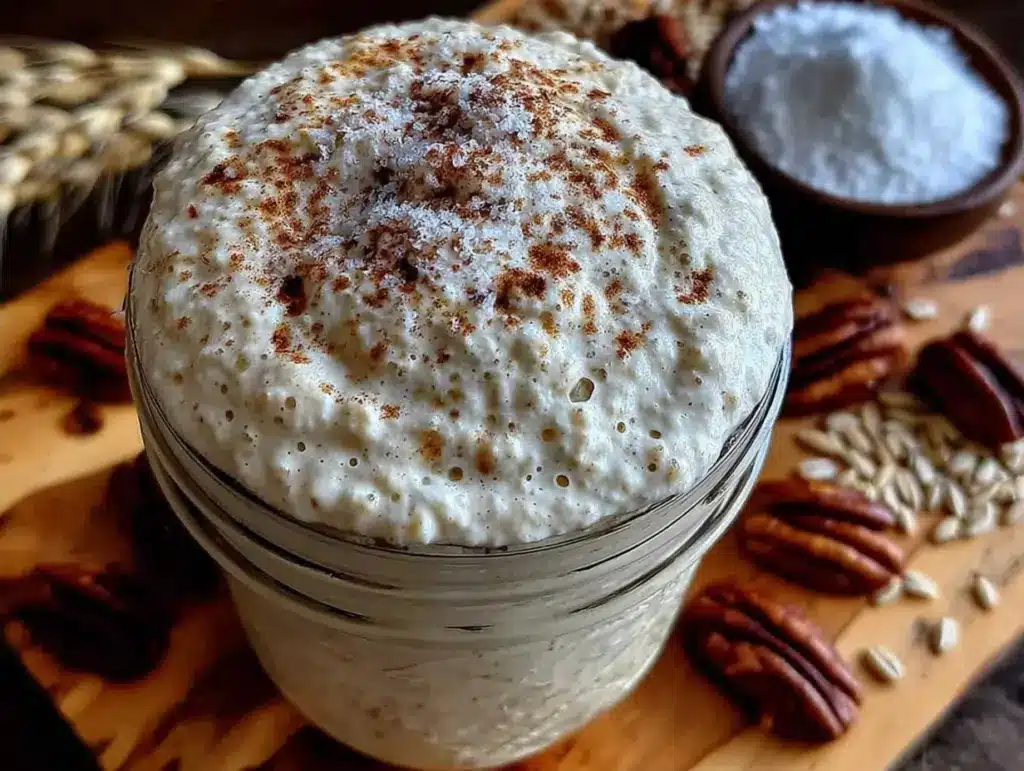
Two years ago, I stared at a mason jar on my counter that smelled like old gym socks and vomit. It was supposed to be a sourdough starter. It was supposed to be my ticket to artisanal bread glory. Instead, it was a science experiment gone wrong, bubbling sluggishly while I cried over a dense, brick-like loaf that I couldn’t even slice without a serrated knife and a lot of regret.
I was following every blog post, every YouTube video, every “expert” tip. Feed it at 8 AM. Discard half. Feed it again at 8 PM. Keep it in the fridge. I was treating my starter like a high-maintenance pet that needed constant attention, and honestly? It felt like a chore. I was wasting flour. I was wasting time. And worst of all, I was wasting my passion for baking.
Then I met a baker named Sarah. She didn’t have a fancy digital scale or a temperature-controlled proofing box. She had one simple rule: Don’t discard anything until it’s ready.
She called it the “No Discard” method. At first, I thought she was crazy. Sourdough is all about discard, right? That’s what the internet says. But Sarah showed me that by keeping every bit of the mixture, you build a stronger, more stable culture with less waste and less stress. I tried it. I fed my starter once a day, kept it all, and watched it transform from a sad, smelly blob into a vigorous, bubbly monster.
That was the day I stopped struggling and started baking. This Beginner Sourdough Starter: No Discard Recipe changed my life. It’s not just about saving flour; it’s about changing your mindset. You’re not managing a pet; you’re nurturing a living thing that wants to thrive. And once you get it right, you’ll never look back.
I’ve made this specific approach to building a starter dozens of times now. It’s consistent. It’s forgiving. And it’s the only way I’ll ever bake again. If you’ve ever felt overwhelmed by the “discard” confusion, this Beginner Sourdough Starter: No Discard Recipe is your fresh start. Let’s get you baking.
Why You’ll Love This Approach
Let’s be real. Most sourdough guides make you feel like you need a degree in microbiology and a second job to manage a jar of flour and water. This method strips away the noise. It’s simple, it’s efficient, and it’s designed for real life.
- Zero Waste — No more throwing away half your starter every time you feed it. Every gram stays in the jar, building volume and flavor. I used to feel guilty tossing out good flour; now I feel proud of the consistency.
- Less Stress — You only feed it once a day. No midnight feedings. No 8 AM alarms. Just one simple ritual in the morning. It fits into a busy schedule without demanding a second job.
- Faster Maturity — Because you’re not removing active culture, the yeast population builds up faster. My starter was ready to bake with in 5 days instead of the usual 7-10. That’s two extra days of baking bread sooner.
- Stronger Flavor — Keeping the old bits means you’re retaining more of the lactic acid bacteria. The result is a starter with a deeper, tangier flavor profile right from the start, rather than waiting weeks to develop complexity.
- Cost Effective — Flour is cheap, but throwing it away adds up. This method uses less flour over time because you’re not constantly resetting the volume. Plus, you’ll bake more bread, saving money on store-bought loaves.
This is my go-to when I want to start a new jar without the headache. It’s reliable, it’s cheap, and it works. Once you have this Beginner Sourdough Starter: No Discard Recipe down, you’ll wonder why you ever struggled with the discard method.
Key Ingredients for Your Starter
You don’t need fancy flours or filtered water to start this journey. In fact, simplicity is key. Here’s what you need to build a robust culture.
All-Purpose Flour
100g (US) / 100g (metric)
Yes, all-purpose. Don’t let anyone tell you otherwise. While whole wheat or rye can kickstart fermentation, AP flour is neutral, predictable, and perfect for beginners. It gives you a clean baseline to understand how your starter behaves. I use Gold Medal or King Arthur, but any standard brand works. Avoid bleached flour if you can find unbleached, as it sometimes has fewer additives that might inhibit yeast.
Whole Wheat or Rye Flour (Optional Kickstarter)
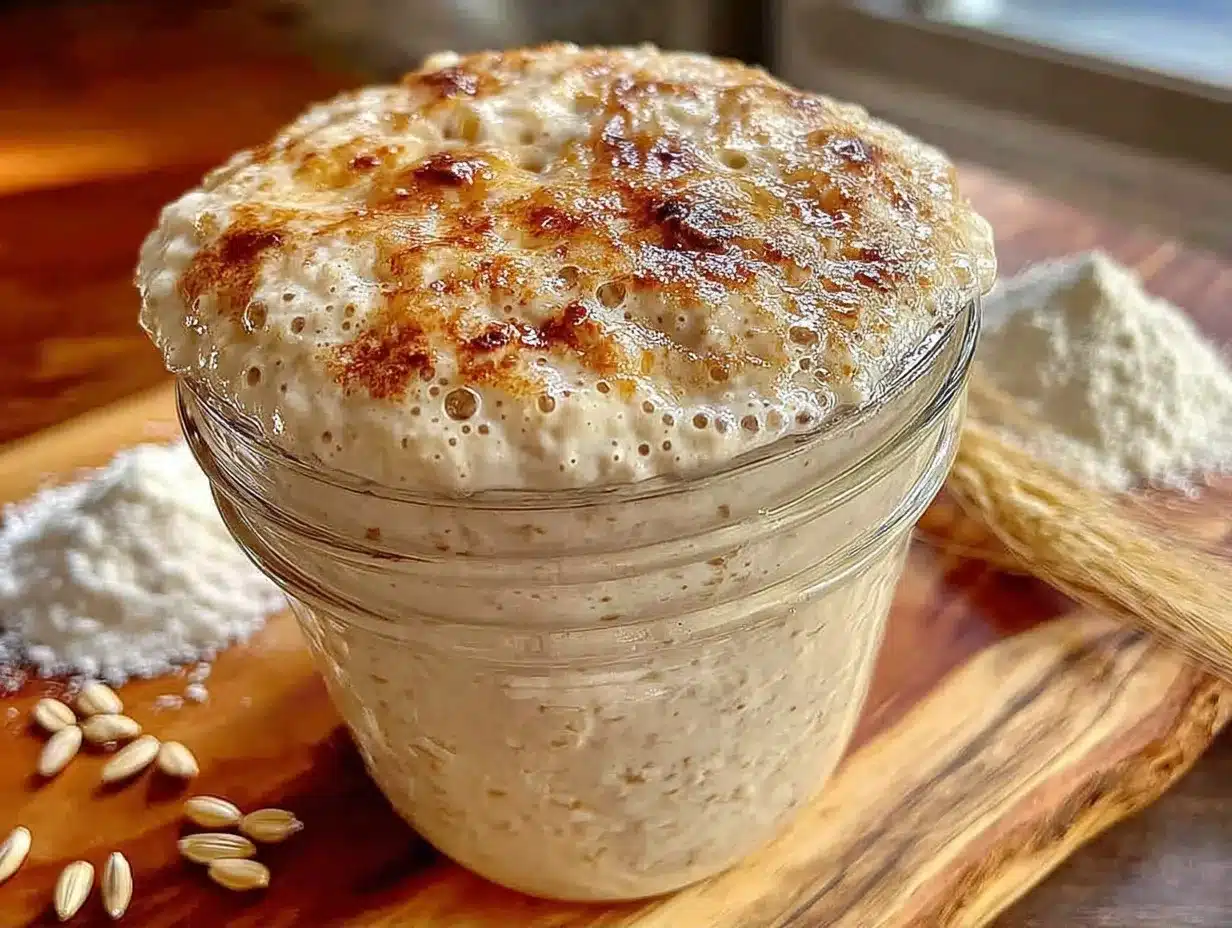
10g (US) / 10g (metric)
This is my secret weapon for the first three days. Whole wheat or rye flour is packed with wild yeast and nutrients that white flour lacks. Adding a small amount in the beginning gives your starter a huge boost. I add this only for the first three days, then switch to all-purpose. If you don’t have it, skip it. Your starter will still work, just maybe a day slower.
Filtered Water
100g (US) / 100g (metric)
Chlorine can kill yeast. If your tap water tastes strongly of chemicals, use filtered or bottled water. Room temperature is best—around 70-75°F (21-24°C). Cold water slows fermentation; hot water kills the good stuff. I keep a jug of filtered water on the counter for this exact reason.
A Glass Jar
1-quart capacity
Clear glass is non-negotiable. You need to see the bubbles. You need to see the rise. You need to see the smell (metaphorically). A wide-mouth jar is easier to stir. I use a reused pasta sauce jar. Clean it thoroughly with hot soapy water. No soap residue!
Tools You’ll Need
You don’t need a fancy sourdough kit. Here’s what I actually use.
Measuring Scale — This is the most important tool. Volume measurements (cups) are inaccurate for starters. 1 cup of flour can weigh anywhere from 120g to 150g depending on how packed it is. A scale ensures your hydration ratio is correct every time. I use a cheap $10 digital scale from Amazon. It’s precise and easy to clean.
Plastic Wrap or Lid — You need to cover the jar, but not airtight. I use a piece of plastic wrap loosely draped over the top, secured with a rubber band. This allows gas to escape while keeping fruit flies out. An airtight lid can cause pressure buildup and explosion. Not fun.
Stirring Spoon — A simple wooden spoon or silicone spatula. Metal can react with the acidity over time, though it’s not a huge deal. I prefer wood for its non-scratch surface.
Marker or Tape — To mark the initial level of your starter. This helps you track how much it rises. I use a dry-erase marker on the glass, which wipes off easily.
How to Make Your Beginner Sourdough Starter: No Discard Recipe
Let’s get into the nitty-gritty. This process takes 5-7 days. It’s simple, but it requires consistency. Here’s exactly how I do it.
Day 1: The First Mix (5 minutes)
In your clean glass jar, combine 50g all-purpose flour, 10g whole wheat flour (optional), and 100g room temperature water. Stir vigorously with your spoon until no dry flour remains. The mixture should look like thick pancake batter. If it’s too thick, add a splash of water. If it’s too runny, add a teaspoon of flour.
Cover loosely with plastic wrap. Mark the level with a marker. Let it sit at room temperature (68-75°F / 20-24°C) for 24 hours. Do not move it. Do not stir it. Just let it sit.
Day 2: The Smell Test (5 minutes)
Check your jar. You might see a few bubbles. You might not. That’s normal. Smell it. It should smell slightly sour or yeasty. If it smells like nail polish remover or acetone, it’s hungry. If it smells like vomit, it’s stressed (usually too hot).
Add 50g all-purpose flour and 50g water. Stir well. Mark the new level. Cover and let sit for 24 hours. Again, no stirring in between.
Day 3: The Rise (5 minutes)
By now, you should see significant bubbling. The starter should have risen at least 50%. If it hasn’t risen at all, give it another day before feeding.
Add 50g all-purpose flour and 50g water. Stir well. Mark the level. Cover and let sit for 24 hours.
Day 4: The Peak (5 minutes)
This is where the magic happens. Your starter should be doubling in size within 4-6 hours of feeding. It will be full of bubbles. It might smell tangy, like yogurt or vinegar.
Add 50g all-purpose flour and 50g water. Stir well. Mark the level. Cover and let sit for 24 hours.
Day 5: The Float Test (5 minutes)
Your starter should now be predictable. It doubles, peaks, and then slowly falls. To test if it’s ready, do the float test. Drop a teaspoon of starter into a glass of water. If it floats, it’s full of gas and ready to bake. If it sinks, it needs more time.
If it floats, you’re done! If not, repeat Day 4 steps for another day.
Total Time: 5-7 days.
Active Time: 5 minutes per day.
Passive Time: Waiting.
Expert Tips for Success
Here’s everything I learned from making this too many times, so you don’t have to make my mistakes.
The One Trick: Temperature Control
Temperature is the single biggest factor in starter success. Yeast loves 75°F (24°C). If your kitchen is cold (60°F / 15°C), fermentation will take twice as long. If it’s hot (85°F / 29°C), it might over-ferment and collapse. I keep my starter in the oven with the light on to maintain a steady temperature. This is the one trick that makes the difference. Consistent warmth equals consistent rise.
Don’t Panic About the Smell
It’s going to smell bad. At first, it will smell like dirty socks. Then it might smell like acetone. Then it will smell tangy. This is normal. The smell changes as the bacterial balance shifts. Don’t throw it away because it smells bad. Feed it. It’s just hungry.
Use the Same Flour
Once you pick a flour, stick with it. Switching between all-purpose, bread flour, and rye can confuse the culture. Stick to one type for the first month to establish a stable microbiome.
Common Problems & Solutions
No Bubbles? It’s too cold. Move it to a warmer spot.
Dark Liquid on Top? That’s hooch. It means your starter is starving. Stir it back in and feed it immediately.
Mold? If you see pink, orange, or fuzzy spots, throw it out. Start over. Black spots are usually just dried flour, not mold.
Recipe Variations
Once you’ve nailed the basic version, here’s how to mix it up.
Whole Wheat Starter
Use 100% whole wheat flour. This creates a darker, more robust starter with a stronger flavor. Great for hearty breads. I use this for my sourdough cinnamon rolls because the tang pairs perfectly with the cinnamon sugar.
Rye Starter
Use 100% rye flour. Rye is high in enzymes and creates a very active, sticky starter. It’s great for dense European-style breads. Note: Rye starters are stickier and harder to handle.
Gluten-Free Starter
You can make a gluten-free starter using rice flour or sorghum flour. It won’t have gluten to trap gas, so it won’t rise as much, but it will still ferment. Use it for flatbreads or as a leavening agent in GF muffins.
Serving & Storage
Using Your Starter
Once your starter is active, you can use it in any sourdough recipe. You can also use it in pancakes, waffles, or crackers. I love using it in my one-pot taco pasta for a tangy twist, though that’s a bit unconventional! For traditional bread, mix 1 cup starter with 1.5 cups flour and 1 cup water, let rise, and bake.
Storage
Room Temperature: Feed daily. Keep it on the counter. Best for frequent bakers.
Refrigerator: Feed once a week. Take it out, feed it, let it sit for 4 hours, then refrigerate. This slows down fermentation. This is my preferred method for casual baking.
Freezer: Yes, you can freeze starter! Spread it thinly on a baking sheet, freeze until solid, then crumble it into a bag. To revive, feed it daily for a week. It takes about 2 weeks to fully recover.
Meal Prep Tip
Make a big batch of sourdough crackers using your discard (if you ever decide to discard, ha!) or your active starter. Store them in an airtight container for a crunchy snack.
Nutrition Information
I’m not a nutritionist, but here’s the breakdown for a typical feeding (100g starter, 100g flour, 100g water).
| Nutrient | Amount |
|---|---|
| Calories | ~180 kcal |
| Protein | 5g |
| Carbs | 35g |
| Fiber | 2g |
| Fat | 1g |
| Sodium | 2g |
My Take: Sourdough starter is mostly carbs and water. The fermentation process breaks down some of the phytates, making nutrients more bioavailable. It’s not a health food per se, but it’s a better choice than commercial yeast breads for gut health due to the probiotics (though baking kills most of them). Enjoy it for the flavor, not the macros.
Final Thoughts
Building a sourdough starter is one of the most rewarding kitchen skills you can learn. It teaches you patience. It teaches you observation. And it connects you to a tradition that spans centuries. With this Beginner Sourdough Starter: No Discard Recipe, you’re not just making bread; you’re making a friend that will feed you for years to come.
Don’t be afraid of the smell. Don’t be afraid of the waste. Just feed it, love it, and watch it grow. If you make this, drop a comment! I love hearing how it turns out in your kitchen. Did your starter pass the float test? Did you bake your first loaf? Share your stories.
Happy cooking!
FAQs
Q: Can I use bread flour instead of all-purpose?
A: Yes, you can. Bread flour has more protein, which can create a stronger gluten network. However, it can make the starter thicker and harder to stir. All-purpose is easier for beginners to manage. I stick with AP for the first month.
Q: Why is my starter not rising?
A: It’s likely too cold. Yeast is sluggish below 65°F (18°C). Move your jar to a warmer spot, like the top of the fridge or near a sunny window. It might take an extra day or two, but it will rise.
Q: Can I skip the whole wheat flour in the beginning?
A: Yes, you can. The whole wheat is just a boost. Your starter will still work, but it might take an extra day or two to become active. If you don’t have it, just use all-purpose flour.
Q: How do I know when my starter is ready to bake?
A: Perform the float test. Drop a teaspoon of starter in water. If it floats, it’s ready. It should also double in size within 4-6 hours of feeding and have a tangy, yeasty smell.
Q: Can I keep my starter in the fridge forever?
A: You can, but you need to feed it weekly. If you forget to feed it for a month, it will die. Take it out, feed it, let it become active again, then refrigerate. It’s a low-maintenance pet, but it still needs care.
Q: What if my starter smells like acetone?
A: Acetone smell means your starter is starving. It’s run out of food. Feed it immediately. If it’s been sitting for a while, discard half and feed it fresh flour and water. It should recover within 24 hours.
Q: Can I make sourdough bread without a discard routine?
A: Absolutely. This Beginner Sourdough Starter: No Discard Recipe is designed for that. You keep the starter, feed it, and use it directly in your bread recipe. No waste, no stress.
Pin This Recipe!
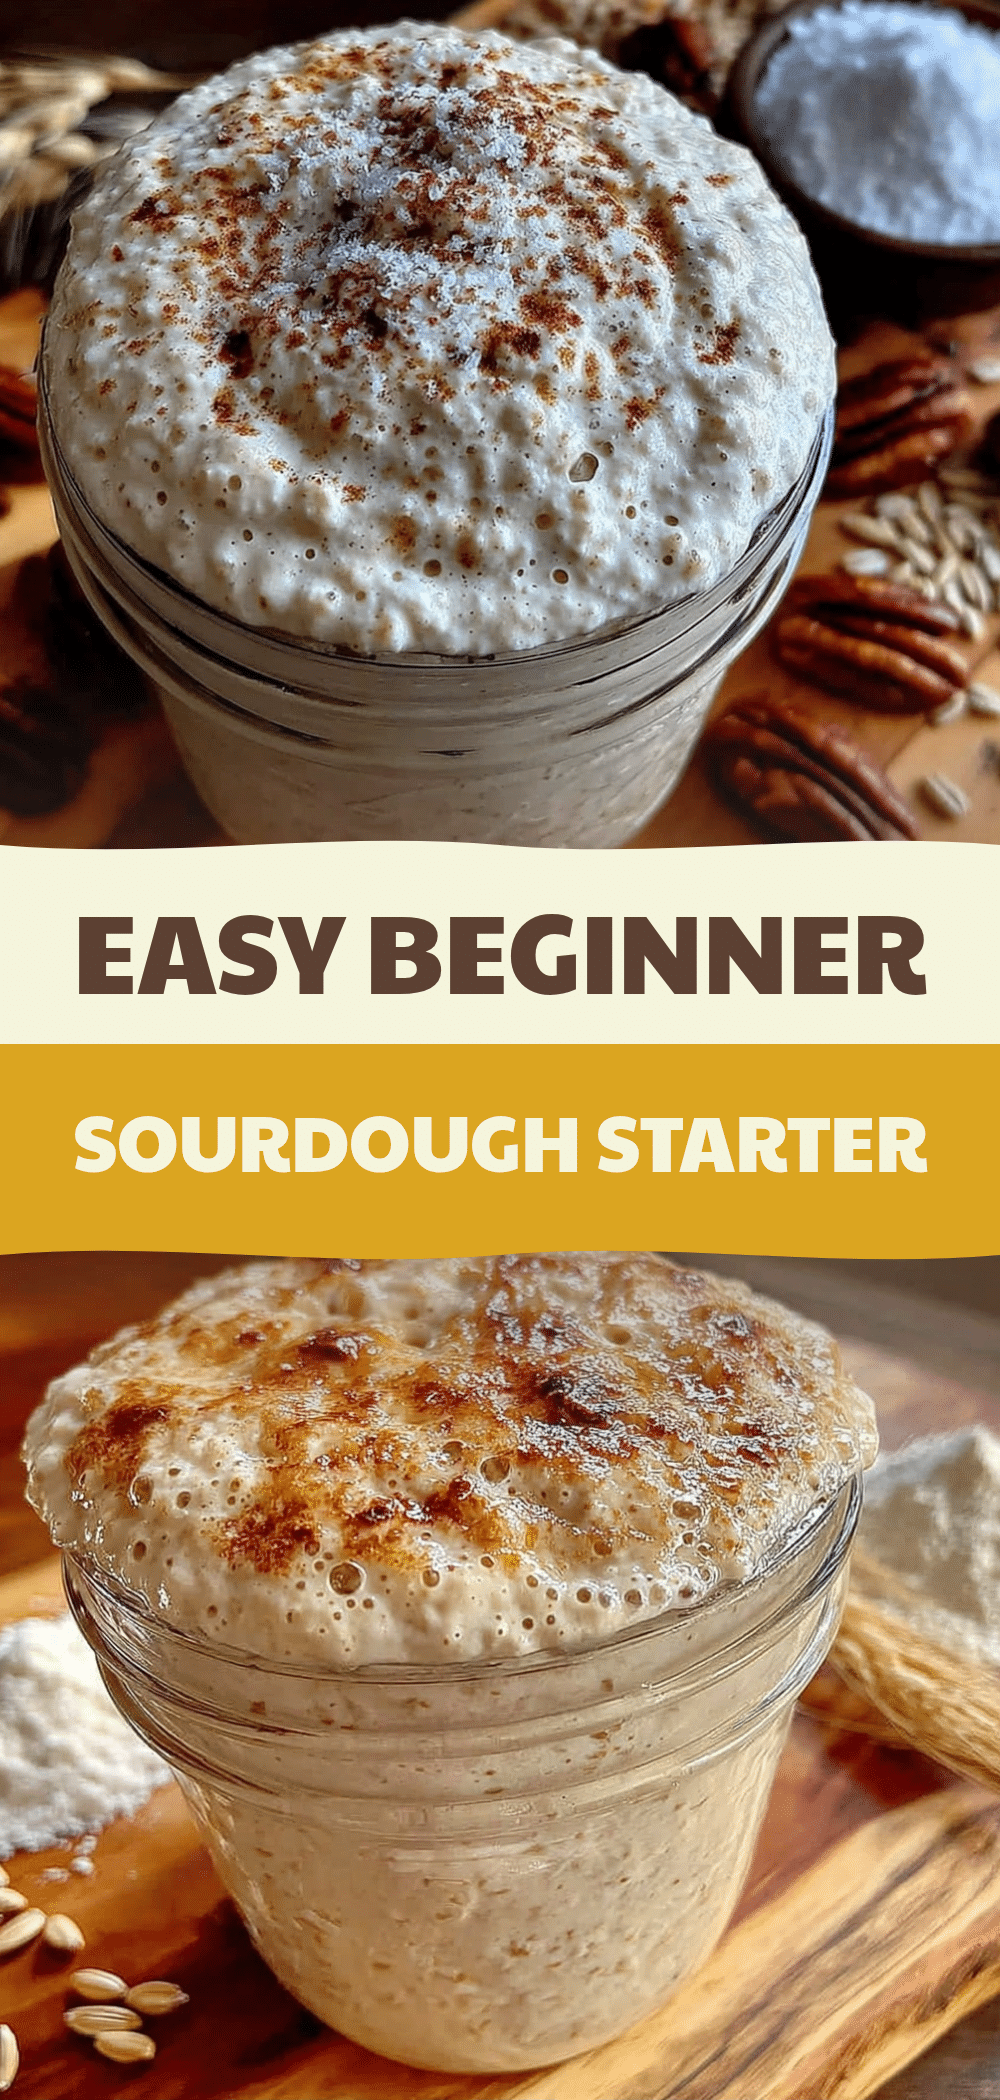
Beginner Sourdough Starter: No Discard Recipe
- Total Time: 5-7 days
- Yield: 1 jar (approx. 200g active starter) 1x
Description
A simple, stress-free method for creating a sourdough starter without discarding any mixture. This approach builds a stronger culture faster, reduces waste, and requires only one daily feeding.
Ingredients
- 100g All-Purpose Flour
- 10g Whole Wheat or Rye Flour (optional, for first 3 days)
- 100g Filtered Water (room temperature)
Instructions
- Day 1: In a clean glass jar, combine 50g all-purpose flour, 10g whole wheat flour (if using), and 100g room temperature water. Stir until no dry flour remains. Cover loosely and let sit at room temperature (68-75°F) for 24 hours.
- Day 2: Add 50g all-purpose flour and 50g water. Stir well, mark the level, cover loosely, and let sit for 24 hours.
- Day 3: Add 50g all-purpose flour and 50g water. Stir well, mark the level, cover loosely, and let sit for 24 hours.
- Day 4: Add 50g all-purpose flour and 50g water. Stir well, mark the level, cover loosely, and let sit for 24 hours. The starter should double in size within 4-6 hours.
- Day 5: Perform the float test by dropping a teaspoon of starter into a glass of water. If it floats, it is ready. If not, repeat Day 4 steps for another day.
Notes
Keep the starter at a consistent temperature of 70-75°F (21-24°C) for best results. If your kitchen is cold, place the jar in an oven with the light on. Avoid using metal utensils if possible to prevent reaction with acidity. If you see pink, orange, or fuzzy mold, discard and start over.
- Prep Time: 5 minutes
- Cook Time: 0 minutes
- Category: Baking
- Cuisine: American
Nutrition
- Serving Size: 100g (typical feedin
- Calories: 180
- Sodium: 2000
- Fat: 1
- Carbohydrates: 35
- Fiber: 2
- Protein: 5
Keywords: sourdough starter, no discard, beginner sourdough, homemade starter, bread baking, fermentation, zero waste baking


