Last Tuesday, I was standing in my kitchen at 10:30 PM, staring into the open fridge like it held the secrets to the universe. I wanted something crunchy. Something salty. Something that didn’t involve turning on the oven and heating up my entire apartment for fifteen minutes. I opened the pantry and saw a can of chickpeas I’d bought three weeks ago for a single salad. It sat there, mocking me. I opened it, drained it, and tossed half back in the sink because I didn’t want a bowl of soggy bean leftovers for the next five days.
That was the moment I decided enough was enough. I didn’t need a snack that served four people. I needed a snack that served me, right now, in the dark. That’s when I started perfecting this small-batch air fryer chickpeas recipe. It’s crispy, it’s smoky, and most importantly, it’s exactly the right amount. No more opening a giant bag of store-bought chips, eating three, and then watching them go stale in the plastic wrapper. This is the solution to the “snack guilt” and the “leftover waste” that plagues single cooks everywhere.
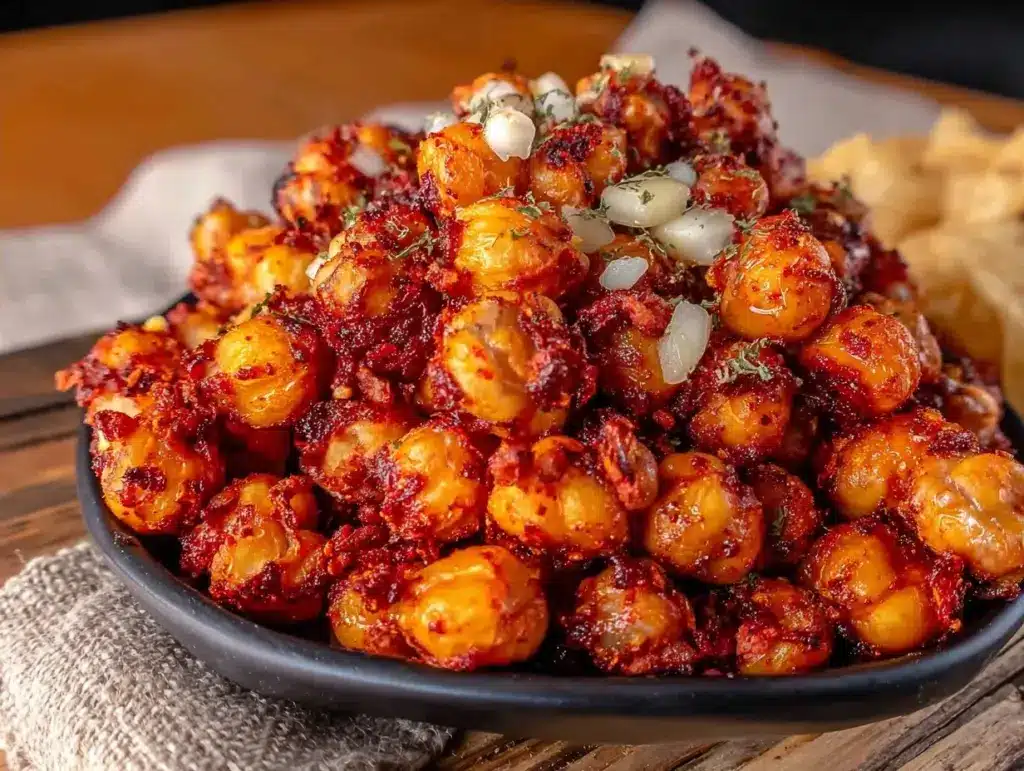
I’ve made this small-batch air fryer chickpeas snack version dozens of times since that late-night pantry confession. It takes 15 minutes from drain to crunch. It uses ingredients you already have. And it tastes like you spent an hour roasting spices over an open fire, when really, you just pressed a few buttons on your air fryer. If you’re tired of cooking for an army when you’re just hungry for a handful, you’re in the right place. This recipe is my go-to when the afternoon slump hits or when I need a savory treat while watching a movie.
Why You’ll Love This Small-Batch Air Fryer Chickpeas Snack
Here’s the thing about air frying: it’s not just for fries. It’s for reclaiming your evening. This small-batch air fryer chickpeas recipe changes the game because it respects your time and your portion size. Here is exactly why this has replaced every other snack in my rotation:
- Actually Crispy Texture — Most oven-roasted chickpeas stay chewy in the middle. The air fryer’s rapid circulation dries them out just enough. I tested this against boiling, baking, and pan-frying. The air fryer wins every time. They get a shatteringly crisp exterior with a tender, creamy center.
- Zero Preheating Stress — I don’t like waiting for my oven to heat up for a 15-minute snack. My air fryer is ready in 2 minutes. I can drain the can, toss them in seasoning, and have them cooking before I can even find a bowl.
- No More Stale Leftovers — This is the big one. I make exactly one cup of drained chickpeas. That’s it. When they’re gone, they’re gone. There is no container left in the fridge with sad, soft beans. It’s fresh crunch, every single time.
- Smoky Flavor Without the Effort — Getting that deep, smoky flavor usually means buying smoked paprika, maybe some cumin, and roasting spices in a dry pan. I just toss the wet chickpeas in the seasoning blend and let the air fryer do the work. The heat caramelizes the spices slightly, creating a complex, savory profile.
- High Protein Satisfaction — When I’m hungry at night, I don’t want empty carbs. These chickpeas pack about 6-7 grams of protein per serving. It’s substantial enough to stop the craving but light enough that I don’t feel sluggish afterward.
This is my go-to when dinner needs to just work, or rather, when I need a snack that works without creating a mess or a waste problem. It’s simple, it’s honest, and it delivers.
Key Ingredients for Perfectly Crispy Chickpeas
You don’t need a fancy grocery run for this. But there are a few specifics that make the difference between “okay” and “addictive.” Here’s what I use and why it matters.
Chickpeas (Garbanzo Beans) (1 can, 15 oz / 425g) — I buy the low-sodium canned variety. It gives me control over the salt level. Drain and rinse them thoroughly. If you’re buying dried, you’d need to cook them first, but for a 15-minute snack, canned is the only way to go. Look for cans that are firm, not mushy.
Avocado Oil or Olive Oil (1 tbsp / 15ml) — You need just enough oil to help the spices stick and promote browning. Avocado oil has a higher smoke point, which is better for the air fryer basket, but extra virgin olive oil works fine if you’re careful not to let it burn. Don’t skip this, or they’ll taste like dry cardboard.
Smoked Paprika (1 tsp / 2g) — This is the star. It gives that deep, reddish-brown color and the distinct smoky flavor. If you use regular paprika, it will taste flat. Smoked is non-negotiable for this specific recipe.
Garlic Powder (1/2 tsp / 1g) — Fresh garlic will burn in the air fryer and turn bitter. Garlic powder dissolves into the oil and coats every chickpea evenly. It provides a savory backbone without the risk of burning.
Cumin (1/2 tsp / 1g) — Adds an earthy, warm note that balances the smoke. It’s subtle, but without it, the flavor profile is one-dimensional.
Sea Salt (1/2 tsp / 3g) — Since you’re using low-sodium chickpeas, you need to salt them well. Add half the salt before cooking and half after. The post-cook salt sticks to the crisp surface and gives that satisfying crunch-salt combo.
Optional: Cayenne Pepper (1/4 tsp / 0.5g) — If you like a little kick, add this. It doesn’t make them hot, just warm. Omit if you prefer mild snacks.
Tools Needed for This Recipe
You don’t need fancy equipment. Here’s what I use. If you don’t have these exact items, you can likely improvise.
Air Fryer — Obviously. I use a 3.5-quart basket, which is perfect for this small batch. If you have a larger one, just make sure not to overcrowd the basket. They need space for air to circulate.
Cheesecloth or Clean Kitchen Towel — This is my secret weapon. After rinsing the chickpeas, I lay them on the towel and pat them dry. I also roll them in the towel to knock off the loose skins. Dry chickpeas = crispy chickpeas. Wet chickpeas = steamed beans.
Measuring Spoons — For the spices. Precision helps, especially with salt.
Large Bowl — For tossing the chickpeas with oil and spices. Make sure it’s big enough to shake them around without spilling.
How to Make Small-Batch Air Fryer Chickpeas
Let’s get into the nitty-gritty. This process is fast, but the prep work (drying) is the most important part. Do not rush the drying step.
Step 1: Drain and Rinse (2 minutes)
Open your can of chickpeas and pour them into a colander. Rinse them under cold water for about 30 seconds. This removes the viscous liquid (aquafaba) and excess sodium. Shake the colander vigorously to remove as much surface water as possible. I usually give them a good shake for 15 seconds straight.
Step 2: Dry and Peel (5 minutes)
Spread the chickpeas out on a clean kitchen towel or paper towels. Pat them dry. Now, the fun part: look for loose skins. They’re thin and papery. Rub the chickpeas gently in the towel. The skins will come off. I don’t get every single one, and that’s okay, but removing as many as possible ensures better texture. The drier they are, the crispier they get. This step is non-negotiable if you want that crunch.
Step 3: Season (1 minute)
Transfer the dried chickpeas to a large bowl. Drizzle with the avocado oil. Sprinkle with the smoked paprika, garlic powder, cumin, and half of the sea salt. Toss them well. You want every single chickpea coated in that orange-red spice mixture. If you have clumps, break them apart with your fingers.
Step 4: Air Fry (12-15 minutes)
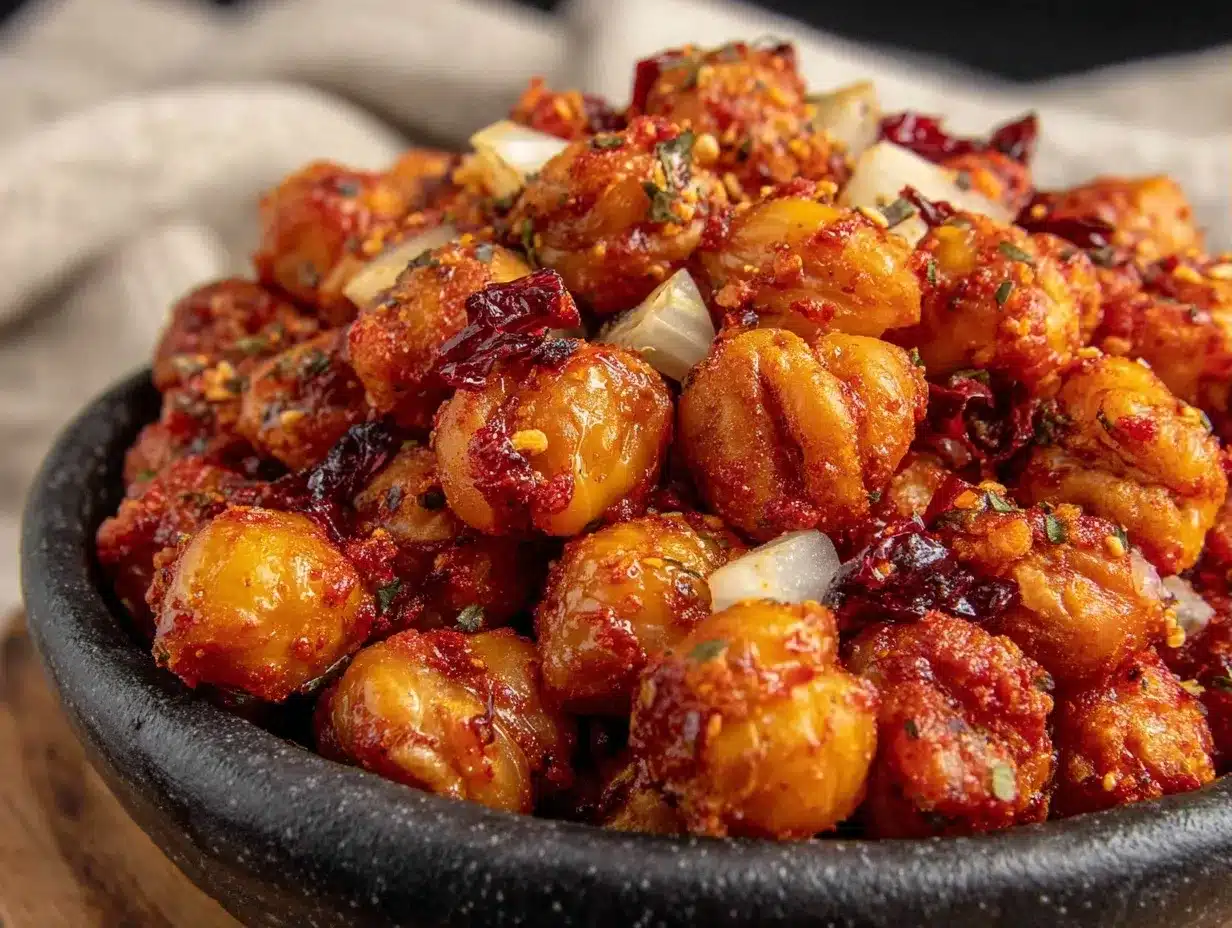
Preheat your air fryer to 390°F (200°C) for 2 minutes. While it heats, spread the chickpeas in a single layer in the air fryer basket. Do not stack them. If they overlap, they will steam instead of crisp. Cook for 12-15 minutes. Shake the basket every 4-5 minutes. You’ll hear them rattling around, which is a good sign. They are done when they are golden brown, sound hollow when you tap them, and feel hard to the touch. They will continue to crisp up as they cool, so don’t pull them too early.
Step 5: Cool and Salt (5 minutes)
Remove the chickpeas from the air fryer. They might look slightly soft right out of the basket. This is normal. Sprinkle with the remaining salt while they are still hot so it adheres. Let them cool on the counter for 5 minutes. As they cool, they transform from chewy to crunchy. Eat them warm for the best texture.
Total time: About 15-20 minutes from start to finish. Most of that is hands-off cooking.
Expert Tips for Maximum Crunch
Here’s everything I learned from making this too many times. These tips separate the good chickpeas from the great ones.
The Dryness is Key
I learned this the hard way. My first batch was soggy because I just drained them and threw them in. Moisture is the enemy of crispiness. The air fryer has to evaporate all that water before it can brown the chickpea. If they start wet, they steam. Use the towel method. Be aggressive with the drying. If they look damp, dry them more.
Don’t Overcrowd the Basket
This is a small-batch recipe for a reason. If you try to cook two cups of chickpeas in a small air fryer, the bottom ones will get crushed and the top ones won’t get enough air. Cook in one layer. If you have a huge air fryer, you might need to cook in two batches. It’s worth it.
Shake, Don’t Stir
When you shake the basket, lift it and slam it down gently, or shake it side-to-side. This ensures even exposure to the heating element. Leaving them in one spot leads to burnt spots and raw spots.
Cool Completely
I know it’s tempting to eat them hot. But they are not fully crispy until they cool. The residual heat finishes the job. If you eat them straight out of the basket, they might feel slightly chewy. Wait those 5 minutes. Trust me.
Common Problems & Solutions
- Chickpeas are burning: Your air fryer runs hot. Check them at 10 minutes. If they’re browning too fast, lower the temp to 375°F (190°C) and cook for 2 more minutes.
- Chickpeas are still soft: They weren’t dry enough, or you overcrowded the basket. Next time, pat them drier and ensure a single layer.
- Spices are falling off: Not enough oil. The oil acts as the glue. Ensure every chickpea has a glossy sheen before cooking.
Recipe Variations
Once you’ve nailed the basic smoky version, here’s how to mix it up. The base method stays the same; only the seasoning changes.
Everything Bagel Chickpeas
Swap the paprika and cumin for 1 tbsp of Everything Bagel Seasoning. Add 1/2 tsp onion powder. This is great on salads or as a topping for avocado toast. It’s my favorite for lunch bowls.
Chili Lime Chickpeas
Use 1/2 tsp chili powder, 1/2 tsp cumin, and 1/4 tsp cayenne. After cooking, while hot, squeeze fresh lime juice over them and sprinkle with cilantro. Tangy, spicy, and refreshing. Great with tacos.
Honey Mustard Chickpeas
Toss with 1/2 tsp garlic powder and 1/2 tsp onion powder. After cooking, drizzle with 1 tsp honey and 1/2 tsp Dijon mustard while warm. Sweet and savory. These disappear fast.
Curry Chickpeas
Use 1/2 tsp turmeric, 1/2 tsp curry powder, and 1/4 tsp ginger powder. Earthy and aromatic. Pairs well with a simple green salad or as a protein boost in grain bowls.
Dietary Modifications
- Vegan: This recipe is naturally vegan. Just ensure your oil is plant-based.
- Gluten-Free: Chickpeas are naturally gluten-free. Just check your spice blends to ensure no anti-caking agents contain wheat (rare, but possible).
- Low Sodium: Skip the added salt entirely and rely on the smoked paprika and garlic powder for flavor. They are still delicious.
Serving & Storage
Serving Ideas
I eat these straight from the bowl while cooking dinner. But they also work as:
- A topping for soups (like my budget-friendly slow cooker beef stroganoff).
- A salad topper for greens with vinaigrette.
- A snack with a side of hummus.
- A crunchy garnish for avocado toast.
Storage
Let them cool completely before storing. If you store them while warm, steam will get trapped and make them soggy. Store in an airtight container at room temperature for up to 3 days. They lose some crunch after day 2, but they’re still good. If they go soft, pop them back in the air fryer at 350°F for 3 minutes to re-crisp.
Do not freeze these. The texture becomes mealy and unpleasant after freezing and thawing. They are best fresh.
Nutrition Information
I’m not a nutritionist, but here’s the breakdown for one serving (approx. 1/2 cup drained).
| Nutrient | Amount |
|---|---|
| Calories | 140 |
| Protein | 7g |
| Carbohydrates | 20g |
| Fiber | 6g |
| Fat | 4g |
| Sodium | 350mg (with added salt) |
My Take: This is a high-fiber, high-protein snack. It’s not “diet food” in the sense of being tasteless, but it’s nutrient-dense. It’s a far better choice than processed chips because you know exactly what’s in it. It’s satisfying without being heavy.
Final Thoughts
This small-batch air fryer chickpeas recipe is more than just a snack. It’s a victory over waste and indecision. It’s for the nights when you want something crunchy but don’t want to deal with a family-sized bag. It’s for the health-conscious snacker who wants protein. It’s for anyone who wants flavor without the fuss.
If you make this, drop a comment! I love hearing how it turns out in your kitchen. Do you prefer the smoky version or the chili lime? Let me know. And if you’re looking for other small-batch treats, check out my small-batch lemon cupcakes for when you need something sweet.
Happy cooking!
FAQs
Q: Can I use dried chickpeas for this recipe?
A: Technically yes, but it defeats the purpose of a 15-minute snack. You’d need to soak them overnight and boil them for an hour until tender before air frying. For speed and convenience, canned is the way to go. Just make sure to rinse them well.
Q: Why are my chickpeas not crispy?
A: This is almost always due to moisture. Did you dry them thoroughly with a towel? Did you remove the loose skins? If they start wet, they steam. Also, ensure you aren’t overcrowding the air fryer basket. Air needs to circulate around each chickpea.
Q: Can I make this in the oven instead?
A: Yes, but it takes longer. Toss them with oil and spices, spread on a baking sheet, and roast at 400°F (200°C) for 30-40 minutes, shaking halfway through. They won’t get as uniformly crispy as the air fryer version, but they will still be good.
Q: How do I store leftovers?
A: Since this is a small-batch recipe, you likely won’t have many. Store in an airtight container at room temperature for 2-3 days. Avoid the fridge, as the humidity will make them soft. Re-crisp in the air fryer for 2-3 minutes if needed.
Q: Can I add cheese to these?
A: I wouldn’t recommend it. The high heat of the air fryer can cause cheese to burn or separate. If you want a cheesy flavor, try sprinkling nutritional yeast on them after they’ve cooled slightly. It adds a savory, nutty, cheese-like flavor without the melt.
Q: Is this recipe gluten-free?
A: Yes, chickpeas are naturally gluten-free. Just double-check your spice blends, especially if you’re using pre-mixed seasonings, to ensure they don’t contain wheat-based anti-caking agents.
Pin This Recipe!
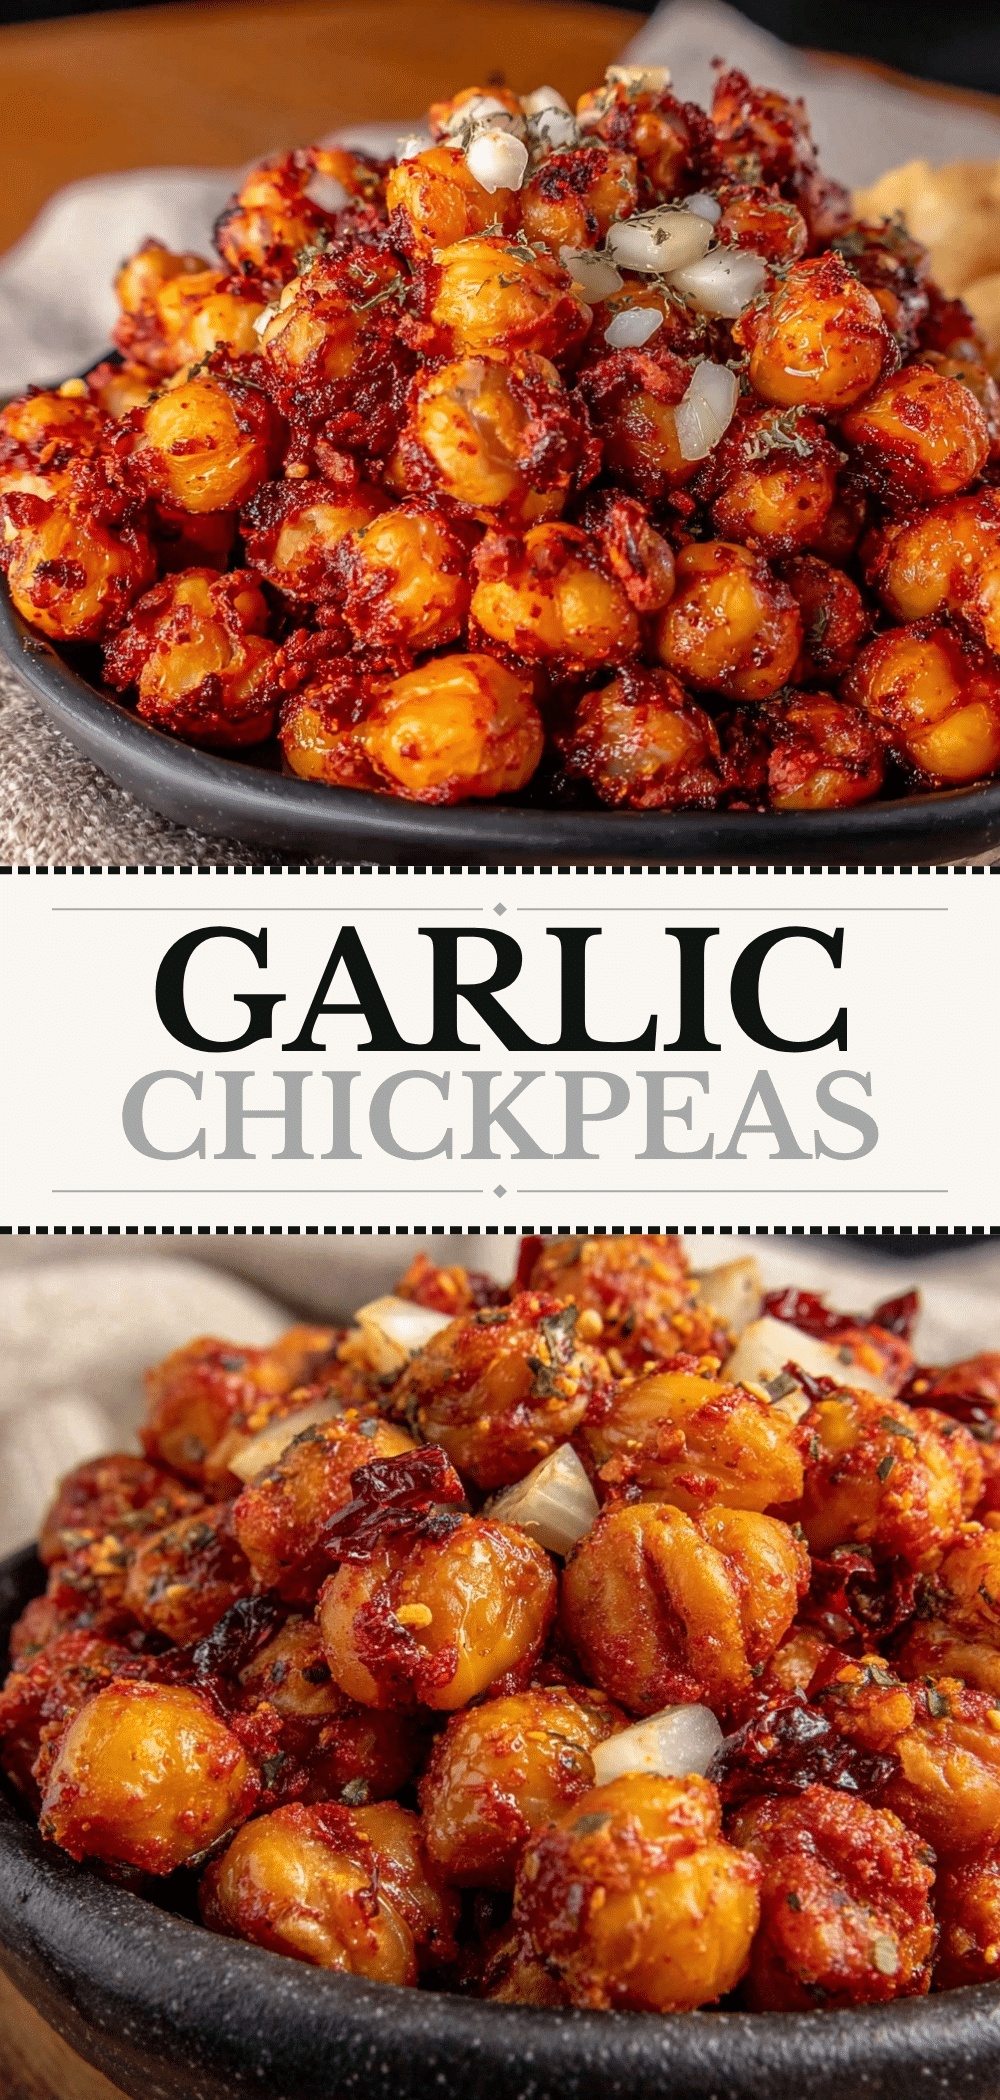

Small-Batch Air Fryer Chickpeas: Easy 15-Min Snack
- Total Time: 15-20 minutes
- Yield: 1 serving 1x
Description
A quick, crispy, and smoky snack made in the air fryer using canned chickpeas. This small-batch recipe solves the problem of leftover waste and stale chips, delivering a high-protein, crunchy treat in just 15 minutes.
Ingredients
- 1 can (15 oz / 425g) low-sodium chickpeas (garbanzo beans)
- 1 tbsp avocado oil or olive oil
- 1 tsp smoked paprika
- 1/2 tsp garlic powder
- 1/2 tsp cumin
- 1/2 tsp sea salt, divided
- 1/4 tsp cayenne pepper (optional)
Instructions
- Drain and rinse the chickpeas in a colander under cold water for 30 seconds to remove excess sodium and liquid. Shake vigorously to remove surface water.
- Spread chickpeas on a clean kitchen towel or paper towels. Pat dry and gently rub to remove loose skins. Ensure they are completely dry for maximum crispiness.
- Transfer dried chickpeas to a large bowl. Drizzle with oil and sprinkle with smoked paprika, garlic powder, cumin, and half of the sea salt. Toss well to coat evenly.
- Preheat air fryer to 390°F (200°C) for 2 minutes. Spread chickpeas in a single layer in the air fryer basket without overcrowding.
- Air fry for 12-15 minutes, shaking the basket every 4-5 minutes. Cook until golden brown, hollow-sounding when tapped, and hard to the touch.
- Remove from air fryer and immediately sprinkle with remaining salt while hot. Let cool on the counter for 5 minutes to finish crisping before serving.
Notes
The key to crispiness is removing all moisture and loose skins before cooking. Do not overcrowd the air fryer basket; cook in a single layer. If your air fryer runs hot, check at 10 minutes and lower temperature to 375°F if browning too fast. Store leftovers in an airtight container at room temperature for up to 3 days. Re-crisp in air fryer at 350°F for 3 minutes if they go soft. Do not freeze.
- Prep Time: 5 minutes
- Cook Time: 12-15 minutes
- Category: Snack
- Cuisine: American
Nutrition
- Serving Size: Approximately 1/2 cu
- Calories: 140
- Sugar: 3
- Sodium: 350
- Fat: 4
- Saturated Fat: 0.5
- Carbohydrates: 20
- Fiber: 6
- Protein: 7
Keywords: air fryer chickpeas, small batch snack, healthy snacks, high protein snack, crispy chickpeas, vegan snack, gluten-free snack, quick recipes