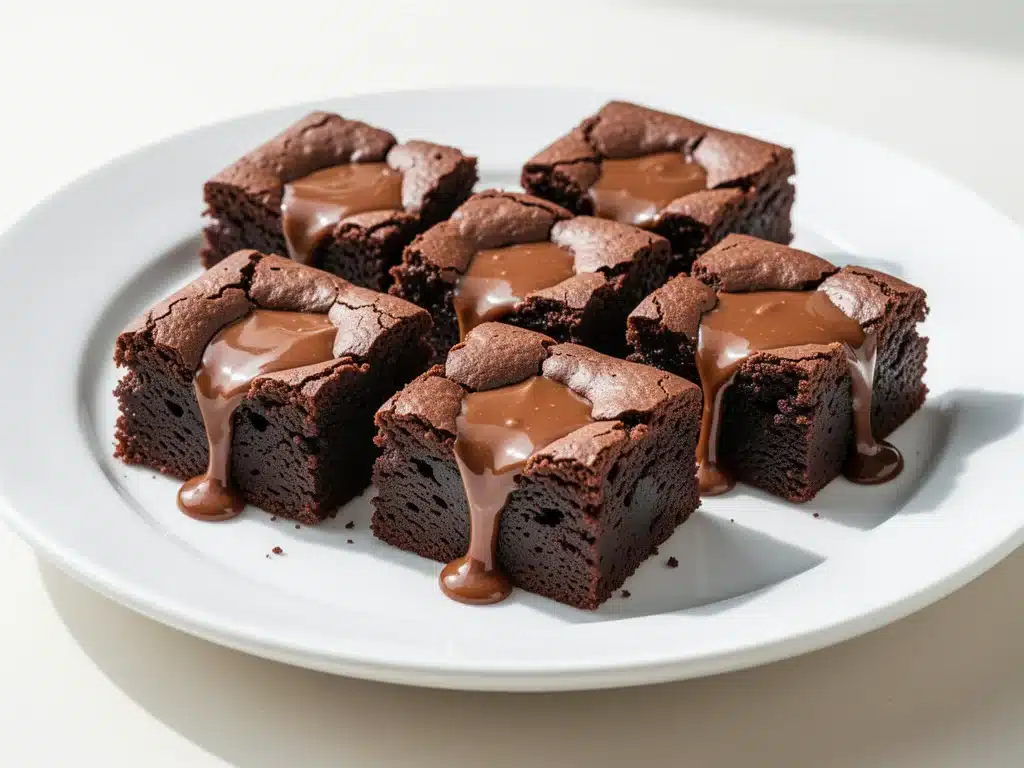
There is a specific kind of magic that happens when you pull a pan of brownies out of the oven and they look perfectly set on the outside, but when you cut into one, it’s essentially liquid chocolate lava. I remember the first time I tried to make these. It was a rainy Sunday in November, and I had promised my partner’s family I’d bring dessert. I wanted something impressive, something that said, “Yes, I can bake,” without requiring me to be a pastry chef.
I followed a recipe that promised “fudgy” brownies. What I got was a dense, cakey brick that was delicious but completely missed the mark. It was dry. It was heavy. It was… fine. But it wasn’t the molten center experience I had seen on Instagram and sworn to deliver. I was embarrassed. I ate the whole batch in silence while my in-laws praised my “effort,” which is basically code for “please don’t make this again.”
So, I did what any obsessive home cook does: I went into the kitchen and made every variation of fudge brownie imaginable for the next three weeks. I tried melting the chocolate with butter. I tried using cocoa powder. I tried adding flour. I tried not adding flour. I burned my fingers, I over-mixed the batter, and I under-baked three separate pans until the smoke alarm became my dinner companion.
But then, on the fourth week, it happened. I pulled the pan out. The top was cracked and shiny. I let it cool for exactly ten minutes (the hardest ten minutes of my life) and cut into the center. The knife slid through like butter. The center was glossy, warm, and utterly decadent. My partner took one bite, closed his eyes, and said, “Okay, what is your secret?”
There is no secret ingredient. No expensive chocolate. No weird technique. It’s just a few adjustments to timing and ratio that I’ve tested and re-tested until I got it perfect. This is my Molten Fudge Center Brownies recipe. It’s the best easy recipe I’ve ever made, and I’m sharing it because I know you want that same moment of pure, unadulterated joy when you take that first bite.
If you’re looking for other ways to impress without the stress, you might also want to check out my grilled peach cobbler, which is another dessert that looks complicated but is actually surprisingly simple. But for pure chocolate satisfaction? These brownies are undefeated.
Why You’ll Love This Molten Fudge Center Brownies Recipe
Let’s be real for a second. Most brownie recipes are either too cakey or too greasy. They sit in that awkward middle ground where they’re edible but not memorable. This Molten Fudge Center Brownies recipe changes the game. Here’s why it’s become the star of my dessert rotation:
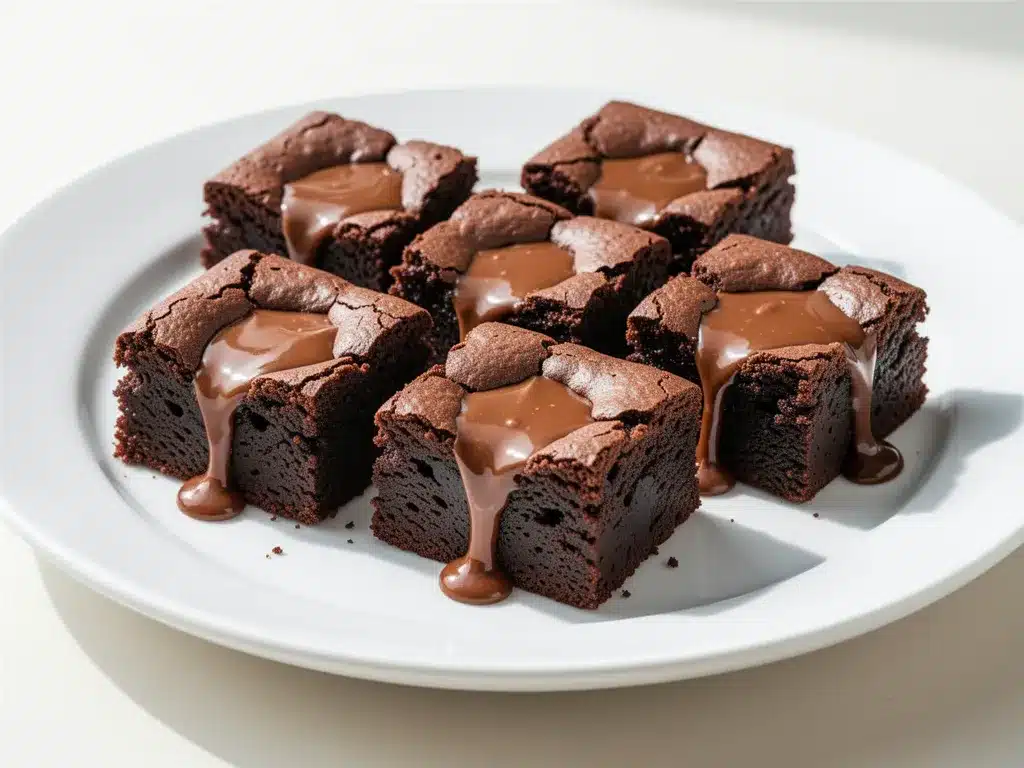
- The Texture is Unmatched — I’m talking about that contrast between the crisp, crackly top and the gooey, warm center. It’s like eating a chocolate truffle that’s been baked. My kids argue over who gets the one with the most “lava.” It’s that good.
- It’s Actually Easy — You don’t need a mixer. You don’t need to separate eggs. You just melt, stir, and bake. I’ve made these after a long day at work when I have zero energy. It takes 15 minutes of prep and 25 minutes of baking. That’s it.
- It’s Foolproof (Mostly) — The biggest challenge is timing. But I’ve included clear visual cues so you know exactly when to pull them out. No more guessing. No more dry brownies.
- It’s Versatile — Want to add nuts? Go for it. Want to drizzle caramel on top? Do it. Want to serve them with a scoop of vanilla ice cream? Absolutely. These brownies are a blank canvas for your cravings.
- They Freeze Well — I often make a double batch. I freeze the extras (unbaked batter in the pan) and bake them fresh when guests show up. They taste just as good as fresh.
This is my go-to dessert when I need to feel like a hero in the kitchen. It’s reliable, it’s delicious, and it makes everyone happy. Seriously, try it once, and I promise you’ll be making these every week.
Ingredients You’ll Need for Molten Fudge Center Brownies
Here’s the best part: you probably have most of this already. This isn’t a recipe that requires a trip to three different specialty stores. It’s pantry-friendly, with just a few key items that make all the difference.
For the Base
Unsalted Butter (1 cup / 226g) — This is your fat source. I use high-quality butter, like Kerrygold or Plugra, because it makes a difference in flavor. Don’t use margarine. It won’t work.
Semi-Sweet Chocolate Chips (1 cup / 170g) — I use Ghirardelli or Lindt. They melt smoothly and have a rich chocolate flavor. Avoid the cheap stuff; you’ll taste the difference.
Cocoa Powder (½ cup / 45g) — Unsweetened cocoa powder adds depth. I use Hershey’s Special Dark for a slightly bittersweet note, but regular cocoa powder works too.
Granulated Sugar (1 cup / 200g) — This is key for the crackly top. Don’t reduce the sugar. It’s not just for sweetness; it’s for texture.
Eggs (3 large) — Room temperature eggs mix better. If you’re in a rush, just drop them in warm water for 5 minutes.
Vanilla Extract (1 teaspoon) — Pure vanilla, please. Artificial vanilla tastes chemical.
For the Structure
All-Purpose Flour (½ cup / 65g) — Not too much. We want fudgy, not cakey. Sift it if you can to avoid lumps.
Salt (½ teaspoon) — Essential to balance the sweetness. Don’t skip it.
Optional Add-ins — I love adding ½ cup of chopped walnuts or pecans. Or a handful of white chocolate chips for contrast. But the classic version is perfect on its own.
Equipment Needed
You don’t need fancy equipment for this. Here’s what I actually use:
8×8-inch Baking Pan — This size gives you the perfect thickness. Line it with parchment paper for easy removal.
Microwave-Safe Bowl or Double Boiler — For melting the chocolate and butter. I use a microwave in 30-second intervals, stirring in between.
Mixing Bowls — One large bowl for the wet ingredients, one small for the dry.
Whisk — A simple wire whisk is all you need. No mixer required.
Spatula — For folding in the flour. Silicone works best.
Timer — Crucial for getting that molten center. Set it for 22 minutes.
How to Make It: Step-by-Step
Alright, let’s make this! I’m walking you through exactly how I do it, including the little tricks I’ve picked up over the years.
Step 1: Prep Your Pan and Oven (5 minutes)
Preheat your oven to 350°F (175°C). Line an 8×8-inch baking pan with parchment paper, leaving an overhang on the sides. This is your handle for lifting the brownies out later. Grease the parchment lightly with butter or non-stick spray.
Step 2: Melt the Chocolate and Butter (3 minutes)
Combine the butter and chocolate chips in a microwave-safe bowl. Microwave in 30-second intervals, stirring well after each interval, until smooth. This should take about 1-2 minutes total. Don’t overheat it, or the chocolate will seize. If you don’t have a microwave, use a double boiler over low heat.
Step 3: Mix the Wet Ingredients (2 minutes)
Whisk the melted chocolate mixture into the sugar until well combined. The mixture will look grainy at first, but keep whisking. It’ll become glossy. Add the eggs one at a time, whisking well after each addition. Stir in the vanilla extract. The batter should be smooth and shiny.
Step 4: Add the Dry Ingredients (2 minutes)
Sift the flour and salt over the wet mixture. Use a spatula to gently fold it in. Stop as soon as the flour disappears. Overmixing develops gluten, which makes brownies cakey. We want fudgy. The batter will be thick.
Step 5: Bake (22-25 minutes)
Pour the batter into the prepared pan and spread it evenly. Bake for 22-25 minutes. Here’s the key: you want the edges to be set and the center to still look slightly underbaked. It will jiggle a little when you shake the pan. This is normal. If you bake it until it’s firm, you’ll lose the molten center.
Step 6: Cool and Serve (10 minutes)
Let the brownies cool in the pan for at least 10 minutes. This allows the center to set just enough so it doesn’t run everywhere when you cut it, but it stays warm and gooey. Cut into squares and serve immediately. Dust with powdered sugar if you want to look fancy.
Expert Tips & Tricks
Here’s everything I’ve learned from making this dozens of times. These tips will save you from my mistakes.
Don’t Overbake — This is the #1 mistake. Pull the brownies out when the center still looks slightly wet. They continue to cook on the hot pan after you remove them from the oven. If you wait until they look done, they’ll be done by the time they cool, and you’ll miss the molten center.
Use Good Chocolate — Since chocolate is the main flavor, use good quality chocolate chips or chopped chocolate bar. It makes a huge difference in taste and texture.
Room Temperature Eggs — Cold eggs can cause the melted chocolate to seize up. Bring them to room temperature before you start.
Don’t Overmix — Once you add the flour, mix only until combined. Overmixing makes the brownies tough and cakey.
Let Them Cool — I know it’s tempting to cut into them immediately, but let them cool for at least 10 minutes. This helps the center set slightly so you get a clean cut.
Variations & Substitutions
Once you’ve nailed the basic version, here’s how you can mix it up. I’ve tried all of these.
Nutty Version — Add ½ cup of chopped walnuts or pecans to the batter. Toast the nuts first for extra flavor.
White Chocolate — Swap half the semi-sweet chocolate for white chocolate chips. It adds a creamy, sweet contrast.
Mint Chocolate — Add ½ teaspoon of peppermint extract to the batter and top with crushed candy canes.
Caramel Drizzle — Drizzle warm caramel sauce over the brownies before serving. It’s decadent.
Gluten-Free — Use a 1:1 gluten-free flour blend. The texture might be slightly different, but it still works.
Dairy-Free — Use dairy-free chocolate chips and coconut oil instead of butter. It’s still delicious.
Serving & Storage
How to Serve:
I usually serve these warm, straight from the pan. They look rustic and homemade. Here are some ideas:
- With Ice Cream — A scoop of vanilla bean ice cream is classic. The cold cream balances the warm, gooey brownie.
- With Whipped Cream — A dollop of freshly whipped cream adds lightness.
- With Coffee — These pair perfectly with a strong cup of coffee or espresso.
Storage Instructions:
Refrigerator: Store in an airtight container for up to 4 days. They might firm up in the fridge, so let them come to room temperature before serving.
Freezer: You can freeze the unbaked batter in the pan for up to 3 months. When you’re ready to bake, just add 5-10 minutes to the baking time. Or, freeze the baked brownies for up to 3 months. Thaw at room temperature.
Reheating: To restore the molten center, microwave a brownie for 10-15 seconds. It’ll be gooey again.
Nutrition Information
I’m not a nutritionist, but here’s the breakdown if you’re tracking. Keep in mind that these are rich, dense brownies, so a little goes a long way.
Per Serving (based on 16 brownies):
- Calories: 220
- Protein: 3g
- Carbs: 28g
- Fiber: 1g
- Sugar: 20g
- Fat: 12g
- Saturated Fat: 7g
- Cholesterol: 45mg
- Sodium: 85mg
Look, this is dessert. It’s not a health food. But it’s better than store-bought, and you know exactly what’s in it. When I make these, I enjoy one or two and savor every bite. Balance is key.
Final Thoughts
So that’s my Molten Fudge Center Brownies recipe! I’ve probably talked your ear off at this point, but when you make a recipe this often, you have a lot to say about it.
This has saved my dessert game more times than I can count. It’s my answer to “what’s for dessert?” when I need something impressive but easy. My family is happy, my guests are happy, and I’m happy because I’m not stressed about cooking.
Make it yours! Try different add-ins, swap in your favorite chocolate, adjust the baking time to your oven. The best recipes are the ones you adapt to your tastes.
If you make this, drop a comment and let me know what you think! I love hearing how recipes turn out in your kitchen. And if something doesn’t work, tell me that too—I’m here to help troubleshoot.
Happy baking! And I hope your kitchen smells half as good as mine does right now.
Frequently Asked Questions
Can I use milk chocolate instead of semi-sweet?
You can, but the brownies will be sweeter and less intense. Semi-sweet or bittersweet chocolate gives the best balance. If you use milk chocolate, reduce the sugar by ¼ cup.
Why did my brownies turn out cakey instead of fudgy?
Probably overmixed. Once you add the flour, mix only until combined. Also, too much flour can make them cakey. Measure carefully, and don’t pack the flour.
Can I make these in a 9×13 pan?
Yes, but they’ll be thinner. Reduce the baking time to 18-20 minutes. Keep an eye on them, as they’ll bake faster.
How do I get that crackly top?
Whisk the sugar and melted chocolate vigorously. This helps dissolve the sugar and creates the crackly crust. Also, don’t skip the sugar.
Can I freeze the batter?
Yes! Pour the batter into the lined pan, cover tightly with plastic wrap, and freeze for up to 3 months. Bake straight from the freezer, adding 5-10 minutes to the baking time.
What if I don’t have an 8×8 pan?
You can use a 9×9 or 10×10 pan, but the brownies will be thinner. Adjust baking time accordingly. Or, use a square cake pan if you have one.
Can I add nuts?
Absolutely. ½ cup of chopped walnuts or pecans is a great addition. Toast them first for extra flavor.
Pin This Recipe!
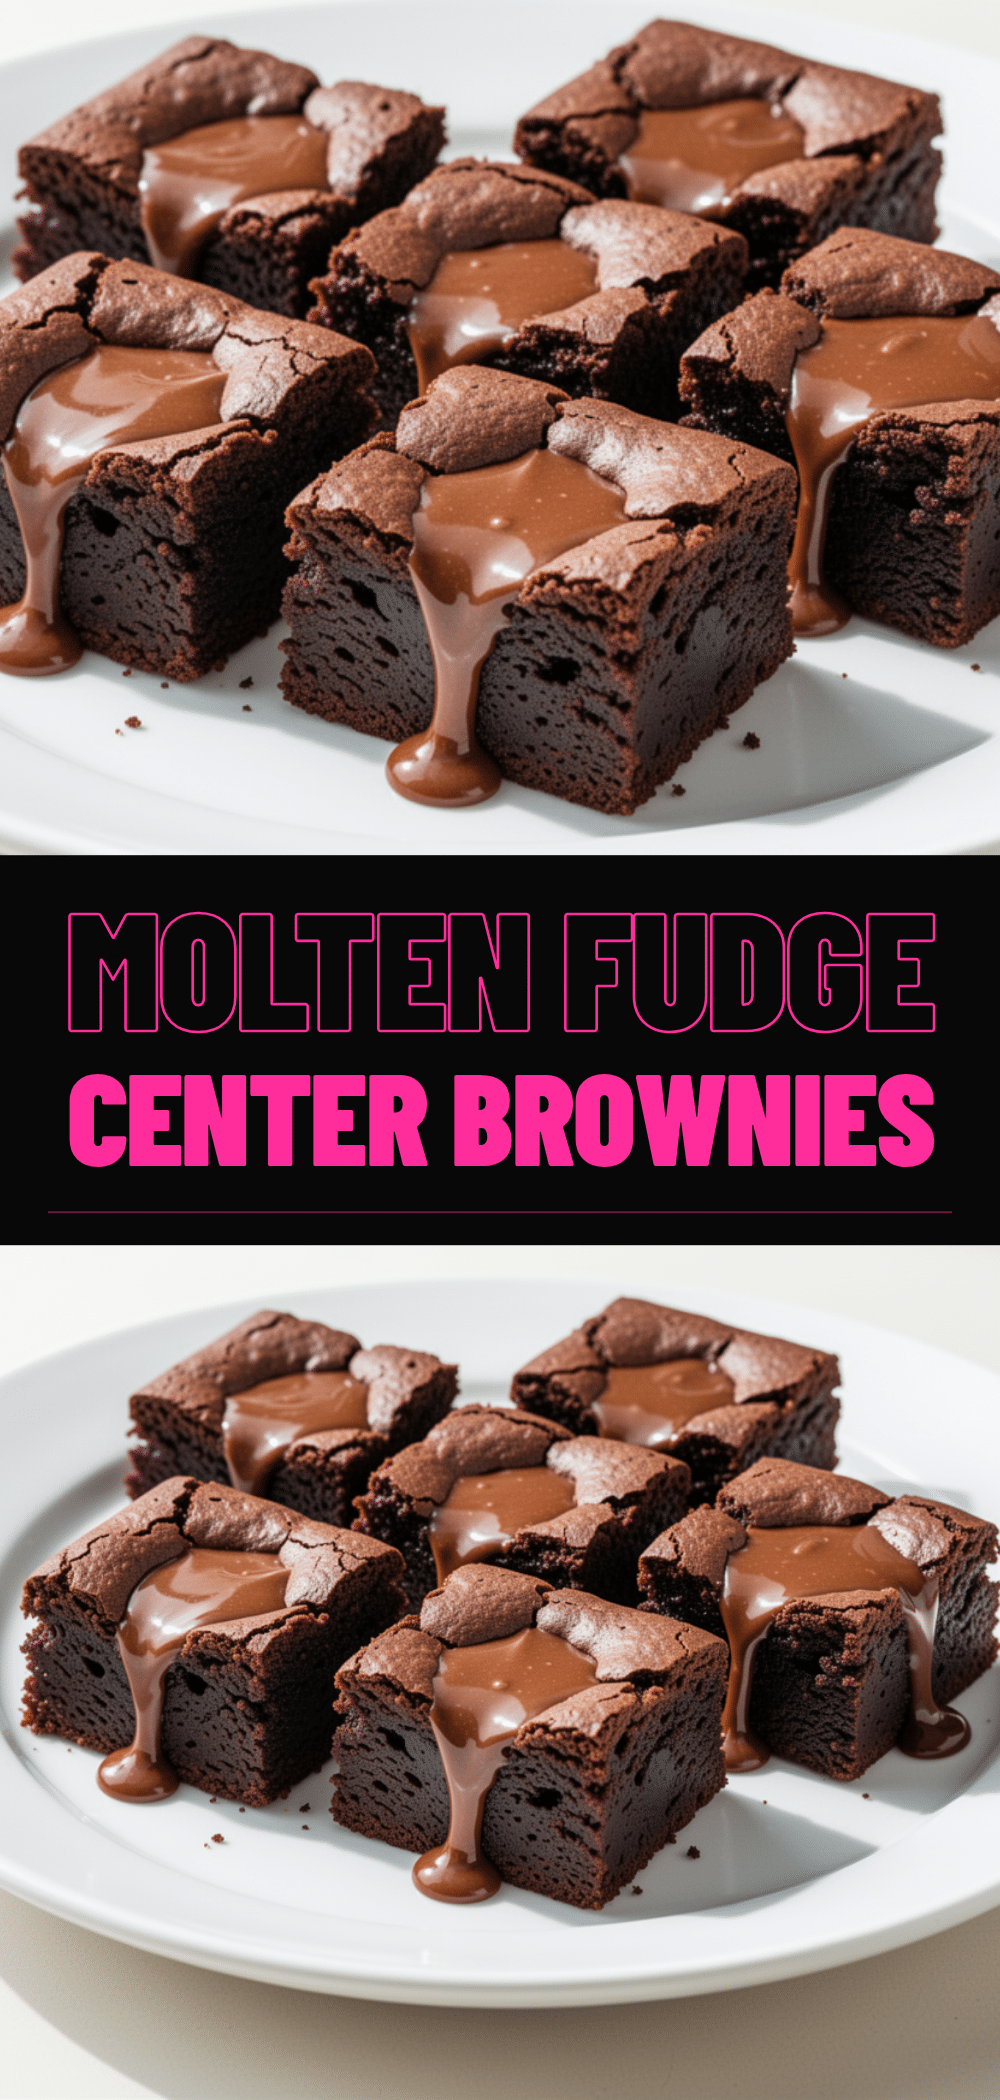
Molten Fudge Center Brownies: Best Easy Recipe
- Total Time: 40 minutes
- Yield: 16 servings 1x
Description
These brownies feature a crisp, crackly top and a gooey, warm chocolate lava center. They are easy to make with just a few pantry ingredients and require no mixer.
Ingredients
- 1 cup (226g) unsalted butter
- 1 cup (170g) semi-sweet chocolate chips
- ½ cup (45g) unsweetened cocoa powder
- 1 cup (200g) granulated sugar
- 3 large eggs, room temperature
- 1 teaspoon vanilla extract
- ½ cup (65g) all-purpose flour
- ½ teaspoon salt
- Optional: ½ cup chopped walnuts or pecans
Instructions
- Preheat oven to 350°F (175°C). Line an 8×8-inch baking pan with parchment paper, leaving an overhang on the sides, and grease lightly.
- Combine butter and chocolate chips in a microwave-safe bowl. Microwave in 30-second intervals, stirring well after each, until smooth. Alternatively, use a double boiler.
- Whisk the melted chocolate mixture into the sugar until well combined and glossy. Add eggs one at a time, whisking well after each addition. Stir in vanilla extract.
- Sift flour and salt over the wet mixture. Gently fold in with a spatula until just combined. Do not overmix.
- Pour batter into the prepared pan and spread evenly.
- Bake for 22-25 minutes. The edges should be set, but the center should still look slightly underbaked and jiggle when shaken.
- Let brownies cool in the pan for at least 10 minutes before cutting into squares.
Notes
Do not overbake, as the brownies continue to cook on the hot pan after removal. Use good quality chocolate for best flavor. Room temperature eggs help prevent the chocolate from seizing. For a gluten-free version, use a 1:1 gluten-free flour blend.
- Prep Time: 15 minutes
- Cook Time: 25 minutes
- Category: Dessert
- Cuisine: American
Nutrition
- Serving Size: 1 brownie square
- Calories: 220
- Sugar: 20
- Sodium: 85
- Fat: 12
- Saturated Fat: 7
- Carbohydrates: 28
- Fiber: 1
- Protein: 3
Keywords: brownies, molten center, fudgy brownies, easy dessert, chocolate lava brownies, homemade brownies


