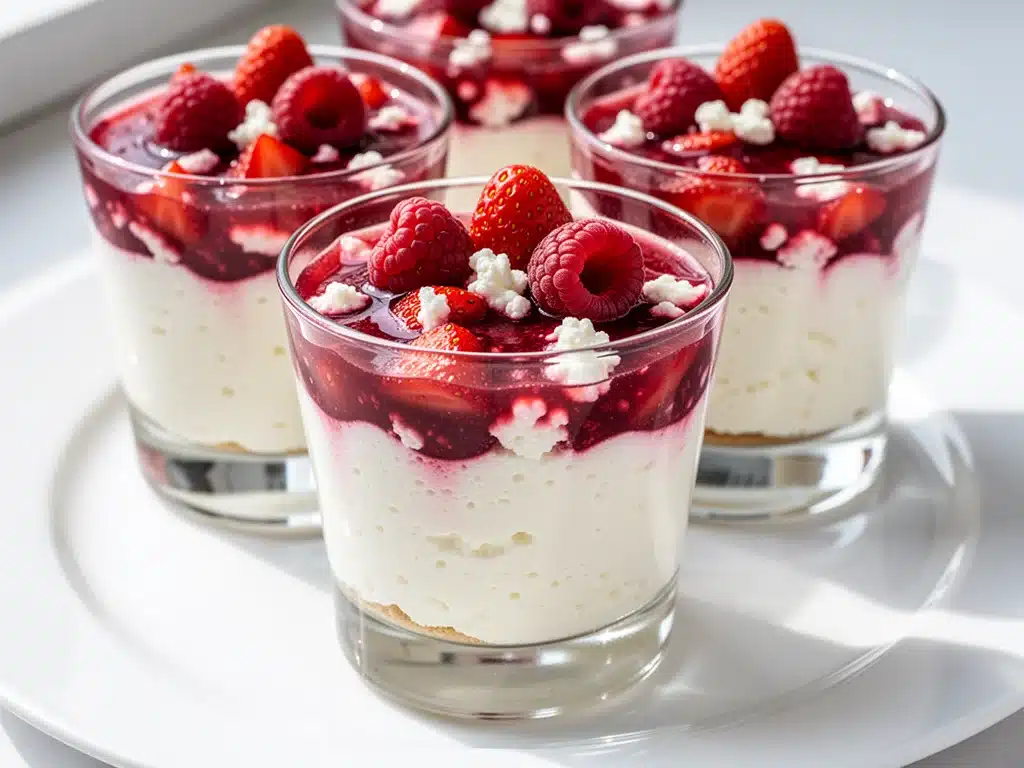
Here’s the thing about protein desserts. I’ve tried them all. The chalky bars that crumble into dust the moment you touch them. The gummy-looking spheres that taste like a chemistry experiment gone wrong. The “clean eating” brownies that leave you feeling hungry an hour later because they’re basically just dried fruit and regret. I was ready to give up on the idea that you could eat something sweet, feel full, and actually enjoy it.
Then I made these cottage cheese cheesecake cups three weeks in a row. Just three weeks. My husband walked into the kitchen, saw me eating a fourth cup straight from the blender jar (don’t judge, I was testing for consistency), and asked if I’d finally lost my mind. I told him to try one. He took one bite. Then another. Then he asked if I’d ordered takeout because nothing homemade tastes this good.
This is the recipe that changed my entire relationship with dessert. These cottage cheese cheesecake cups are creamy, rich, and genuinely satisfy that late-night sweet tooth without the heavy, sluggish feeling you get from traditional New York-style cheesecake. Plus, they’re packed with protein, which means I’m not just eating sugar—I’m actually getting something useful out of it.
I’ve tested this recipe at least a dozen times now. I’ve tweaked the sweeteners, played with different crust options, and even experimented with adding protein powder (spoiler: you don’t need it if you use the right cottage cheese). The result? A dessert that’s so simple, so fast, and so delicious that it’s become my go-to when I need to impress guests or just need a little comfort food that doesn’t derail my nutrition goals.
If you’ve been looking for a way to sneak more protein into your diet without sacrificing flavor, or if you just want a dessert that’s easier to make than it is to clean up, you’re going to love this. It’s the kind of recipe that makes you wonder why you ever spent hours standing over a water bath in the oven. Let’s get into it.
Why You’ll Love These Cottage Cheese Cheesecake Cups
There are about a hundred reasons I keep coming back to these cups, but here are the big ones. This isn’t just a “diet” dessert that you eat because you have to. It’s a dessert you eat because it’s genuinely delicious.
Stupid Simple (No Oven Required)
Seriously, if you can operate a blender or a food processor, you can make this. No baking, no water baths, no standing in front of the oven worrying about cracks. I’ve made these in under 10 minutes on weeknights when I wanted something sweet but didn’t want to turn my kitchen into a sauna. It’s literally blend, pour, chill, and eat.
Creamy Without the Guilt
The biggest myth about cottage cheese is that it tastes… well, like cottage cheese. But when you blend it until it’s silky smooth, that tangy, eggy flavor disappears completely. What’s left is a rich, velvety texture that rivals heavy cream-based fillings. I’ve blindfolded my friends and had them guess the ingredients. They never guess cottage cheese. They always guess mascarpone or cream cheese.
High Protein, Low Effort
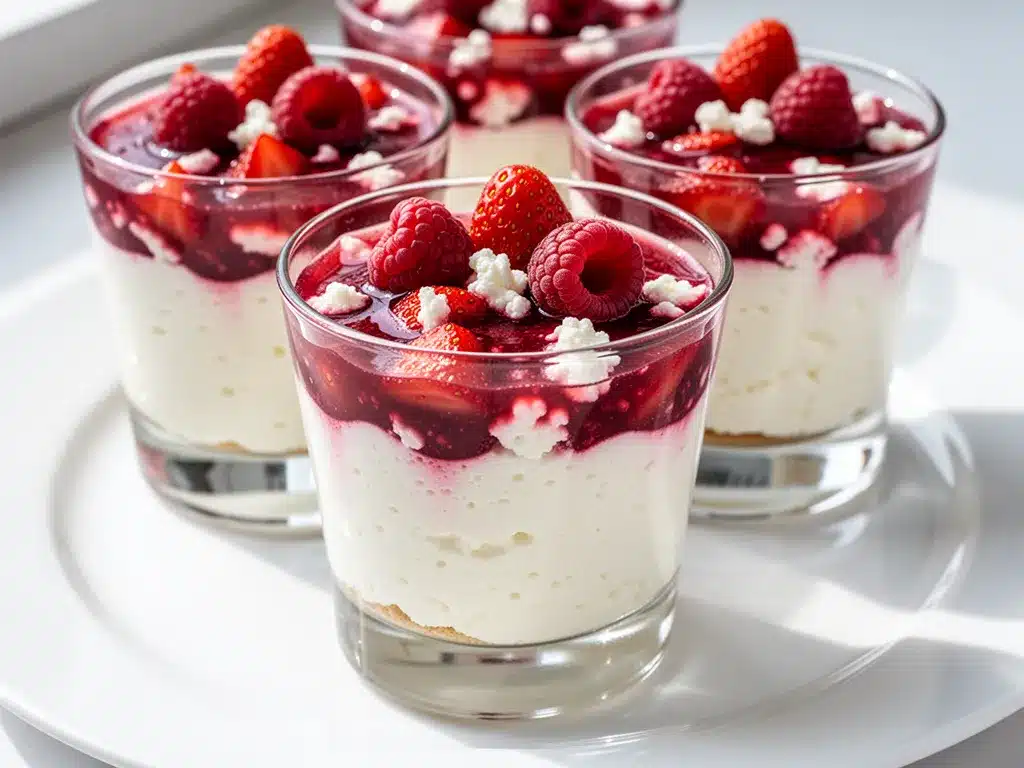
Each cup packs about 15-20 grams of protein, depending on the brand you use. That’s huge for a dessert. Usually, when I have a sweet treat, I’m just getting empty calories. With these, I’m getting a post-dinner snack that helps with muscle recovery (or just helps me not feel starving at 10 PM). It’s the kind of food that makes you feel good about yourself.
Perfect for Meal Prep
These store beautifully in the fridge for up to a week. I make a batch on Sunday, and they’re my go-to snack during the week. They’re individual portions, so there’s no fighting over the last slice of cake. Plus, they look fancy enough to serve at a dinner party, which is a huge win for someone who wants to impress without spending hours cooking.
This is my answer to “what’s for dessert?” when I’m tired, lazy, and still want something that tastes indulgent. No complicated techniques, no weird supplements, just reliable, delicious food that makes everyone happy.
Ingredients You’ll Need
Here’s the best part: you probably have most of these ingredients already. The beauty of this recipe is how few components it needs. I’m particular about the cottage cheese, and I’ll tell you exactly why. Don’t skip this part.
For the Filling:
Cottage Cheese (2 cups / 450g) — This is the star. Use full-fat, 4% milkfat cottage cheese. Low-fat or non-fat versions don’t blend as smoothly and can taste watery. I always use brands like Good Culture or Daisy. Make sure it’s the kind with small curds; large curds take longer to blend and can leave little chunks if you’re not careful.
Cream Cheese (4 oz / 115g) — This adds richness and helps stabilize the texture. I use softened cream cheese, straight from the fridge. If it’s too cold, it won’t blend evenly. Let it sit on the counter for 10 minutes while you prep the rest.
Greek Yogurt (½ cup / 120g) — I use plain, full-fat Greek yogurt. It adds tang and creaminess without being as heavy as more cream cheese. It also boosts the protein count even more. Don’t use sweetened yogurt, or it’ll throw off the balance.
Honey or Maple Syrup (3-4 tablespoons / 45-60ml) — I prefer honey for its floral notes, but maple syrup works great too. If you’re sugar-free, you can use erythritol or monk fruit sweetener, but start with less because these are often much sweeter than sugar. Taste as you go.
Vanilla Extract (1 teaspoon / 5ml) — Use real vanilla extract, not imitation. It makes a noticeable difference in the flavor profile. If you want to get fancy, use vanilla bean paste.
Lemon Juice (1 tablespoon / 15ml) — Freshly squeezed. This cuts through the richness and brightens the whole thing. It’s what makes it taste like cheesecake and not just sweet yogurt.
Zest of 1 Lemon — Don’t skip the zest. The oils in the peel add so much aroma. Grate just the yellow part, avoiding the white pith, which is bitter.
For the Crust:
Graham Cracker Crumbs (1 cup / 100g) — I buy pre-made crumbs to save time, but you can crush whole graham crackers in a food processor. For a gluten-free version, use gluten-free graham crackers or almond flour.
Butter (3 tablespoons / 42g) — Melted. This binds the crumbs together. Use unsalted butter so you can control the salt. If you’re dairy-free, use melted coconut oil.
Sugar (1 tablespoon / 15g) — Just a little bit to sweeten the crust. You can omit this if you’re watching sugar, but it helps the crust caramelize slightly and taste more like a traditional cheesecake.
Optional Toppings:
Fresh Berries — Strawberries, raspberries, or blueberries add freshness and color. I love the contrast of tart berries against the sweet, creamy filling.
Chocolate Chips — A few mini chocolate chips on top for a dessert-like vibe.
Whipped Cream — Because sometimes you just want extra cream. I make my own, but store-bought works in a pinch.
Equipment Needed
You don’t need fancy equipment for this. Here’s what I actually use.
High-Speed Blender or Food Processor — This is non-negotiable. You need something powerful enough to break down the cottage cheese curds completely. A standard blender might leave chunks. I use my Vitamix, but a Ninja or high-quality Cuisinart food processor works great too. If your blender isn’t powerful, you might need to blend for 2-3 minutes.
4-6 Ramkins or Small Jars — I use 6-ounce ramekins for individual portions. You can also use mason jar lids or small glass cups. Make sure they’re wide enough to eat from easily.
Measuring Cups and Spoons — Standard stuff. Dollar store versions work fine.
Zester or Microplane — For the lemon zest. A regular grater works, but a microplane gives you finer, fluffier zest that distributes better.
Spatula — For scraping down the sides of the blender and smoothing the tops of the cheesecakes.
Refrigerator — Obviously. You need at least 2 hours of chill time, preferably 4-6 hours or overnight.
How to Make It: Step-by-Step
Alright, let’s make this! I’m walking you through exactly how I do it, including the little tricks I’ve picked up.
Step 1: Prep Your Crust (5 minutes)
In a small bowl, mix the graham cracker crumbs, melted butter, and sugar. Stir until it looks like wet sand. If you’re using a food processor, you can pulse these together for a few seconds. This should take no time at all. If the mixture isn’t sticking together, add a little more melted butter.
Step 2: Press the Crust
Divide the crust mixture evenly among your ramekins or jars. Use the bottom of a measuring cup or a small glass to press it down firmly. You want it compact so it doesn’t fall apart when you eat it. Don’t worry about making it perfect; rustic is fine. If you’re using jars, you can press it into the bottom and up the sides slightly for a nicer look.
Step 3: Blend the Filling (2-3 minutes)
Add the cottage cheese, cream cheese, Greek yogurt, honey, vanilla, lemon juice, and lemon zest to your blender or food processor. Blend on high for 2-3 minutes. Stop and scrape down the sides as needed. You’re looking for a completely smooth, creamy mixture. There should be no visible curds left. If you see chunks, keep blending. This step is crucial for the texture.
Step 4: Taste and Adjust
Taste the mixture. Is it sweet enough? Add more honey if needed. Is it too tangy? Add a splash more honey or a pinch of salt to balance it. I usually add a tiny pinch of salt to enhance the flavors, but it’s optional. Once you’re happy with the taste, it’s ready to pour.
Step 5: Pour and Chill
Pour the filling over the crusts. Use a spatula to smooth the tops. They don’t need to be perfectly flat, but it helps with presentation. Cover the ramekins with plastic wrap or lids. Place them in the refrigerator for at least 2 hours, but ideally 4-6 hours or overnight. The longer they chill, the firmer they’ll set.
Step 6: Serve
When you’re ready to eat, top with fresh berries, a drizzle of honey, or a sprinkle of crushed nuts. Serve cold. They’re best eaten within 3-4 days of making them.
Total Time: About 15 minutes active, plus 2-6 hours chilling.
Expert Tips & Tricks
Here’s everything I’ve learned from making this dozens of times. These tips will save you from my mistakes.
Blend It Until It’s Silky
I can’t stress this enough. The texture of these cups depends entirely on how well you blend the cottage cheese. If you’re in a hurry, you can use a hand blender, but a high-speed blender or food processor is much better. If you see any white curds after blending, keep going. It might take 3-4 minutes, but it’s worth it. The filling should look like thick sour cream.
Use Full-Fat Ingredients
I know “high protein” often makes people think low-fat, but fat equals flavor and texture. Low-fat cottage cheese and non-fat yogurt can make the filling watery and bland. Stick with full-fat for the best results. You’re getting the protein anyway, so don’t sacrifice quality.
Don’t Rush the Chill Time
These need time to set. If you eat them right after blending, they’ll be more like a thick pudding than a cheesecake. The chill time allows the flavors to meld and the texture to firm up. If you’re impatient, at least wait 2 hours. But overnight is best.
Common Mistakes (and how to avoid them):
Mistake: The filling is grainy.
Fix: You didn’t blend it long enough. Keep blending until smooth. Also, make sure your cream cheese is fully softened before adding it.
Mistake: The crust is soggy.
Fix: Press the crust down firmly. If you’re worried about sogginess, you can bake the crust for 5-7 minutes at 350°F (175°C) before adding the filling. This isn’t traditional for no-bake cheesecake, but it helps if you’re making them ahead of time.
Mistake: It’s too sweet.
Fix: Taste before pouring. Add more lemon juice or a pinch of salt to balance the sweetness. Remember, the berries you add later will also add sweetness.
Mistake: The filling is too runny.
Fix: You might have used too much liquid (honey or lemon juice). Next time, reduce the liquid by 1 tablespoon. Or, add a teaspoon of cornstarch to the filling and blend it in. It will help thicken it up as it chills.
Variations & Substitutions
Once you’ve nailed the basic version, here’s how you can mix it up. I’ve tried all of these.
Berry Swirl
Mix ½ cup of your favorite jam or fruit preserves into the filling before pouring. Or, swirl a spoonful of jam on top after pouring for a pretty marbled effect. Strawberry and raspberry work best.
Chocolate Chip
Stir ¼ cup of mini chocolate chips into the filling after blending. It’s like a cheesecake cookie. If you want it more decadent, use dark chocolate chips.
Matcha Green Tea
Whisk 1 tablespoon of matcha powder into the filling before blending. It adds a beautiful green color and a subtle earthy flavor. Great with a honey drizzle.
Coconut Lime
Swap the honey for maple syrup, and replace the lemon juice with lime juice. Use coconut yogurt instead of Greek yogurt for a dairy-free option. Top with toasted coconut flakes.
Protein Boost
If you want even more protein, you can add 1 scoop of unflavored or vanilla protein powder. Start with half a scoop and blend well. You may need to add a splash of milk or water if it gets too thick.
Dietary Modifications:
Gluten-Free: Use gluten-free graham crackers or almond flour for the crust. The filling is naturally gluten-free.
Dairy-Free: Use coconut cream instead of cream cheese, coconut yogurt instead of Greek yogurt, and coconut oil instead of butter. It will taste more like a coconut dessert, but it’s still creamy and delicious.
Vegan: Use vegan cream cheese and vegan yogurt. The cottage cheese is the tricky part, but you can try blending firm tofu with lemon juice and nutritional yeast for a similar texture. It’s not exactly the same, but it works.
Serving & Storage
I usually serve these straight from the ramekin at the dinner table—they look rustic and stay cold. But here are other ways I’ve enjoyed them:
Side Dishes:
These are desserts, so they don’t really need sides. But if you’re serving a large meal, they pair well with grilled meats or roasted vegetables. I love serving them after brown sugar bourbon glazed ribs because the sweet, creamy dessert cuts through the savory, smoky flavors of the ribs perfectly.
Storage Instructions:
Refrigerator: Store in an airtight container for up to 5 days. They actually taste better on day 2, as the flavors have more time to meld.
Freezing: You can freeze these, but the texture might change slightly. The cottage cheese can become a bit crumbly after thawing. If you do freeze them, thaw them in the fridge overnight. They’re best eaten fresh, though.
Make-Ahead Strategy: These are perfect for make-ahead. I often make them the night before a party so I don’t have to worry about dessert on the day of. They hold up well in the fridge.
Pro tip: If you’re serving them at a gathering, top them right before serving. Pre-topped cheesecakes can get soggy or lose their visual appeal. Keep the toppings separate and let guests add their own.
Nutrition Information
I’m not a nutritionist, but here’s the breakdown if you’re tracking. These numbers are approximate and depend on the brands you use.
| Per Serving (1 cup) | Amount |
|---|---|
| Calories | 280 |
| Protein | 18g |
| Carbs | 24g |
| Fiber | 1g |
| Sugar | 18g |
| Fat | 14g |
| Sodium | 180mg |
What’s Good:
High protein content from the cottage cheese and Greek yogurt. Low in added sugar compared to traditional cheesecake. Good source of calcium.
What to Know:
Contains dairy and gluten (unless modified). Moderate in calories, but the high protein helps keep you full.
My Take:
Look, this is still a dessert. It has sugar and fat. But it’s way better than a protein bar, costs less, and tastes amazing. When I want to make it lighter, I use less honey and more berries. But usually? I just enjoy it as a treat. Balance is key.
Final Thoughts
So that’s my go-to cottage cheese cheesecake cups! I’ve probably talked your ear off at this point, but when you make a recipe this often, you have a lot to say about it.
This has saved my late-night cravings more times than I can count. It’s my answer to “what’s for dessert?” when I’m tired, don’t want to bake, and still want something that tastes really good. My kids are happy, my husband’s happy, and I’m happy because I’m not stressed about cooking.
Make it yours! Try different toppings, swap in your favorite fruits, adjust the sweetness to your liking. The best recipes are the ones you adapt to your family’s tastes. And if you’re looking for more easy, high-protein meals, check out my game-day buffalo chicken sliders for a savory option that’s just as quick and crowd-pleasing.
If you make this, drop a comment and let me know what you think! I love hearing how recipes turn out in your kitchen. And if something doesn’t work, tell me that too—I’m here to help troubleshoot.
Happy cooking! And I hope your kitchen smells half as good as mine does right now (it smells like lemons and honey).
Frequently Asked Questions
Can I use low-fat cottage cheese?
You can, but the texture won’t be as creamy. Low-fat cottage cheese has more water content and less fat, which can make the filling runny and less rich. If you must use it, blend it longer and maybe add a bit more cream cheese to compensate. But for the best results, stick with full-fat.
Why did my filling separate or look grainy?
This usually means the cottage cheese wasn’t blended long enough. Cottage cheese curds are stubborn. Keep blending until you can’t see any white specks. Also, make sure your cream cheese is fully softened. If it’s cold, it won’t incorporate smoothly. If the filling is still grainy after blending, you can strain it through a fine-mesh sieve, though that’s rarely necessary with a good blender.
Can I use a different sweetener?
Absolutely. I’ve used maple syrup, agave, and even monk fruit sweetener. If you use a sugar-free sweetener, start with less because they’re often much sweeter than honey. Taste as you go. Just avoid granular sweeteners like erythritol if you can, as they can sometimes leave a gritty texture. Liquid sweeteners work best.
How long do these last in the fridge?
They last up to 5 days in an airtight container. However, they’re best eaten within 2-3 days. After that, the crust might start to get a bit soggy, and the flavor might lose some of its brightness. They don’t freeze well, so I recommend making small batches.
Can I make these in a regular blender?
Yes, but you’ll need to blend longer. A high-speed blender like a Vitamix or Blendtec works best because it has more power. If you’re using a standard blender, you might need to blend for 3-4 minutes and stop to scrape down the sides more often. If you don’t have a blender, you can use a food processor, which works great.
Do I have to use graham crackers for the crust?
No! You can use any cookie crumbs. Oreo crumbs (cream filling removed) for a chocolate version, digestive biscuits for a British twist, or almond flour for a low-carb option. The crust is just a vehicle for the filling, so feel free to experiment.
Pin This Recipe!
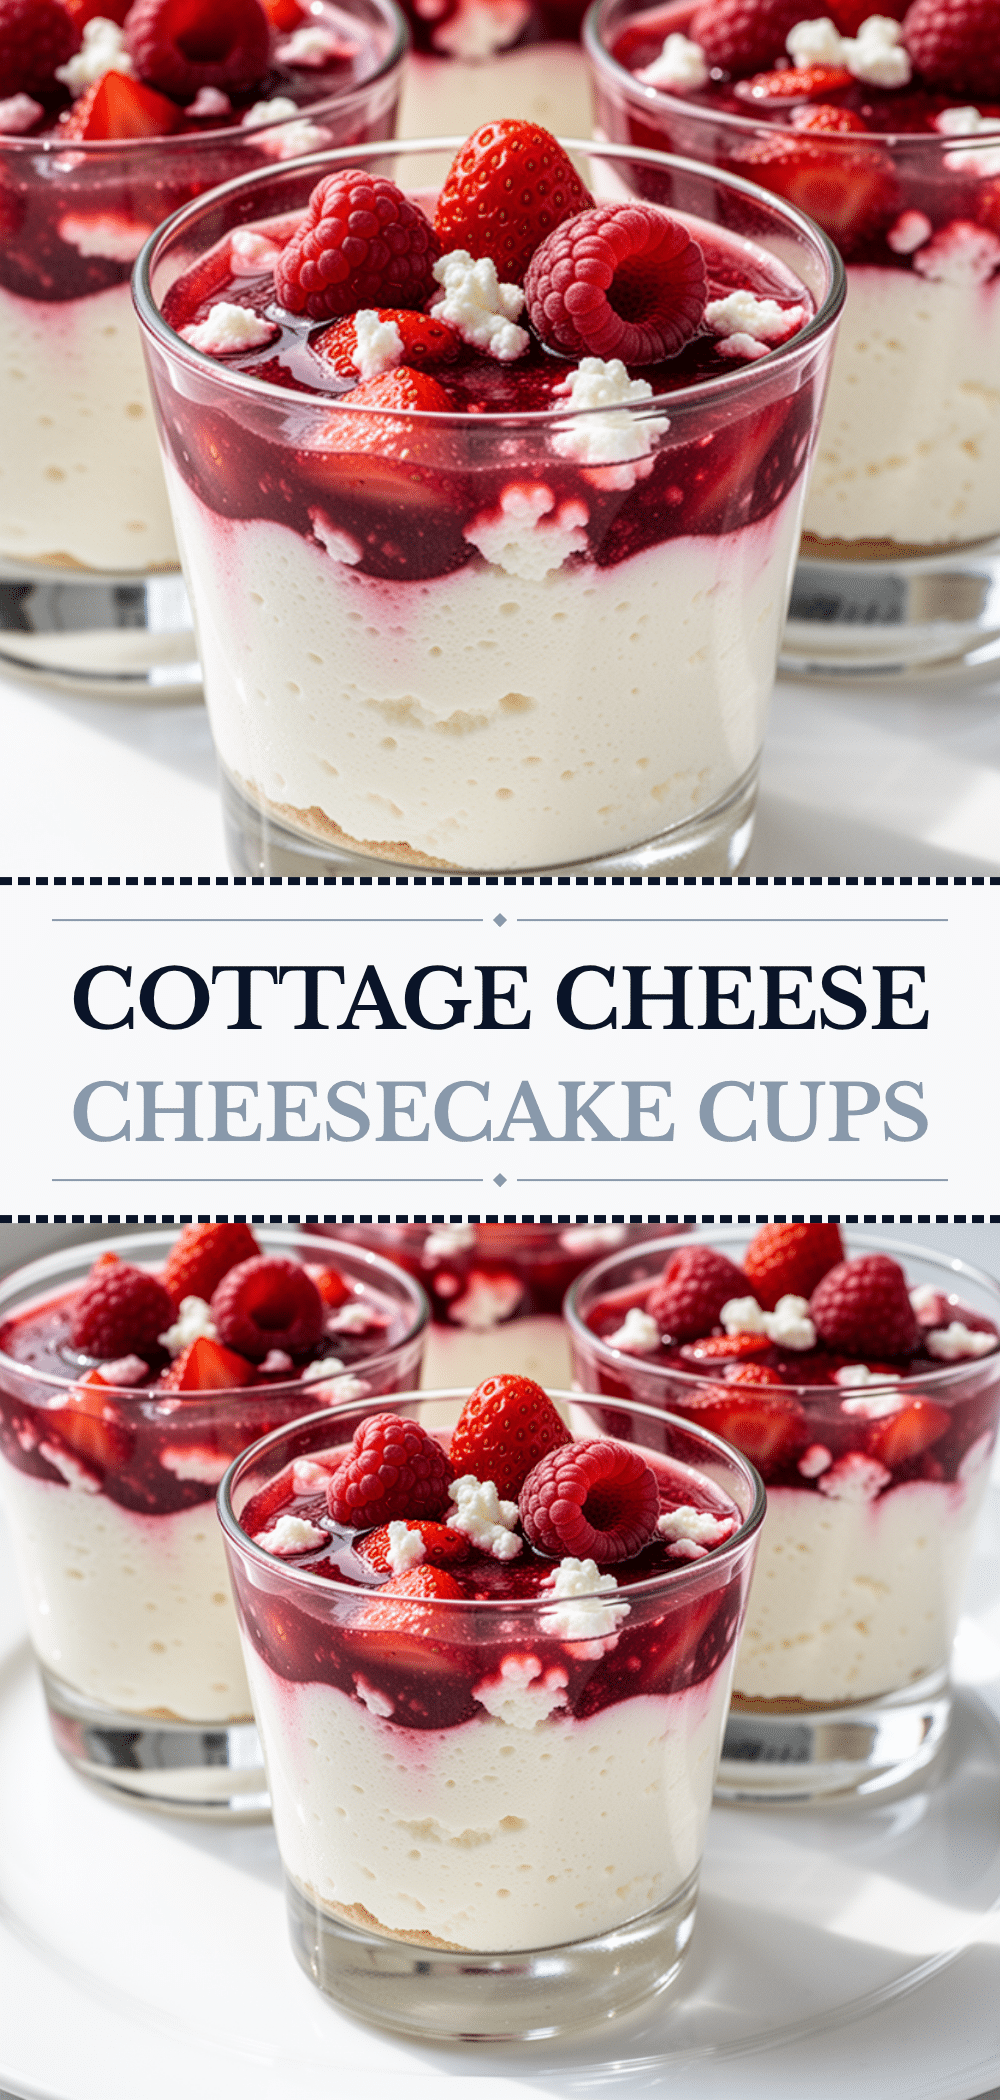
Cottage Cheese Cheesecake Cups: Best High Protein Dessert
- Total Time: 2 hours 15 minutes
- Yield: 4 servings 1x
Description
Creamy, high-protein no-bake cheesecake cups made with cottage cheese, Greek yogurt, and a graham cracker crust. These individual desserts are rich, satisfying, and easy to make in under 15 minutes.
Ingredients
- 2 cups (450g) full-fat cottage cheese (small curds)
- 4 oz (115g) softened cream cheese
- ½ cup (120g) plain full-fat Greek yogurt
- 3–4 tablespoons honey or maple syrup
- 1 teaspoon vanilla extract
- 1 tablespoon fresh lemon juice
- Zest of 1 lemon
- 1 cup (100g) graham cracker crumbs
- 3 tablespoons melted butter
- 1 tablespoon sugar
Instructions
- In a small bowl, mix graham cracker crumbs, melted butter, and sugar until the mixture resembles wet sand.
- Divide the crust mixture evenly among 4-6 ramekins or small jars. Press down firmly using the bottom of a measuring cup to compact the crust.
- Add cottage cheese, cream cheese, Greek yogurt, honey, vanilla extract, lemon juice, and lemon zest to a high-speed blender or food processor.
- Blend on high for 2-3 minutes, stopping to scrape down the sides as needed, until the mixture is completely smooth and silky with no visible curds.
- Taste the filling and adjust sweetness or tanginess if necessary (optional pinch of salt can be added).
- Pour the filling over the prepared crusts and smooth the tops with a spatula.
- Cover the ramekins and refrigerate for at least 2 hours, preferably 4-6 hours or overnight, until set.
- Serve chilled with optional toppings like fresh berries, chocolate chips, or whipped cream.
Notes
Use full-fat cottage cheese for the best creamy texture; low-fat versions can be watery. Ensure cream cheese is softened before blending. The filling must be blended until completely smooth to avoid a grainy texture. These store well in the fridge for up to 5 days. For a gluten-free version, use gluten-free graham crackers or almond flour. For dairy-free, substitute with coconut-based alternatives.
- Prep Time: 15 minutes
- Cook Time: 0 minutes
- Category: Dessert
- Cuisine: American
Nutrition
- Serving Size: 1 cup
- Calories: 280
- Sugar: 18
- Sodium: 180
- Fat: 14
- Saturated Fat: 8
- Carbohydrates: 24
- Fiber: 1
- Protein: 18
Keywords: cottage cheese cheesecake, high protein dessert, no bake cheesecake, healthy dessert, meal prep dessert, gluten free dessert option


