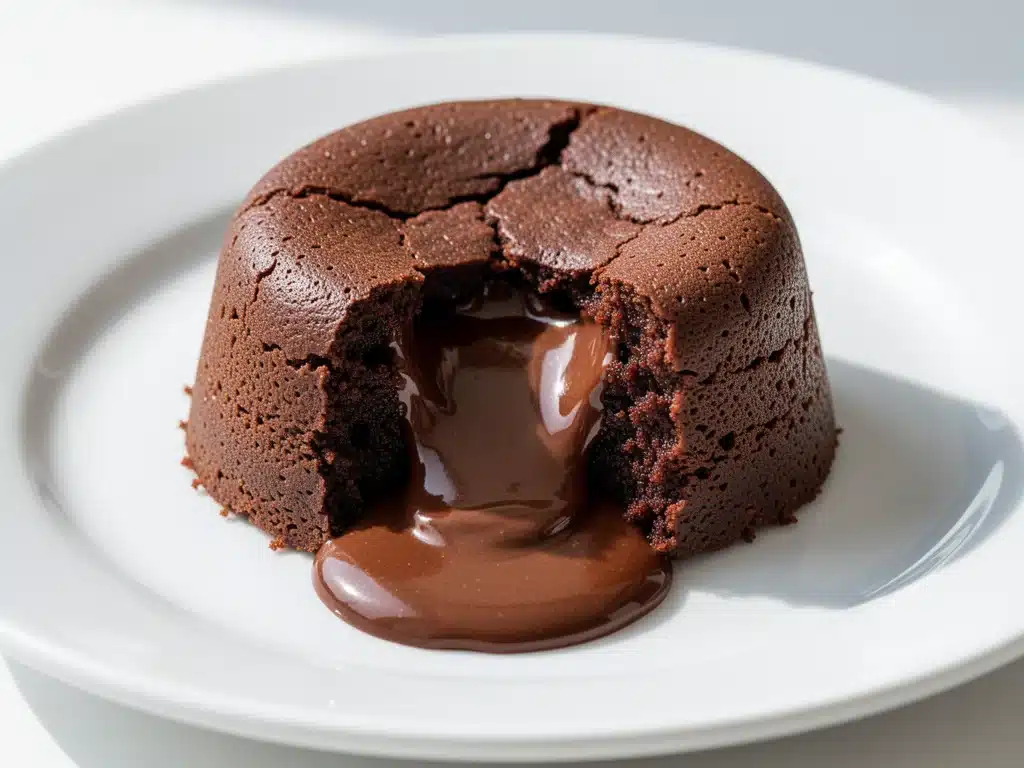
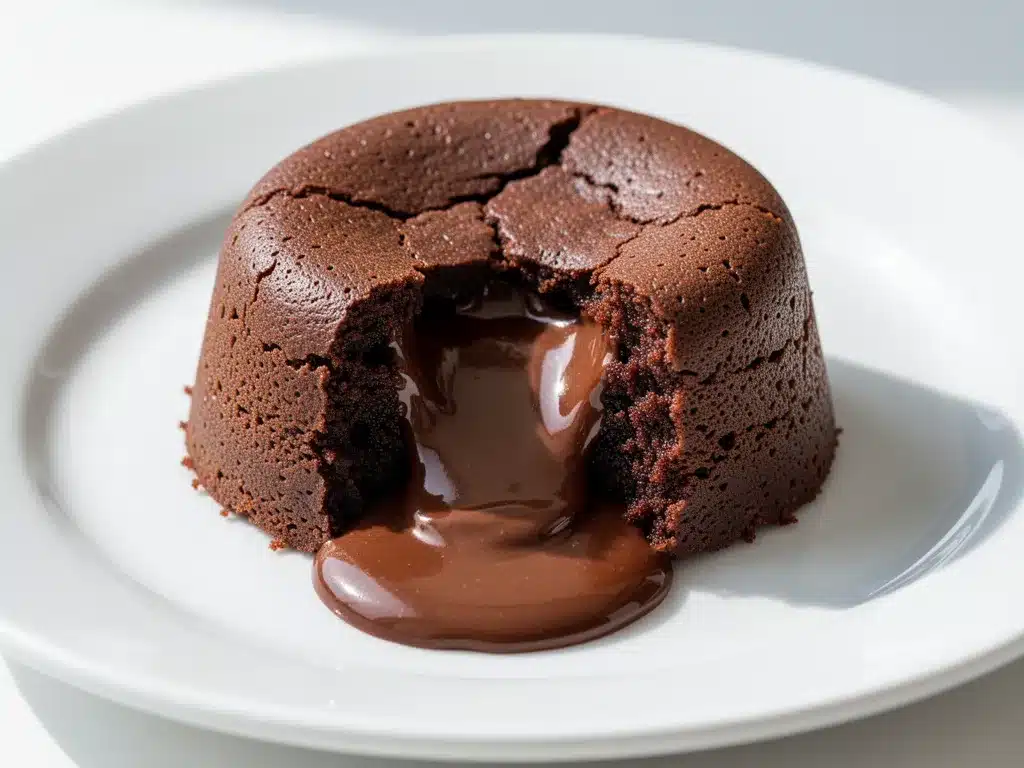
Let’s be honest for a second. There is a specific kind of magic that happens when chocolate melts. It’s not just about the sugar rush or the rich flavor (though those are huge parts of it). It’s about that moment you cut into a warm cake and see the liquid gold spill out onto the plate. It’s visual ASMR for food lovers. I’ve spent years trying to perfect this dessert, mostly because I have a sweet tooth that refuses to behave and a husband who loves to see me struggle in the kitchen.
My first attempt at chocolate lava cakes was a disaster. I overbaked them. Big mistake. When I cut into them, I didn’t get that beautiful molten center. I got a dense, dry brownie. It was sad. But after about six or seven tries, I finally cracked the code. Now, I can whip up these chocolate lava cakes in about 15 minutes from start to finish. That’s right. Fifteen minutes. You don’t need to be a professional pastry chef. You don’t need fancy equipment. You just need chocolate, butter, eggs, sugar, and a little bit of patience.
These cakes are the ultimate weeknight dessert hack. They look incredibly fancy and restaurant-quality, but they’re surprisingly simple. I’ve made them for last-minute dinner guests, for my kids’ birthdays, and just because I wanted something sweet at 9 PM on a Tuesday. They pair beautifully with a simple scoop of vanilla ice cream or a dollop of whipped cream. If you’re looking for other easy desserts, you might also enjoy trying my grilled peach cobbler when the weather is warmer, but in the winter? This chocolate lava cake is my absolute go-to.
Why You’ll Love This Recipe
There are a lot of reasons I keep coming back to this chocolate lava cake recipe, but they all boil down to one thing: it works every single time. Here’s why it’s become a staple in my kitchen:
It’s Actually Fast — I know, “fast dessert” sounds like a myth. But these take about 12-14 minutes in the oven. The prep time is minimal. I’m talking about the time it takes to melt chocolate and whisk eggs. It’s perfect for when you’re craving something sweet and don’t want to wait an hour.
Restaurant Quality at Home — These look like something you’d order at a high-end bistro. The contrast between the warm, fluffy cake exterior and the gooey, molten center is unmatched. My friends always ask how I made them, and I just smile and say, “It’s just chocolate.”
Minimal Cleanup — You’re mostly using one bowl for the batter and ramekins for baking. If you use non-stick ramekins (which I highly recommend), cleanup is a breeze. I love desserts that don’t leave me with a sink full of dishes.
Customizable — You can add different flavors to the center. I’ve stuffed mine with peanut butter cups, raspberry jam, and even a piece of dark chocolate for extra intensity. It’s a blank canvas for your imagination.
Feels Indulgent — Let’s face it. Life is stressful. Sometimes you just need a little indulgence. These cakes feel like a treat, but they’re simple enough to make on a random Wednesday night. They’re the dessert equivalent of a warm hug.
So basically, if you want a dessert that’s easy, impressive, and delicious, this is it. It’s my secret weapon for last-minute entertaining and my personal comfort food.
Ingredients You’ll Need
Here’s the best part: you probably have most of these ingredients already. Chocolate lava cakes don’t require a trip to the specialty store. Here’s what you need and why each item matters.
For the Batter
Dark Chocolate (6 ounces / 170g) — Use high-quality dark chocolate. I prefer 60-70% cocoa. It gives that rich, deep chocolate flavor without being too sweet. Semi-sweet chocolate works too, but dark chocolate has more character. Avoid chocolate chips; they have stabilizers that prevent them from melting smoothly. Buy a bar and chop it up.
Unsalted Butter (½ cup / 113g) — This adds richness and helps create that gooey texture. Use real butter, not margarine. It makes a huge difference in flavor. I use salted butter if I’m in a rush, but I reduce the added salt in the recipe slightly.
Eggs (2 large) — Room temperature eggs mix better. If you’re in a hurry, you can warm them in a bowl of warm water for a few minutes. Don’t skip this step; it helps the batter come together more smoothly.
Egg Yolks (2 large) — The yolks add richness and help create that custard-like center. They’re essential for the texture. Don’t use just whites; you need the fat from the yolks.
Granulated Sugar (¼ cup / 50g) — Just enough to sweeten the batter without overpowering the chocolate. You can use brown sugar for a deeper flavor, but white sugar keeps the texture lighter.
All-Purpose Flour (2 tablespoons / 15g) — A small amount of flour helps structure the cake. Don’t add too much, or you’ll end up with a dense cake instead of a molten center. Sift it if you can to avoid lumps.
Cocoa Powder (1 teaspoon / 2g) — Optional, but it deepens the chocolate flavor. I use unsweetened cocoa powder. If you don’t have it, you can skip it, but I recommend adding it.
Salt (¼ teaspoon) — Salt enhances the chocolate flavor. Don’t skip it. It balances the sweetness.
For the Ramekins
Butter (for greasing) — You need to grease the ramekins thoroughly. I use softened butter and a pastry brush to coat every nook and cranny.
Cocoa Powder (for dusting) — After buttering, dust the ramekins with cocoa powder. This prevents sticking and adds a nice chocolatey crust to the outside. You can also use flour, but cocoa powder looks better.
For Serving
Vanilla Ice Cream — The classic pairing. The cold ice cream contrasts with the hot cake. It’s a texture dream.
Whipped Cream — If you prefer something lighter than ice cream. I make my own, but store-bought works fine.
Powdered Sugar — For a pretty dusting on top. It makes the dessert look fancy.
Optional Add-ins — Peanut butter, raspberry jam, or extra chocolate chunks. I’ve stuffed mine with a square of dark chocolate for an extra gooey center. It’s my favorite trick.
Equipment Needed
You don’t need fancy equipment for this. Here’s what I actually use:
Ramekins (6-ounce size) — I use ceramic ramekins. They heat evenly and look nice on the table. Make sure they’re 6 ounces; larger ramekins will change the cooking time. If you don’t have ramekins, you can use a muffin tin, but the results won’t be as good.
Microwave-safe bowl — For melting the chocolate and butter. I use a glass bowl because it’s easy to clean and doesn’t retain heat.
Mixing bowl — For whisking the eggs and sugar. A medium-sized bowl works best.
Whisk — For mixing the batter. A balloon whisk works well because it incorporates air.
Pastry brush — For greasing the ramekins. It helps you get into all the corners.
Spatula — For folding in the flour. A silicone spatula is best because it scrapes the bowl clean.
Oven — Preheated to 425°F (220°C). Make sure your oven is at the right temperature. If it’s too low, the center won’t melt. If it’s too high, the outside will burn.
Timing device — A timer is crucial. These cakes cook fast, and it’s easy to overbake them. I use my phone’s timer.
How to Make It: Step-by-Step
Alright, let’s make this! I’m walking you through exactly how I do it, including the little tricks I’ve picked up.
Step 1: Prep Your Ramekins (2 minutes)
Preheat your oven to 425°F (220°C). Grease six 6-ounce ramekins with butter. Use a pastry brush to coat the inside thoroughly. Then, dust each ramekin with cocoa powder, tapping out the excess. This creates a non-stick surface and adds flavor. If you skip this, the cakes will stick, and you’ll be scraping for hours.
Step 2: Melt Chocolate and Butter (2 minutes)
Chop your dark chocolate into small pieces. Place it in a microwave-safe bowl with the butter. Microwave in 30-second intervals, stirring between each, until smooth. Don’t overheat it; you don’t want to burn the chocolate. If you don’t have a microwave, you can melt them in a double boiler over low heat. Stir until smooth and set aside to cool slightly.
Step 3: Whisk Eggs and Sugar (2 minutes)
In a mixing bowl, whisk the whole eggs and egg yolks with the granulated sugar. Whisk vigorously for about 2-3 minutes until the mixture is pale and slightly thickened. This step is important because it incorporates air, which helps the cakes rise. Don’t skip it.
Step 4: Combine Wet Ingredients (1 minute)
Pour the melted chocolate and butter mixture into the egg mixture. Whisk gently until combined. Be careful not to overmix; you don’t want to deflate the air you just incorporated.
Step 5: Add Dry Ingredients (1 minute)
Sift the flour, cocoa powder, and salt into the bowl. Gently fold them in with a spatula until just combined. The batter should be thick and glossy. If it’s too thin, check your measurements. If it’s too thick, add a splash of milk.
Step 6: Fill Ramekins (2 minutes)
Distribute the batter evenly among the prepared ramekins. Fill them about ¾ full. If you’re adding a filling like peanut butter or chocolate, place it in the center of the batter now. Cover the filling with a little more batter.
Step 7: Bake (12-14 minutes)
Place the ramekins on a baking sheet and put them in the preheated oven. Bake for 12-14 minutes. The edges should be set, but the center should still be soft. Do not overbake! If you bake them for 15 minutes or more, the center will be cooked, and you won’t get that molten flow. Set your timer for 12 minutes and check them.
Step 8: Cool and Serve (2 minutes)
Let the cakes cool in the ramekins for 1 minute. This helps them set slightly. Then, run a knife around the edges to loosen them. Place a plate over the ramekin and flip it over. Tap the bottom gently, and the cake should slide out. If it doesn’t, give it another tap. Serve immediately with vanilla ice cream or whipped cream.
Expert Tips & Tricks
Here’s everything I’ve learned from making this dozens of times. These tips will save you from my mistakes.
Don’t Overbake — This is the #1 mistake. The center should look slightly undercooked. It will continue to cook from the residual heat after you remove it from the oven. If you want a runny center, take them out at 12 minutes. For a slightly firmer center, go for 14 minutes.
Use High-Quality Chocolate — The chocolate is the star of the show. Use good-quality dark chocolate. It tastes better and melts more smoothly. Avoid chocolate chips; they’re designed to hold their shape.
Room Temperature Eggs — Room temperature eggs mix better and create a smoother batter. If you forget, warm them in a bowl of warm water for 5 minutes.
Grease Thoroughly — Make sure you grease the ramekins well. Even a small dry spot can cause the cake to stick. I use butter and cocoa powder, but you can also use cooking spray.
Make Ahead — You can prepare the batter ahead of time. Fill the ramekins, cover them with plastic wrap, and refrigerate for up to 24 hours. When you’re ready to serve, let them sit at room temperature for 10 minutes before baking. Add 1-2 minutes to the baking time.
Common Mistakes (and how to avoid them):
Mistake: Cakes stick to the ramekins — Fix: Make sure you grease and dust them well. If they still stick, let them cool for a minute longer before flipping.
Mistake: Center is not molten — Fix: You overbaked them. Next time, reduce the baking time by 1-2 minutes. Also, check your oven temperature with a thermometer; it might be running hot.
Mistake: Batter is too thin — Fix: You might have used too many eggs or melted the chocolate too much. Measure carefully. The batter should be thick and glossy.
Pro Tricks I’ve Learned:
For Extra Gooeyness — Add a square of dark chocolate or a teaspoon of peanut butter to the center before baking. It creates an even molten center.
For Better Texture — Whisk the eggs and sugar until pale. This incorporates air and helps the cakes rise.
For Presentation — Dust with powdered sugar before serving. It makes the dessert look elegant.
Variations & Substitutions
Once you’ve nailed the basic version, here’s how you can mix it up. I’ve tried all of these.
White Chocolate Lava Cakes — Use white chocolate instead of dark chocolate. Add a teaspoon of vanilla extract for extra flavor. They’re sweeter and milder.
Red Velvet Lava Cakes — Add 1 tablespoon of cocoa powder and 1 teaspoon of red food coloring to the batter. Top with cream cheese frosting.
Mocha Lava Cakes — Add 1 teaspoon of instant espresso powder to the batter. It enhances the chocolate flavor without tasting like coffee.
Gluten-Free — Use gluten-free flour instead of all-purpose flour. The texture might be slightly different, but it still works. I’ve used almond flour, but it absorbs more liquid, so reduce the amount slightly.
Dairy-Free — Use dairy-free chocolate and butter. The texture might be slightly denser, but it’s still delicious.
Vegan — Replace eggs with flax eggs (1 tablespoon ground flaxseed mixed with 3 tablespoons water per egg). Use dairy-free chocolate and butter. The result is less gooey, but still tasty.
Serving & Storage
How to Serve: Serve immediately after flipping. The contrast between the hot cake and cold ice cream is essential. I usually serve them with a dusting of powdered sugar and a sprig of mint for color.
Side Dishes: These are rich, so they don’t need much else. A simple green salad can balance the meal if you’re serving them after dinner. Or just enjoy them as is.
Storage: These are best served fresh. They don’t store well because the texture changes. If you have leftovers, store them in an airtight container in the fridge for up to 2 days. Reheat in the microwave for 30 seconds before serving.
Freezing: You can freeze the unbaked batter in the ramekins. Wrap them tightly in plastic wrap and foil. When you’re ready to eat, let them thaw in the fridge overnight, then bake as usual. Add 2-3 minutes to the baking time.
Nutrition Information
I’m not a nutritionist, but here’s the breakdown if you’re tracking. Keep in mind that this is a rich dessert, so portion control is key.
Per Serving (based on 6 servings):
- Calories: 320
- Protein: 6g
- Carbs: 35g
- Fiber: 2g
- Sugar: 25g
- Fat: 18g
- Saturated Fat: 10g
- Cholesterol: 120mg
- Sodium: 150mg
- Calcium: 50mg
What’s Good:
– Decent protein from eggs
– Antioxidants from dark chocolate
What to Know:
– Higher in calories and sugar
– Contains dairy and gluten
– Moderate sodium
My Take: This is a treat, not a health food. Enjoy it in moderation. If you want to make it lighter, use less sugar and add more fruit on the side. But usually? I just enjoy a small slice and savor every bite.
Final Thoughts
So that’s my chocolate lava cake recipe! I’ve probably talked your ear off at this point, but when you make a recipe this often, you have a lot to say about it. These cakes have saved my dessert game more times than I can count. They’re my answer to “what’s for dessert” when I’m tired, don’t want to bake a whole cake, and still want something that tastes really good. My kids are happy, my husband’s happy, and I’m happy because I’m not stressed about cooking.
Make it yours! Try different fillings, swap in your favorite chocolate, adjust the baking time to your preference. The best recipes are the ones you adapt to your family’s tastes.
If you make this, drop a comment and let me know what you think! I love hearing how recipes turn out in your kitchen. And if something doesn’t work, tell me that too—I’m here to help troubleshoot.
Happy cooking! And I hope your kitchen smells half as good as mine does right now.
Frequently Asked Questions
Q: Can I make these ahead of time?
A: Yes! You can prepare the batter and fill the ramekins up to 24 hours in advance. Cover them with plastic wrap and refrigerate. When you’re ready to bake, let them sit at room temperature for 10 minutes, then bake as usual. Add 1-2 minutes to the baking time.
Q: Why did my lava cakes turn out dry?
A: You likely overbaked them. These cakes cook quickly, and even a minute can make a difference. Check them at 12 minutes. The edges should be set, but the center should still be jiggly.
Q: Can I use milk chocolate instead of dark chocolate?
A: You can, but the cakes will be sweeter and less rich. Dark chocolate provides a better balance of flavor. If you use milk chocolate, reduce the sugar in the recipe slightly.
Q: How do I prevent sticking?
A: Grease the ramekins thoroughly with butter and dust with cocoa powder. Make sure you get into all the corners. If you’re using non-stick ramekins, you might not need the cocoa powder, but it still helps.
Q: Can I freeze the baked cakes?
A: It’s not recommended. The texture will suffer, and the center won’t be molten. It’s best to freeze the unbaked batter and bake fresh.
Q: Can I use a muffin tin instead of ramekins?
A: You can, but the results won’t be as good. Muffin tins are larger, so the cakes will take longer to bake, and you won’t get the same molten center. If you must use a muffin tin, reduce the baking time and check frequently.
Q: What’s the best way to reheat leftovers?
A: Microwave for 30 seconds. This warms the cake without overcooking it. Avoid reheating in the oven, as it can dry out the cake.
Pin This Recipe!
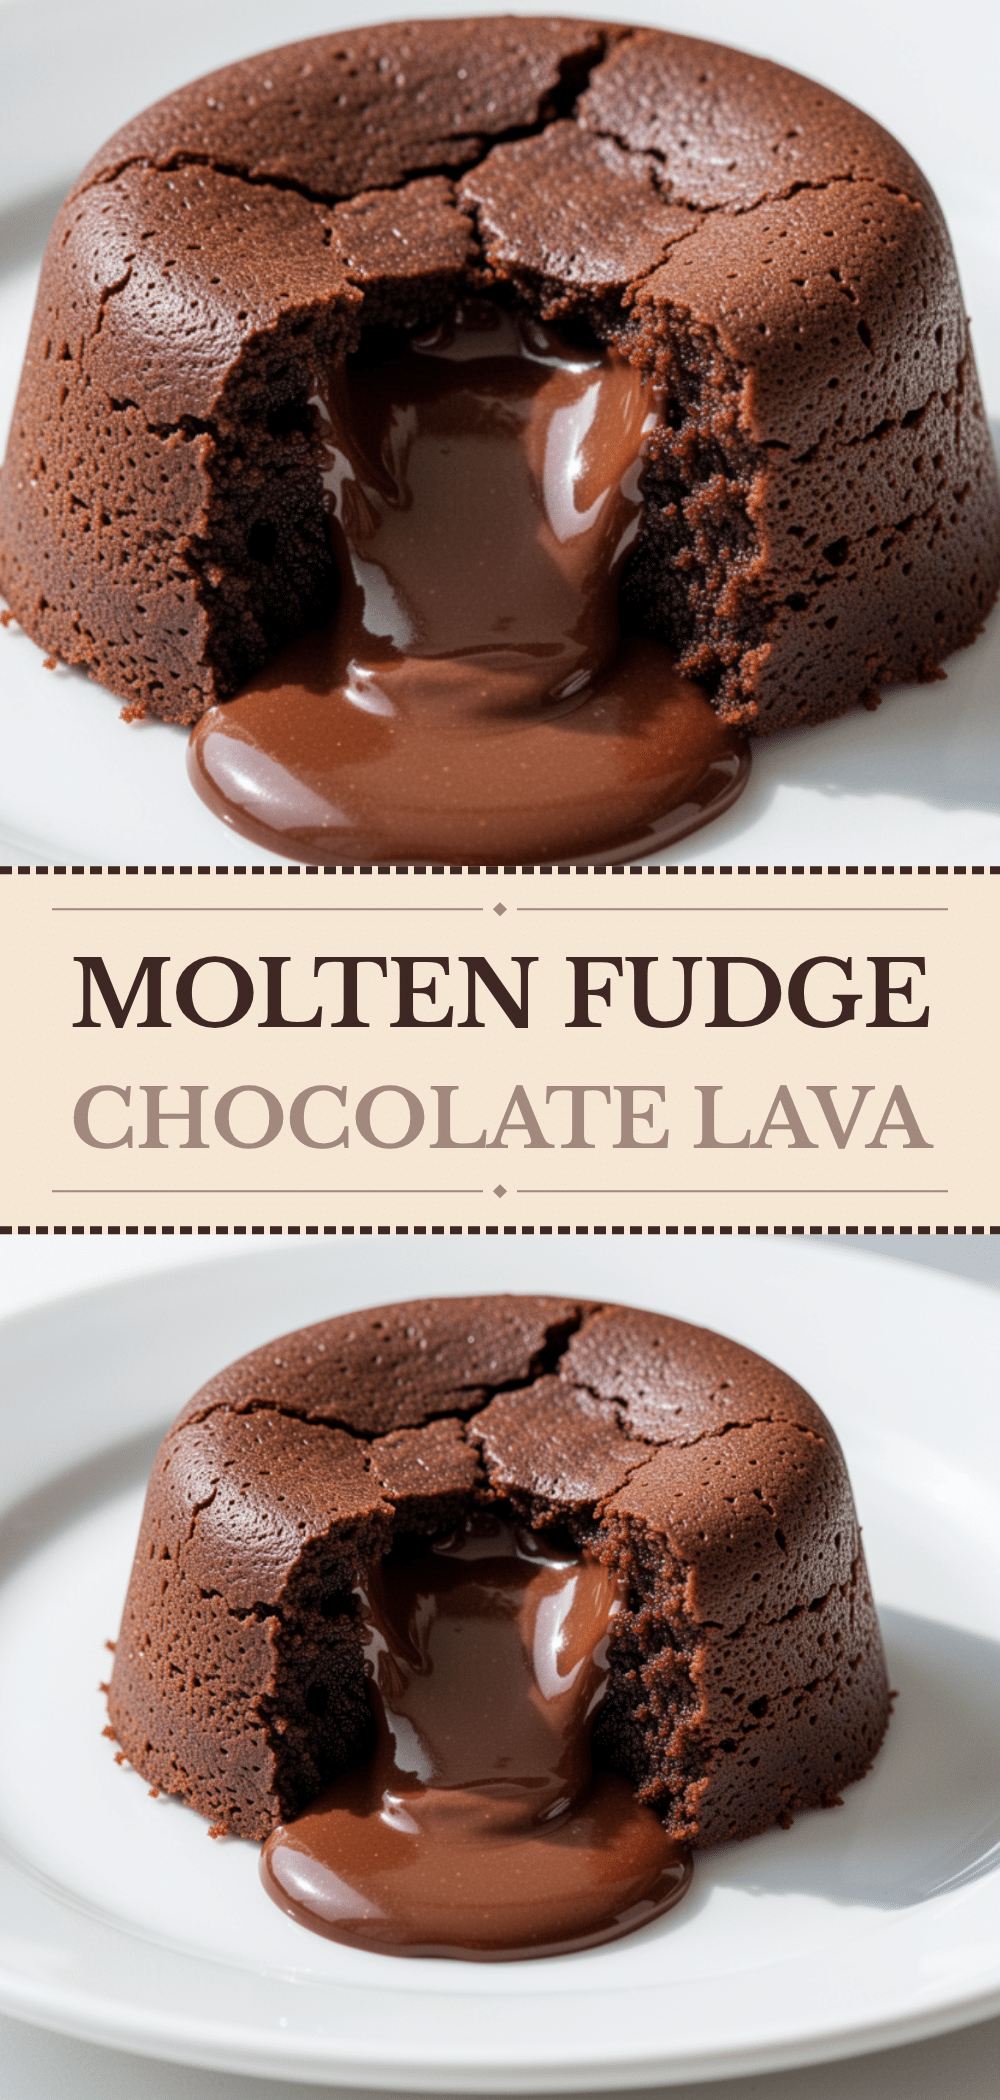
Chocolate Lava Cakes: 15-Min Easy Dessert
- Total Time: 15 minutes
- Yield: 6 servings 1x
Description
Rich, warm chocolate cakes with a gooey molten center that can be prepared in just 15 minutes. This easy dessert looks restaurant-quality but requires minimal effort and equipment.
Ingredients
- 6 ounces (170g) high-quality dark chocolate (60-70% cocoa), chopped
- ½ cup (113g) unsalted butter
- 2 large eggs, room temperature
- 2 large egg yolks, room temperature
- ¼ cup (50g) granulated sugar
- 2 tablespoons (15g) all-purpose flour
- 1 teaspoon (2g) unsweetened cocoa powder
- ¼ teaspoon salt
- Butter and cocoa powder for greasing and dusting ramekins
- Vanilla ice cream or whipped cream for serving
- Powdered sugar for dusting
Instructions
- Preheat oven to 425°F (220°C). Grease six 6-ounce ramekins thoroughly with butter using a pastry brush, then dust with cocoa powder, tapping out excess.
- Chop dark chocolate into small pieces. Place in a microwave-safe bowl with butter. Microwave in 30-second intervals, stirring between each, until smooth. Set aside to cool slightly.
- In a mixing bowl, whisk whole eggs and egg yolks with granulated sugar vigorously for 2-3 minutes until pale and slightly thickened.
- Pour the melted chocolate and butter mixture into the egg mixture. Whisk gently until combined.
- Sift flour, cocoa powder, and salt into the bowl. Gently fold in with a spatula until just combined. The batter should be thick and glossy.
- Distribute batter evenly among prepared ramekins, filling about ¾ full. If adding fillings like peanut butter or extra chocolate, place in center and cover with batter.
- Place ramekins on a baking sheet and bake for 12-14 minutes. Edges should be set but center soft. Do not overbake.
- Let cakes cool in ramekins for 1 minute. Run a knife around edges to loosen. Place a plate over the ramekin and flip to release. Serve immediately.
Notes
Do not overbake; the center should remain soft and molten. Room temperature eggs mix better. You can prepare the batter ahead and refrigerate for up to 24 hours, adding 1-2 minutes to baking time. Use high-quality dark chocolate for best flavor and texture. Avoid chocolate chips as they contain stabilizers that prevent smooth melting.
- Prep Time: 10 minutes
- Cook Time: 12-14 minutes
- Category: Dessert
- Cuisine: American
Nutrition
- Serving Size: 1 cake
- Calories: 320
- Sugar: 25
- Sodium: 150
- Fat: 18
- Saturated Fat: 10
- Carbohydrates: 35
- Fiber: 2
- Protein: 6
Keywords: chocolate lava cake, molten chocolate cake, easy dessert, 15 minute dessert, rich chocolate dessert, weeknight dessert, homemade lava cake


