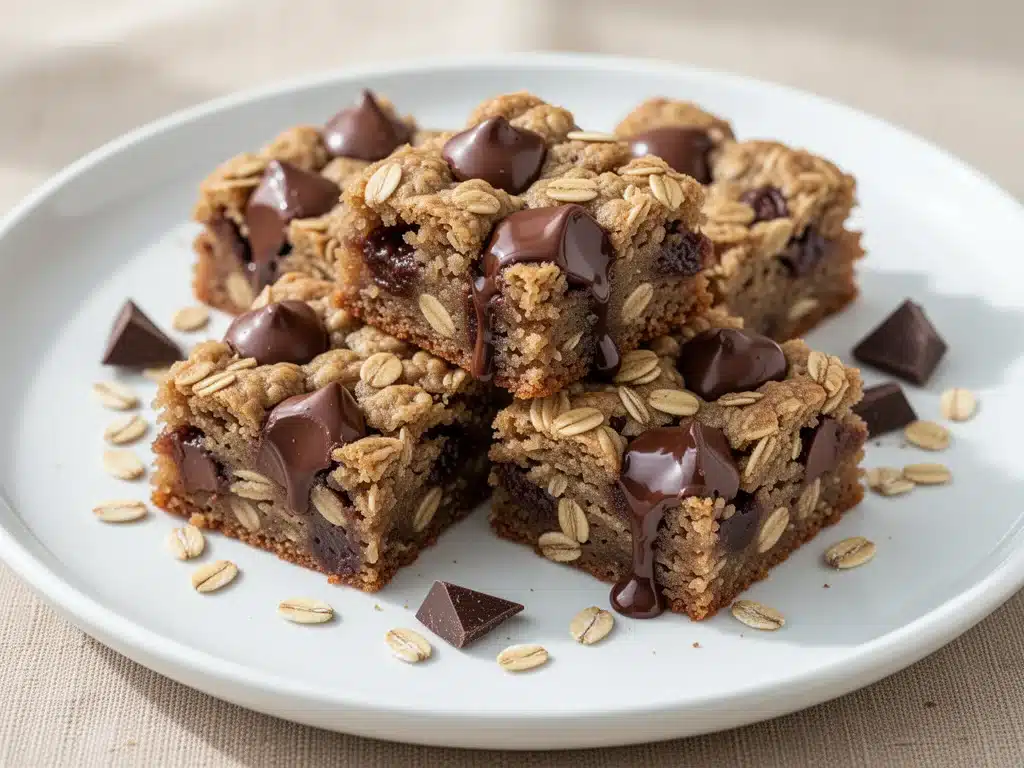
I have a confession to make. For years, I was the person who bought those rectangular boxes of bar mixes from the grocery store. You know the ones. The ones that promise “homemade taste” but deliver something that tastes like cardboard and artificial vanilla. I’d buy them because I wanted dessert, but I didn’t have the patience for baking a whole cake or the discipline to make cookies that require chilling.
Then, about three years ago, I was stuck at a friend’s house during a sudden rainstorm. We were all huddled in the kitchen, bored and hungry, when she pulled a pan out of the oven. It wasn’t fancy. It didn’t have colorful frosting or intricate piping. It was just these dark, glistening squares that smelled intensely of chocolate and toasted oats. I took one bite, and my brain just stopped. It was chewy—like, seriously chewy—and the chocolate was rich enough to make me close my eyes. I asked for the recipe, and she laughed. She said it was the easiest thing she ever made.
That was the moment I realized I’d been overcomplicating dessert. I started testing this chewy oatmeal dessert bars recipe myself. I messed up the first time by using instant oats (big mistake—they turn to mush). I messed up the second time by underbaking them (they were more like fudge than bars). But by the fifth attempt, I had it dialed in. Now, this is my go-to when I need a sweet fix that’s ready in 30 minutes, uses ingredients I already have, and actually tastes like it was made with love.
These aren’t just any oatmeal bars. They’re dense, fudgy, and packed with chocolate chips. They’re the perfect balance of breakfast food comfort and dessert indulgence. If you’ve ever wanted a treat that’s easier than grilled peach cobbler but just as satisfying, you need to try these. They’re the reason I haven’t bought a box mix in three years.
Why You’ll Love This Recipe
There are about ten reasons I keep coming back to this recipe, but here are the ones that really matter. This isn’t just “easy”; it’s intelligently simple.
Only Five Ingredients — Seriously. Butter, brown sugar, oats, chocolate chips, and vanilla. That’s it. No eggs, no flour, no baking powder, no vanilla extract (though I add it if I have it). It’s so simple that I don’t even need to look at the recipe anymore. I’ve made this blindfolded.
One Bowl, One Pan — The cleanup is practically non-existent. You melt everything in the microwave or on the stove in a single bowl, mix it in the same bowl, press it into the pan, and bake. No standing over a mixer, no washing three separate bowls. This matters when you’re tired after work.
Texture Perfection — Most oatmeal bars are cakey or dry. These are chewy. Like, caramel-chewy. The brown sugar and butter create a fudgy base that holds the oats together without making them tough. It’s the kind of texture that makes you eat two squares when you said you’d only have one.
Customizable — Want to add nuts? Go for it. Peanut butter chips? Yes. White chocolate? Sure. This recipe is a blank canvas. I’ve made these with raisins, with cranberries, with M&Ms. They all work because the base is so solid.
Great for Gifting — Because they travel well and don’t crumble, I’ve boxed these up for neighbors, teachers, and coworkers. They look homemade and thoughtful, even though they took me 5 minutes of active effort.
This is my answer to “I want something sweet but I don’t want to spend an hour baking.” It’s reliable, delicious, and it always makes people ask, “How did you make this?”
Ingredients You’ll Need
Here’s the best part: you probably have everything on this list right now. This recipe relies on pantry staples, which is why it’s so convenient. I’m particular about three things here, and I’ll tell you exactly why.
Unsalted Butter (1 cup / 226g) — You need a full cup. Don’t try to reduce it to ¾ cup thinking it’s “healthier.” The butter is what makes them chewy and rich. If you use salted butter, reduce any added salt (though this recipe doesn’t call for extra salt). I prefer unsalted so I control the flavor.
Brown Sugar (1 cup / 200g, packed) — Dark brown sugar is my choice because it has more molasses, which gives that deep, caramel-like flavor and extra chew. Light brown sugar works, but the bars will be slightly less rich. Don’t use white sugar; it will make them crisp, not chewy.
Old-Fashioned Rolled Oats (2 cups / 160g) — This is crucial. Do not use instant oats or quick oats. Instant oats will disintegrate and make a mushy mess. Quick oats are okay in a pinch, but old-fashioned gives you that hearty, chewy texture. If you only have quick oats, pulse them in the blender for a few seconds to break them down slightly, but old-fashioned is best.
Semi-Sweet Chocolate Chips (1 cup / 170g) — I use high-quality semi-sweet chips. They melt into pockets of gooey chocolate. Dark chocolate chips work too if you want it less sweet. Avoid baking chunks unless you want uneven distribution; chips melt more evenly.
Vanilla Extract (1 teaspoon) — Optional but recommended. It adds depth that makes the chocolate taste more “chocolatey.” Skip it if you’re out, but don’t skip it if you want the best flavor.
Salt (½ teaspoon) — A pinch of salt balances the sweetness. If your butter is unsalted, this is important. If salted, you can skip it.
Optional Mix-ins — I love adding ½ cup of peanut butter chips or a handful of walnuts. It changes the vibe completely. For a festive twist, I’ve used white chocolate chips and red sprinkles for Christmas.
Equipment Needed
You don’t need fancy equipment for this. Here’s what I actually use.
8×8 Inch Baking Pan — This is the standard size for this recipe. If you use a 9×13 pan, the bars will be too thin and might burn. If you only have a 9×9 square pan, it’ll work, but keep an eye on the baking time. Line it with parchment paper for easy removal.
Microwave-Safe Bowl or Medium Saucepan — I use the microwave for speed. It takes 2 minutes. If you prefer stovetop, use a saucepan over low heat. Just don’t burn the butter.
Measuring Cups and Spoons — Standard stuff. Pack the brown sugar firmly.
Spatula — A silicone spatula is best for scraping the bowl and mixing the dough.
Parchment Paper — Non-negotiable. It makes cleanup instant and helps you lift the bars out of the pan.
How to Make It: Step-by-Step
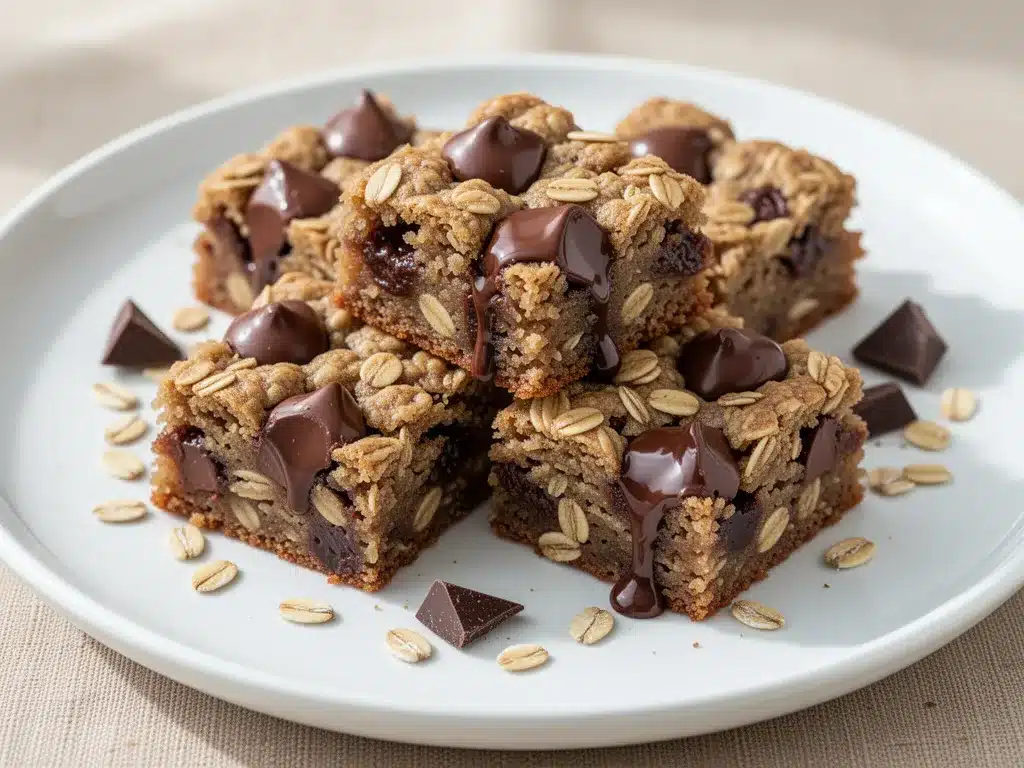
Alright, let’s make this! I’m walking you through exactly how I do it, including the little tricks I’ve picked up.
Step 1: Prep Your Pan (2 minutes)
Preheat your oven to 350°F (175°C). Line an 8×8 inch baking pan with parchment paper, leaving an overhang on the sides. This is your “handle” for lifting the bars out later. Grease the parchment lightly with butter or cooking spray. Trust me, you’ll thank me when you’re cleaning up.
Step 2: Melt the Butter and Sugar (2-3 minutes)
Place the butter and brown sugar in a microwave-safe bowl. Microwave on high for 1-2 minutes. Stop and stir every 30 seconds. You want the butter fully melted and the sugar dissolved into a smooth, glossy mixture. It should look like thick caramel. If you’re using a saucepan, melt this over low heat, stirring constantly. Don’t rush this step; if the sugar isn’t dissolved, your bars will be grainy.
Step 3: Mix in the Oats and Vanilla (1 minute)
Remove the bowl from the microwave. Stir in the vanilla extract and salt. Add the old-fashioned oats. Stir vigorously. The mixture will look thick and sticky. This is normal. Make sure every oat is coated. If it looks too dry, add a teaspoon of milk, but usually, the butter mixture is enough.
Step 4: Fold in the Chocolate (1 minute)
Stir in the chocolate chips. Save a small handful to sprinkle on top later—that’s the “fancy” touch. Mix until evenly distributed.
Step 5: Press into the Pan (2 minutes)
Transfer the mixture to your prepared pan. Use a greased spatula or your fingers (greased!) to press it down firmly. You want it even and compact. If it’s loose, the bars will crumble. Press it all the way to the corners.
Step 6: Bake (20-25 minutes)
Bake at 350°F for 20-25 minutes. The edges should be golden brown, and the center should look set but still slightly soft. It will firm up as it cools. Do not overbake, or they’ll be dry. If they look too pale at 20 minutes, leave them in for another 2-3 minutes.
Step 7: Cool Completely (30 minutes)
This is the hardest part. Let the bars cool in the pan on a wire rack. If you cut them warm, they’ll fall apart. Wait at least 30 minutes. For clean cuts, chill them in the fridge for 15 minutes after they’ve cooled. Then, use the parchment overhang to lift them out. Cut into squares.
Expert Tips & Tricks
Here’s everything I’ve learned from making this dozens of times. These tips will save you from my mistakes.
Don’t Skip the Parchment
I learned this the hard way. Once, I forgot to line the pan. I tried to pry the bars out with a knife, and half of them stuck. The other half broke. Parchment paper is cheap insurance. It also makes cleanup zero.
Press Firmly
The mixture needs to be compact. If you just dump it in the pan and spread it lightly, the bars will be loose and crumbly. Press down with the back of a spoon or your hands until it’s solid.
Use Old-Fashioned Oats
Again, I can’t stress this enough. Instant oats absorb too much moisture and turn to mush. Quick oats are okay, but old-fashioned gives you that chewy bite. If you’re gluten-sensitive, use certified gluten-free rolled oats.
Don’t Overbake
These bars continue to cook in the residual heat after you take them out of the oven. If they look done in the middle, they’re probably done. Overbaking is the #1 reason people complain these bars are dry.
Add a Pinch of Sea Salt
If you want restaurant-quality flavor, sprinkle flaky sea salt on top right after they come out of the oven. The contrast of sweet and salty is addictive.
Variations & Substitutions
Once you’ve nailed the basic version, here’s how you can mix it up. I’ve tried all of these.
Peanut Butter Oat Bars
Add ½ cup of peanut butter to the melted butter mixture. Stir until smooth. Then add the oats and chocolate chips. It’s like a Reese’s bar. My kids love this version.
White Chocolate Macadamia
Swap semi-sweet chips for white chocolate chips and add ½ cup of chopped macadamia nuts. It’s tropical and sweet. Perfect for summer.
Trail Mix Bars
Add ½ cup of dried cranberries, ½ cup of chopped almonds, and ½ cup of semi-sweet chips. It’s like a granola bar but fudgier.
Gluten-Free
Use certified gluten-free rolled oats. Everything else is naturally gluten-free. I’ve used Bob’s Red Mill GF oats, and they work perfectly.
Dairy-Free
Use dairy-free butter (like Miyoko’s) and dairy-free chocolate chips. The texture is slightly different but still delicious. My lactose-intolerant friend approves.
Serving & Storage
How to Serve:
I serve these at room temperature. They’re great for potlucks, lunchboxes, or afternoon snacks. They pair well with coffee or milk. I also like them with a scoop of vanilla ice cream if I’m feeling indulgent.
Storage:
Store in an airtight container at room temperature for up to 5 days. They actually stay chewy for days, which is rare for baked goods. If your kitchen is hot, store them in the fridge to prevent melting.
Freezing:
Yes, these freeze well! Cut them into bars, wrap them individually in plastic wrap, and place them in a freezer bag. They’ll last for 2 months. Thaw at room temperature for 15 minutes. They taste just like fresh.
Reheating:
If you like them warm, microwave a square for 10-15 seconds. The chocolate will melt, and they’ll be gooey. Don’t overheat, or the oats will get tough.
Nutrition Information
I’m not a nutritionist, but here’s the breakdown if you’re tracking. Keep in mind that these are rich, sweet bars, so portion control is key.
Per Serving (based on 16 bars):
– Calories: 180
– Fat: 9g
– Saturated Fat: 5g
– Carbohydrates: 24g
– Fiber: 1g
– Sugar: 16g
– Protein: 3g
What’s Good:
– Quick energy from oats and sugar
– Some fiber from oats
– No flour or eggs
What to Know:
– High in sugar and saturated fat
– Not suitable for low-sugar diets
– Contains dairy (unless modified)
My Take:
Look, this is a treat. It’s not a health food. But it’s better than candy because it has oats. When I make these, I eat one square and feel satisfied. If you want to lighten it up, use half the chocolate chips and add more nuts. But usually? I just enjoy it as a sweet indulgence.
Final Thoughts
So that’s my go-to chewy oatmeal dessert bars recipe! I’ve probably talked your ear off at this point, but when you make a recipe this often, you have a lot to say about it.
This has saved me more times than I can count. It’s my answer to “I want dessert now” when I don’t have time to bake a cake. It’s reliable, delicious, and it always makes people happy. My kids are obsessed, my friends ask for the recipe, and I’m happy because it’s so easy.
Make it yours! Try different chips, add nuts, or sprinkle sea salt on top. The best recipes are the ones you adapt to your tastes.
If you make this, drop a comment and let me know what you think! I love hearing how recipes turn out in your kitchen. And if something doesn’t work, tell me that too—I’m here to help troubleshoot.
Happy baking! And I hope your kitchen smells half as good as mine does right now.
Frequently Asked Questions
Can I use quick oats instead of old-fashioned oats?
You can, but the texture will be different. Quick oats are thinner and will make the bars softer and less chewy. If you must use them, pulse them in a blender for a few seconds to break them down slightly. But old-fashioned rolled oats are the best for that perfect chewy texture.
Why did my bars turn out crumbly?
This usually happens if you didn’t press the mixture firmly enough into the pan, or if you overbaked them. Make sure you press down hard with a spatula or your fingers. Also, check your oven temperature; if it’s too hot, the bars can dry out. Let them cool completely before cutting.
Can I double this recipe?
Yes, but you’ll need a 9×13 inch baking pan. The baking time will increase slightly, so check them at 25-30 minutes. The edges should be golden, and the center should be set. Don’t overbake, or they’ll be dry.
Can I make these ahead of time?
Absolutely! I often make these the day before a party. They store well at room temperature for up to 5 days. In fact, they taste even better the next day as the flavors meld together.
Can I freeze these bars?
Yes! Cut them into bars, wrap them individually in plastic wrap, and place them in a freezer-safe bag. They’ll last for up to 2 months. Thaw at room temperature for 15 minutes before eating.
What if I don’t have parchment paper?
You can grease the pan thoroughly with butter or cooking spray, but parchment paper is much better for easy removal. If you don’t have parchment, aluminum foil works too, but grease it well. Just be careful when lifting them out.
Can I add nuts?
Of course! ½ cup of chopped walnuts, pecans, or almonds works great. Add them with the chocolate chips. It adds crunch and richness. My favorite is walnuts with chocolate chips.
Pin This Recipe!
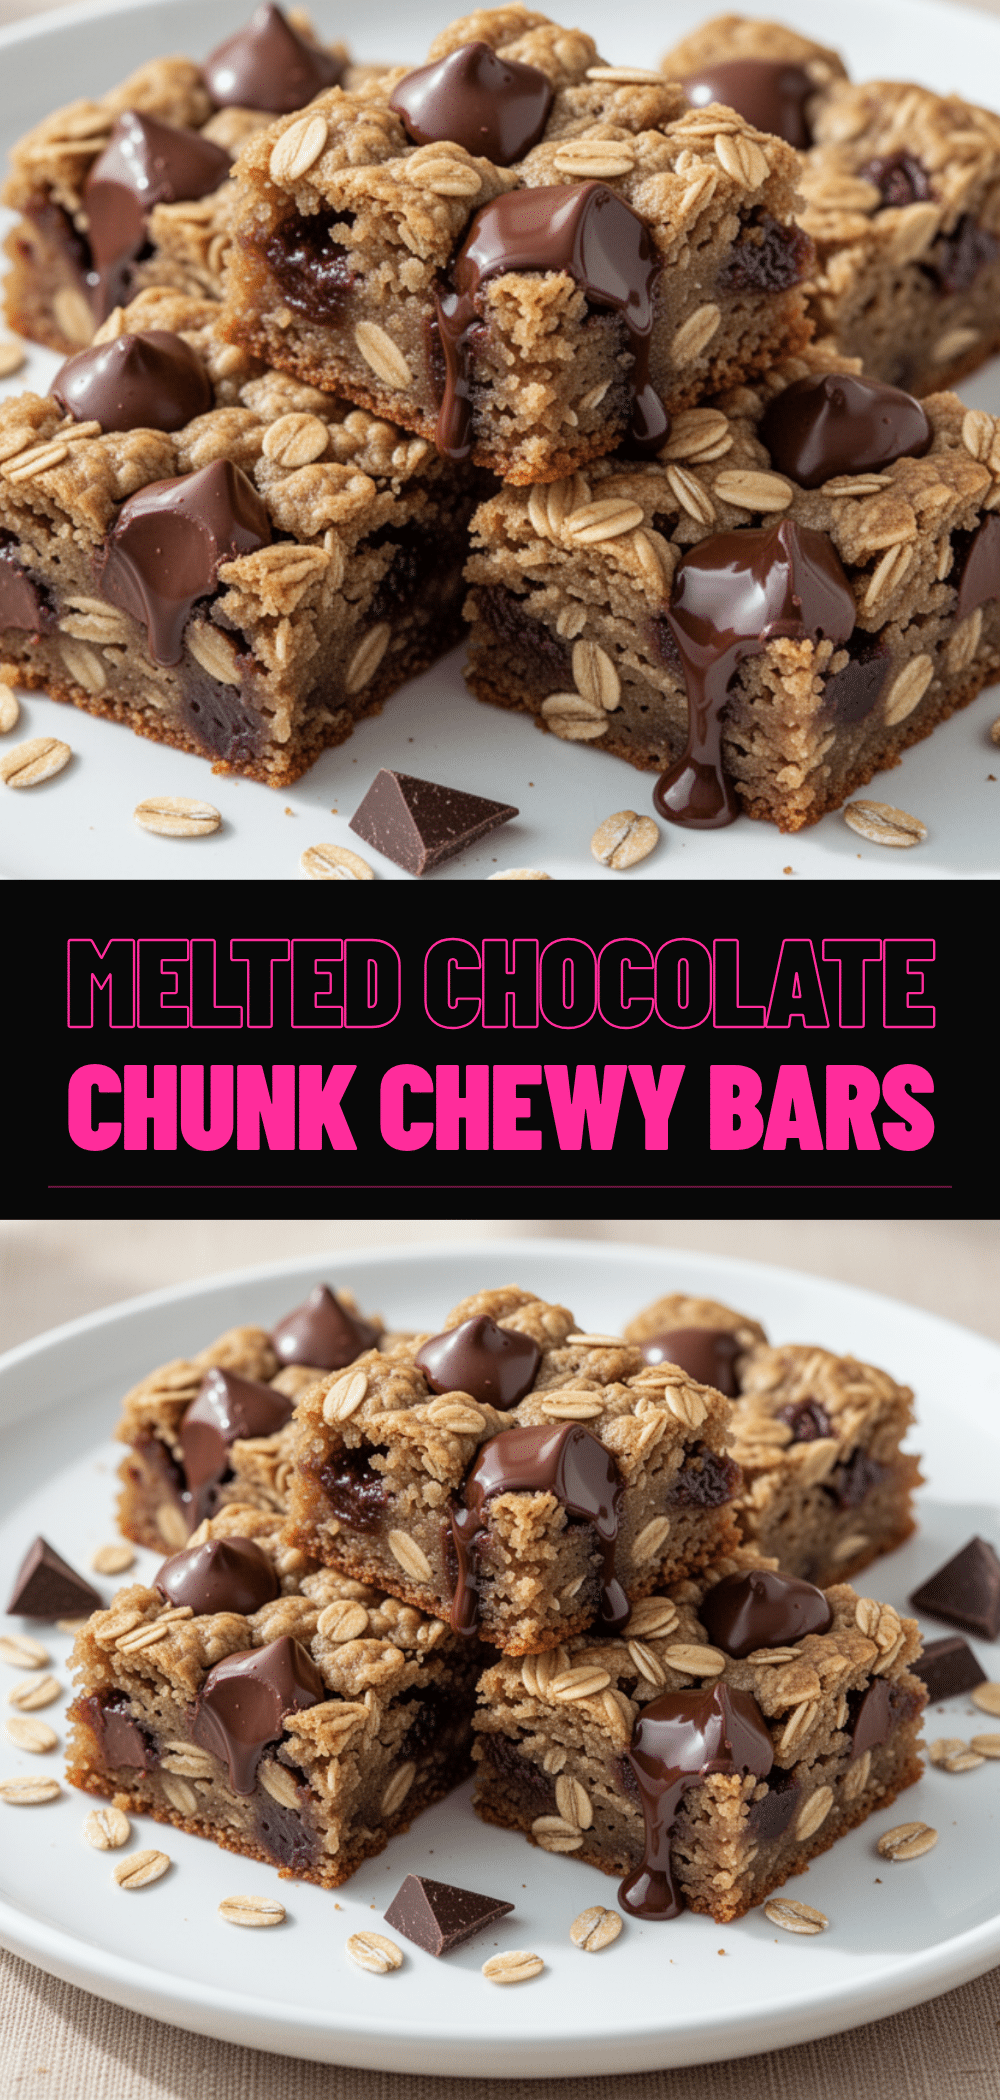
Chewy Oatmeal Dessert Bars: 5-Ingredient Easy Chocolate Treat
- Total Time: 30 minutes
- Yield: 16 servings 1x
Description
These dense, fudgy, and chewy oatmeal bars are made with just five simple ingredients: butter, brown sugar, oats, chocolate chips, and vanilla. They require only one bowl and one pan, making them an easy, quick dessert ready in 30 minutes.
Ingredients
- 1 cup (226g) unsalted butter
- 1 cup (200g) packed brown sugar
- 2 cups (160g) old-fashioned rolled oats
- 1 cup (170g) semi-sweet chocolate chips
- 1 teaspoon vanilla extract
- ½ teaspoon salt
Instructions
- Preheat oven to 350°F (175°C). Line an 8×8 inch baking pan with parchment paper, leaving an overhang on the sides, and grease lightly.
- Place butter and brown sugar in a microwave-safe bowl. Microwave on high for 1-2 minutes, stirring every 30 seconds, until butter is melted and sugar is dissolved into a smooth mixture.
- Remove from microwave and stir in vanilla extract and salt. Add oats and stir vigorously until every oat is coated.
- Fold in chocolate chips, reserving a small handful to sprinkle on top later.
- Transfer mixture to the prepared pan. Press down firmly and evenly into the corners using a greased spatula or greased fingers.
- Sprinkle reserved chocolate chips on top.
- Bake for 20-25 minutes until edges are golden brown and the center looks set but slightly soft.
- Cool completely in the pan on a wire rack for at least 30 minutes. For clean cuts, chill in the fridge for 15 minutes after cooling.
- Lift bars out using parchment overhang and cut into squares.
Notes
Do not use instant oats as they will turn to mush; old-fashioned rolled oats are required for the correct chewy texture. Press the mixture firmly into the pan to prevent crumbling. Do not overbake, as the bars continue to cook in residual heat and will become dry if baked too long. For best results, cool completely before cutting.
- Prep Time: 5 minutes
- Cook Time: 25 minutes
- Category: Dessert
- Cuisine: American
Nutrition
- Serving Size: 1 bar
- Calories: 180
- Sugar: 16
- Fat: 9
- Saturated Fat: 5
- Carbohydrates: 24
- Fiber: 1
- Protein: 3
Keywords: chewy oatmeal bars, easy dessert, 5 ingredient recipe, chocolate oat bars, no flour dessert, one bowl dessert, quick treats


