There was a summer about ten years ago when my cousin’s house became my sanctuary. Her kitchen was always warm, the windows were cracked open to catch the breeze, and the counter was permanently occupied by a gallon of vanilla wafers and a bowl of bananas that seemed to ripen faster than I could eat them. She made banana pudding in a massive casserole dish, the kind with the meringue topping that gets those perfect brown peaks. It was delicious, sure, but it was also a commitment. You had to make it hours ahead. You had to stand over a stove. And if you weren’t careful, the bottom layer got soggy before dinner was even served.
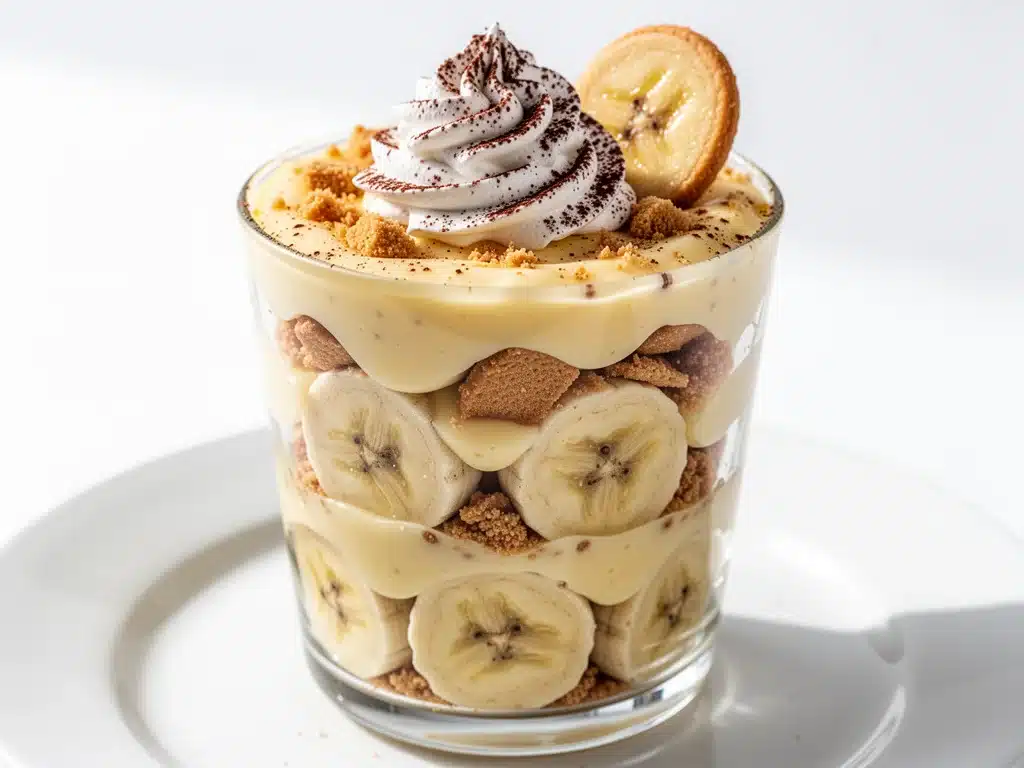
Fast forward to today, and I still crave that same creamy, nostalgic flavor, but I don’t have the time or the energy for a 3-hour dessert project on a Tuesday night. That’s when I stumbled upon the parfait method. By breaking the banana pudding into individual, layered cups, I got all the comfort-food vibes without the fuss. No baking. No meringue peaks that might collapse. Just pure, creamy, banana-forward goodness in a glass that looks fancy enough for a dinner party but takes less time to throw together than a grilled cheese sandwich.
I’ve tested these layered banana pudding parfaits probably a dozen times now. I’ve tried different cookies (Nilla wafers are non-negotiable, by the way). I’ve experimented with fresh versus frozen bananas (fresh wins, every time). I’ve even tried whipping the custard with different techniques until I found the one that gives you that light, airy texture that melts in your mouth. The result? A dessert that is ridiculously easy, visually stunning, and honestly better than most bakery versions I’ve tried. It’s become my go-to for potlucks, date nights, or just when I need a little sweet treat to get through the evening. If you’ve ever been intimidated by traditional banana pudding, this is the version for you.
Why You’ll Love This No-Bake Dessert
Let’s be real for a second. Most dessert recipes feel like a second job. You need specific equipment, a trip to the store for three obscure ingredients, and at least an hour of standing at the stove. This banana pudding parfait recipe flips the script. It’s designed for real life—specifically, for people who want to impress without the stress. Here’s why this has earned a permanent spot in my weekly rotation:
- Zero Baking Required — Seriously. No oven preheating, no standing over a double boiler, no burning your fingers on hot meringue. It’s all about assembly. If you can open a carton of pudding mix and slice a banana, you can make this. I’ve made these while helping my kids with their homework, and they turned out perfectly every time.
- Individual Portions Look Fancy — Serving banana pudding in a giant dish is fine, but serving it in clear glass jars or tall glasses? That’s next level. It looks like something you’d order at a high-end cafe, but it’s just homemade custard and cookies. It’s an instant upgrade to any table, whether it’s a casual BBQ or a fancy dinner party.
- Meal Prep Friendly — This is the ultimate make-ahead dessert. You can assemble these up to 24 hours in advance. In fact, I think they taste even better the next day because the cookies have had time to soften into the custard, creating that perfect pudding-cookie hybrid texture. I often make a batch on Sunday for the week’s dessert needs.
- Customizable for Any Crowd — Have a nut-free school event? These are naturally nut-free (just check your cookie label). Need to swap dairy? You can make a vegan version easily. Want to add a kick? A little bourbon or vanilla extract changes everything. It’s a blank canvas for flavor.
- Uses Simple Ingredients — You probably have most of this already. Milk, sugar, cornstarch, vanilla, bananas, and cookies. No fancy chocolate shards or exotic fruits. It’s humble, comforting, and relies on quality ingredients rather than complexity.
This recipe isn’t just about convenience; it’s about getting that perfect bite every single time. With the layered approach, you get cookie, cream, and banana in every spoonful. No dry edges, no soggy bottoms. Just consistent, creamy perfection.
Ingredients You’ll Need
One of the best parts about this layered banana pudding parfait recipe is how simple the ingredient list is. You don’t need a specialty store run. I’m particular about a few things here—specifically the bananas and the cookies—but otherwise, this is pantry-friendly cooking. Here’s what you need to grab:
For the Custard Base
Whole milk (4 cups / 960ml) — This is your liquid base. I use whole milk for the richest flavor and creamiest texture. If you’re watching calories, 2% works, but it will be slightly less luxurious. Do not use skim milk; it makes the custard watery and thin.
Granulated sugar (¾ cup / 150g) — This sweetens the custard. Don’t be tempted to reduce it too much, or the custard will taste bland. The bananas are sweet, but the base needs that sugar to balance the vanilla. If you prefer less sweet, you can drop it to ½ cup, but I recommend sticking with the original.
Cornstarch (¼ cup / 30g) — This is what thickens the milk into a pudding. Don’t substitute flour; it won’t give you that smooth, glossy texture. Cornstarch is key for that “pudding” consistency rather than a “sauce” consistency.
Unsalted butter (2 tablespoons / 30g) — Added at the end, this gives the custard a rich, velvety mouthfeel and a subtle shine. It’s the secret to making it taste homemade rather than box-mix-like.
Pure vanilla extract (2 teaspoons / 10ml) — Use the real deal. Vanilla bean paste is amazing if you have it (and gives you those pretty specks), but good old-fashioned extract works perfectly. Avoid imitation vanilla; it tastes chemical and ruins the delicate flavor.
Egg yolks (3 large) — Optional, but I highly recommend them. They add richness and help stabilize the custard, giving it a custard-like quality rather than just a starch-thickened gel. If you want to skip them for a simpler vegan-friendly base, you can increase the cornstarch slightly, but the texture changes.
For the Layers
Ripe bananas (3-4 medium) — This is the star. You want bananas that are yellow with a few brown spots. They need to be sweet and soft. If they’re too green, they’re tart and won’t break down into the pudding. If they’re too brown/mushy, they’ll turn the custard gray. Aim for “perfectly ripe.”
Nilla wafers (1 box, approx. 45 cookies) — Yes, the brand name matters here. Generic vanilla wafers often have a different texture and sweetness level. Nilla wafers have that distinct crispness that softens just right in the pudding. Save the box to use as a garnish later!
Heavy cream (1 cup / 240ml) — Whipped to soft peaks, this lightens up the dense custard, making it airy and mousse-like. This is what gives the parfait that “dessert” quality. Don’t skip this step.
Optional: Whipped Cream & Extra Cookies — For the top layer, I like to pipe a little extra whipped cream or dollop it on, then crush a few cookies on top for texture. It makes it look professional.
Equipment Needed
You don’t need fancy gadgets for this. Here’s what I actually use in my kitchen:
Medium saucepan — A 3-quart pot is perfect. You need enough surface area for the custard to cook evenly without boiling over. Non-stick is great here because custard loves to stick to the bottom.
Whisk — Your best friend. You’ll be whisking constantly. A balloon whisk is ideal for incorporating air and breaking up lumps.
Instant-read thermometer — Not strictly necessary, but it helps. You want the custard to reach 170°F (77°C) to fully cook the cornstarch and egg yolks. If you don’t have one, just watch for the boil.
Blender or immersion blender — This is the game-changer. After cooking the custard, I blend it for 30 seconds. It removes any tiny lumps of cornstarch or cooked egg, resulting in a silky-smooth texture that feels expensive. If you don’t have a blender, you can strain it through a fine-mesh sieve, but it takes more effort.
Clear glasses or jars — Use whatever you have. I love using old mason jars or tall wine glasses for that restaurant look. Just make sure they’re clean and dry.
Small bowl for whipping cream — A stand mixer or hand mixer makes this easy, but a whisk and elbow grease work too.
How to Make It: Step-by-Step
Alright, let’s make this! I’m walking you through exactly how I do it, including the little tricks I’ve picked up over the years. This process is straightforward, but timing is everything.
Step 1: Make the Custard Base (15 minutes)
In your medium saucepan, whisk together the sugar and cornstarch. Slowly whisk in the milk, making sure there are no lumps. Add the egg yolks if you’re using them. Place the pot over medium heat and cook, whisking constantly. This is the most important part. Do not walk away. The mixture will start to thicken after about 5 minutes. Keep whisking vigorously.
Once it starts to bubble and thicken (it should coat the back of a spoon heavily), let it boil gently for 1-2 minutes to cook out the raw cornstarch taste. Remove from heat. Stir in the butter and vanilla extract until fully melted and combined. If you have a blender, pour the hot custard into it and blend for 30 seconds until silky smooth. Pour into a bowl, cover with plastic wrap (touching the surface of the custard to prevent a skin from forming), and let it cool to room temperature, then refrigerate for at least 1 hour. It needs to be cold before you layer it.
Step 2: Prep the Bananas and Cream (10 minutes)
While the custard cools, peel and slice your bananas. Slice them into ¼-inch rounds. I like to toss them with a tiny squeeze of lemon juice if you’re not serving immediately, to keep them from browning, but for these parfaits, the acid in the pudding usually helps enough. Set aside.
In a cold bowl, whip the heavy cream until you see soft peaks. You want it fluffy but not stiff. If you over-whip it, it might turn grainy when you fold it into the custard. Set aside.
Step 3: Combine Custard and Cream (2 minutes)
Once the custard is cool, gently fold in the whipped cream. Use a spatula and fold from the bottom up, just until combined. You want to keep as much air in the mixture as possible. This creates that light, mousse-like texture that makes the parfait so satisfying.
Step 4: Assemble the Parfaits (10 minutes)
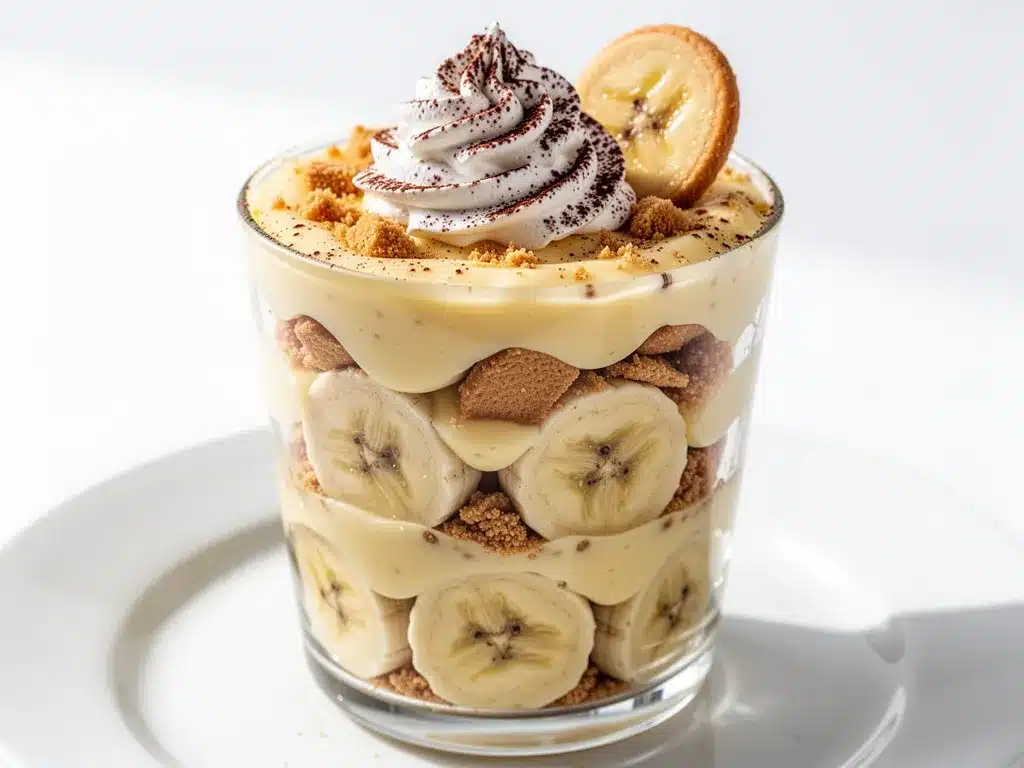
This is the fun part. Take your clear glasses or jars. Start with a layer of Nilla wafers at the bottom. Don’t be shy—crush them slightly if you want, or keep them whole. Next, add a layer of the custard mixture. Then, add a layer of banana slices. Repeat: wafers, custard, bananas. Finish with a final layer of custard on top.
For the garnish, I like to place a whole banana slice on top, sprinkle some crushed cookie crumbs, and maybe a tiny sprig of mint if you’re feeling fancy. The key is to make sure every glass has visible layers. It’s all about the presentation.
Step 5: Chill and Serve
Once assembled, you can serve them immediately if you like a crisp cookie texture. But I strongly recommend chilling them in the fridge for at least 30 minutes, or up to 24 hours. This allows the cookies to soften and absorb the custard, turning them into a pudding-cake hybrid that is absolutely divine.
Expert Tips & Tricks
Here’s everything I’ve learned from making these dozens of times. These tips will save you from my mistakes.
- Cool the Custard Completely — If you try to layer warm custard with bananas, the bananas will get mushy and the cream will melt. Patience pays off. Let the custard cool in the fridge for an hour minimum.
- Don’t Skip the Blend — I know it’s an extra step, but blending the custard removes the “cornstarch grit.” It makes the texture incredibly smooth. If you don’t have a blender, strain it through a sieve.
- Use Ripe Bananas — I cannot stress this enough. Green bananas are tart and firm. Yellow bananas are sweet and soft. Over-ripe bananas (brown spots) are best. They break down and mix with the custard beautifully.
- Soft Peaks for Cream — When folding in the whipped cream, don’t overmix. You want to preserve the air bubbles. Gentle folds only. Overmixing leads to dense, heavy parfaits.
- Layer Thinly — Don’t go overboard with the banana slices. You want a balance. Too many bananas can make the parfait soggy and watery. A thin layer of bananas per tier is perfect.
Common Mistakes to Avoid
Mistake: The custard is lumpy. Fix: You didn’t whisk enough during cooking, or you didn’t blend/strain it. Whisk constantly over medium heat, and blend at the end.
Mistake: The cookies are too hard. Fix: You didn’t chill it long enough, or you used cookies that are already stale. Use fresh cookies and chill for at least 2 hours.
Mistake: The bananas turned gray. Fix: Bananas oxidize quickly. If you’re making these more than a few hours ahead, toss the slices in a little lemon juice or lime juice. It won’t change the taste much but keeps them bright yellow.
Variations & Substitutions
Once you’ve nailed the basic version, here’s how you can mix it up. I’ve tried all of these.
Bourbon Banana Pudding
Add 2 tablespoons of bourbon to the custard mixture while it’s still warm. The alcohol cooks off slightly, leaving a deep, warm flavor that pairs amazingly with the vanilla. This is my personal favorite variation.
Vegan Version
Use coconut milk instead of dairy milk (full-fat canned coconut milk works best). Use a cornstarch-based pudding without egg yolks. Use vegan vanilla wafers (check the label, some contain honey). Whip coconut cream (the solid part from a chilled can of coconut milk) instead of dairy cream. It’s surprisingly rich and creamy.
Chocolate Banana Pudding
Add ½ cup of cocoa powder to the dry ingredients (sugar and cornstarch) before adding milk. You’ll get a chocolate pudding base that tastes like a banana split. Use chocolate wafers if you can find them.
Strawberry Banana Twist
Swap half the banana slices for fresh strawberries. The combination of strawberry and banana is surprisingly good. Just make sure the strawberries are patted dry so they don’t water down the custard.
Serving & Storage
How to Serve: I usually serve these straight from the fridge. They look beautiful in clear glasses, so let the layers do the talking. Pair them with a simple green salad or grilled chicken if you’re serving a full meal, or just enjoy them as a standalone treat.
Refrigerator: Store covered in the fridge for up to 2 days. The cookies will continue to soften, so by day 2, they’ll be very soft—almost like a trifle. This is still delicious, just a different texture.
Freezing: Honestly, this doesn’t freeze well. The dairy-based custard and whipped cream can separate and become grainy when thawed. The bananas also get mushy. It’s best made fresh or refrigerated for short-term storage.
Pro Tip: If you’re making these for a party, assemble them the night before. Cover tightly with plastic wrap or lids. They’ll set up beautifully and you won’t have to stress on the day of the event. It’s a huge time-saver.
Nutrition Information
I’m not a nutritionist, but here’s the breakdown if you’re tracking. Keep in mind that these are estimates and can vary based on specific brands and banana sizes.
| Per Serving (1 Parfait) | Amount |
|---|---|
| Calories | 380 |
| Protein | 6g |
| Carbs | 52g |
| Fiber | 3g |
| Sugar | 32g |
| Fat | 16g |
| Sodium | 180mg |
What’s Good: It’s a decent source of potassium from the bananas. It’s also relatively quick to make, so you’re not tempted to order delivery.
What to Know: It is higher in sugar and carbs due to the cookies and pudding. It’s a treat, not a health food. But compared to a slice of cheesecake or a heavy chocolate cake, it’s actually somewhat lighter. When I want to make it lighter, I use less cookie layers and more banana, or swap the heavy cream for Greek yogurt (though the texture changes).
Final Thoughts
So that’s my go-to layered banana pudding parfait! I’ve probably talked your ear off at this point, but when you make a recipe this often, you have a lot to say about it. This has saved me on countless occasions where I needed a dessert that felt special but didn’t require a degree in pastry arts. It’s my answer to “what’s for dessert?” when I’m tired, don’t want to bake, and still want something that tastes homemade and comforting.
My kids are happy, my husband’s happy, and I’m happy because I’m not stressed about cooking. Make it yours! Try different cookies, add a little bourbon, or swap in strawberries. The best recipes are the ones you adapt to your family’s tastes.
If you make this, drop a comment and let me know what you think! I love hearing how recipes turn out in your kitchen. And if something doesn’t work, tell me that too—I’m here to help troubleshoot. Happy cooking! And I hope your kitchen smells half as good as mine does right now.
Frequently Asked Questions
Can I make this ahead of time?
Absolutely. This is actually better when made ahead. Assemble the parfaits up to 24 hours in advance. Cover them tightly and refrigerate. The cookies will soften and absorb the custard, creating a more cohesive texture. Just add the fresh whipped cream garnish right before serving if you want it to look pristine.
Why did my custard turn out watery?
This usually happens if the custard wasn’t cooked long enough. Cornstarch needs to reach a boil to fully activate and thicken. Make sure you whisk constantly and let it bubble gently for at least 1-2 minutes after it thickens. Also, ensure you’re using the correct ratio of cornstarch to milk. If it’s still watery after cooling, you can try reheating it briefly with a little more cornstarch mixed with cold water.
Can I use frozen bananas?
I wouldn’t recommend it. Frozen bananas release a lot of water when they thaw, which can make the parfait soggy and watery. Plus, their texture becomes mushy. Fresh bananas are much better for this recipe. If you must use frozen, thaw them completely and pat them very dry with paper towels, but fresh is always best.
How do I keep the bananas from browning?
Bananas oxidize quickly. To prevent graying, toss the sliced bananas in a little lemon juice or lime juice before layering. The acid slows down the oxidation process. You won’t taste the citrus in the final product, but the bananas will stay bright yellow. Alternatively, making the parfaits and serving them immediately also helps.
Can I substitute the Nilla wafers?
You can! Graham crackers work well and add a nice honey flavor. Vanilla pudding cookies (like Madame Butterfly) are even more buttery and rich. Shortbread cookies are another great option. Just avoid cookies that are too hard or crumbly, as they won’t soften properly in the custard.
Is this recipe gluten-free?
The base custard is naturally gluten-free (just check your cornstarch and vanilla extract labels). However, Nilla wafers contain wheat. To make this gluten-free, use a certified gluten-free vanilla wafer or gluten-free graham crackers. Most major brands now make GF versions that work well in this recipe.
Can I use instant pudding mix instead of making custard from scratch?
You can, but I highly recommend against it. Instant pudding mix often has a weird artificial aftertaste and a different texture than homemade custard. Making the custard from scratch takes only 15 minutes and results in a infinitely superior flavor. If you’re in a huge pinch, you can use the mix, but fold in some heavy cream to lighten it up. Just know that homemade is the way to go for the best results.
Pin This Recipe!
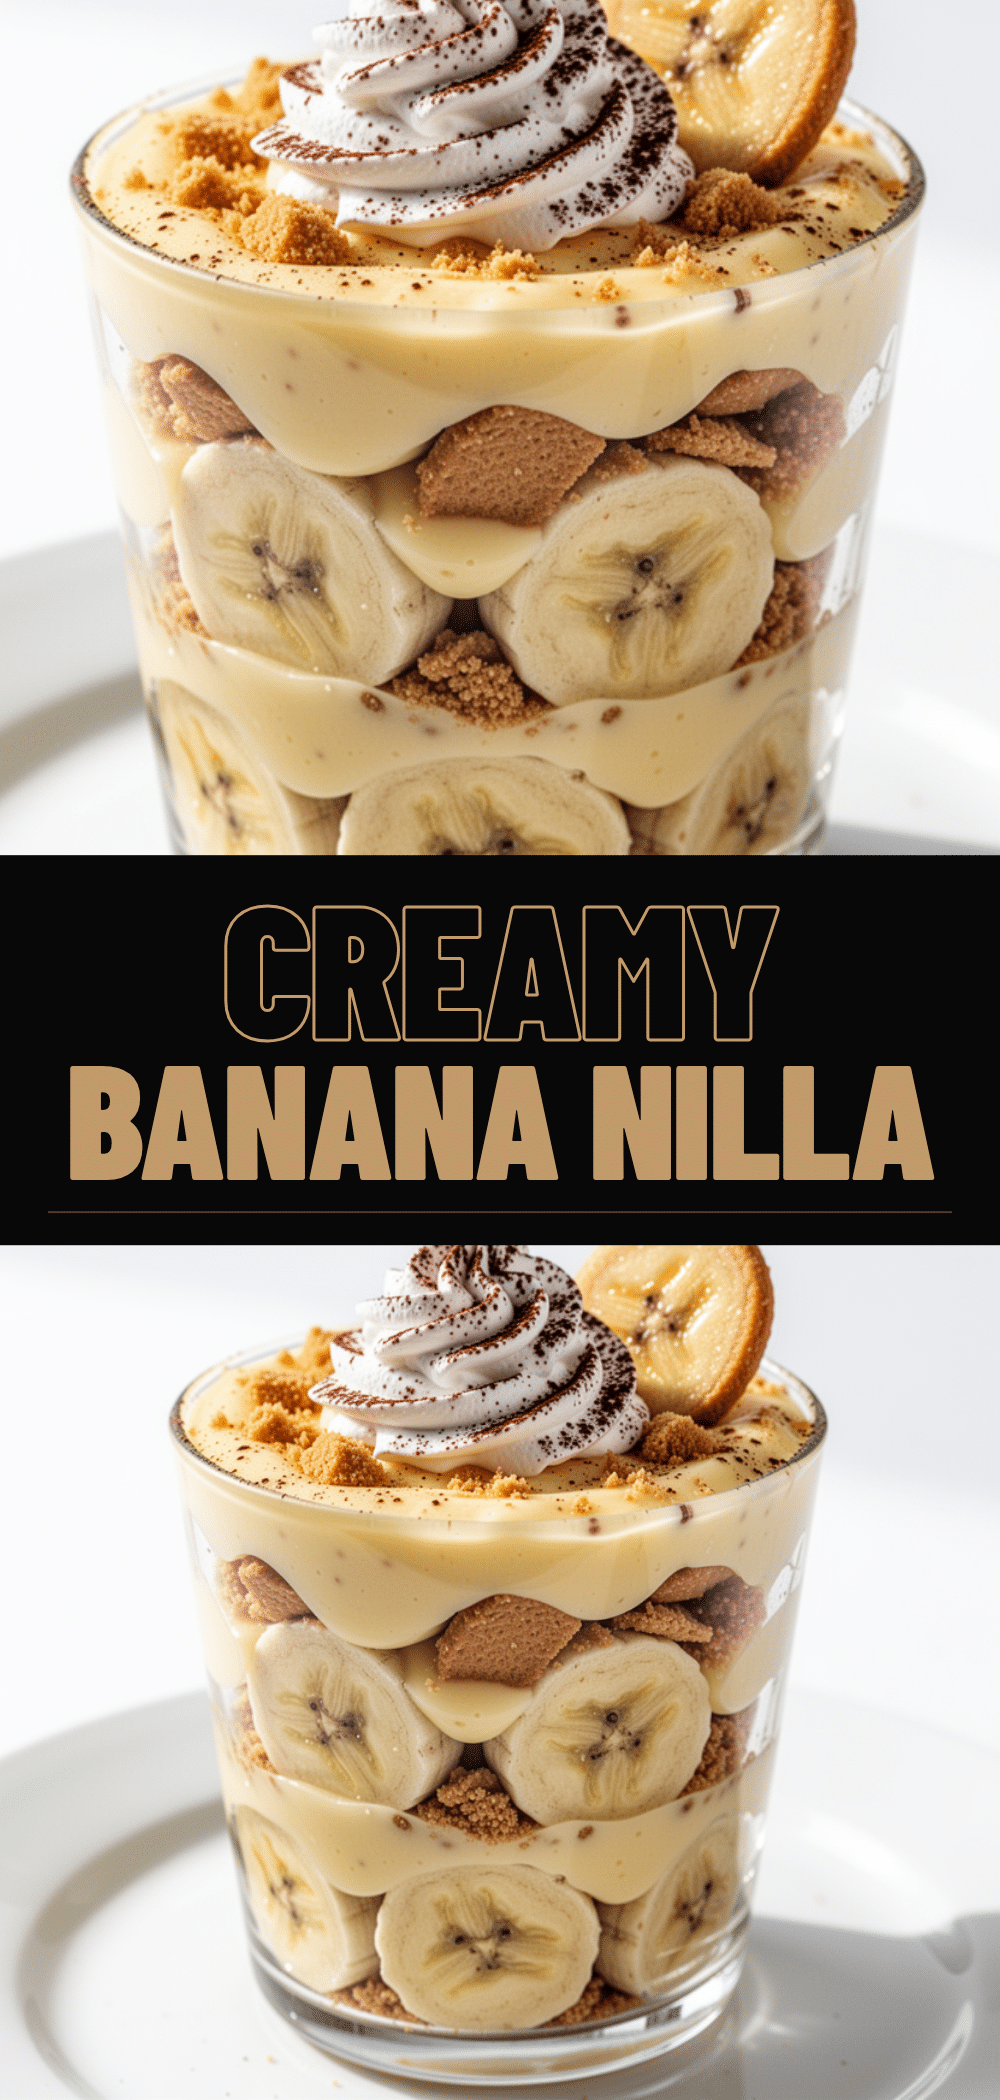
Layered Banana Pudding Parfaits: Easy No-Bake Dessert
- Total Time: 40 minutes
- Yield: 6 servings 1x
Description
A creamy, no-bake banana pudding dessert served in individual layered cups. This easy recipe uses a homemade custard base, fresh bananas, and Nilla wafers for a nostalgic treat that looks fancy but takes minimal effort.
Ingredients
- 4 cups whole milk
- 3 large egg yolks
- 3/4 cup granulated sugar
- 1/4 cup cornstarch
- 2 tablespoons unsalted butter
- 2 teaspoons pure vanilla extract
- 1 cup heavy cream
- 3–4 medium ripe bananas
- 1 box Nilla wafers (approx. 45 cookies)
- Lemon juice (optional, for preventing banana browning)
Instructions
- In a medium saucepan, whisk together the sugar and cornstarch. Slowly whisk in the milk and egg yolks until smooth.
- Place the pot over medium heat and cook, whisking constantly, until the mixture thickens and begins to bubble (about 5 minutes).
- Let the custard boil gently for 1-2 minutes to cook out the raw cornstarch taste, then remove from heat.
- Stir in the butter and vanilla extract until fully melted and combined.
- Pour the hot custard into a blender and blend for 30 seconds until silky smooth (or strain through a fine-mesh sieve).
- Pour into a bowl, cover with plastic wrap touching the surface, and refrigerate for at least 1 hour until completely cool.
- While the custard cools, peel and slice the bananas into 1/4-inch rounds. Toss with a little lemon juice if not serving immediately.
- In a cold bowl, whip the heavy cream until soft peaks form.
- Once the custard is cool, gently fold in the whipped cream until just combined.
- To assemble, layer Nilla wafers, custard mixture, and banana slices in clear glasses or jars. Repeat layers, finishing with custard on top.
- Garnish with crushed cookies or a banana slice. Chill for at least 30 minutes before serving to allow cookies to soften.
Notes
Cool the custard completely before assembling to prevent the bananas from getting mushy and the cream from melting. For best texture, chill assembled parfaits for at least 30 minutes or up to 24 hours. Do not freeze, as the dairy custard and bananas do not freeze well. To keep bananas from browning, toss slices with a little lemon juice.
- Prep Time: 25 minutes
- Cook Time: 15 minutes
- Category: Dessert
- Cuisine: American
Nutrition
- Serving Size: 1 Parfait
- Calories: 380
- Sugar: 32
- Sodium: 180
- Fat: 16
- Saturated Fat: 10
- Carbohydrates: 52
- Fiber: 3
- Protein: 6
Keywords: banana pudding, no-bake dessert, parfait, easy dessert, custard, Nilla wafers, make-ahead dessert


