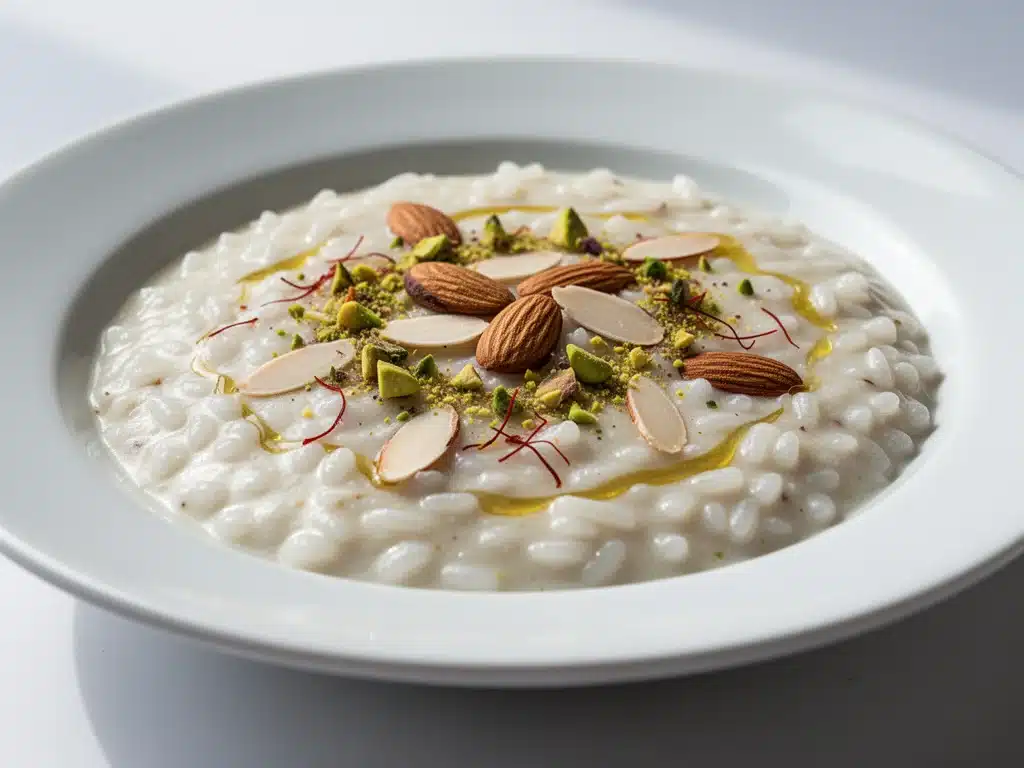
I still remember the first time I had kheer that actually made me stop and think. I was maybe eight years old, visiting my aunt in Mumbai during a summer that felt like it lasted forever. The air was thick with humidity, and the only thing cooler than the breeze coming off the Arabian Sea was whatever was sitting in front of me on the small, plastic-covered table. It wasn’t fancy. No sprinkles, no fancy plating, just a small clay bowl filled with creamy rice pudding, golden brown at the edges, smelling like cardamom and caramelized milk.
My aunt watched me take that first spoonful. She didn’t say anything, just smiled that knowing smile adults have when they know they’ve just changed your perspective on dessert. That was the moment I realized that some things don’t need to be complicated to be incredible. They just need patience and the right spices.
That memory has stuck with me for decades. For years, I tried to recreate it using quick methods—pressure cookers, instant pots, even microwave shortcuts. They were fine. They were fast. But they weren’t *that* kheer. They lacked the soul, the slow-cooked depth, the way the milk reduces until it’s almost syrupy.
So, I went back to basics. I went back to the stovetop. I went back to stirring. This classic Indian kheer recipe is my attempt to capture that magic without requiring a degree in patience (though, honestly, it does take a little of both). It’s creamy, it’s aromatic, and it’s the kind of dessert that feels like a warm hug on a cold night. I’ve tested this version countless times—adjusting the rice-to-milk ratio, tweaking the spice levels, figuring out exactly when to add the sugar so it doesn’t seize up. What you’re getting here is the result of all those experiments. It’s the best kheer I’ve ever made, and I’m pretty sure it’s close to what I had in Mumbai, minus the humidity.
Why You’ll Love This Recipe
There are a hundred reasons to make this creamy cardamom rice pudding, but I’ll stick to the ones that actually matter when you’re standing in your kitchen wondering if it’s worth the effort.
- It’s Comfort in a Bowl — Seriously. There is nothing like it. It’s sweet, but not cloying. Creamy, but not heavy. It hits that perfect balance that makes you want to close your eyes and just savor it. I’ve served this to people who claim they “don’t like sweet desserts,” and they always go back for seconds.
- Simple Ingredients, Complex Flavor — You don’t need a pantry full of exotic spices. You need milk, rice, sugar, cardamom, and nuts. That’s it. The magic happens in the technique, not in a trip to a specialty spice shop. I keep these items stocked because this recipe is so versatile.
- Make-Ahead Magic — This actually tastes better the next day. I know, I know, it seems counterintuitive for a pudding, but the flavors meld together overnight. The cardamom infuses deeper, the rice softens just a bit more, and the texture becomes even silkier. I often make this the night before a dinner party so I’m not stressed in the morning.
- Gluten-Free by Nature — If you have guests with gluten sensitivities, this is a dream. Rice is naturally gluten-free, and as long as you check your cardamom pods (which are usually safe, but good to verify), you’re good to go. No need for substitutions or worry.
- Customizable Texture — Some people like their kheer thick and dense; others prefer it soupier. This recipe lets you control that. Want it thicker? Cook it longer. Want it looser? Add a splash of warm milk at the end. It’s your canvas.
It’s my go-to when I need a dessert that feels special but doesn’t require a dozen bowls and three hours of active work. It’s reliable, it’s delicious, and it brings back that feeling of being eight years old in Mumbai.
Ingredients You’ll Need
Here’s the thing about kheer: the quality of your ingredients matters more than anything else. Since there are so few of them, each one has a big job to do. I’m particular about a few of these, and I’ll tell you exactly why.
For the Base:
Basmati Rice (½ cup / 100g) — This is non-negotiable. Basmati has that long, slender grain that stays separate and fluffy, which is perfect for pudding. Short-grain rice gets too sticky and gummy. I use aged basmati because it’s more aromatic, but any good quality basmati works.
Whole Milk (1 liter / 4 cups) — Do not use low-fat milk. It won’t reduce properly, and you’ll end up with watery rice pudding, not creamy kheer. Full-fat whole milk is what gives you that rich, velvety texture. If you’re feeling indulgent, you can use half milk and half heavy cream, but whole milk is the traditional way and works beautifully.
Sugar (½ to ¾ cup / 100-150g) — Granulated white sugar is standard, but you can use jaggery for a deeper, molasses-like flavor. I stick to white sugar because it’s cleaner tasting and lets the cardamom shine. Adjust based on how sweet you like it.
For the Flavor:
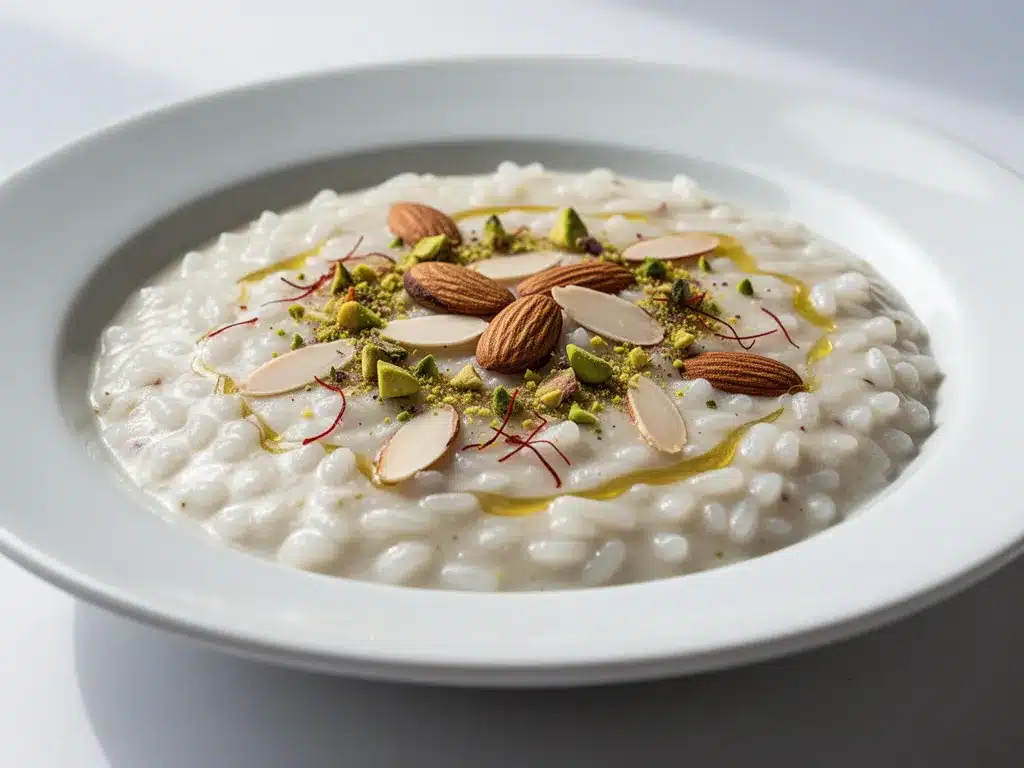
Green Cardamom Pods (4-5 pods) — This is the star. Fresh cardamom pods are essential. If you can find them fresh, great. Dried is fine too, but make sure they smell strong. If they’re stale, you’ll need more. I crush them slightly to release the oils.
Ground Cardamom (½ teaspoon) — I add a little ground cardamom at the end for an extra punch of aroma. It’s not traditional in every household, but I love the intensity it adds.
Saffron Strands (a generous pinch) — Optional, but highly recommended. Saffron adds that gorgeous golden color and a subtle, floral honey flavor. Soak it in a tablespoon of warm milk for 10 minutes before adding it to the kheer. It’s worth the splurge.
For the Crunch:
Almonds (2 tablespoons, sliced) — Toasted almonds add a nice nutty crunch. I slice them thinly so they distribute evenly.
Pistachios (2 tablespoons, chopped) — The green color is beautiful, and the flavor pairs perfectly with cardamom. Use raw, unsalted pistachios.
Slivered Cashews (1 tablespoon) — I add these for variety, but you can skip them if you want. They toast quickly, so keep an eye on them.
Butter (1 teaspoon) — A small knob of butter at the end adds richness and helps the nuts toast nicely if you’re cooking them in the pan.
Common Questions:
Can I use instant rice? No. Instant rice turns to mush too quickly. Stick with basmati.
Where do I find cardamom pods? Most well-stocked grocery stores have them in the spice aisle. If not, Indian markets are your best bet.
Can I use almond milk? You can, but the texture will be much thinner and less rich. It’s not traditional, but it works if you’re dairy-free.
Equipment Needed
You don’t need anything fancy for this. In fact, the simpler the equipment, the better the result.
Heavy-Bottomed Saucepan — I use a 3-quart saucepan. The heavy bottom is crucial because it distributes heat evenly and prevents the milk from scorching at the bottom. A thin aluminum pan will burn your kheer before you know it. My favorite is a stainless steel one with an aluminum core.
Wooden Spoon — For stirring. You’ll be stirring a lot, especially as the milk reduces. A wooden spoon is gentle on the pan and doesn’t conduct heat, so your hand stays cool.
Small Skillet — For toasting the nuts. Any small skillet works. I use a 6-inch non-stick pan.
Mortar and Pestle (or a rolling pin) — To crush the cardamom pods. If you don’t have a mortar and pestle, put the pods in a ziplock bag and crush them with a rolling pin. Just don’t pulverize them into powder; you want pieces.
Measuring Cups and Spoons — Standard stuff. Accuracy helps, but this recipe is forgiving.
Sieve or Fine Mesh Strainer — If you want to remove the cardamom pods before serving (which I usually do, for texture reasons), you’ll need this.
Optional: Immersion Blender — Some people like their kheer super smooth. If you want that, you can blend it slightly at the end. I don’t usually do this, as I like seeing the rice grains, but it’s an option.
How to Make It: Step-by-Step
Alright, let’s make this! It’s not hard, but it does require a bit of attention. I’m walking you through exactly how I do it, including the little tricks I’ve picked up over the years.
Step 1: Prep the Rice (5 minutes)
Rinse the basmati rice under cold water until the water runs clear. This removes excess starch, which prevents the kheer from becoming gluey. Soak the rice in water for 20-30 minutes. This helps the grains cook more evenly and faster. Drain well before using.
Step 2: Toast the Nuts (2 minutes)
Heat the butter in a small skillet over medium-low heat. Add the almonds, pistachios, and cashews. Toast them, stirring constantly, until they’re fragrant and lightly golden. This usually takes about 2-3 minutes. Don’t walk away! Nuts burn quickly. Remove them from the pan and set aside on a plate.
Step 3: Boil the Milk (10 minutes)
Pour the whole milk into your heavy-bottomed saucepan. Add the crushed cardamom pods. Bring it to a boil over medium-high heat. Once it boils, reduce the heat to low. Let it simmer gently. You want a gentle bubble, not a rolling boil, which can cause the milk to boil over.
Step 4: Add the Rice (20-30 minutes)
Add the drained rice to the simmering milk. Stir well to combine. Let it cook on low heat. You’ll need to stir it occasionally, especially every 5-10 minutes, to prevent the milk from sticking to the bottom. As the rice cooks, it will start to release starch, and the milk will begin to thicken. This is where the magic happens. The milk will reduce by about half. This step takes patience. Don’t rush it.
Step 5: Add Sugar and Saffron (5 minutes)
Once the rice is tender and the milk has thickened (check a grain of rice; it should be soft but not mushy), add the sugar. Stir until the sugar is completely dissolved. Add the soaked saffron (with the warm milk) and the ground cardamom. Stir well. Let it simmer for another 5 minutes. The kheer will continue to thicken as the sugar dissolves.
Step 6: Cool and Serve (10+ minutes)
Remove the pan from the heat. If you want, you can remove the cardamom pods now. Let the kheer cool slightly. It will thicken further as it cools. Garnish with the toasted nuts. Serve warm or chilled. I love it warm right after cooking, but it’s also delicious cold from the fridge.
Total Time: About 45-50 minutes (mostly hands-off simmering)
Built-in Troubleshooting:
- Milk burnt at the bottom? If you see black bits, stop. Scrape off the top layer, but if it’s burnt throughout, start over. Prevention is key here.
- Too thick? Add a splash of warm milk and stir gently.
- Too thin? Keep simmering on low heat. It will thicken as the water evaporates.
- Rice is still hard? Add a little more water and cook for another 10 minutes.
Expert Tips & Tricks
Here’s everything I’ve learned from making this dozens of times. These tips will save you from my mistakes.
Stir, Stir, Stir — The biggest mistake people make is not stirring enough. Milk loves to stick. Stir every 5-10 minutes. Use a wooden spoon and scrape the bottom and sides of the pan. This ensures even cooking and prevents burning.
Low and Slow — High heat is the enemy of kheer. It causes the milk to scorch and the rice to cook unevenly. Keep the heat on low. Let the milk reduce slowly. It’s worth the wait.
Fresh Cardamom is Key — Old cardamom pods have lost their flavor. If your pods are light brown or smell faint, they’re probably stale. Buy fresh, dark green pods. They should smell incredibly aromatic when you crush them.
Soak the Saffron — Don’t just throw dry saffron strands into the kheer. Soak them in warm milk for 10 minutes first. This releases the color and flavor, ensuring you get that beautiful golden hue and floral taste throughout the pudding.
Sugar Last — Adding sugar too early can prevent the rice from cooking properly and can make the milk grainy. Add it once the rice is tender and the milk has thickened. This ensures the best texture.
Common Mistakes (and how to avoid them):
- Mistake: Kheer is watery — Fix: You didn’t simmer it long enough. Keep cooking on low heat until it reaches your desired consistency. Remember, it thickens as it cools.
- Mistake: Rice is mushy — Fix: You cooked it too long or used the wrong rice. Use basmati, and don’t overcook. The rice should be tender but still have some structure.
- Mistake: Burnt flavor — Fix: Heat was too high. Next time, keep the heat on low and stir more frequently.
Variations & Substitutions
Once you’ve nailed the basic version, here’s how you can mix it up. I’ve tried all of these, and they’re all delicious.
Kulfi-Style Kheer — Add a little condensed milk at the end for extra sweetness and thickness. This makes it closer to kulfi, the Indian ice cream. It’s richer and denser.
Mango Kheer — Stir in pureed ripe mango at the end. It adds a tropical twist and pairs beautifully with cardamom. It’s like a summer vacation in a bowl.
Pistachio-Only Kheer — Skip the almonds and cashews and use only pistachios. It’s more expensive, but the flavor is incredible. Plus, the green color is stunning.
Coconut Milk Kheer — For a dairy-free version, use full-fat coconut milk instead of cow’s milk. It’s creamy and rich, with a distinct coconut flavor. Add a little more cardamom to balance it.
Jaggery Kheer — Replace the white sugar with jaggery (Indian unrefined cane sugar). It adds a deep, molasses-like flavor and a darker color. It’s less sweet than sugar, so you might need a bit more.
Different Nuts — Use walnuts, pecans, or even hazelnuts. Toast them first, of course. It changes the flavor profile but keeps the crunch.
Dietary Modifications:
- Gluten-Free — Already gluten-free if you use rice and check your cardamom.
- Dairy-Free — Use coconut milk or almond milk. Add a tablespoon of coconut cream for richness.
- Vegan — Use plant-based milk and jaggery or maple syrup instead of sugar.
Serving & Storage
How to Serve:
I usually serve this straight from the bowl, garnished with nuts. But here are other ways I’ve enjoyed it:
- Chilled: Refrigerate for at least 2 hours. It thickens up nicely and is refreshing on a hot day.
- Warm: Serve immediately after cooking. The flavors are bright and fresh.
- With Tea: It’s a perfect companion to masala chai. The sweetness balances the spice.
- With Grilled Peach Cobbler: If you’re feeling fancy, serve a spoonful of kheer alongside a warm scoop of grilled peach cobbler. The combination of warm fruit and cool rice pudding is heavenly.
Toppings Bar:
When I have guests, I put out: extra toasted nuts, a drizzle of honey, a pinch of saffron, and maybe some rose water. Everyone customizes their bowl.
Storage Instructions:
Refrigerator: Store in an airtight container for up to 5 days. The kheer will thicken significantly in the fridge. To serve, add a splash of warm milk and stir to loosen it up.
Reheating: Gently heat in a saucepan over low heat, adding a little milk to prevent sticking. Stir frequently. Do not microwave, as it can heat unevenly and cause the milk to separate.
Freezing: Honestly, this doesn’t freeze well. The texture of the rice changes, and the milk can separate. It’s best enjoyed fresh or refrigerated for a few days.
Pro Tip: If leftovers are drying out, stir in a tablespoon of cream or milk when reheating. Brings back that creamy texture.
Nutrition Information
I’m not a nutritionist, but here’s the breakdown if you’re tracking. Keep in mind, this is a dessert, so it’s naturally higher in sugar and fat.
Per Serving (based on 6 servings):
- Calories: 280
- Protein: 8g
- Carbs: 35g
- Fiber: 1g
- Sugar: 20g
- Fat: 12g
- Saturated Fat: 7g
- Cholesterol: 35mg
- Sodium: 60mg
- Calcium: 200mg
What’s Good:
- Good source of calcium from the milk
- Provides some protein from the rice and nuts
- Can be made lower in sugar by reducing the amount
What to Know:
- Higher in calories due to full-fat milk and sugar
- Contains dairy
- Use low-sodium milk if watching salt intake (though milk is naturally low sodium)
My Take: Look, this is a dessert. It’s sweet and creamy. It’s not a health food. But it’s made with real ingredients, and when you make it at home, you control the sugar. I try to keep the sugar moderate, and I load up on the nuts for healthy fats. It’s a treat, not a daily staple.
Final Thoughts
So that’s my classic Indian kheer! I’ve probably talked your ear off at this point, but when you make a recipe this often, you have a lot to say about it.
This has been a staple in my kitchen for years. It’s my answer to “what’s for dessert” when I want something comforting and special without the stress. It’s perfect for festivals, family gatherings, or just a quiet Tuesday night when you need a little sweetness.
Make it yours! Try different nuts, swap the cardamom for rose water, or add a swirl of mango puree. The best recipes are the ones you adapt to your family’s tastes.
If you make this, drop a comment and let me know what you think! I love hearing how recipes turn out in your kitchen. And if something doesn’t work, tell me that too—I’m here to help troubleshoot.
Happy cooking! And I hope your kitchen smells half as good as mine does right now.
Frequently Asked Questions
Can I use milk powder instead of whole milk?
You can, but the texture will be different. Milk powder can make the kheer thicker and sometimes grainy if not dissolved properly. I recommend starting with a little less water and adding more as needed. Whole milk is still the best for that authentic creamy texture.
Why did my kheer turn out watery?
Usually, this means you didn’t simmer it long enough. The milk needs to reduce by about half to get that thick, pudding-like consistency. Keep cooking on low heat, stirring frequently, until it reaches your desired thickness. Remember, it will thicken further as it cools.
Can I make this ahead for a dinner party?
Absolutely. This is actually better made ahead. Make it a day in advance, store it in the fridge, and then reheat it gently with a splash of milk before serving. The flavors meld together overnight, making it even more delicious.
Why did my milk separate or curdle?
This can happen if the heat was too high or if you added an acidic ingredient (like lemon or fruit) too early. For traditional kheer, just keep the heat low and avoid adding acid. If it does separate, don’t panic. It’s still safe to eat, just not as pretty. You can blend it to smooth it out.
Can I use jasmine rice instead of basmati?
Jasmine rice works, but it’s stickier and softer than basmati. The texture will be more like a porridge. Basmati is preferred because it holds its shape better and adds a nice aroma. If you use jasmine, reduce the cooking time slightly.
How do I reheat leftovers without it getting dry?
Add a splash of warm milk or cream to a saucepan, add your leftover kheer, and heat gently over low heat, stirring frequently. The extra liquid brings back the creamy texture. Avoid microwaving, as it tends to dry it out and heat unevenly.
Can I double this recipe?
Yes, but you’ll need a larger saucepan. The cooking time might be slightly longer because there’s more liquid to reduce. Stir more frequently to prevent burning. I usually double it when I’m making it for a crowd.
Pin This Recipe!
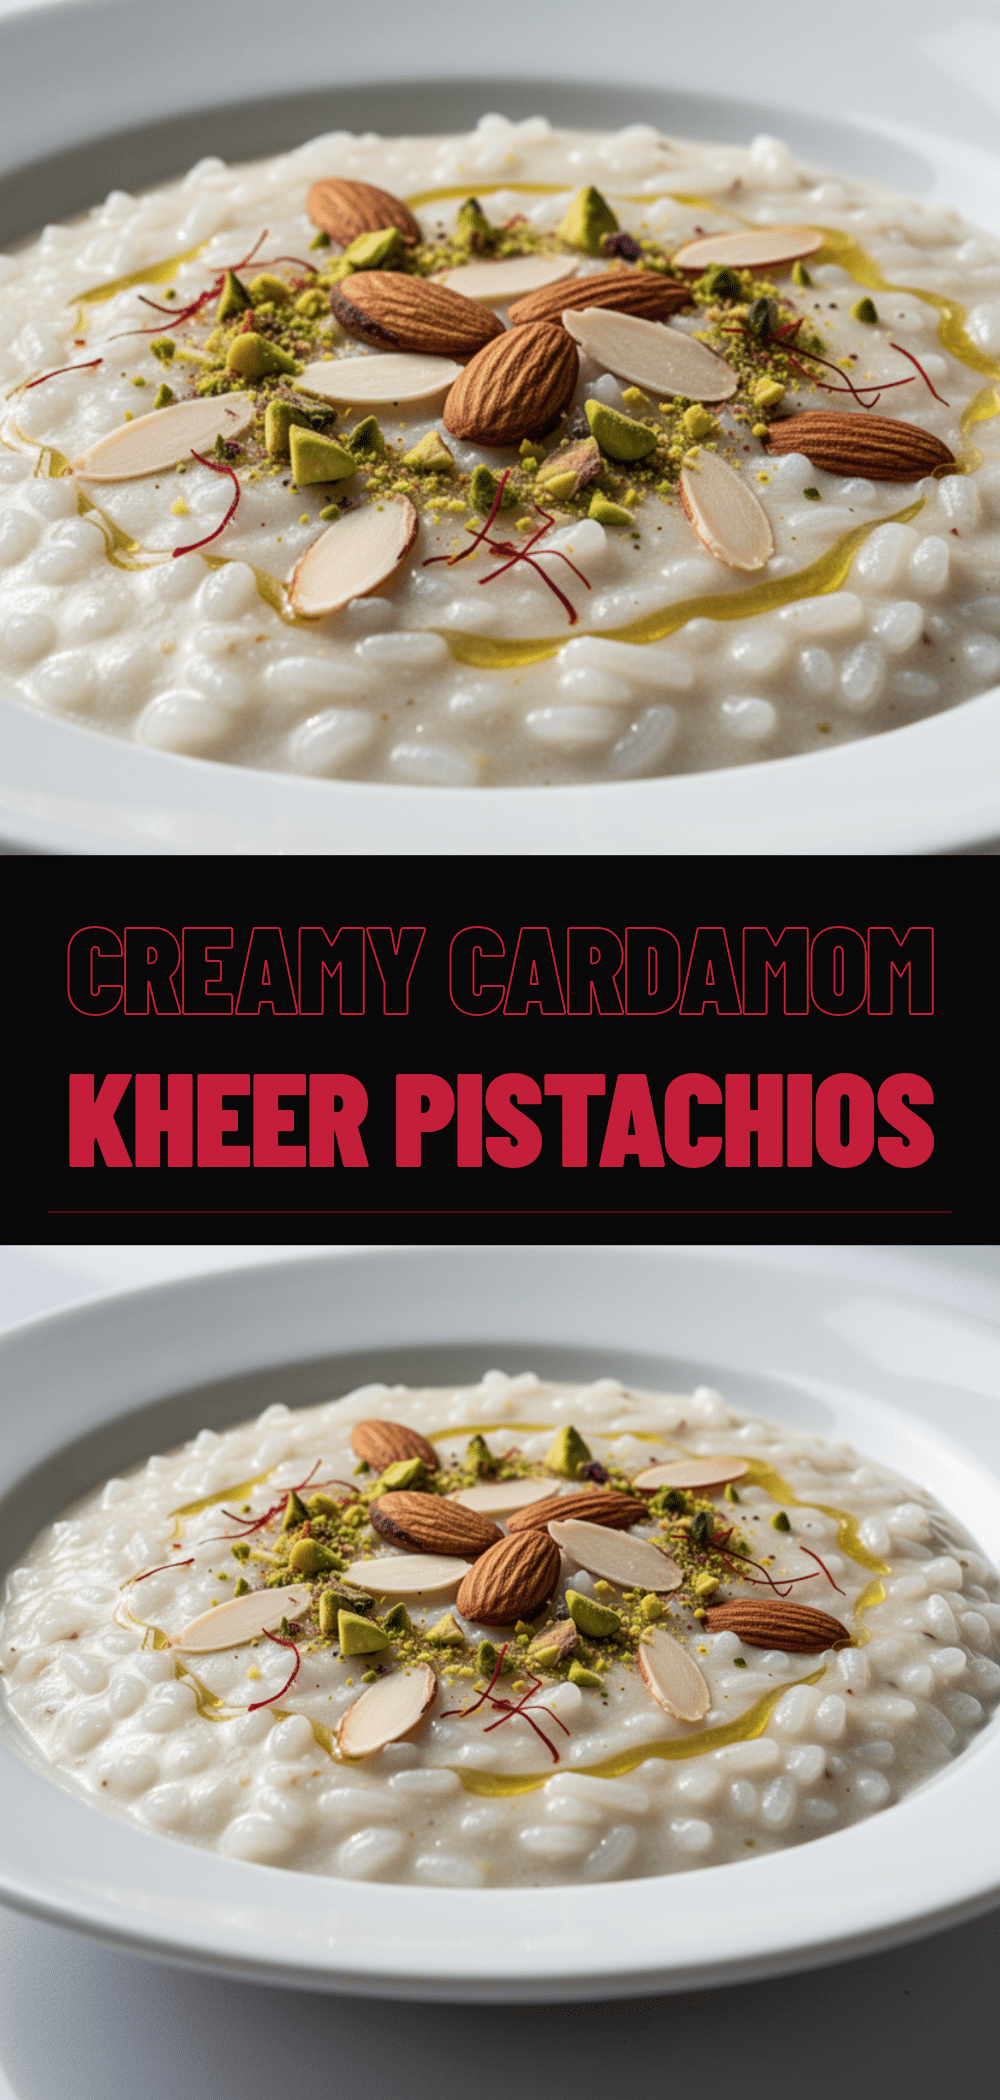
Classic Indian Kheer: Best 15-Min Creamy Cardamom Rice Pudding
- Total Time: 45-50 minutes
- Yield: 6 servings 1x
Description
A creamy, aromatic Indian rice pudding made with basmati rice, whole milk, cardamom, and saffron. This traditional dessert is naturally gluten-free, customizable, and tastes even better the next day.
Ingredients
- 1/2 cup Basmati Rice (100g)
- 1 liter Whole Milk (4 cups)
- 1/2 to 3/4 cup Granulated White Sugar (100-150g)
- 4–5 Green Cardamom Pods
- 1/2 teaspoon Ground Cardamom
- A generous pinch Saffron Strands
- 2 tablespoons Almonds, sliced
- 2 tablespoons Pistachios, chopped
- 1 tablespoon Slivered Cashews
- 1 teaspoon Butter
Instructions
- Rinse basmati rice under cold water until clear to remove excess starch. Soak in water for 20-30 minutes, then drain well.
- Heat butter in a small skillet over medium-low heat. Toast almonds, pistachios, and cashews until fragrant and lightly golden (2-3 minutes). Remove and set aside.
- Pour whole milk into a heavy-bottomed saucepan. Add crushed cardamom pods. Bring to a boil over medium-high heat, then reduce to low to simmer gently.
- Add drained rice to the simmering milk. Stir well and cook on low heat, stirring occasionally every 5-10 minutes to prevent sticking. Cook until milk reduces by half and rice is tender (20-30 minutes).
- Once rice is tender and milk thickened, add sugar and stir until dissolved. Add soaked saffron (with warm milk) and ground cardamom. Simmer for another 5 minutes.
- Remove from heat. Optionally remove cardamom pods. Let cool slightly as it will thicken further. Garnish with toasted nuts and serve warm or chilled.
Notes
For best results, use full-fat whole milk and aged basmati rice. Stir frequently to prevent scorching. The kheer thickens significantly as it cools and can be loosened with warm milk when reheating. It tastes better the next day as flavors meld. Do not freeze as texture may suffer.
- Prep Time: 5 minutes
- Cook Time: 40 minutes
- Category: Dessert
- Cuisine: Indian
Nutrition
- Serving Size: 1 bowl
- Calories: 280
- Sugar: 20
- Sodium: 60
- Fat: 12
- Saturated Fat: 7
- Carbohydrates: 35
- Fiber: 1
- Protein: 8
Keywords: Indian dessert, rice pudding, kheer, cardamom rice pudding, gluten-free dessert, traditional Indian sweets, saffron pudding


