Last Saturday, I was staring at my kitchen counter, feeling that specific kind of exhaustion that comes from a long week. My kids were asking for dessert, my husband was hoping for something “not too heavy,” and I absolutely did not want to wash a dozen bowls or stand over a hot stove for forty-five minutes. I opened the fridge, saw a stick of butter, some brown sugar, and a bag of chocolate chips, and thought, “Why am I even thinking about a cake?”
So I did what any sleep-deprived parent does: I threw everything into a small skillet. I didn’t have time to chill the dough. I didn’t have time to bake individual cookies. I just wanted warm, gooey chocolate in my belly within twenty minutes. What came out of the oven wasn’t just a cookie. It was a revelation.
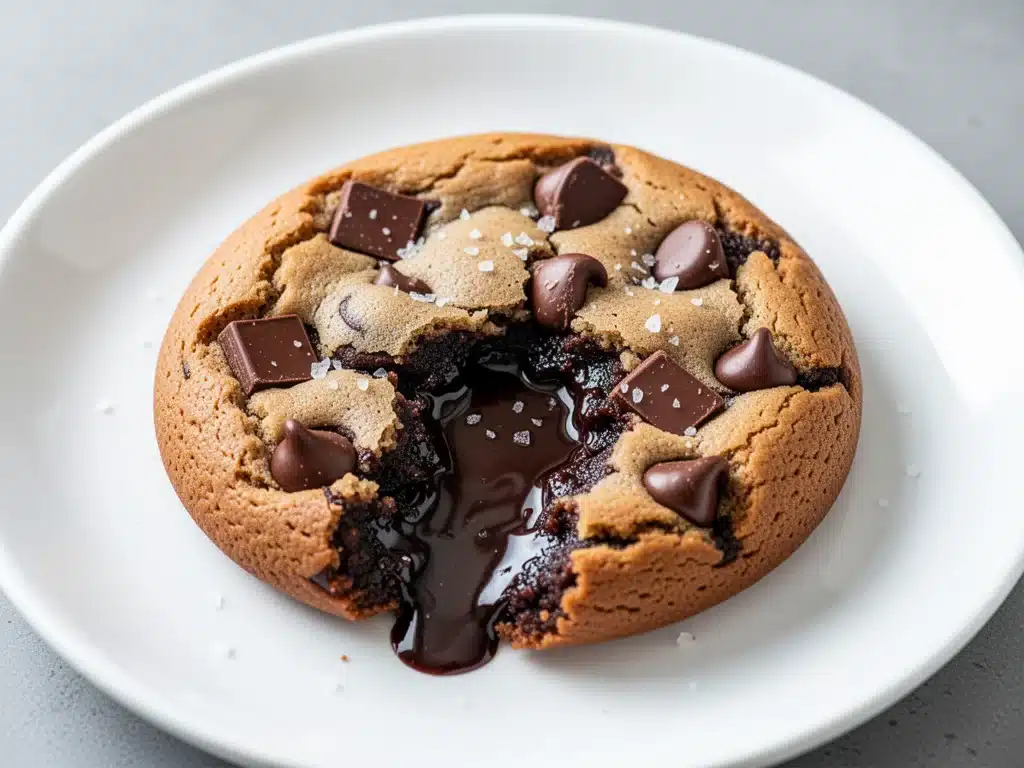
This small-batch chocolate chip skillet cookie is the dessert I reach for when I need comfort, speed, and zero drama. It’s crispy on the edges, soft in the middle, and has that irresistible gooey center that makes you dig right into the pan with a spoon. I’ve made this at least a dozen times since that lazy Saturday, tweaking the ratios until it was perfect. It’s become our family’s go-to “I need dessert now” solution, and I’m convinced it’s going to be yours too.
There’s something deeply satisfying about pulling a hot skillet out of the oven. The smell alone fills the house. It feels rustic and homemade, like something you’d get at a cozy diner, but it’s so much easier to make. And the best part? You only have one pan to clean. That’s right. One pan. If you’re tired of complicated desserts that leave you with a sink full of dishes, trust me on this one.
Why You’ll Love This Skillet Cookie
I know, I know. Another chocolate chip cookie recipe? But hear me out. This isn’t your average drop cookie, and it’s not a bar cookie either. It’s a hybrid that hits every single texture note you crave. Here’s why this small-batch chocolate chip skillet cookie has earned a permanent spot in my rotation:
- Zero Chilling Required — Seriously. Most cookie dough needs an hour or two in the fridge to firm up. Not this one. The dough bakes directly in the pan, so you can go from mixing to eating in about 20 minutes. I’ve made this after dinner on a whim, and it works every time.
- The Texture is Unreal — You get the crisp, caramelized edges from the butter browning in the skillet, the chewy center from the brown sugar, and those melty pockets of chocolate. It’s like a cookie and a brownie had a beautiful, delicious baby.
- Serves Two (or Four if You’re Nice) — This is a small-batch recipe, meaning it uses a 6-inch skillet (or a small 8-inch). It makes just enough for you and a partner, or a couple of friends, without leaving you with a giant pan of leftovers that will go stale in three days. No waste, just joy.
- One Pan Cleanup — I’m serious. Mix the dough in a bowl, bake in the skillet, eat from the skillet. Wash one bowl and one skillet. It’s the most efficient dessert-making process in my kitchen, and I’m not even embarrassed to admit it.
- Customizable and Fun — Want to add sea salt? Go for it. Throw in some nuts? Sure. Swap half the chocolate chips for white chocolate? Why not. It’s a blank canvas for your dessert cravings.
This recipe has saved me on date nights, quiet weeknights, and even spontaneous visits from neighbors. It’s my answer to “what’s for dessert?” when I want something special but don’t want to put in the effort. It’s reliable, it’s delicious, and it always makes everyone happy.
Ingredients You’ll Need
Here’s the best part: you probably have most of these ingredients already. This isn’t a recipe that requires a trip to the store for obscure items. It’s pantry staples and fridge basics, elevated by the cooking method. I’m particular about three things here, and I’ll tell you exactly why.
For the Dough
Unsalted butter (4 tablespoons / 56g) — I use unsalted so I can control the salt level. But here’s the trick: don’t just melt it. Let it brown slightly in the pan. That nutty, toasted butter flavor is what gives this cookie its depth. If you don’t have time to brown it, melted works, but the flavor won’t be as complex.
Light brown sugar (½ cup / 100g) — This is non-negotiable for the chewy texture. White sugar makes it crisp; brown sugar makes it soft and gooey. I use light brown, but dark brown works if you want a deeper molasses flavor. Don’t skip this.
Granulated sugar (2 tablespoons / 25g) — A little bit of white sugar helps with the crisp edges. It balances the chewiness of the brown sugar. You don’t need much, just enough to give that slight crunch.
Large egg yolk (1 yolk) — Why just a yolk? Because the yolk adds richness and fat, which creates that dense, fudgy center. If you use a whole egg, the cookie will be cakier. I always save the whites for an omelet the next morning. Zero waste.
Vanilla extract (1 teaspoon) — Use real vanilla, not imitation. The flavor is subtle in the dough but shines through after baking. I keep a bottle of Nielsen-Massey in my pantry because it makes a noticeable difference.
For the Dry Ingredients
All-purpose flour (½ cup / 65g) — Don’t overmeasure. Spoon it into the cup and level it off. Too much flour makes the cookie dry. I weigh mine when I can, but the spoon-and-level method works fine.
Baking powder (¼ teaspoon) — Just a pinch. It helps the cookie rise slightly without making it cakey. It’s a small amount, but it prevents the cookie from being too dense.
Fine sea salt (¼ teaspoon) — Salt enhances chocolate flavor. Don’t skip it. If you use kosher salt, use a slightly larger pinch because it’s less dense. I love Maldon sea salt for sprinkling on top after baking, but fine salt works in the dough.
For the Toppings
Chocolate chips (½ cup / 85g) — I use semi-sweet chocolate chips, but chopped chocolate bars are even better. They melt into pools of chocolate rather than staying as distinct chips. Ghirardelli or Guittard are my go-tos. If you want a sweeter cookie, use milk chocolate chips.
Flaky sea salt (optional) — A pinch on top right after baking. It’s the finishing touch that makes it taste like a bakery dessert. The salt crystals pop against the sweet dough. It’s worth the extra step.
Vanilla ice cream — For serving. Cold ice cream against hot cookie is the ultimate contrast. I usually serve it with a scoop of vanilla bean ice cream, but chocolate ice cream works too if you’re feeling indulgent.
Equipment Needed
You don’t need fancy equipment for this. Here’s what I actually use:
6-inch or 8-inch oven-safe skillet — Cast iron is my preference because it heats evenly and gives great browning. But a stainless steel or ceramic-coated skillet works too. Just make sure it’s oven-safe. If you only have an 8-inch skillet, the cookie will be thinner, so reduce baking time by 2-3 minutes.
Mixing bowl — A medium bowl for combining the dough. Any size works as long as it’s big enough to mix comfortably.
Fork or whisk — You don’t need a stand mixer for this. A fork works perfectly to cream the butter and sugars. It’s quick and gives you control.
Measuring cups and spoons — Standard stuff. Dollar store versions work fine.
Pastry brush or spoon — To grease the skillet with butter. I just use a little extra butter from the stick.
Spatula — To spread the dough evenly in the pan. Silicone works best so you don’t scratch the skillet.
Oven mitts — Because the skillet will be hot. Don’t skip this. I’ve burned my fingers more times than I care to admit.
How to Make It: Step-by-Step
Alright, let’s make this! I’m walking you through exactly how I do it, including the little tricks I’ve picked up to ensure that perfect gooey center.
Step 1: Prep Your Skillet (2 minutes)
Preheat your oven to 350°F (175°C). If you’re using a cast iron skillet, you can put it in the oven while it preheats to help it get hot, but it’s not necessary. Grease the inside of your skillet with a little butter. Use your fingers or a pastry brush to coat the bottom and sides evenly. This prevents sticking and adds flavor.
Step 2: Brown the Butter (3-4 minutes)
Place your skillet over medium heat on the stovetop. Add the butter and let it melt. Once melted, keep it on the heat for another 1-2 minutes, swirling the pan occasionally, until the butter turns a light golden brown and smells nutty. Be careful not to burn it. If it smells like burnt popcorn, you’ve gone too far. Remove from heat immediately and let it cool for 30 seconds.
Step 3: Mix the Dough (3 minutes)
In your mixing bowl, combine the browned butter (still warm but not hot), brown sugar, and granulated sugar. Whisk vigorously for about 1 minute until the mixture looks glossy and smooth. This helps dissolve the sugar slightly, which contributes to the chewy texture.
Add the egg yolk and vanilla extract. Whisk again until fully combined. The mixture might look a little curdled at first—that’s okay. It will come together.
Sift in the flour, baking powder, and salt. Fold them in gently with a spatula or fork until just combined. Do not overmix. Once you no longer see streaks of flour, stop. Overmixing develops gluten, which makes the cookie tough.
Step 4: Add the Chocolate and Press
Stir in half of your chocolate chips. Then, press the remaining half into the top of the dough. This ensures you get chocolate in every bite and beautiful melted pools on top. Spread the dough evenly in the skillet with your spatula, pressing it into the corners. It should be about ¾-inch thick.
Step 5: Bake (15-18 minutes)
Place the skillet in the preheated oven. Bake for 15-18 minutes. You’ll know it’s done when the edges are golden brown and slightly crisp, but the center still looks soft and slightly underbaked. It will continue to cook from residual heat after you take it out. If you bake it until the center looks firm, it will be dry.
Step 6: Cool and Serve
Remove from the oven and let it cool in the pan for 5 minutes. This allows the center to set slightly so it’s scoopable but still gooey. Sprinkle with flaky sea salt if using. Serve warm with a scoop of vanilla ice cream directly from the skillet. Dig in with a spoon.
Expert Tips & Tricks
Here’s everything I’ve learned from making this dozens of times. These tips will save you from my mistakes.
Don’t Skip the Butter Browning
This is the #1 secret. Browning the butter adds a nutty, toffee-like flavor that makes this cookie taste gourmet. If you’re short on time, melted butter works, but the flavor profile changes. I’ve tried both, and browned butter is worth the extra 2 minutes.
Underbake on Purpose
The center should look soft when you pull it out. It might look scary, but it firms up as it cools. If you bake it until the center is set, you’ll get a cakey cookie instead of a gooey one. I’ve ruined a few trying to be “safe,” and they were just dry. Trust the process.
Use an Egg Yolk, Not a Whole Egg
The yolk adds fat and richness without the extra water content from the white. This keeps the cookie dense and fudgy. If you only have whole eggs, you can use half an egg, but the texture won’t be quite as luxurious.
Chill the Dough (Optional but Recommended)
If you have time, chill the dough in the skillet for 30 minutes before baking. This helps the cookies spread less and keeps the center thicker and chewier. I usually don’t have time, but when I do, the texture is noticeably better.
Flaky Salt is a Game-Changer
Sprinkling flaky sea salt on top right after baking adds a crunch and enhances the sweetness. It’s a bakery trick that’s easy to do at home. If you don’t have flaky salt, regular fine sea salt works, but the texture won’t be the same.
Variations & Substitutions
Once you’ve nailed the basic version, here’s how you can mix it up. I’ve tried all of these.
Double Chocolate Skillet Cookie
Add 2 tablespoons of cocoa powder to the dry ingredients. Use dark chocolate chips instead of semi-sweet. It’s richer and more intense. My kids love this version, especially with peanut butter ice cream.
Peanut Butter Skillet Cookie
Swirl 2 tablespoons of peanut butter into the dough before baking. It creates beautiful marbled patterns and adds a salty-sweet contrast. I use natural peanut butter for the best flavor.
Chewy Oatmeal Skillet Cookie
Replace ¼ cup of flour with ½ cup of old-fashioned oats. Add ½ teaspoon of cinnamon. It’s heartier and more rustic. Great for breakfast or a snack.
White Chocolate Macadamia
Swap semi-sweet chips for white chocolate chips and add ½ cup of macadamia nuts. It’s tropical and sweet. My husband’s favorite variation.
Gluten-Free
Use a 1:1 gluten-free flour blend. The texture might be slightly more crumbly, but it still works. I’ve used Bob’s Red Mill and Cup4Cup with good results.
Dairy-Free
Use vegan butter and dairy-free chocolate chips. The texture will be slightly different, but it’s still delicious. I’ve made this for my lactose-intolerant friend, and she loved it.
Serving & Storage
How to Serve:
I usually serve this straight from the skillet at the dinner table—it looks rustic and stays warm. But here are other ways I’ve enjoyed it:
- With Ice Cream: Vanilla bean is classic. Coffee ice cream complements the chocolate well.
- With Whipped Cream: If you don’t want ice cream, a dollop of freshly whipped cream is light and delicious.
- With Coffee or Milk: Perfect with a hot cup of coffee or a cold glass of milk.
Storage:
Store leftovers in an airtight container at room temperature for up to 2 days. The cookie will soften as it sits, which is fine. If it gets too soft, you can reheat it in the oven for 5 minutes to crisp the edges.
Reheating:
Reheat in the oven at 350°F for 5-7 minutes, or in the microwave for 30 seconds. It should be warm and gooey. Don’t microwave it too long, or it will get tough.
Freezing:
You can freeze the unbaked dough in the skillet. Wrap it tightly in plastic wrap and foil. Bake straight from frozen, adding 2-3 minutes to the baking time. Thawed dough can also be frozen, but the texture might be slightly different.
Nutrition Information
I’m not a nutritionist, but here’s the breakdown if you’re tracking. This is a treat, so enjoy it mindfully.
Per Serving (based on 4 servings):
- Calories: 380
- Protein: 4g
- Carbs: 45g
- Fiber: 2g
- Sugar: 28g
- Fat: 22g
- Saturated Fat: 13g
- Cholesterol: 55mg
- Sodium: 220mg
It’s rich in sugar and fat, as you’d expect from a chocolate chip cookie. But it’s also a small batch, so you’re not eating a whole pan. Pair it with a glass of milk or a cup of tea to balance the sweetness.
Final Thoughts
So that’s my go-to small-batch chocolate chip skillet cookie! I’ve probably talked your ear off at this point, but when you make a recipe this often, you have a lot to say about it. This has saved my dessert routine more times than I can count. It’s my answer to “what’s for dessert?” when I want something special but don’t want to stress.
Make it yours! Try different add-ins, swap in your favorite chocolate, or adjust the salt. The best recipes are the ones you adapt to your tastes. If you make this, drop a comment and let me know what you think! I love hearing how recipes turn out in your kitchen. And if something doesn’t work, tell me that too—I’m here to help troubleshoot.
Happy baking! And I hope your kitchen smells half as good as mine does right now.
Frequently Asked Questions
Can I use a different size skillet?
Yes, but the baking time will change. If you use a larger skillet (like 10-inch), the cookie will be thinner, so reduce baking time by 3-5 minutes. If you use a smaller skillet (like 4-inch), it will be thicker, so increase baking time by 2-3 minutes. Keep an eye on the edges—they should be golden brown.
Why did my cookie turn out cakey?
Usually, this means you used a whole egg instead of just a yolk, or you overmixed the dough. The egg yolk is key for that fudgy texture. Also, make sure you’re not overbaking. The center should look soft when you pull it out.
Can I make this ahead of time?
You can mix the dough ahead and chill it in the skillet for up to 24 hours. When you’re ready to bake, let it sit at room temperature for 10 minutes, then bake as directed. The flavor might even improve after chilling.
Is there a way to make it healthier?
You can substitute half the butter with applesauce, but the texture will be different. You can also use whole wheat flour or almond flour, but it will change the taste. I prefer to enjoy this as an occasional treat rather than a health food.
Can I freeze the baked cookie?
It’s not recommended because the texture changes. The cookie will become soggy when thawed. It’s best enjoyed fresh. If you have leftovers, store them in the fridge for up to 2 days.
What if I don’t have a cast iron skillet?
Any oven-safe skillet works. Stainless steel, ceramic, or even a glass baking dish (though glass takes longer to heat). Just make sure it’s oven-safe and has a handle that won’t melt.
How do I know when the butter is browned?
It will turn a light golden brown color and smell nutty, like toasted hazelnuts. You’ll also see little brown specks at the bottom of the pan. Be careful not to let it turn dark brown or black, as it will taste burnt.
Pin This Recipe!
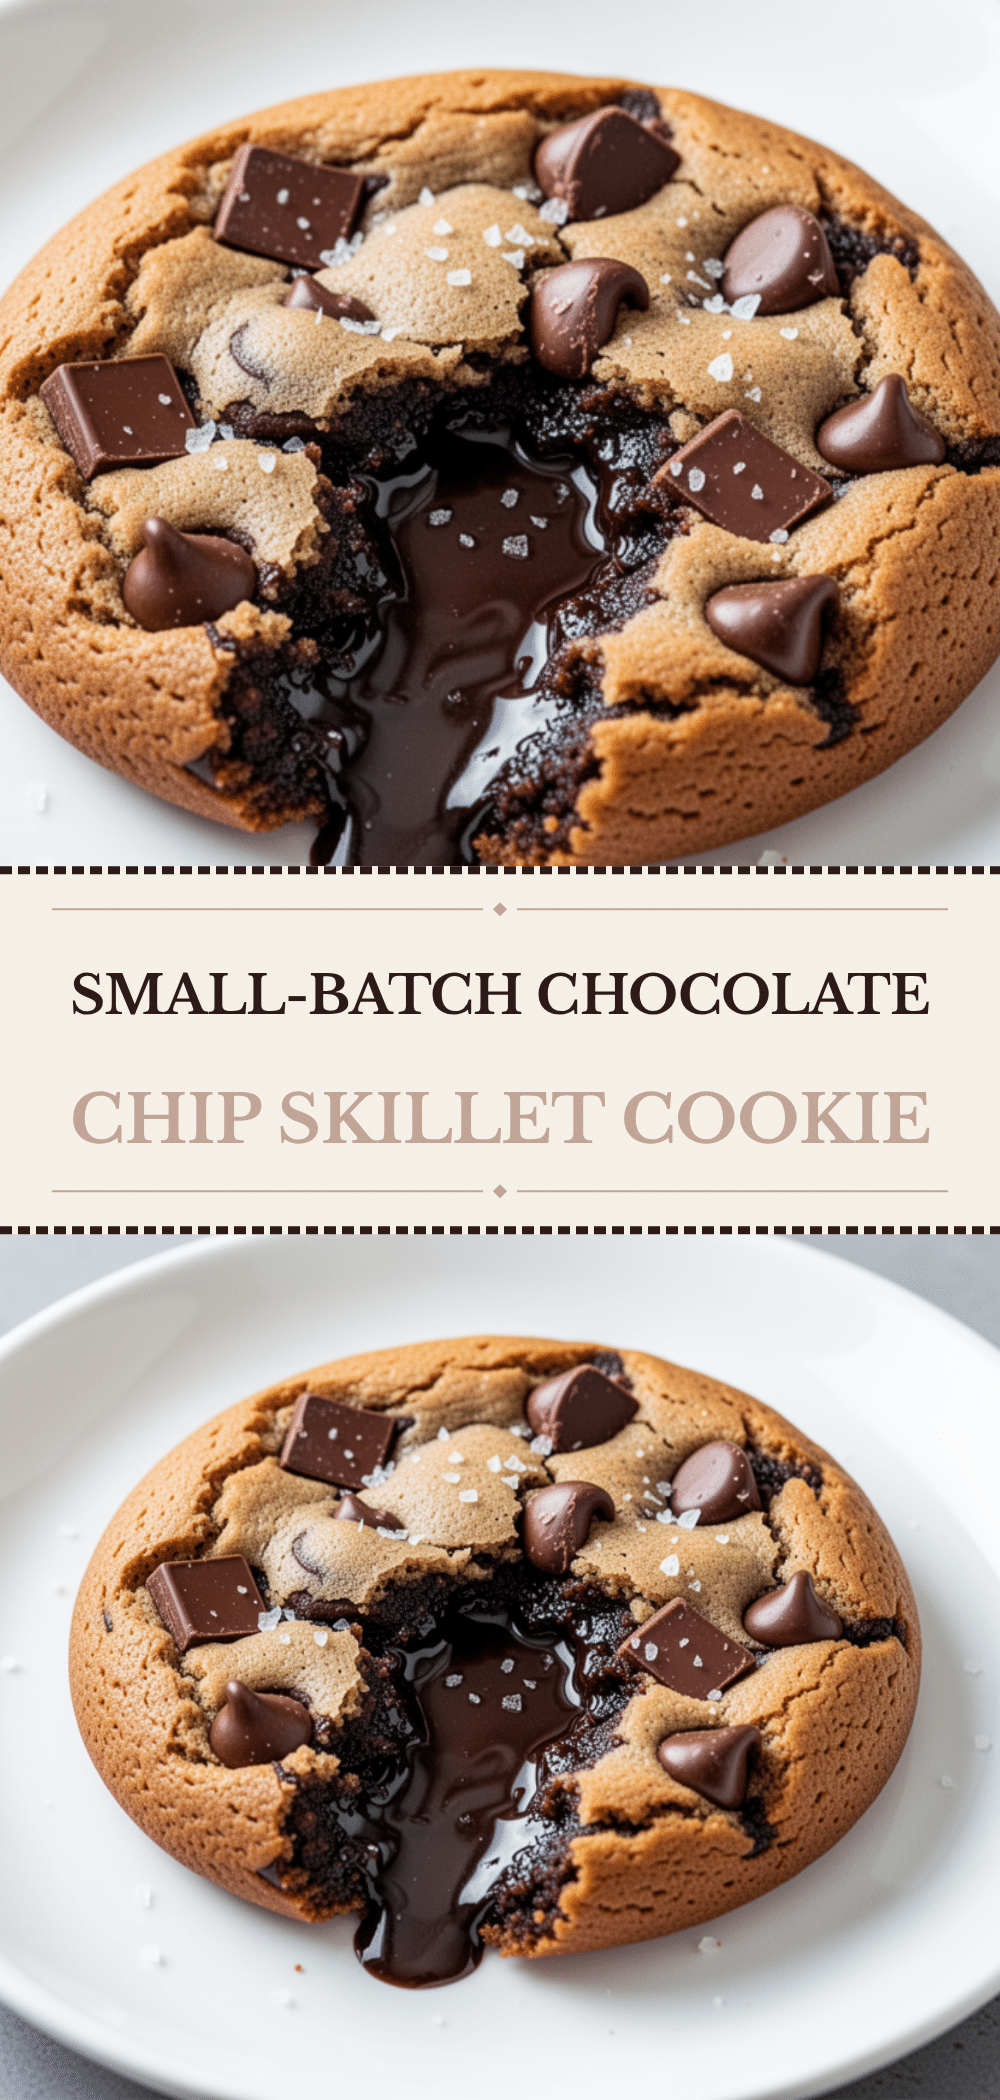

Small-Batch Chocolate Chip Skillet Cookie
- Total Time: 30 minutes
- Yield: 4 servings 1x
Description
A quick, one-pan dessert that is crispy on the edges, soft in the middle, and features a gooey chocolate center. This small-batch recipe requires no chilling and is ready in about 20 minutes.
Ingredients
- 4 tablespoons unsalted butter
- ½ cup light brown sugar
- 2 tablespoons granulated sugar
- 1 large egg yolk
- 1 teaspoon vanilla extract
- ½ cup all-purpose flour
- ¼ teaspoon baking powder
- ¼ teaspoon fine sea salt
- ½ cup semi-sweet chocolate chips
- Flaky sea salt (optional, for topping)
- Vanilla ice cream (for serving)
Instructions
- Preheat oven to 350°F (175°C). Grease a 6-inch or 8-inch oven-safe skillet with butter.
- Melt the butter in the skillet over medium heat on the stovetop. Continue heating for 1-2 minutes until the butter turns light golden brown and smells nutty. Remove from heat and let cool for 30 seconds.
- In a mixing bowl, whisk the warm browned butter, brown sugar, and granulated sugar until glossy and smooth.
- Add the egg yolk and vanilla extract, whisking until combined.
- Sift in the flour, baking powder, and fine sea salt. Fold gently with a spatula until just combined; do not overmix.
- Stir in half of the chocolate chips. Press the remaining half into the top of the dough. Spread the dough evenly in the skillet to about ¾-inch thickness.
- Bake for 15-18 minutes until edges are golden brown but the center still looks soft.
- Let cool in the pan for 5 minutes. Sprinkle with flaky sea salt if using.
- Serve warm directly from the skillet with vanilla ice cream.
Notes
Browning the butter adds a nutty, toffee-like flavor. Do not overbake; the center should look soft when removed from the oven as it will firm up while cooling. For a gluten-free version, use a 1:1 gluten-free flour blend. For dairy-free, use vegan butter and dairy-free chocolate chips.
- Prep Time: 10 minutes
- Cook Time: 20 minutes
- Category: Dessert
- Cuisine: American
Nutrition
- Serving Size: 1 slice (approx. 1/4
- Calories: 380
- Sugar: 28
- Sodium: 220
- Fat: 22
- Saturated Fat: 13
- Carbohydrates: 45
- Fiber: 2
- Protein: 4
Keywords: chocolate chip cookie, skillet cookie, small batch dessert, easy dessert, one pan dessert, brown butter cookie, gooey cookie


