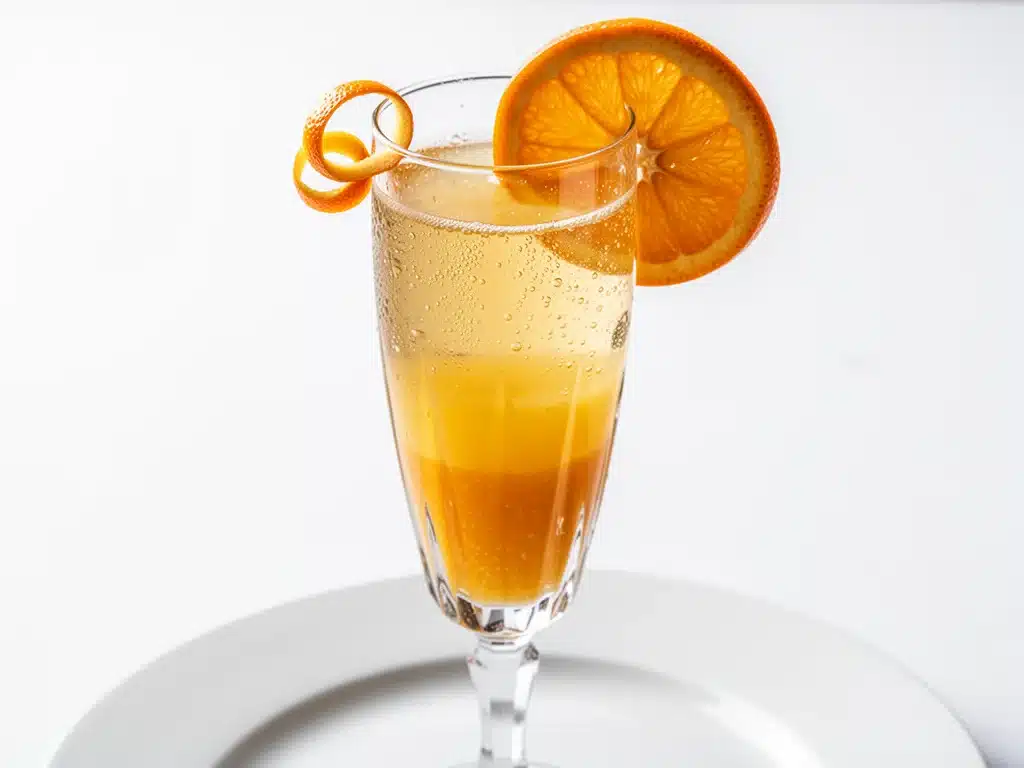
There is a specific kind of panic that sets in when you realize your brunch guests are thirty minutes away and you are still deciding on the main course. I’ve been there. It was a Sunday in April, the sun was streaming through the windows, and I had promised my friends that I would serve the “best brunch in the city.” I had spent hours prepping avocado toast and making a frittata that was barely warm. Then, I looked at the clock and realized I had forgotten the most important part of the celebration: the drinks.
Most people don’t realize that a great brunch isn’t just about the food. It’s about the atmosphere. And nothing screams “lazy, elegant weekend morning” quite like a pitcher of classic mimosa recipe cocktails sitting on the counter, ready to pour. I used to think making cocktails at 9 AM was too much work. I thought I’d have to muddle fruit, shake ice, and stress about measurements. But after one test run, I realized that this is actually the easiest, most foolproof drink you can make. It requires zero mixing skills, no ice, and if you mess up the ratio, you just pour more juice. It’s forgiving. It’s festive. And it makes you look like a hospitality pro.
Over the years, I’ve tested dozens of variations, from champagne floats to frozen mimosa bars, but I always come back to the classic. Why? Because simplicity is the ultimate sophistication. When you serve a well-balanced, cold, bubbly drink, people relax. They start talking. They forget they’re trying to eat while standing up. This classic mimosa recipe has saved my sanity on Easter, Mother’s Day, and random Saturday hangouts. It’s my go-to when I want to impress without actually doing any real work. Let’s talk about why this simple combination of champagne and orange juice is a brunch staple that never gets old.
Why You’ll Love This Classic Mimosa Recipe
There are about ten reasons I keep making this drink, but here are the big ones that keep it in my regular rotation:
- Zero Skills Required — Seriously, if you can pour a liquid from one container to another, you can master this. I’ve made this for people who have never held a wine glass before, and they were pouring perfect mimosas within five minutes. There’s no shaking, no straining, no fancy tools.
- Scalable for Crowds — This is where the magic happens. You can make one drink, or you can make a pitcher for twenty. I love that I can prep the juice base an hour before guests arrive. When they walk in, I just pop the champagne and let everyone build their own. It turns drink service into an interactive activity.
- Instantly Festive — There is something about the sound of bubbles hitting liquid that just lifts the mood. It makes a regular Tuesday feel like a celebration. My friends joke that they come over for the mimosa, not the food (though the food is usually pretty good too).
- Budget-Friendly Luxury — You don’t need to buy the most expensive champagne in the store. A decent Brut or Extra Dry sparkling wine works perfectly. It costs a fraction of what you’d pay at a restaurant, but the experience feels just as upscale.
- Customizable — This recipe is a blank canvas. Love it tart? Use more juice. Want it boozy? Add more champagne. Hate orange juice? Swap it for grapefruit or cranberry. It adapts to your guests’ tastes instantly.
This is my go-to when I need the party to start immediately, without me being stuck behind a bar all morning. No complicated techniques, no weird ingredients, just reliable, delicious bubbles that make everyone happy.
Ingredients You’ll Need
Here’s the best part: you probably have most of this already. A classic mimosa only needs two ingredients, but the quality of those two ingredients matters more than you think. I’m particular about the champagne and the juice, and I’ll tell you exactly why.
For the Base:
Champagne or Sparkling Wine (1 bottle, 750ml) — This is your foundation. I recommend a Brut or Extra Dry. Brut is drier and less sweet, which balances the juice well. Extra Dry is actually slightly sweeter, which some people prefer if they’re using tart juice. Avoid “Demi-Sec” unless you want something very sweet, like a dessert drink. Pro tip: Keep the bottle in the fridge for at least 4 hours before serving. Warm champagne loses its fizz and tastes flat. I learned this the hard way at a wedding where the champagne was lukewarm—it was a disaster.
Freshly Squeezed Orange Juice (2-3 cups) — I know, I know. You can use store-bought. But fresh makes a world of difference. Store-bought OJ often has a cooked, canned taste that clashes with the delicate bubbles. Fresh juice tastes bright and vibrant. If you’re in a rush, high-quality pulp-free juice from the refrigerated section is the next best thing. Avoid the ones from the shelf with preservatives. Also, chill the juice! Cold juice keeps the drink cold without diluting it with ice.
For the Garnish (Optional but Recommended):
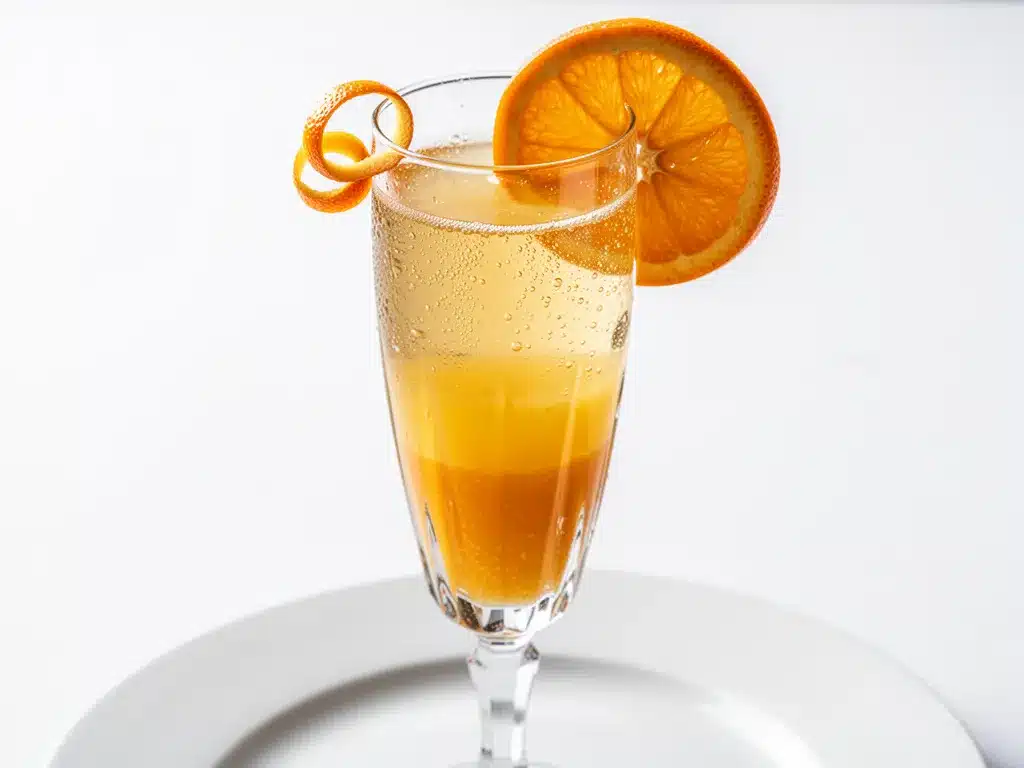
Orange Slices — A simple twist on the rim looks elegant. It also adds a hint of essential oil aroma when you bring the glass to your nose.
Fresh Berries — Strawberries or raspberries add a pop of color and a tart contrast to the sweet juice. I love using frozen berries if I don’t have fresh ones; they chill the drink even more as they thaw.
Herbs — A sprig of mint or rosemary can add a sophisticated, spa-like vibe. It’s a nice twist if you’re serving a savory brunch.
Sugar Rim — For a sweeter drink, rim the flute with sugar or even a mix of sugar and citrus zest. This is great if your guests have a sweet tooth.
Common Questions:
Can I use Prosecco? Yes! Prosecco is lighter and fruitier than Champagne. It works beautifully in mimosas and is often more affordable. Just keep in mind it’s less complex, but for a brunch, it’s perfect.
Can I use Cava? Absolutely. Spanish Cava is made the same way as Champagne (traditional method) but is often cheaper. It has nice acidity and works great here.
Equipment Needed
You don’t need fancy equipment for this. Here’s what I actually use.
Mimosa Flutes or Champagne Glasses — The tall, narrow flute is traditional because it keeps the bubbles alive longer. However, I’ve started using coupe glasses for a more vintage, Parisian cafe look. The wide bowl loses bubbles faster, but it looks stunning in photos. For kids or non-drinkers, I use small juice glasses.
Juicer or Blender — If you’re making fresh juice, a simple hand juicer or an electric juicer works. If you don’t have one, you can buy fresh-squeezed juice from the store and just strain it to remove pulp.
Pitcher — A large glass pitcher is essential for mixing the juice base if you’re making a batch. It makes pouring into the glasses much easier than trying to pour from a small bottle.
Ice Bucket (Optional) — You don’t put ice in the mimosa, but having a bucket to chill the champagne bottles is helpful. I keep a bucket of ice water in the fridge to cool bottles quickly if I forget to plan ahead.
Cocktail Strainer (Optional) — If you’re using fresh juice with pulp, a fine-mesh strainer can help remove the pulp for a clearer, more elegant drink. I usually skip this for casual brunches because I like the texture of pulp.
Garnish Tray — A small plate for orange slices and berries. It makes the serving station look organized and inviting.
How to Make It: Step-by-Step
Alright, let’s make this! I’m walking you through exactly how I do it, including the little tricks I’ve picked up over the years.
Step 1: Chill Everything
Before you even think about opening the champagne, make sure both the sparkling wine and the orange juice are cold. Ideally, they should be fridge-cold (around 35-40°F). If you’re in a hurry, put the champagne in the freezer for 20 minutes, but set a timer so it doesn’t explode. Cold liquid holds carbonation better. I can’t stress this enough—room temperature mimosas are flat and disappointing.
Step 2: Prepare the Juice
If you’re making fresh juice, juice your oranges now. I usually use about 2-3 cups for a standard batch. Strain it if you want it smooth. If you’re using store-bought juice, give it a good stir and taste it. If it’s too sweet, add a splash of lemon juice to balance it. Pour the juice into your pitcher and keep it chilled.
Step 3: Set Up Your Station
Arrange your glasses, champagne, juice pitcher, and garnishes on a counter or table. Have a separate bowl for peels and waste. I like to line up the glasses first so they’re ready to go. This prevents the “bottleneck” effect where everyone is waiting for you to pour.
Step 4: The Pour (The Most Important Part)
Here’s the trick that changes everything: tilt your glass at a 45-degree angle. Pour the champagne slowly down the side of the glass. This minimizes foam and prevents the drink from overflowing. Fill the glass about 2/3 full with champagne. Then, straighten the glass and top it off with orange juice. This ratio—roughly 2/3 champagne to 1/3 juice—is the classic balance. It’s bubbly but still tastes like orange juice. Adjust to your taste, but start here.
Step 5: Garnish and Serve
Garnish each drink with an orange slice or a berry. Serve immediately. The bubbles will dissipate if you let them sit, so get them to the table right away. I usually serve a few on a tray while the rest are being poured.
Total Time: 5 minutes active, plus chilling time.
Built-in Troubleshooting:
- Too much foam? You poured too fast or the champagne wasn’t cold enough. Next time, pour slower and tilt the glass more.
- Too sweet? Add more champagne or use a drier sparkling wine (Brut Nature).
- Too weak? Add more champagne. Remember, you can always add juice, but you can’t take it out.
Expert Tips & Tricks
Here’s everything I’ve learned from making this dozens of times. These tips will save you from my mistakes.
The 2/3 Rule
This is the golden ratio. Two-thirds champagne, one-third juice. It ensures the drink is effervescent and not just sweet orange juice. If you add too much juice, it becomes a heavy, flat drink. If you add too little, it’s just sparkling wine with a hint of citrus. Stick to this ratio for the best balance.
Chill the Glass
Put your glasses in the freezer for 15 minutes before serving. Cold glass keeps the drink cold longer and helps preserve the bubbles. It’s a small detail that makes a big difference in the drinking experience.
Don’t Shake the Bottle
Handle the champagne gently. Shaking it releases carbonation and can cause a messy explosion. Open it slowly and let the cork pop gently. If you’re nervous, wrap a towel around the bottle.
Fresh Juice Only
I know it’s extra work, but fresh juice tastes infinitely better. The oils in the peel and the brightness of the fruit make the drink taste alive. If you must use store-bought, choose the highest quality you can find and chill it well.
Pre-Mix for Crowds
If you’re serving a large group, you can pre-mix the juice and champagne in a large pitcher, but only do this 15 minutes before serving. If you mix it too early, the bubbles will escape. I usually keep the juice separate and let guests pour their own, which is more fun and ensures freshness.
Common Mistakes (and how to avoid them):
- Mistake: Using warm champagne — Fix: Chill it properly. No shortcuts.
- Mistake: Over-pouring — Fix: Use a measuring cup or the 2/3 rule. It’s easy to go overboard.
- Mistake: Adding ice — Fix: Don’t do it. Ice melts and dilutes the drink, ruining the texture. Cold ingredients are enough.
Variations & Substitutions
Once you’ve nailed the basic version, here’s how you can mix it up. I’ve tried all of these.
The Bellini
Swap orange juice for peach puree. This is the Italian classic. It’s sweeter and more luxurious. I love this for spring brunches.
The French 75 Twist
Use lemon juice instead of orange juice. It’s more tart and sophisticated. Add a splash of simple syrup if you want it sweeter.
Berry Mimosa
Use cranberry juice or pomegranate juice. It’s festive and tart. Great for holidays.
Tropical Mimosa
Use pineapple juice or mango juice. It’s sweet and exotic. Add a splash of rum for a Piña Colada vibe.
Spiked Apple Cider
For fall, use apple cider instead of juice. It’s warm and spiced. I’ve paired this with spiked apple cider margaritas for a full autumn drink menu.
Dietary Modifications:
- Low Sugar — Use grapefruit juice or a mix of cranberry and lime. It’s tart and less sweet.
- Alcohol-Free — Use sparkling grape juice or ginger beer. It’s still festive and bubbly.
- Keto — Use unsweetened almond milk and a splash of vodka or gin. Skip the juice.
Serving & Storage
How to Serve:
I usually serve mimosas in a standing buffet style. It encourages mingling and keeps the drinks cold. I pair them with savory brunch items like charred corn and black bean dip for a salty contrast.
Side Dishes:
Avocado toast, bacon, eggs benedict, pastries. Anything that pairs well with breakfast.
Storage Instructions:
Mimosas don’t store well because the bubbles disappear. Make them fresh. If you must pre-mix, keep it in a sealed pitcher in the fridge for up to 1 hour. Stir gently before serving.
Pro tip: If you’re serving a large crowd, have a backup bottle of champagne in the fridge in case you run out. It’s better to have extra than to run out halfway through brunch.
Nutrition Information
I’m not a nutritionist, but here’s the breakdown if you’re tracking.
Per Serving (based on 6 servings, 1/2 cup juice, 1/2 cup champagne):
- Calories: 120
- Carbs: 12g
- Sugar: 10g
- Alcohol: 10g
- Protein: 1g
- Fat: 0g
What’s Good:
Low calorie compared to other cocktails. No fat. Quick energy from sugar.
What to Know:
High in sugar from juice. Contains alcohol. Moderate calories.
My Take:
Look, this is a fun drink. It’s not health food. But it’s lighter than a beer or a sugary cocktail. Enjoy it in moderation.
Final Thoughts
So that’s my go-to classic mimosa recipe! I’ve probably talked your ear off at this point, but when you make a recipe this often, you have a lot to say about it.
This has saved brunches more times than I can count. It’s my answer to “what’s for drinks?” when I’m tired, don’t want to cook, and still want something that feels special. My guests are happy, I’m happy because I’m not stressed, and the bubbles keep coming.
Make it yours! Try different juices, garnishes, and wines. The best recipes are the ones you adapt to your tastes. If you make this, drop a comment and let me know what you think! I love hearing how recipes turn out in your kitchen.
Happy brunching! And I hope your kitchen smells as good as mine does right now.
Frequently Asked Questions
Can I use Prosecco instead of Champagne?
Yes! Prosecco is lighter and fruitier. It works beautifully in mimosas and is often more affordable. Just keep in mind it’s less complex, but for a brunch, it’s perfect.
Why did my mimosa foam over?
You probably poured too fast or the champagne wasn’t cold enough. Tilt the glass at a 45-degree angle and pour slowly down the side. This minimizes foam.
Can I make mimosas ahead of time?
Not really. The bubbles escape quickly. You can pre-chill the juice and champagne, but mix them right before serving. If you must pre-mix, do it no more than 15 minutes in advance.
What’s the best ratio of juice to champagne?
The classic ratio is 2/3 champagne to 1/3 juice. This gives you a bubbly, balanced drink. Adjust to your taste, but start here.
Can I add vodka to a mimosa?
Absolutely. That’s called a Screwdriver. Add 1-2 oz of vodka for a stronger drink. It’s great for a weekend hangover cure.
How many mimosas should I make per person?
Plan for 2-3 mimosas per person for a brunch. It depends on how long the brunch lasts and how much food is served.
Can I use frozen orange juice?
You can, but thaw it completely and mix well. Fresh juice is always better, but frozen works in a pinch. Just make sure it’s cold.
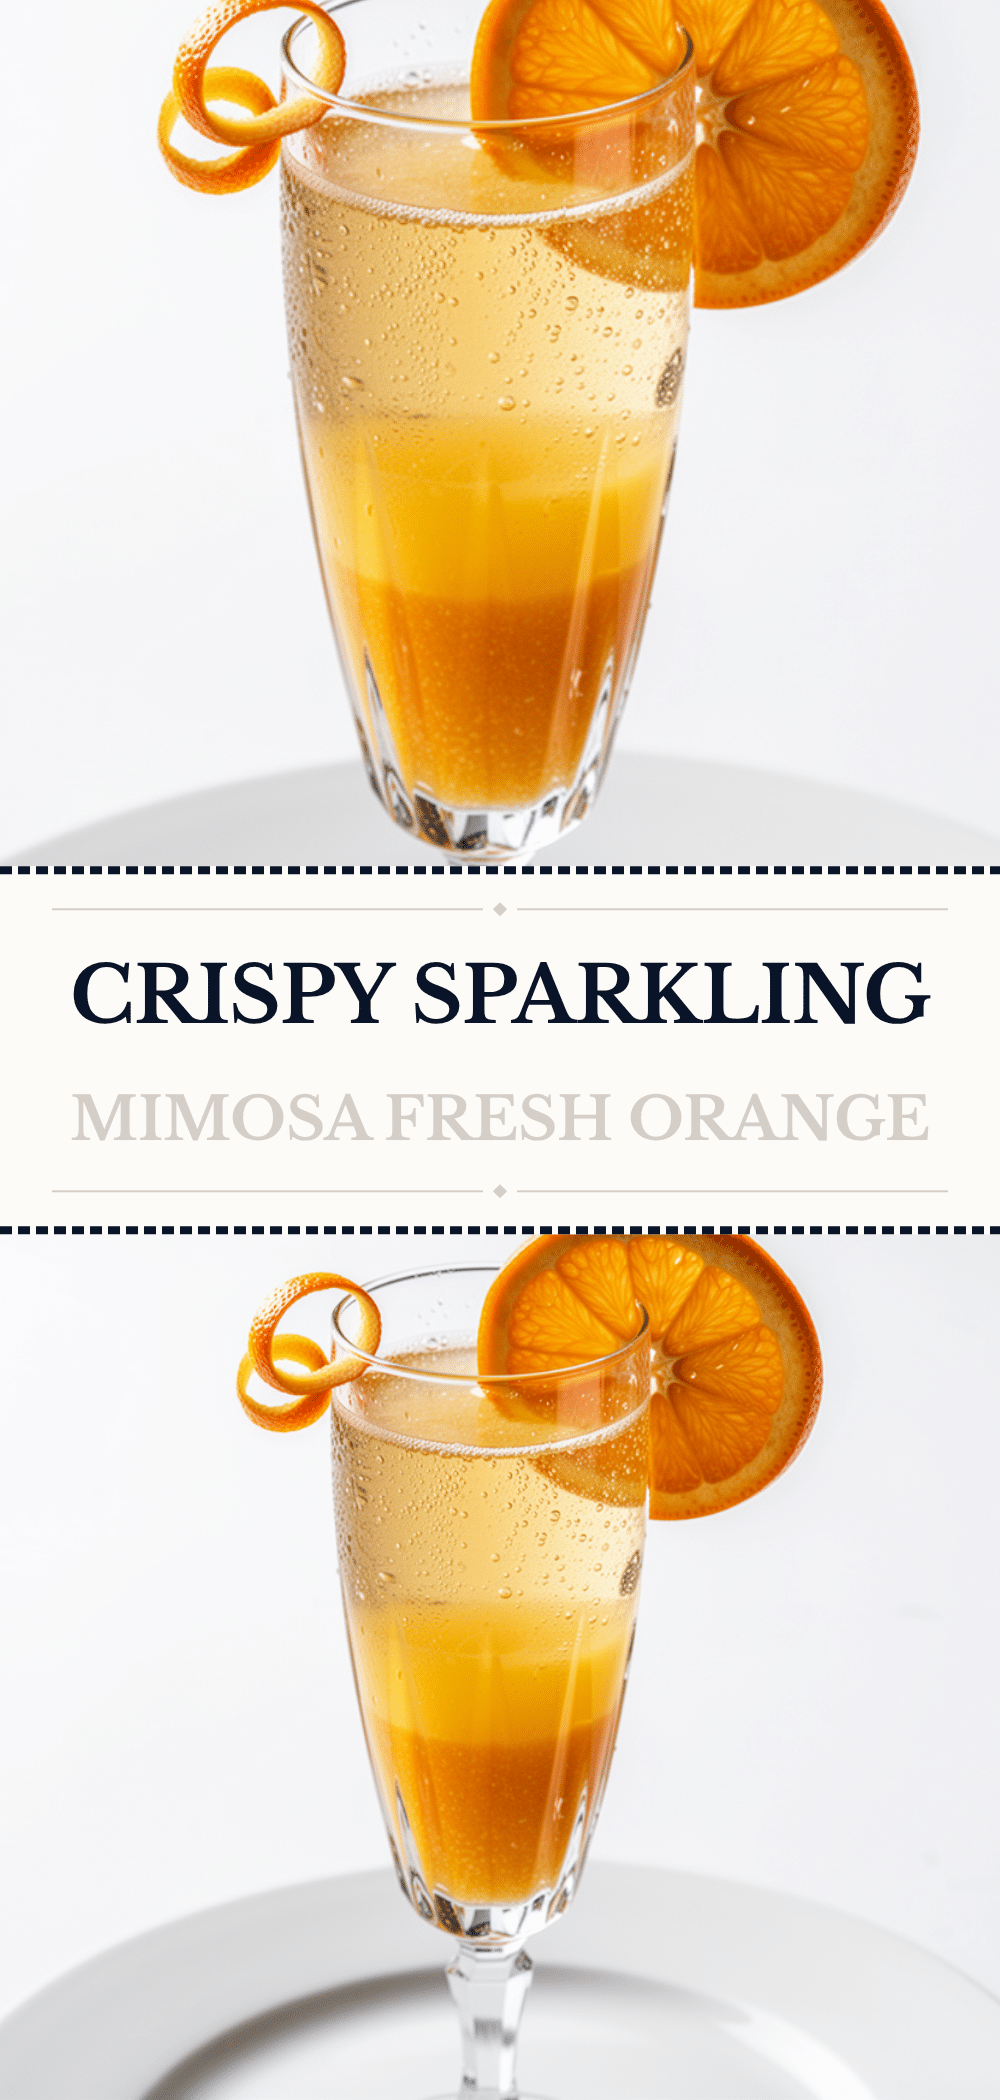
Pin This Recipe!
Classic Mimosa Recipe: Easy Brunch Cocktails
- Total Time: 5 minutes
- Yield: 6 servings 1x
Description
A foolproof, elegant brunch cocktail made with just two ingredients: chilled champagne and fresh orange juice. This classic recipe is scalable for crowds, requires zero mixing skills, and delivers a festive, bubbly drink perfect for any morning celebration.
Ingredients
- 1 bottle (750ml) Champagne or Brut/Extra Dry Sparkling Wine
- 2–3 cups Freshly Squeezed Orange Juice
- Orange slices (for garnish)
- Fresh berries such as strawberries or raspberries (optional garnish)
- Herbs like mint or rosemary (optional garnish)
- Sugar or citrus zest (for rimming, optional)
Instructions
- Chill the champagne and orange juice thoroughly in the refrigerator for at least 4 hours before serving.
- Prepare the orange juice by juicing fresh oranges or using high-quality store-bought juice; strain if desired to remove pulp.
- Set up a serving station with chilled glasses (flutes or coupes), the pitcher of juice, and the champagne.
- Tilt a glass at a 45-degree angle and slowly pour champagne down the side of the glass until it is about 2/3 full to minimize foam.
- Straighten the glass and top it off with orange juice to achieve a 2/3 champagne to 1/3 juice ratio.
- Garnish with an orange slice, berry, or herb sprig.
- Serve immediately to preserve carbonation.
Notes
Keep all ingredients very cold to maintain carbonation. Do not add ice to the drink as it will dilute the flavor. If serving a crowd, keep juice and champagne separate until serving time to prevent flatness. The classic ratio is 2/3 champagne to 1/3 juice.
- Prep Time: 5 minutes
- Cook Time: 0 minutes
- Category: Beverage
- Cuisine: French
Nutrition
- Serving Size: 1 glass (approx. 1/2
- Calories: 120
- Sugar: 10
- Carbohydrates: 12
- Protein: 1
Keywords: mimosa, brunch cocktail, champagne recipe, orange juice drink, easy cocktails, party drinks, classic mimosa, sparkling wine


