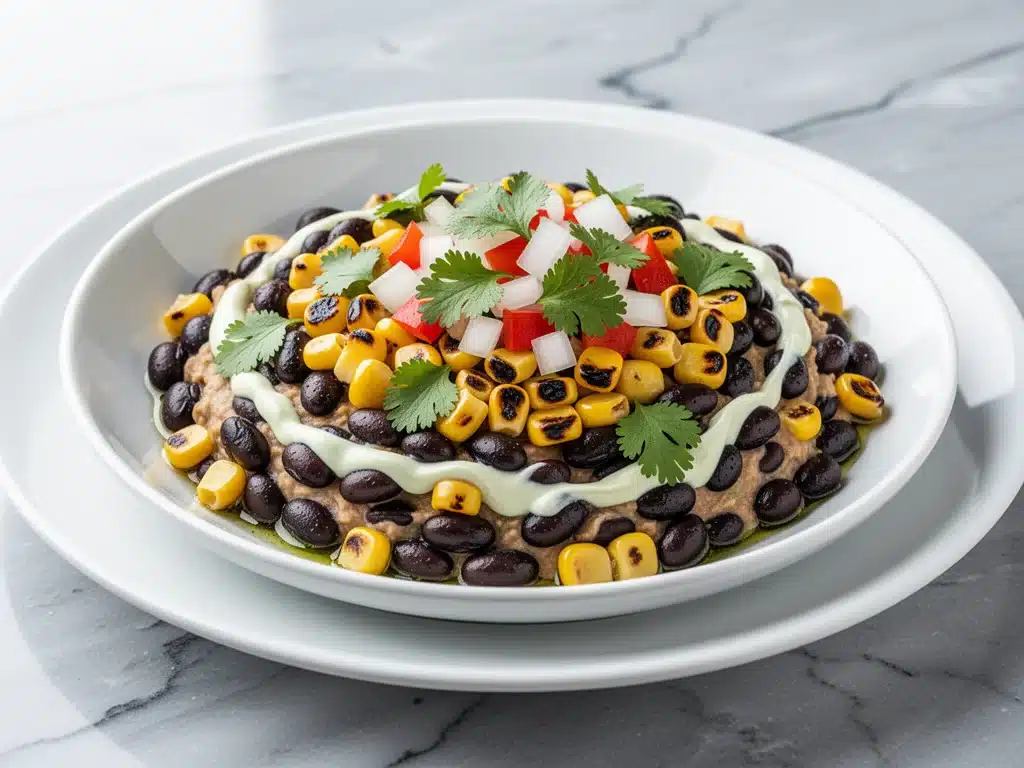
Last Labor Day, I showed up to my cousin’s backyard party with a store-bought spinach artichoke dip. You know the one—the cold, creamy, slightly sad container that sits in the middle of a table already overflowing with burgers and potato salad. I watched people politely pick at it, grab a chip, and then immediately move on to the grilled corn on the cob. It was a wake-up call. I wanted to bring something that smelled like summer, tasted like a smokehouse, and made people stop mid-conversation to ask, “Wait, where did you get this?”
That was the year I discovered that the best party food isn’t complicated—it’s just about getting the flavors right. I started experimenting with roasting corn right in the husk, then stripping the kernels off to get that perfect char. I mixed it with smoky black beans, a touch of cumin, and a big handful of cilantro. The result? This Labor Day Charred Corn and Black Bean Dip became the star of the table. It’s got that smoky depth you crave in July, the creaminess that makes it irresistible, and a zesty kick that cuts through all the heavy barbecue foods.
I’ve made this dip for three Labor Days in a row now. It started as an experiment and turned into a tradition. My aunt actually asks for the recipe before the grill is even lit. It’s become my go-to answer when people ask how to stand out at a potluck without spending hours in the kitchen. And here’s the honest truth: it’s incredibly easy. You don’t need fancy skills or obscure ingredients. You just need a grill (or a skillet), some corn, and a blender. If you can chop an onion and hit “blend,” you can master this. It’s the kind of dish that makes you look like a culinary genius while you’re actually just standing there sipping a cold beer.
What makes this grilled vegetable dip so special isn’t just the taste—it’s the vibe. It feels festive but grounded. It’s colorful, it’s vegetarian-friendly (so it doesn’t hog the protein on the grill), and it pairs perfectly with everything from tortilla chips to grilled chicken. I’ve served it to picky eaters who claim they “don’t like dip,” and they’ve always come back for seconds. It’s become the quiet hero of my holiday spreads, and I’m sharing the exact method I use so you can do the same.
Why You’ll Love This Charred Corn and Black Bean Dip
There are about a dozen reasons I keep making this dip, but if I had to narrow it down, it’s because it solves the biggest problem of any summer party: what do you serve when the grill is full? Here’s why this recipe has earned a permanent spot in my rotation.
Smoky Without the Smoke — You don’t need a smoker to get that BBQ flavor. Charring the corn and black beans gives you that roasted, slightly bitter depth that mimics hours of smoking. It’s smoky, but it’s fresh. It tastes like the corn was just pulled off the cob, not like it came from a can.
Ready in 20 Minutes — Seriously, if you have fresh corn, this goes fast. Roasting the corn takes about 15 minutes, and the rest is just blending. I’ve thrown this together after my kids finished their homework, and it was ready before the first guest knocked on the door. It’s the ultimate low-stress appetizer.
Pantry-Friendly Staples — You probably already have most of this in your fridge or pantry. Black beans, corn, lime, cilantro, cumin, and a little cream cheese or sour cream. I keep a can of black beans and a bag of frozen corn just in case I don’t have fresh ears on hand. It’s flexible like that.
Crowd-Pleasing Flavor Profile — It hits all the notes: salty, creamy, spicy, and zesty. The lime juice wakes up the palate, the cumin adds warmth, and the char adds complexity. I’ve served this to my husband’s football buddies, my vegetarian sister, and my kids’ friends. Everyone finds something they love in it.
Makes Amazing Leftovers — This actually tastes better the next day. The flavors meld together overnight, making it even richer and more cohesive. I deliberately make extra because it’s my go-to lunch dip on Tuesdays. It’s just as good cold from the fridge as it is warm from the oven.
This is my answer to “what should I bring?” when I’m invited to a Labor Day gathering. It’s reliable, delicious, and makes you look like you put in way more effort than you actually did. No complicated techniques, no weird ingredients, just solid, flavorful food that brings people together.
Ingredients You’ll Need
Here’s the best part: you probably have most of this already. I’m particular about a few things here, mostly because they make the difference between “good” and “wow.” But don’t worry, I’ll tell you exactly where to cut corners and where to splurge.
Fresh Corn on the Cob (4-5 ears) — This is the star. Fresh, sweet corn is non-negotiable for the best flavor. Look for ears with bright green husks and silks that are slightly brown but not dry. If you’re buying off-season, frozen corn works, but fresh is worth the trip to the store. The char on fresh corn is just superior.
Black Beans (1 can, 15oz / 425g) — Low-sodium is better so you can control the salt. Rinse and drain them thoroughly. I use a fine-mesh strainer to get all the liquid off. Wet beans make the dip soupy, and nobody wants that.
Red Onion (1 small, finely diced / about 100g) — Adds a sharp bite that balances the sweetness of the corn. Yellow onion works too, but red has a nicer pop of color and a slightly milder raw flavor. Don’t skip this—it adds texture.
Cilantro (½ cup, packed / about 30g) — Fresh is essential. Dried cilantro tastes like dust. Use the leaves and tender stems. I don’t bother with just the leaves because the stems have tons of flavor. It’s the herb that makes this taste like summer.
Lime (2 limes) — You’ll need the juice of one lime and the zest of one. Fresh lime juice is way brighter and more flavorful than bottled. Squeeze it into a cup and strain it to catch the seeds—nobody wants a seed in their dip.
Cumin (1 teaspoon, ground) — This is the spice that gives it that smoky, earthy backbone. Use a fresh jar if you can. Old cumin loses its potency and tastes flat. It’s cheap, so buy a new one if yours has been sitting in the back of the cupboard.
Garlic (2 cloves, minced / about 1 tablespoon) — Fresh garlic only. No jarred stuff here. It adds a pungent kick that ties everything together. Mince it finely so it blends smoothly.
Cream Cheese (8oz / 225g, softened) — This is what gives the dip its creamy, spreadable texture. I use full-fat block cream cheese, softened to room temperature. Light cream cheese works but the texture is grainier. Sour cream or Greek yogurt can be used as a lighter alternative, but the flavor changes slightly.
Mayonnaise (¼ cup / 60g) — Adds richness and helps emulsify the dip. I use standard mayonnaise, not the fancy artisanal stuff. It’s a background player that adds creaminess without tasting like mayo.
Chili Powder (½ teaspoon) — Adds a mild heat and color. Ancho chili powder is best for a smoky flavor, but regular chili powder works fine. Adjust based on how spicy you like it.
Salt and Black Pepper — To taste. Start with ½ teaspoon of salt and adjust after blending. Taste as you go.
Optional Add-ins:
Jalapeño (1, seeded and minced) — For extra heat. I add this if I’m serving it to people who like it spicy.
Cotija Cheese (¼ cup, crumbled) — For serving on top. Adds a salty, crumbly texture that’s classic in Mexican-inspired dishes.
Avocado (1, diced) — Folded in at the end for extra creaminess and healthy fats.
I keep a bag of tortilla chips in the pantry specifically for this. Blue corn chips are pretty, but standard yellow or white tortilla chips are the crowd favorite. I also like to serve it with warm pita wedges or crudité veggies like carrot sticks and bell pepper strips.
Equipment Needed
You don’t need fancy equipment for this. Here’s what I actually use in my kitchen.
Grill or Cast Iron Skillet — I prefer the grill for that authentic charred flavor. A gas grill works fine, but charcoal adds a nice smokiness. If you don’t have a grill, a cast iron skillet over high heat works well. It sears the corn quickly and gets those blackened spots.
Blender or Food Processor — A high-speed blender gives the smoothest texture. I use my Vitamix, but a standard blender works too. If you want a chunkier dip, a food processor is better because it chops rather than purees. I like it slightly chunky, so I pulse it a few times instead of blending until smooth.
Sharp Knife — For slicing the corn off the cob and dicing the onion. A dull knife is dangerous and makes a mess. I use my chef’s knife for everything here.
Measuring Cups and Spoons — Pretty standard stuff. I use a 1-cup measuring cup for the cilantro and spices. Accuracy helps, especially with the cumin and salt.
Spatula — For scraping the sides of the blender and transferring the dip to a serving bowl. Silicone spatulas are great because they get every bit out.
Serving Bowl — A shallow bowl works best for dipping. It looks nice and makes it easy for guests to reach the chips. I use a rustic ceramic bowl that matches my outdoor table setting.
Optional but nice:
Microplane or Zester — For getting the lime zest. It’s easier than trying to grate it with a knife.
Colander — For rinsing the black beans. I use a fine-mesh one to catch all the small bits.
Don’t have a grill? Use a broiler. Put the corn on a baking sheet and broil for 10-15 minutes, turning every few minutes. It won’t be exactly the same, but it’s close. I’ve done this in the winter when the weather is too cold, and it still tastes great.
How to Make It: Step-by-Step
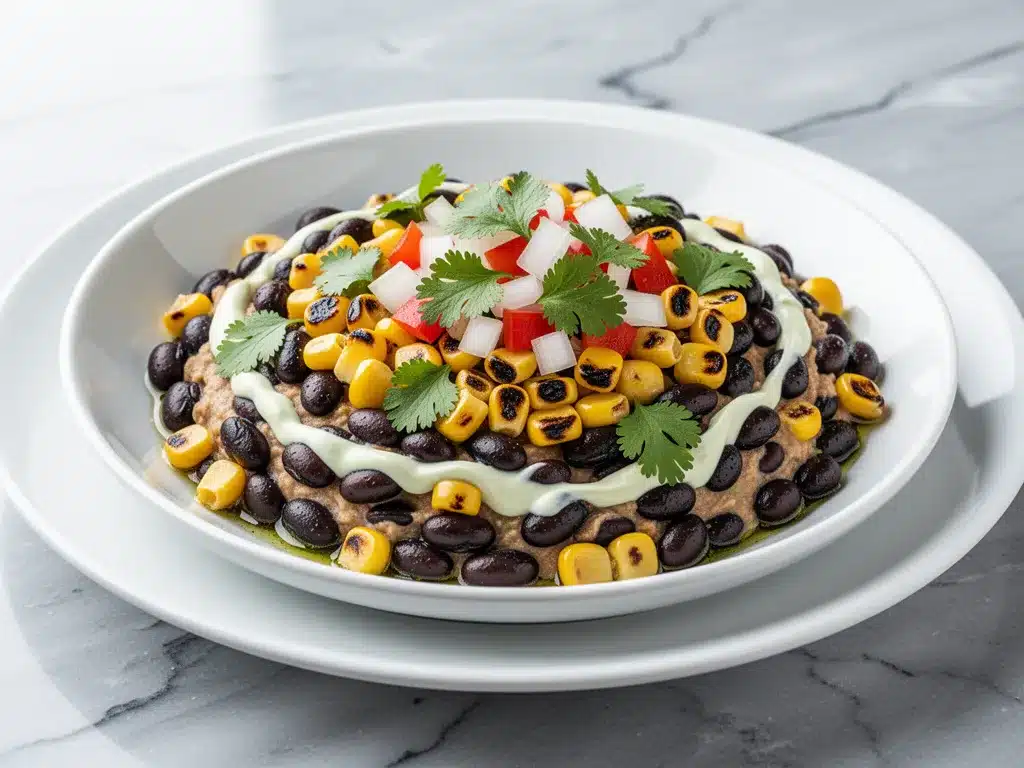
Alright, let’s make this! I’m walking you through exactly how I do it, including the little tricks I’ve picked up over the years.
Step 1: Prep the Corn (5 minutes)
Before you start cooking, husk your corn. Remove the silks and wash the ears. I like to leave them whole because it’s easier to char them evenly. If you’re using frozen corn, skip this step and just thaw it. Fresh corn needs to be dry before it goes on the heat, so pat it down with a paper towel.
Step 2: Char the Corn (10-15 minutes)
Heat your grill or skillet over medium-high heat. Place the corn directly on the grates. Cook for 10-15 minutes, turning every 2-3 minutes. You want the kernels to turn black in spots and get a nice char. Don’t rush this—if you cook it too fast, the outside burns before the inside is hot. The corn should smell sweet and smoky. If using a skillet, add a little oil to prevent sticking. Once charred, let the corn cool slightly so you can handle it.
Step 3: Cut the Kernels (3 minutes)
Stand the corn ear upright in a large bowl (this catches the stray kernels). Use a sharp knife to slice down the side, removing the kernels. Rotate the ear and repeat until all kernels are off. Scrape the cob with the back of your knife to get out the creamy “milk”—that stuff is pure flavor. You should have about 3-4 cups of kernels.
Step 4: Blend the Base (2 minutes)
In a blender or food processor, combine the cream cheese, mayonnaise, black beans (rinsed and drained), diced red onion, minced garlic, cumin, chili powder, salt, and pepper. Pulse until the mixture is combined but still slightly chunky. If you’re using a blender, you might need to stop and scrape down the sides. Don’t over-blend—you want texture.
Step 5: Add the Corn and Cilantro (1 minute)
Add the charred corn kernels, lime juice, and lime zest to the blender. Pulse again just until combined. The corn should be distributed evenly. Turn off the machine and fold in the chopped cilantro with a spatula. This preserves the fresh flavor of the herb. Taste and adjust seasoning. Need more lime? Add it. Need more salt? Add it. This is your dip, so make it how you like it.
Step 6: Chill and Serve (30 minutes)
Transfer the dip to a serving bowl. Cover and refrigerate for at least 30 minutes to let the flavors meld. This step is crucial—it allows the spices to bloom and the cream cheese to firm up slightly. Top with crumbled cotija cheese, extra cilantro, or a drizzle of hot sauce if you like. Serve with tortilla chips, pita wedges, or crudité.
Total Time: About 30 minutes (15 minutes active, 10 minutes charring, 5 minutes prep, 30 minutes chilling).
Troubleshooting: If the dip is too thick, add a splash of water or milk to thin it out. If it’s too thin, add more cream cheese or refrigerate it longer. If it’s not flavorful enough, add more lime juice or salt. Always taste before serving.
Expert Tips & Tricks
Here’s everything I’ve learned from making this dozens of times. These tips will save you from my mistakes.
Get the Char Right
This is the #1 tip. The char is what makes this dip taste smoky and complex. If you’re grilling, don’t be afraid to let the corn sit on the grates for a minute to get black spots. If you’re using a skillet, get it hot before adding the corn. The Maillard reaction is your friend here. I learned this the hard way with pale, bland corn that tasted like boiled vegetables.
Rinse Those Beans
Black beans come in a starchy liquid that can make the dip gloopy and metallic-tasting. Rinse them thoroughly under cold water until the water runs clear. I use a fine-mesh strainer and give them a good shake to remove excess moisture. Dry beans blend better and taste cleaner.
Room Temperature Cream Cheese
Cold cream cheese doesn’t blend smoothly. It creates lumps that are impossible to fix. Take it out of the fridge 15 minutes before you start. If you forget, microwave it in 10-second bursts until it’s soft. This ensures a creamy, smooth dip without grainy bits.
Fresh Lime Juice
Bottled lime juice has a preservative taste that ruins the fresh vibe of this dip. Freshly squeezed is non-negotiable. I squeeze two limes to be safe—one for juice, one for zest. The zest adds aromatic oils that juice alone can’t provide.
Don’t Skip the Rest
Chilling the dip for 30 minutes isn’t just a suggestion. It’s what makes the flavors come together. The spices need time to hydrate and distribute. If you serve it immediately, it tastes like separate ingredients. Chill it, and it tastes like a cohesive dip. I know you want to eat it now, but wait 30 minutes.
Common Mistakes (and how to avoid them)
Mistake: Dip is too watery
Fix: You didn’t drain the beans enough, or you added too much lime juice. Drain the beans well and add lime juice gradually. If it’s already watery, add more cream cheese or refrigerate to thicken.
Mistake: Dip is too thick
Fix: Cream cheese can absorb moisture from the corn. Add a splash of water, milk, or more mayonnaise to loosen it up. Blend again to incorporate.
Mistake: Dip is bland
Fix: It probably needs more salt and acid. Taste it. Add salt in ¼ teaspoon increments. Add lime juice if it tastes flat. Spices lose potency over time, so use fresh cumin.
Pro Tricks I’ve Learned:
For Extra Smokiness
Add a pinch of smoked paprika to the blend. It boosts the charred flavor without adding more heat. I do this when I’m using a skillet instead of a grill.
For Better Texture
Pulse the blender in short bursts. Over-blending turns the corn into mush. You want distinct kernels for texture. I pulse 5-6 times and then fold in the cilantro by hand.
Make-Ahead Strategy
This dip actually improves overnight. Make it the night before and store it in the fridge. The flavors meld and deepen. It’s ready to serve straight from the fridge, no reheating needed. I make it on Sunday for Monday potlucks.
Variations & Substitutions
Once you’ve nailed the basic version, here’s how you can mix it up. I’ve tried all of these, and they all work.
Spicy Version
Add a diced jalapeño or a teaspoon of chipotle peppers in adobo sauce. This adds a serious kick. I use this version when I’m serving it to people who like heat. Chipotle peppers add a smoky heat that pairs perfectly with the corn.
Vegetarian Protein Boost
Add ½ cup of cooked quinoa or black lentils to the blend. It adds protein and makes the dip more filling. I do this when I’m serving it as a main dish for a vegetarian guest. It adds a nice nutty texture.
Lighter Version
Replace the cream cheese with Greek yogurt and the mayonnaise with extra lime juice. It’s tangier and lighter, but still creamy. I make this when I’m trying to be “healthy,” though it’s still a dip, so portion control applies.
Mexican Street Corn Style
Add a tablespoon of cotija cheese and a pinch of chili powder to the blend. Top with extra cotija and lime wedges. This version tastes like elote (Mexican street corn) in dip form. It’s salty, creamy, and spicy.
Dietary Modifications:
Gluten-Free
This recipe is naturally gluten-free. Just make sure your tortilla chips are certified gluten-free. Most corn chips are, but check the label.
Dairy-Free
Replace cream cheese with dairy-free cream cheese (like Miyoko’s or Kite Hill) and mayonnaise with vegan mayo. It’s not quite the same, but it works. I’ve made this for my dairy-free friend, and she loved it.
Vegan
Use vegan cream cheese, vegan mayo, and skip the cotija cheese (or use nutritional yeast for a cheesy flavor). Add a tablespoon of tahini for extra richness. It’s creamy and delicious.
Different Bases:
Tortilla Chips
Standard choice. Blue corn chips add color and a slightly sweeter flavor. Pita chips are good for a crunchier texture.
Crudité
Serve with carrot sticks, celery, bell pepper strips, and cucumber rounds. It’s a healthier option that still satisfies the craving.
Bread
Warm baguette slices or pita wedges work well. Toast them lightly for extra crunch. I serve this with grilled bread for a rustic touch.
Serving & Storage
How to Serve: I usually serve this straight from the fridge in a shallow bowl. It looks rustic and stays cool. But here are other ways I’ve enjoyed it:
Side Dishes:
Grilled chicken or steak (this dip is perfect for dipping meat).
Tacos (use it as a topping instead of sour cream).
Burrito bowls (add a spoonful for extra flavor).
Salads (use it as a dressing base for a creamy cilantro-lime dressing).
Toppings Bar:
When I have guests, I put out: extra cilantro, lime wedges, hot sauce, crumbled cotija cheese, and diced avocado. Everyone customizes their bowl. It’s fun and interactive.
Wine Pairing:
Not a wine expert, but my wine-snob friend says a crisp Sauvignon Blanc or a light Pinot Grigio works great with this. It cuts through the creaminess and complements the lime.
Storage Instructions:
Refrigerator:
Store in an airtight container for up to 4 days. The dip will thicken in the fridge—totally normal. Stir it before serving and add a splash of water or lime juice to loosen it up.
Reheating:
This dip is best served cold or at room temperature. Reheating it can make the cream cheese separate and the texture grainy. If you must warm it, do it gently on low heat and stir constantly. But honestly, it’s just as good cold.
Freezing:
Honestly, this doesn’t freeze well. The cream cheese and mayo can separate when thawed, resulting in a grainy, broken texture. Make it fresh or store in the fridge for up to 4 days. If you need to make it ahead, prepare it the night before and keep it chilled.
Meal Prep:
Make the dip on Sunday and store it in the fridge. It’s ready to grab for mid-week lunches or last-minute guests. It takes 5 minutes to stir and serve. Pro tip: If leftovers are drying out, stir in a tablespoon of lime juice and a splash of water when reheating. Brings back that creamy texture.
Nutrition Information
I’m not a nutritionist, but here’s the breakdown if you’re tracking. This is per serving (based on 8 servings of ¼ cup).
Calories: 180
Protein: 5g
Carbs: 22g
Fiber: 4g
Sugar: 4g
Fat: 9g
Saturated Fat: 3g
Cholesterol: 10mg
Sodium: 280mg
Calcium: 60mg
What’s Good:
Decent fiber from the corn and black beans.
Contains healthy fats from the mayo and cream cheese (if using full-fat).
Can add vegetables to boost nutrition further.
What to Know:
Higher in calories from the cream cheese and mayo.
Contains dairy.
Moderate sodium (use low-sodium beans to reduce).
My Take:
Look, this is a dip with cream cheese and mayo. It’s not a diet food. But it’s way better than store-bought chips and dip, and it’s packed with veggies. When I want to make it lighter, I use Greek yogurt and reduce the mayo. But usually? I just eat a reasonable portion and enjoy it. It’s about balance.
Final Thoughts
So that’s my Labor Day Charred Corn and Black Bean Dip! I’ve probably talked your ear off at this point, but when you make a recipe this often, you have a lot to say about it. This has saved me from bringing sad, store-bought dips to parties more times than I can count. It’s my answer to “what should I bring?” when I’m tired, don’t want to cook a full meal, and still want something that tastes amazing.
My guests are always impressed, my family loves it, and I love that it’s so easy to make. It’s the kind of recipe that takes the stress out of hosting. Make it yours! Try different add-ins, swap in your favorite vegetables, or adjust the spice level. The best recipes are the ones you adapt to your tastes.
If you make this, drop a comment and let me know what you think! I love hearing how recipes turn out in your kitchen. And if something doesn’t work, tell me that too—I’m here to help troubleshoot. Happy cooking! And I hope your Labor Day spread is filled with delicious, smoky, creamy goodness.
Frequently Asked Questions
Q: Can I use frozen corn instead of fresh?
A: Yes, you can. Thaw the corn first and pat it dry. You won’t get the same charred flavor, but you can still roast it in a skillet or oven to get some browning. It’s a great option in the winter when fresh corn is expensive. The flavor won’t be as sweet, but it still works.
Q: Why did my dip turn out watery?
A: Usually, this means the beans weren’t drained well enough, or the corn released too much moisture. Rinse the beans thoroughly and shake off excess water. If the corn is very juicy, let it sit in a colander for a few minutes before blending. You can also add more cream cheese to thicken it.
Q: Can I make this ahead for a party?
A: Absolutely! In fact, it’s better the next day. Make it up to 2 days ahead and store it in the fridge. Let it come to room temperature for 30 minutes before serving. This allows the flavors to meld and the dip to soften slightly. It’s perfect for meal prep.
Q: Can I use a food processor instead of a blender?
A: Yes, a food processor is actually better if you want a chunkier texture. A blender will puree the corn more, resulting in a smoother dip. I prefer a food processor because I like to see the corn kernels. Pulse it a few times and stop before it becomes a paste.
Q: How spicy is this dip?
A: The base recipe is mild. The cumin and chili powder add a little warmth, but it’s not hot. If you like spice, add a jalapeño or some hot sauce. I usually serve it with hot sauce on the side so people can adjust their own heat level.
Q: Can I double this recipe?
A: Yes, double everything and use a larger blender or food processor. The cooking times stay the same. I do this when I’m feeding a crowd. Just make sure your appliance is big enough to blend the ingredients evenly.
Q: What’s the best way to reheat leftovers?
A: This dip is best served cold or at room temperature. Reheating can cause the dairy to separate. If you must warm it, do it gently on low heat and stir constantly. But honestly, it’s just as good cold from the fridge.
Pin This Recipe!
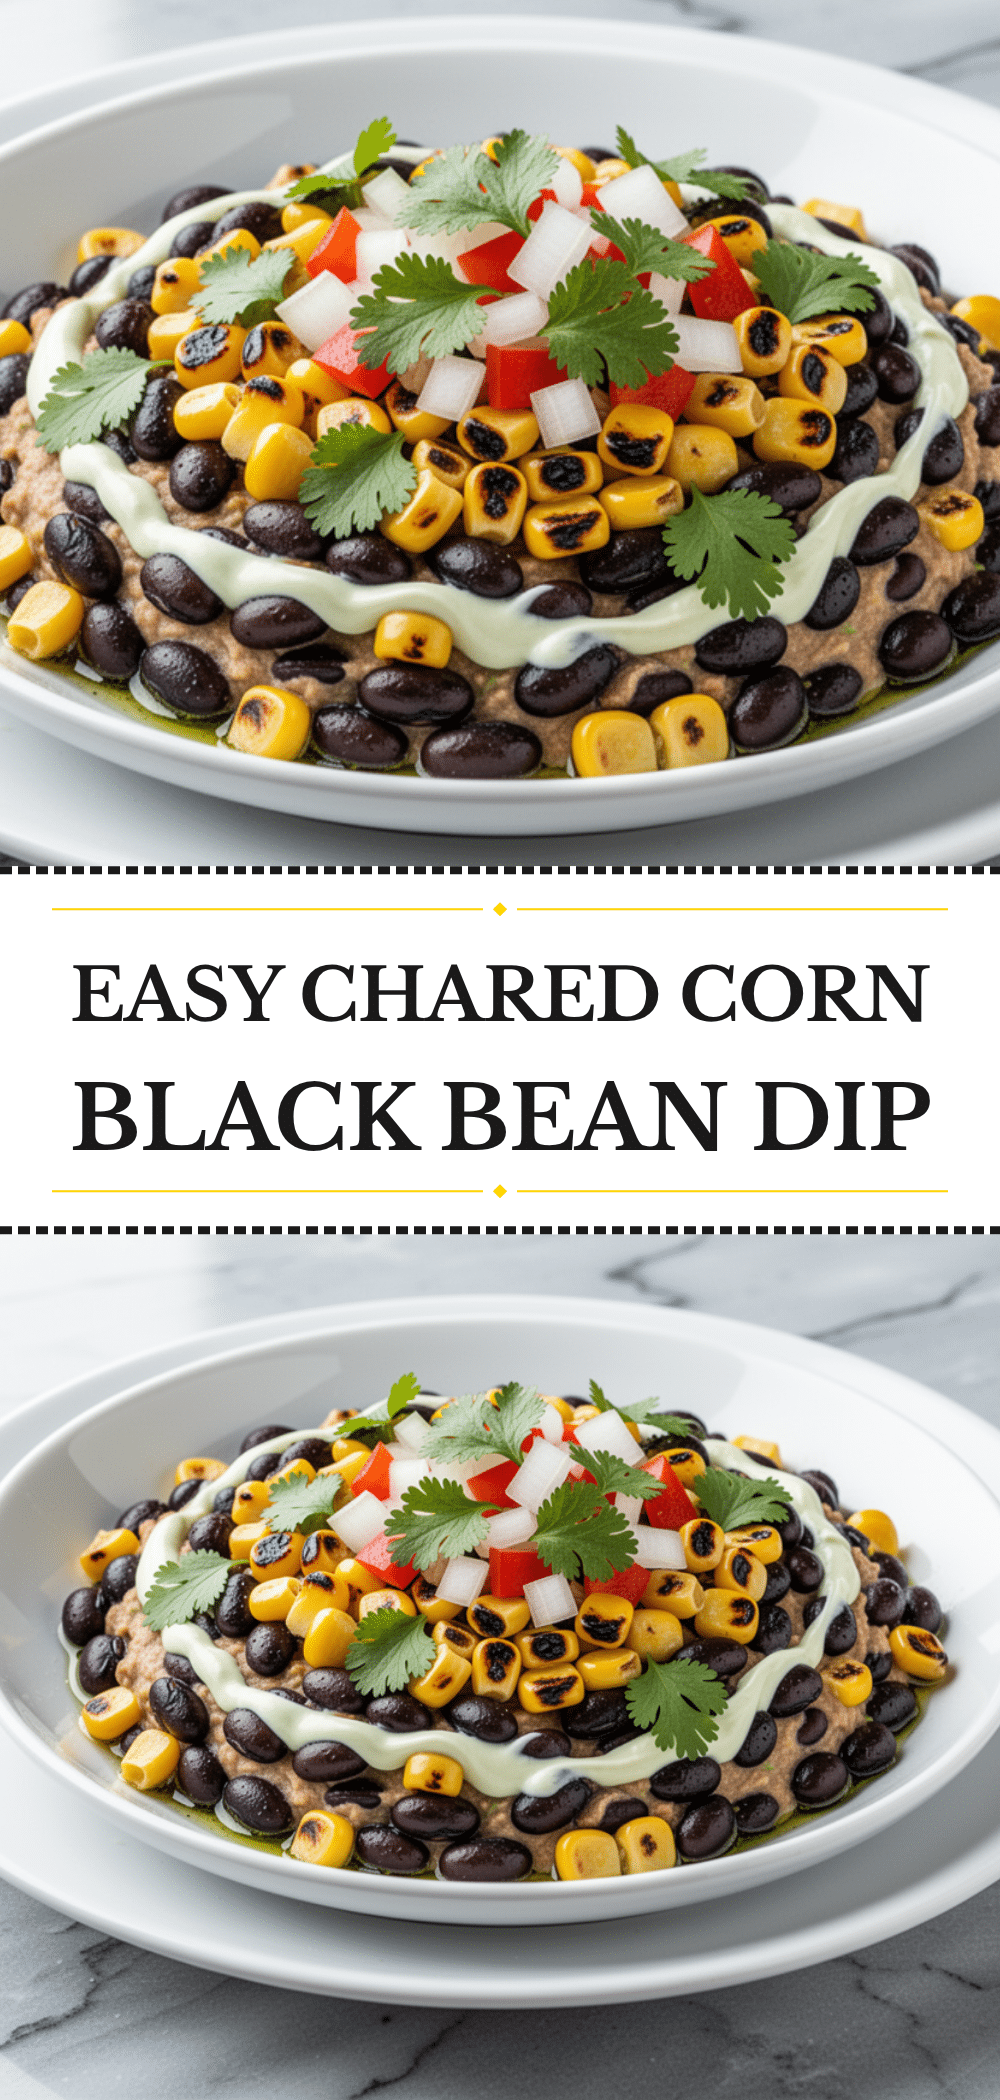

Labor Day Charred Corn and Black Bean Dip
- Total Time: 30 minutes
- Yield: 8 servings 1x
Description
A smoky, creamy, and zesty dip made with charred fresh corn and black beans. This easy-to-make appetizer is perfect for summer parties, potlucks, and gatherings, offering a flavorful alternative to store-bought dips.
Ingredients
- 4–5 ears fresh corn on the cob
- 1 can (15oz / 425g) black beans, low-sodium
- 1 small red onion, finely diced
- ½ cup packed fresh cilantro
- 2 limes (juice of 1, zest of 1)
- 1 teaspoon ground cumin
- 2 cloves garlic, minced
- 8oz (225g) cream cheese, softened
- ¼ cup (60g) mayonnaise
- ½ teaspoon chili powder
- Salt and black pepper to taste
- Optional: 1 jalapeño, seeded and minced
- Optional: ¼ cup cotija cheese, crumbled
- Optional: 1 avocado, diced
Instructions
- Husk the corn, remove silks, and wash the ears. Pat them dry with a paper towel.
- Heat a grill or cast iron skillet over medium-high heat. Char the corn directly on the grates or in the skillet for 10-15 minutes, turning every 2-3 minutes until blackened in spots. Let cool slightly.
- Stand the corn ear upright in a large bowl and slice off the kernels using a sharp knife. Scrape the cob to release the creamy ‘milk’. You should have about 3-4 cups of kernels.
- In a blender or food processor, combine the softened cream cheese, mayonnaise, rinsed and drained black beans, diced red onion, minced garlic, cumin, chili powder, salt, and pepper. Pulse until combined but still slightly chunky.
- Add the charred corn kernels, lime juice, and lime zest to the blender. Pulse again just until combined. Turn off the machine and fold in the chopped cilantro with a spatula.
- Taste and adjust seasoning with more lime or salt if needed. Transfer to a serving bowl, cover, and refrigerate for at least 30 minutes to let flavors meld.
- Serve chilled with tortilla chips, pita wedges, or crudité. Top with optional cotija cheese, extra cilantro, or hot sauce.
Notes
For best results, use fresh corn and room temperature cream cheese to ensure a smooth texture. Rinse black beans thoroughly to remove excess starch. The dip tastes better after chilling for 30 minutes as the flavors meld. It can be made ahead and stored in the refrigerator for up to 4 days. Do not freeze as the texture may become grainy.
- Prep Time: 15 minutes
- Cook Time: 15 minutes
- Category: Appetizer
- Cuisine: Mexican-Inspired
Nutrition
- Serving Size: ¼ cup
- Calories: 180
- Sugar: 4
- Sodium: 280
- Fat: 9
- Saturated Fat: 3
- Carbohydrates: 22
- Fiber: 4
- Protein: 5
Keywords: charred corn dip, black bean dip, labor day recipe, summer appetizer, vegetarian dip, grilled corn, party food, easy dip, smoky dip


