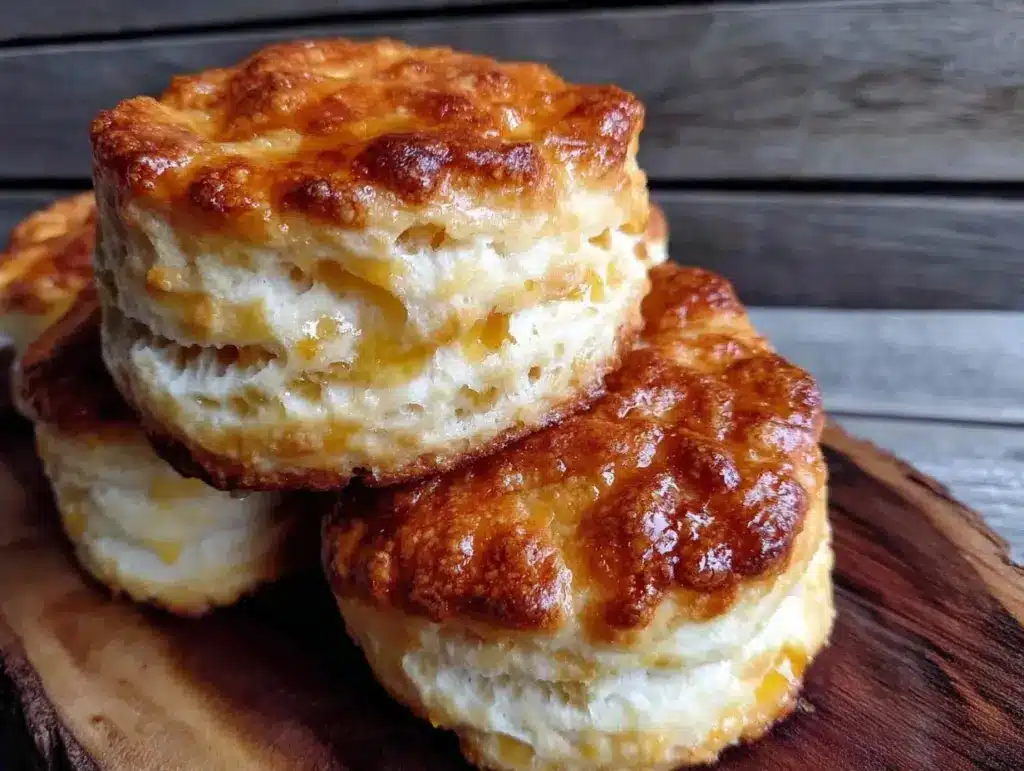
I have a confession to make. For the better part of a decade, I treated biscuits like a necessary evil. You know the kind—the dense, heavy disks that sit on your plate like little cement blocks, demanding you chew them into submission before you can even think about slathering on butter. I used to think store-bought refrigerated dough was the peak of human achievement. I was wrong. Terribly, hilariously wrong.
The turning point happened on a rainy Saturday morning last November. My husband had woken up early, the house was quiet, and I wanted to surprise him. I grabbed a bag of buttermilk biscuits from the fridge, popped them in the oven, and waited. Twenty minutes later, I pulled out a tray of pale, flat circles. I took a bite. It tasted like warm flour and regret. I almost cried. Not because I was sad, but because I knew I could do better. I knew there was a secret to that golden, shaggy, flaky perfection I’d seen in old cookbooks and southern diners, and I was tired of guessing.
I went back to the drawing board. I tested this Easy Buttermilk Biscuits Ready in 20 Min recipe at least six times. I overmixed them until they were rubber. I used warm butter until they spread into pancakes. I skipped the cold butter and ended up with dense bricks. But on the seventh try, I finally nailed it. I learned the one trick that changes everything: keeping everything freezing cold and handling the dough with the lightest touch possible.
Now, this Easy Buttermilk Biscuits Ready in 20 Min is my go-to. It’s faster than waiting for delivery, cheaper than buying a box, and infinitely better than anything you’ll find at a gas station. They come out golden brown on the outside, tender and airy on the inside, and they smell like heaven. If you’ve ever struggled with biscuits that won’t rise or turn out tough, this is your breakthrough moment. Let’s get baking.
Why You’ll Love This Buttermilk Biscuit Recipe
There is something deeply satisfying about pulling a tray of hot, steaming biscuits out of the oven. It’s comfort food in its purest form. But beyond the nostalgia factor, this recipe solves the actual problems that make baking biscuits so frustrating. Here is why this Easy Buttermilk Biscuits Ready in 20 Min has earned a permanent spot in my rotation:
- Speed is Real — From mixing bowl to oven, it takes about 20 minutes. I’ve made these after running out of milk for coffee and having zero time to spare. They are the ultimate rescue dinner for breakfast.
- Flaky Layers for Days — The secret isn’t magic; it’s physics. By using cold butter and folding the dough, you create distinct layers. When they hit the heat, those layers puff up. The result? A biscuit that shatters into beautiful, flaky pieces.
- Pantry Staples Only — You likely have almost everything you need right now. Flour, baking powder, salt, cold butter, and buttermilk. No fancy ingredients or trips to a specialty store. It’s accessible cooking.
- Forgiving Technique — Once you understand the “cold butter” rule, the rest is intuitive. You don’t need a stand mixer. You don’t need a rolling pin. You just need your hands and a little bit of patience.
- Perfect Texture — Not too dry, not too greasy. These biscuits have a tender crumb that yields easily to a knife. They hold their shape but break apart like they should. No more chewing through dough.
- Freezer Friendly — I make a double batch every few weeks. You can freeze the raw dough balls and bake them straight from frozen later. It’s like having fresh biscuits on demand during busy weekdays.
This is my go-to when dinner needs to just work, or when I need a little mid-afternoon treat. It’s simple, reliable, and deeply rewarding.
Key Ingredients for Flaky Success
Biscuits seem simple, but every ingredient plays a specific role. Get these wrong, and you get sad, dense bread. Get them right, and you get magic. Here is exactly what you need and why it matters.
All-Purpose Flour (3 cups / 375g) — This is your structure. Don’t use cake flour; it’s too delicate and won’t hold the lift. Don’t use bread flour; it has too much protein and will make your biscuits chewy instead of tender. All-purpose is the sweet spot. Pro tip: Spoon your flour into the measuring cup and level it off. If you scoop directly from the bag, you’re adding too much flour, which leads to dry biscuits.
Unsalted Butter (1 cup / 226g / 2 sticks) — This is non-negotiable. Use real butter, not margarine or shortening. Margarine has too much water and no flavor. Shortening makes tender biscuits, but they lack that rich, buttery taste. I use European-style butter if I can find it because it’s richer, but standard salted butter works fine if you reduce the added salt slightly. The key? It must be ICE COLD. Cube it and keep it in the freezer for 15 minutes before you start.
Buttermilk (1 1/4 cups / 300ml) — This is the liquid that activates the baking powder and adds tang. Buttermilk is acidic, which tenderizes the gluten in the flour. If you don’t have buttermilk, you can make a substitute: add 1 tablespoon of white vinegar or lemon juice to a measuring cup, then fill the rest with regular milk. Let it sit for 5 minutes until it curdles. It won’t be identical, but it works in a pinch.
Baking Powder (1 tablespoon / 15g) — This is your lift. It creates the bubbles that make biscuits fluffy. Make sure yours isn’t expired! I keep a fresh can in my pantry, but if yours has been sitting since 2018, toss it. Old baking powder = flat biscuits. Brand preference: I trust Rumford or Clabber Girl, but any standard brand works.
Salt (1 teaspoon / 6g) — Salt enhances flavor and strengthens gluten slightly, which helps the biscuit hold its shape. Don’t skip it. If you’re using salted butter, reduce this to 1/2 teaspoon.
Granulated Sugar (1 tablespoon / 12g) — A little sugar helps with browning. It’s not a sweet biscuit, but the hint of sweetness balances the tang of the buttermilk. You can omit it if you’re strictly savory, but I recommend keeping it for that golden crust.
Tools Needed
You don’t need fancy equipment. In fact, fancy equipment often gets in the way. Here’s what I use:
Large Mixing Bowl — I use a 5-quart ceramic bowl. It’s heavy enough to stay put while I mix, but wide enough to give the dough room to breathe.
Pastry Cutter or Food Processor — I used to use a pastry cutter by hand, which is fine but takes time. Now, I use my food processor. It cuts the butter into the flour in seconds, keeping everything cold. If you don’t have one, two forks or your fingers work too, but you have to work fast.
2.5-Inch Biscuit Cutter — A round cutter is essential. A knife will work in a pinch, but the edges will be rough, and the biscuits won’t rise as high because the edges seal shut. A clean cut allows the layers to expand freely.
Baking Sheet — A heavy-gauge metal sheet is best. It distributes heat evenly. If you use glass or dark pans, your bottoms might burn before the tops brown.
How to Make Easy Buttermilk Biscuits Ready in 20 Min
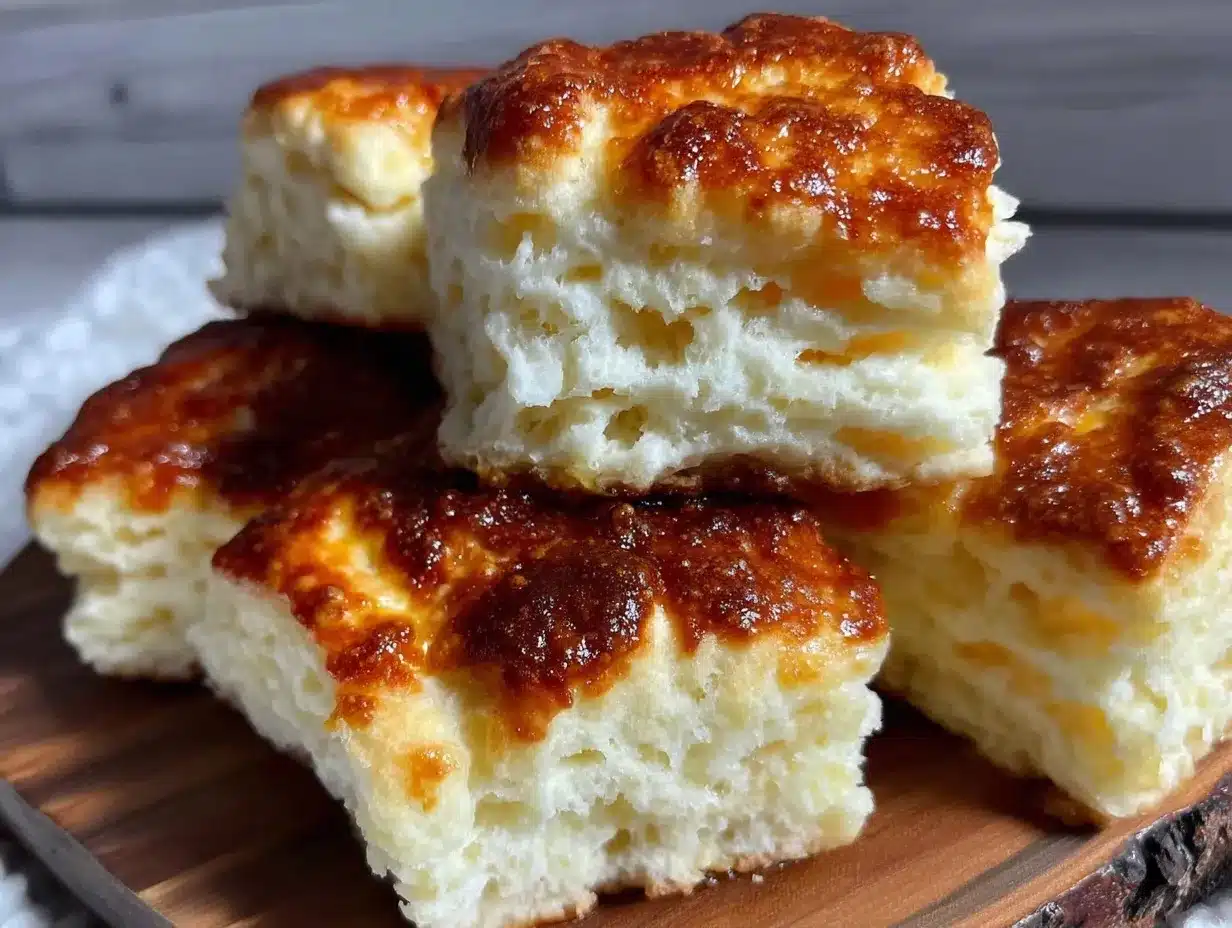
Let’s get into the nitty-gritty. This process is quick, but it requires focus. You can’t multitask here. Here is exactly how I do it, step by step.
Step 1: Prep Your Dry Ingredients (2 minutes)
Preheat your oven to 425°F (220°C). This needs to be hot enough to create steam quickly, which lifts the layers. Line a baking sheet with parchment paper. In your large bowl, whisk together the flour, baking powder, salt, and sugar. Make sure there are no clumps of baking powder. Whisk it until it’s uniform. Set this aside.
Step 2: Cut in the Cold Butter (3-4 minutes)
This is the most critical step. Take your cold, cubed butter. If you’re using a food processor, pulse the flour and butter together 10-15 times until the mixture looks like coarse crumbs with some pea-sized chunks of butter remaining. If you’re doing it by hand, use a pastry cutter or two forks to chop the butter into the flour. Why this matters: Those visible chunks of butter are what create the flaky layers. When the butter melts in the oven, it creates steam pockets. If the butter is fully incorporated and invisible, you’ll get a dense, crumbly texture instead of flakes.
Step 3: Add the Buttermilk (2 minutes)
Pour the cold buttermilk into the flour-butter mixture. Use a wooden spoon or a spatula to gently fold it in. Stop as soon as the flour is moistened. The dough will look shaggy and messy. It will not form a smooth ball. If it looks too dry, add another tablespoon of buttermilk. If it’s soupy, add a sprinkle of flour. It should hold together when you squeeze it in your hand but still be sticky.
Step 4: Fold and Pat (3 minutes)
Turn the shaggy dough out onto a lightly floured surface. Gently press it into a rectangle about 3/4-inch thick. Now, here is the trick for layers: fold the dough in half, like a letter. Rotate it 90 degrees, pat it back down to 3/4-inch thick, and fold it again. Do this two more times. You should see distinct layers forming. Warning: Do not overwork the dough. Every time you knead, you develop gluten, which makes biscuits tough. We want minimal gluten development. Handle this dough like it’s made of glass.
Step 5: Cut and Bake (10-12 minutes)
Dip your biscuit cutter in flour to prevent sticking. Press straight down into the dough. Do not twist the cutter. Lift the cutter straight up and move it to the next spot. Gather the scraps, pat them out gently, and cut again. Place the biscuits on the baking sheet, touching each other slightly. This encourages them to rise up instead of out. Bake for 12-15 minutes until they are golden brown on top. If you want extra flaky tops, brush them with melted butter before baking. Remove from the oven and let them cool on the pan for 5 minutes.
Total Time Breakdown: Prep: 7 minutes. Bake: 12-15 minutes. Total: ~20 minutes.
Expert Tips for Perfect Biscuits
Here’s everything I learned from making this too many times. These are the game-changers that separate the amateurs from the pros.
Temperature is Everything
If your butter melts before the biscuits hit the oven, you’ve lost. Keep your butter in the freezer until the last second. If your kitchen is hot, chill your flour in the fridge for 10 minutes before starting. Cold ingredients = steam = lift. It’s basic physics, but easy to forget when you’re in a hurry.
Don’t Twist the Cutter
I used to twist my cutter, thinking it would help it cut cleaner. Big mistake. Twisting seals the edges of the biscuit. When the biscuit rises, it has nowhere to go but down. Press straight down. Clean edges mean a higher rise.
Brush the Tops with Butter
This is optional but highly recommended. Brushing the tops with melted butter before baking gives them that bakery-style golden color and a richer flavor. It also helps the salt stick if you’re sprinkling it on top.
Common Problem: Dense Biscuits
If your biscuits turned out like rocks, you likely overmixed the dough or used old baking powder. Next time, stop mixing as soon as the flour disappears. Trust your eyes, not the clock.
Common Problem: Flat Biscuits
This usually happens if the oven isn’t hot enough or if the butter was too warm. Make sure your oven is fully preheated. Use an oven thermometer if you suspect your oven runs cool. Also, ensure your baking powder is fresh.
Recipe Variations
Once you’ve nailed the basic version, here’s how to mix it up. This Easy Buttermilk Biscuits Ready in 20 Min base is incredibly versatile.
Cheesy Cheddar Biscuits
Add 1 cup of shredded sharp cheddar cheese to the dry ingredients before cutting in the butter. The cheese adds flavor and creates pockets of meltiness. Perfect with my one-pot taco pasta for a complete meal.
Herb and Garlic Biscuits
Mix 1 teaspoon of dried thyme and 1/2 teaspoon of garlic powder into the flour. These are amazing served alongside soup or stew. The savory notes pair beautifully with roasted vegetables.
Jalapeño Cheddar Biscuits
Add 1 finely diced jalapeño (seeds removed if you want less heat) and 1 cup of pepper jack cheese. These have a kick and are perfect for game day or spicy breakfast burritos.
Gluten-Free Option
Swap the all-purpose flour for a 1-to-1 gluten-free flour blend that contains xanthan gum. The texture will be slightly more tender and less chewy, but they will still rise and flake nicely. Be careful not to overmix, as GF flour can become gummy easily.
Vegan Variation
Use cold vegan butter sticks (like Miyoko’s or Earth Balance) and make your own buttermilk using almond milk and vinegar. The results are good, though not quite as rich as dairy versions. They still work for a quick breakfast.
Serving & Storage
Serving Suggestions:
These biscuits are best eaten warm. Split them open and slather with salted butter. They are the perfect companion for a bowl of everything bagel strata for a hearty brunch, or they can stand alone with jam and honey. I love serving them with a side of crispy crispy parmesan chicken or a simple green salad.
Storage:
Room Temperature: Store leftover biscuits in an airtight container at room temperature for up to 2 days. They will stale quickly, so eat them fast!
Reheating: To restore freshness, wrap biscuits in foil and warm them in a 350°F (175°C) oven for 5-10 minutes. The microwave will make them chewy and tough, so avoid it if you can.
Freezing: These freeze beautifully. You can freeze them baked or raw. To freeze baked: let them cool completely, then place in a freezer bag for up to 3 months. To freeze raw: arrange the cut biscuits on a baking sheet and freeze until solid (about 1 hour), then transfer to a bag. Bake from frozen, adding 2-3 minutes to the bake time.
Nutrition Information
I’m not a nutritionist, but here’s the breakdown per biscuit (makes 12 large biscuits):
| Calories | Protein | Carbs | Fiber | Fat | Sodium |
|---|---|---|---|---|---|
| 280 kcal | 4g | 30g | 1g | 15g | 450mg |
My Take: These are comfort food. They contain butter and flour, so they are calorie-dense. They are not a diet food. But they are better than takeout, and you know exactly what’s in them. Enjoy them as part of a balanced meal, and don’t feel guilty. Life is short; eat the biscuit.
Final Thoughts
Making Easy Buttermilk Biscuits Ready in 20 Min isn’t just about feeding your family. It’s about reclaiming a skill that feels almost lost in our fast-food world. There is a quiet pride in pulling a tray of homemade, golden, flaky biscuits out of your own oven. It says, “I can do this. I can make something beautiful from simple ingredients.”
I hope this recipe brings that same joy to your kitchen. Don’t be afraid to experiment with flavors once you get the hang of the base. Add cheese, herbs, or even a swirl of cinnamon sugar. Make it your own. And if you do make these, drop a comment below! I love hearing how they turned out in your kitchen. Did you add jalapeños? Did you freeze them? I want to know.
Happy cooking!
FAQs
Q: Can I use self-rising flour instead of all-purpose flour and baking powder?
A: You can, but be careful. Self-rising flour already contains salt and baking powder. If you use it, omit the added salt and baking powder in the recipe. However, the leavening power in self-rising flour is often weaker than fresh baking powder, so your biscuits might not rise as high. I recommend sticking to all-purpose flour and fresh baking powder for the best lift.
Q: Why did my biscuits spread out instead of rising up?
A: This usually happens for two reasons: the butter was too warm, or the oven wasn’t hot enough. If the butter melts before baking, it coats the flour particles instead of creating steam pockets. Also, if your biscuits are placed too far apart on the pan, they will spread outward. Placing them touching each other forces them to rise upward.
Q: Can I make these ahead of time?
A: Yes! You can mix the dough, cut the biscuits, and freeze them on the baking sheet. Once frozen solid, transfer them to a bag. When you’re ready to eat, bake them straight from the freezer, adding 2-3 minutes to the cooking time. This is my favorite trick for busy mornings.
Q: What if I don’t have a biscuit cutter?
A: A drinking glass works in a pinch. Just dip the rim in flour to prevent sticking. You can also use a knife to cut squares, but note that square biscuits won’t rise as high as round ones because the corners seal the dough. For the best results, try to get a round cutter.
Q: How do I store leftover biscuit dough?
A: If you have leftover dough scraps, you can press them together, wrap them in plastic, and refrigerate for up to 24 hours. However, the texture may suffer slightly as the gluten relaxes and the butter warms. It’s best to bake them immediately for the flakiest results.
Pin This Recipe!
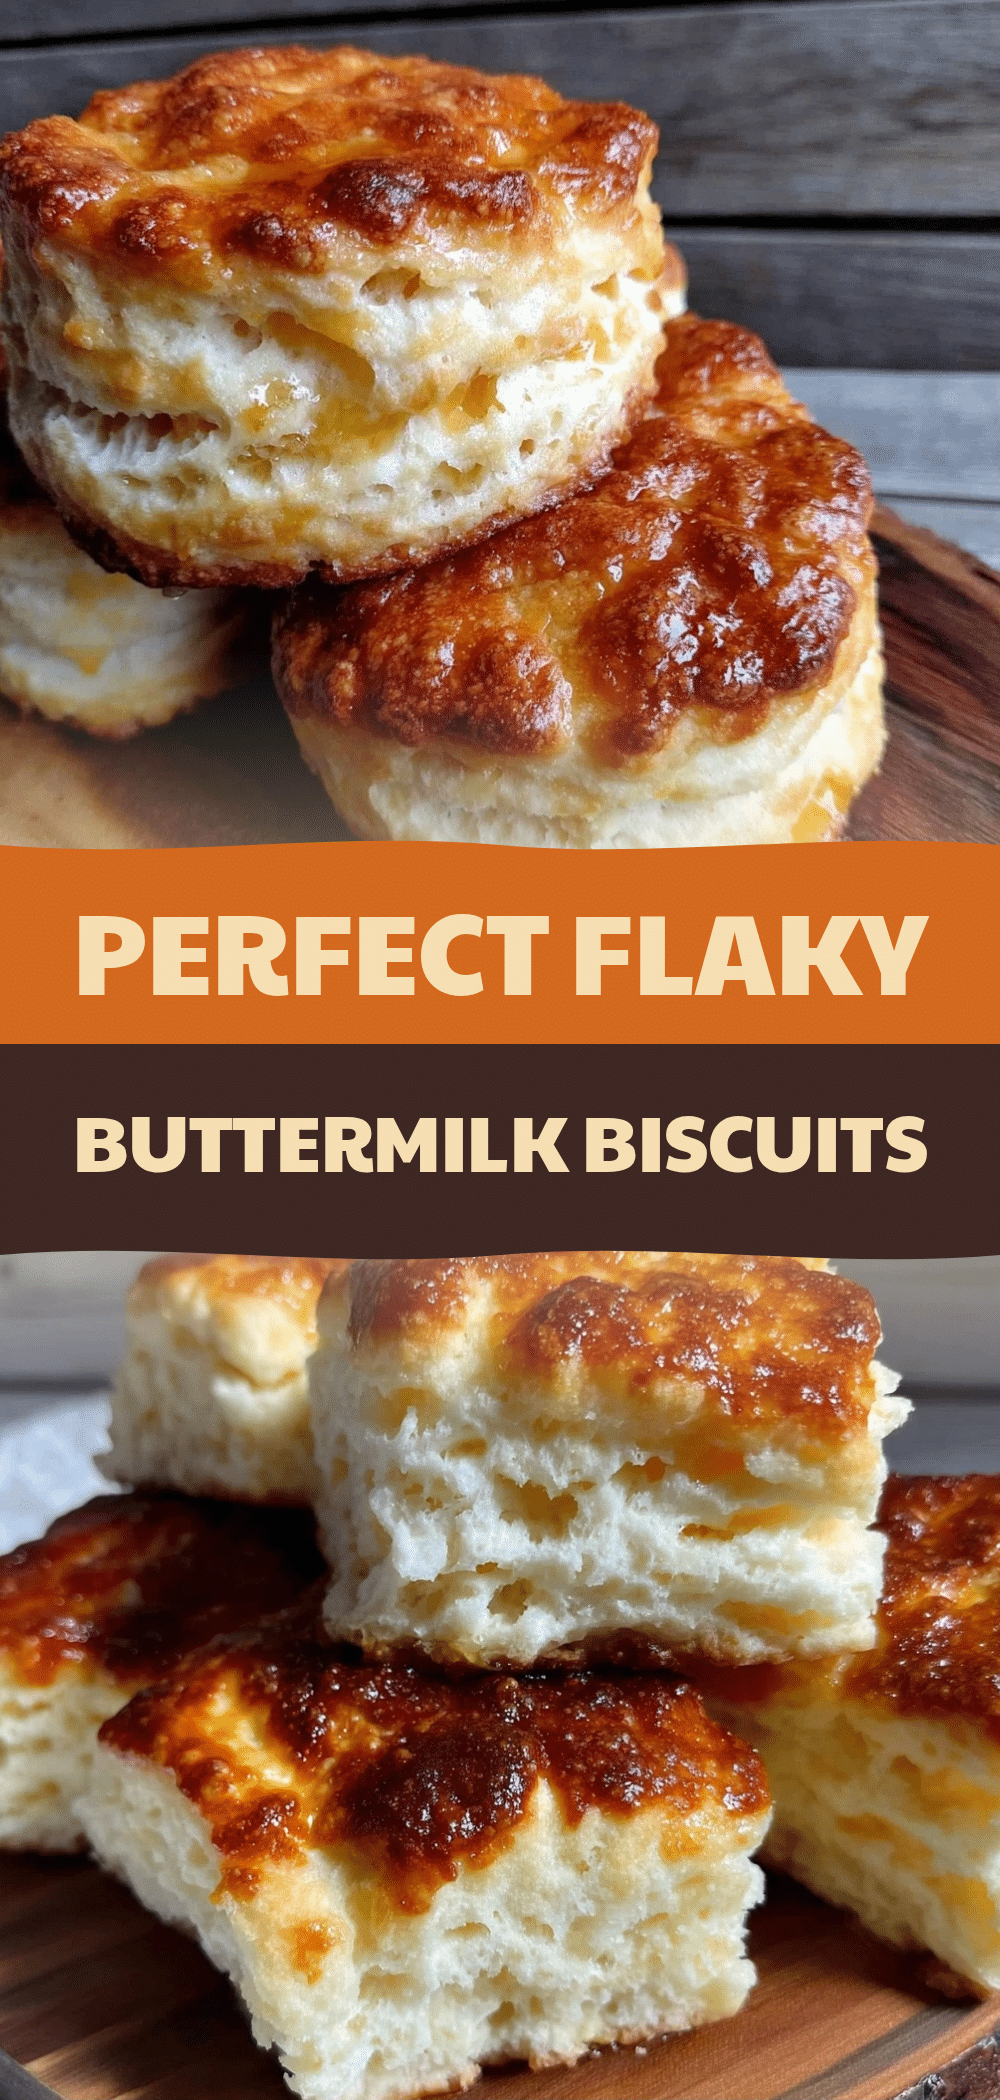

Easy Buttermilk Biscuits Ready in 20 Min
- Total Time: 20 minutes
- Yield: 12 large biscuits 1x
Description
These easy buttermilk biscuits are golden brown on the outside, tender and airy on the inside, and feature flaky layers thanks to the secret of keeping ingredients cold and handling the dough gently.
Ingredients
- 3 cups (375g) All-Purpose Flour
- 1 cup (226g / 2 sticks) Unsalted Butter, ICE COLD and cubed
- 1 1/4 cups (300ml) Buttermilk, cold
- 1 tablespoon (15g) Baking Powder
- 1 teaspoon (6g) Salt
- 1 tablespoon (12g) Granulated Sugar
Instructions
- Preheat oven to 425°F (220°C). Line a baking sheet with parchment paper.
- In a large bowl, whisk together the flour, baking powder, salt, and sugar until uniform.
- Add the cold, cubed butter to the flour mixture. Pulse in a food processor 10-15 times or cut in with a pastry cutter/forks until the mixture resembles coarse crumbs with pea-sized chunks of butter remaining.
- Pour the cold buttermilk into the flour-butter mixture. Gently fold with a wooden spoon or spatula until the flour is just moistened. The dough should look shaggy and sticky, not smooth.
- Turn dough onto a lightly floured surface. Press into a 3/4-inch thick rectangle. Fold the dough in half like a letter, rotate 90 degrees, pat back to 3/4-inch thick, and fold again. Repeat this folding process two more times (total 4 folds).
- Dip a 2.5-inch biscuit cutter in flour. Press straight down into the dough without twisting. Lift straight up and place biscuits on the baking sheet, touching each other slightly.
- Optional: Brush tops with melted butter for golden color.
- Bake for 12-15 minutes until golden brown on top.
- Remove from oven and let cool on the pan for 5 minutes before serving.
Notes
Keep all ingredients, especially butter, as cold as possible. Do not overmix the dough or twist the biscuit cutter, as this seals the edges and prevents rising. If using salted butter, reduce the added salt to 1/2 teaspoon. For gluten-free option, use a 1-to-1 gluten-free flour blend with xanthan gum.
- Prep Time: 7 minutes
- Cook Time: 12-15 minutes
- Category: Breakfast
- Cuisine: American
Nutrition
- Serving Size: 1 large biscuit
- Calories: 280
- Sugar: 2
- Sodium: 450
- Fat: 15
- Saturated Fat: 9
- Carbohydrates: 30
- Fiber: 1
- Protein: 4
Keywords: buttermilk biscuits, easy biscuits, flaky biscuits, homemade biscuits, breakfast recipes, quick biscuits, southern biscuits


