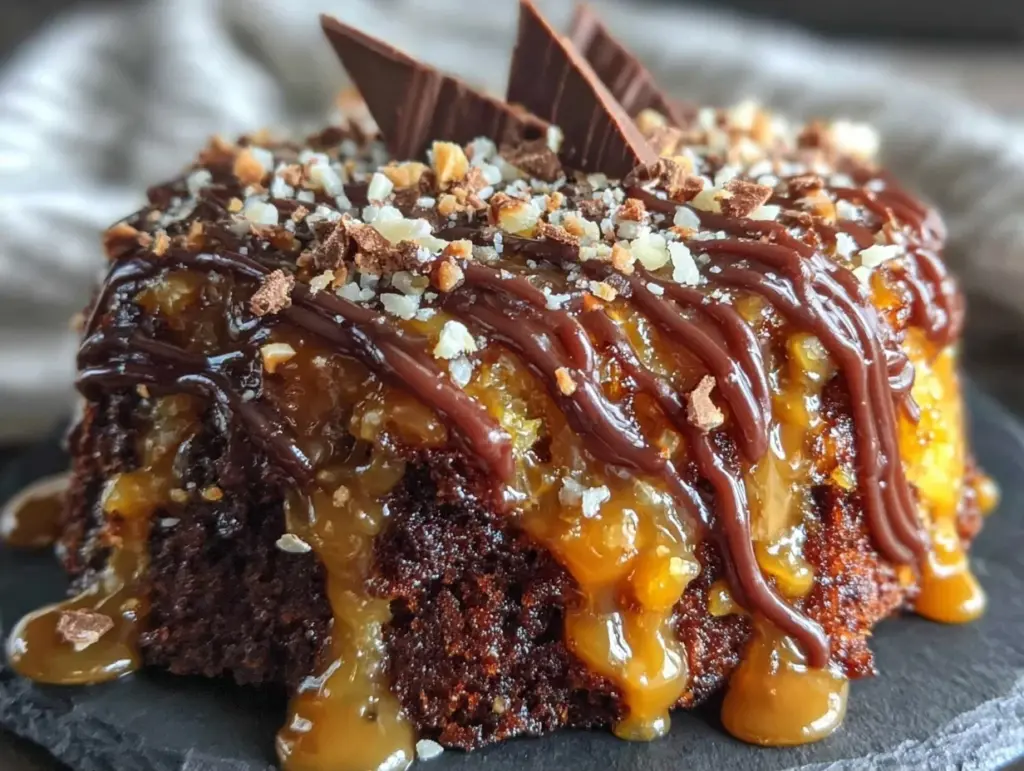
There is a specific smell that hits you when you walk into my grandmother’s kitchen on a Sunday afternoon. It’s a mix of old spice cabinets, lemon polish, and something sweet baking in the oven. For years, I thought Sunday meant pie. Maybe apple, maybe pecan. But the truth is, the day my grandmother decided to try something new, she reached for a box of yellow cake mix and a jar of peanut butter.
I was twelve. I remember sitting on the linoleum floor, watching her poke holes in the warm cake with the handle of a wooden spoon. She didn’t have a fancy tool. She just used what she had. “The holes let the love in, Martha,” she told me, laughing at her own joke. “Or at least, they let the syrup in.”
That was thirty years ago, and I’ve been making this Reese’s Poke Cake with Fudge Drizzle ever since. It’s not complicated. It’s not fancy. But it is deeply, undeniably comforting. It tastes like childhood. It tastes like being allowed to eat dessert before dinner because you helped clean the table. This cake is moist, rich, and packed with that signature peanut-butter-and-chocolate combo that feels like a hug from the inside.
I’ve tested this recipe dozens of times. I’ve used different brands of cake mix. I’ve tried making the fudge from scratch and using the jarred stuff. I’ve even attempted to make it gluten-free for my cousin Sarah, though she insisted the regular version was superior. Through all the experiments, one thing remains constant: the way my grandmother did it. Simple. Honest. Delicious.
If you’re looking for a dessert that brings people together, this is it. It’s the kind of cake you serve at potlucks where everyone asks for the recipe immediately. It’s the kind of dessert you bake when you need to show someone you care. So, let’s get into the kitchen. Grab your apron. Let’s make this Reese’s Poke Cake with Fudge Drizzle the way it was meant to be made.
Why You’ll Love This Recipe
There are a hundred reasons to bake this cake, but here are the ones that actually matter to me:
- It’s Foolproof — I’ve made this with my three-year-old niece helping. She poked the holes. I poured the syrup. She ate the spoon. We didn’t burn the house down. That’s success.
- Texture Heaven — The cake stays moist for days. Unlike a regular sponge cake that dries out by Tuesday, this one stays soft because the syrup penetrates deep into the crumb. It’s like it never stopped baking.
- Peanut Butter Perfection — We use creamy peanut butter in the syrup. It melts down into this rich, salty-sweet ribbon that runs through every bite. It’s not overpowering; it’s supportive. Like a good friend.
- Fudge Finish — The fudge drizzle isn’t just a garnish. It’s a glaze. When it cools, it sets into a soft shell that cracks when you cut it. That first bite? Unbeatable.
- Make-Ahead Friendly — This cake actually gets better overnight. The flavors meld. The fudge sets properly. I often make it the night before a party, which saves me from panicking at the last minute.
This is my go-to when I need a dessert that looks impressive but doesn’t require a culinary degree. It’s reliable. It’s delicious. And it’s always a crowd-pleaser.
Key Ingredients
You don’t need anything exotic for this Reese’s Poke Cake with Fudge Drizzle. Most of these items are probably already in your pantry. Here’s what you need and why it matters.
Yellow Cake Mix (15.25 oz / 434g) — Don’t skip the box. Yes, I know some people swear by scratch. For this specific texture, the box mix provides the perfect tender crumb that holds up to the syrup. I use Betty Crocker or Duncan Hines. Any brand works, but stick to yellow, not white. Yellow has that vanilla richness we want.
Water (1 cup / 240ml) — Standard cake mix requirement. I use tap water. No need for filtered if your tap water tastes fine. It’s just the base for the batter.
Vegetable Oil (1/3 cup / 80ml) — Oil keeps cakes moist longer than butter does. Butter can make cakes dense. Oil keeps them soft. This is non-negotiable for the poke cake texture.
Eggs (3 large) — Room temperature eggs mix better into the batter. If you’re in a rush, crack them into a bowl and let them sit for ten minutes while you preheat the oven. Cold eggs can cause the batter to curdle slightly, which isn’t ideal.
Creamy Peanut Butter (1 cup / 250g) — This is the star. Use Jif or Skippy. Natural peanut butter separates too much and has a grainier texture that won’t melt as smoothly into the syrup. You want that smooth, processed consistency for the best result.
Heavy Cream (1/2 cup / 120ml) — You need fat to melt the peanut butter. Heavy cream gives the syrup a luxurious mouthfeel. Half-and-half works in a pinch, but it’s thinner. Heavy cream ensures the syrup coats the cake evenly.
Chocolate Fudge Frosting (1 jar / 16oz / 450g) — Yes, a jar. I know, it feels cheap. But store-bought fudge frosting is consistent. It’s designed to be spread. Making fudge from scratch adds a step that isn’t necessary here. I use Hershey’s Fudge Frosting. It’s dark, rich, and sets perfectly.
Mini Peanut Butter Cups (1 cup / 120g chopped) — For the topping. Reese’s Pieces work too, but the chopped cups give you those little pockets of pure peanut butter goodness. They add crunch and visual appeal.
Tools Needed
You don’t need fancy equipment. Here’s what I use:
9×13 Inch Baking Pan — A standard glass or metal pan works best. Glass retains heat differently, so if you use glass, you might want to reduce the oven temperature by 25 degrees. I use glass because I can see the browning on the edges.
Wooden Spoon Handle — This is my grandmother’s secret tool. The rounded end pokes clean holes without tearing the cake. You can use a fork, but the holes are smaller and don’t hold as much syrup. Or use a skewer. Just don’t use a toothpick; the holes will be too small.
Microwave-Safe Bowl — For melting the peanut butter and cream. A large measuring cup with a spout works well too, making it easier to pour the syrup later.
Whisk — For mixing the cake batter. A balloon whisk is fine. A fork works if you’re desperate, but a whisk ensures no lumps remain.
Spatula — A rubber spatula is essential for scraping the bowl clean and spreading the fudge. Don’t use a wooden spoon for the fudge; it won’t spread evenly.
How to Make Reese’s Poke Cake with Fudge Drizzle
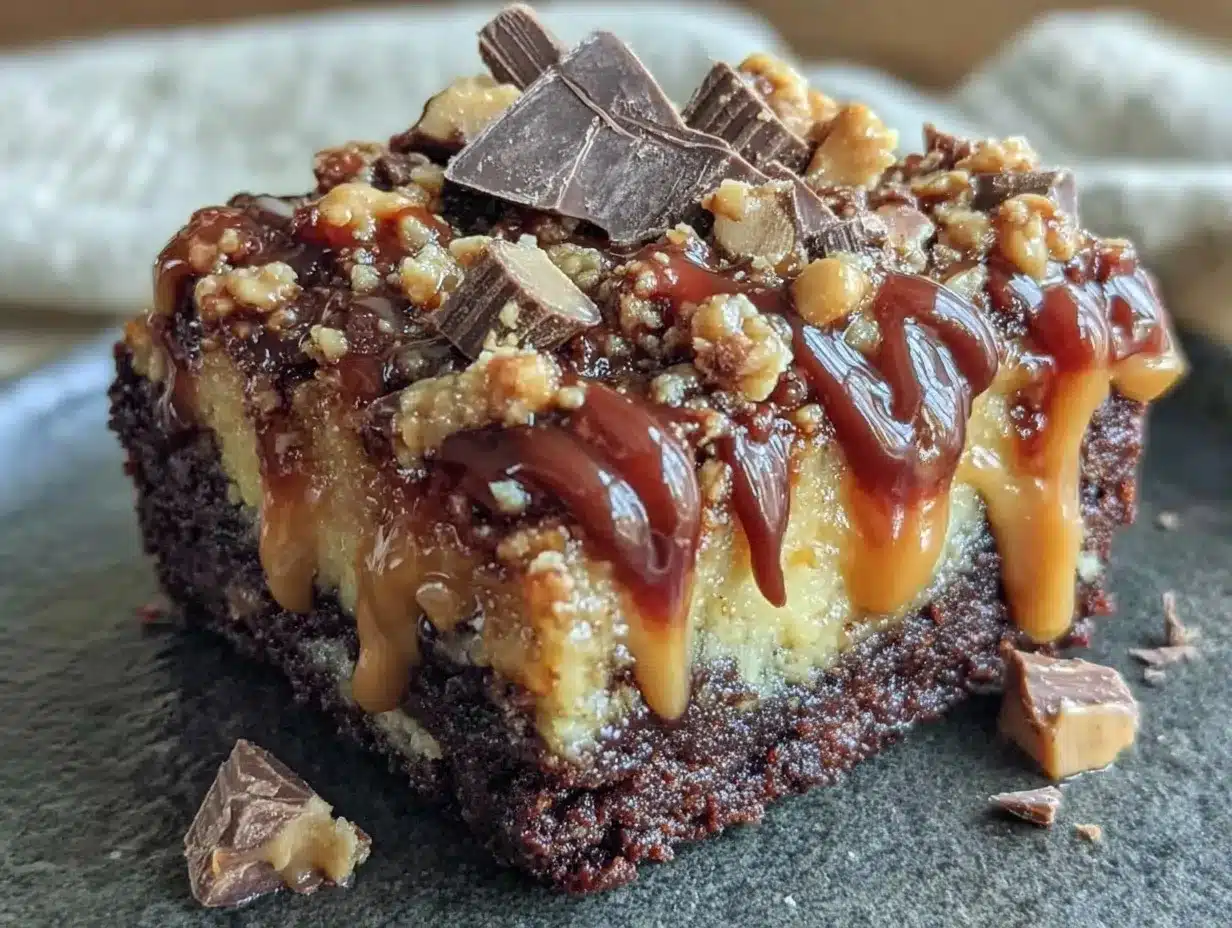
Let’s walk through this step-by-step. It’s easier than it looks, I promise.
Step 1: Prep and Bake the Cake (30 minutes)
Preheat your oven to 350°F (175°C). Grease your 9×13 inch pan with butter or cooking spray. I prefer butter because it adds flavor, but spray is faster. Line the bottom with parchment paper if you want to lift it out later, but it’s not strictly necessary.
In a large bowl, combine the cake mix, water, oil, and eggs. Whisk for about two minutes. The batter should be smooth and lump-free. If you see little streaks of flour, keep whisking. It takes about two minutes by hand. Pour the batter into the prepared pan. Spread it evenly.
Bake for 25-30 minutes. You’ll know it’s done when a toothpick inserted into the center comes out clean or with just a few moist crumbs. Do not overbake. If the edges are dark brown and the center is dry, you’ve gone too far. The cake should spring back lightly when you touch it.
Remove from the oven. Here’s the tricky part: you need to poke the holes while the cake is still hot. If you wait until it’s cool, the holes won’t penetrate deep enough. Place the pan on a wire rack. Take your wooden spoon handle and poke holes all over the surface. Go about an inch apart. Don’t be shy. Poke every inch of the cake. This is where the magic happens.
Step 2: Make the Peanut Butter Syrup (5 minutes)
While the cake is still hot, make the syrup. In a microwave-safe bowl, combine the creamy peanut butter and heavy cream. Microwave in 30-second intervals, stirring in between, until smooth and pourable. It should look like a thick chocolate syrup in consistency. If it’s too thick, add another teaspoon of cream. If it’s too thin, microwave for another 15 seconds.
Pour this syrup evenly over the hot, poked cake. It will sink into the holes. If there are pools on top, just spread them gently with a spatula. Let the cake cool completely. This is the hardest part. You want to wait. If you put the fudge on warm cake, it will melt into a mess. Let it sit for at least two hours, or overnight in the fridge.
Step 3: Add the Fudge Drizzle (5 minutes)
Once the cake is completely cool, open the jar of fudge frosting. Warm it slightly in the microwave for 10-15 seconds to make it spreadable. Spread it evenly over the top of the cake. You don’t need to be perfect. Ridges and swirls add character. If you want it smoother, use the back of a spoon.
Step 4: Top and Chill (10 minutes)
Sprinkle the chopped peanut butter cups over the fudge. Press them in gently so they stick. Now, chill the cake. Put it in the refrigerator for at least 30 minutes. This sets the fudge. It makes cutting clean slices possible. If you cut it warm, it will be a muddy mess.
Once chilled, slice into squares. Serve and enjoy. The total active time is about 45 minutes, but most of that is waiting. Total time from start to finish is about 3 hours, mostly cooling.
Expert Tips
Here’s everything I learned from making this too many times.
The Hole Pattern Matters
I used to poke holes randomly. Then I learned to go in rows. It ensures even coverage. If you cluster the holes in the center, the middle will be soggy while the edges stay dry. Go in a grid pattern. It’s more satisfying to watch, too.
Don’t Skip the Cooling
I know you want to eat it now. Don’t. I made this mistake once. I put the fudge on a warm cake. The fudge slid off like a landslide. I had to scrape it off and start over. Patience pays off. Let it cool completely.
Use a Spatula for the Fudge
A spoon leaves ridges. A spatula gives you a smooth surface. If you want a rustic look, use the back of a spoon. If you want it to look like you bought it at a fancy bakery, use a spatula. Both taste good.
Storage is Key
This cake stores well in the fridge. Cover it with plastic wrap or put it in an airtight container. It lasts up to five days. In fact, day three is often my favorite. The flavors have had time to marry.
Recipe Variations
Once you’ve nailed the basic version, here’s how to mix it up.
Chocolate Peanut Butter Cup Cake
Use chocolate cake mix instead of yellow. It intensifies the chocolate flavor. If you’re a serious chocolate lover, this is the way to go. My husband prefers this version. He says it tastes like a Reese’s cup in cake form.
Salted Caramel Twist
Instead of fudge, use a salted caramel sauce. Drizzle it over the cake after chilling. Top with sea salt flakes. This adds a sophisticated touch. It’s great for dinner parties where you want to impress.
Gluten-Free Option
Use a gluten-free yellow cake mix. Most brands work well. I’ve used Bob’s Red Mill with success. Just check the instructions on the box, as some mixes require more liquid. The rest of the recipe stays the same.
Vegan Version
This is harder. You’ll need a vegan cake mix, flax eggs, and vegan peanut butter and cream. I haven’t perfected this yet, but I’ve tried it. It’s good, but not as rich. If you’re vegan, let me know how it goes. I’m always looking to improve.
Add-Ins
Chop up some pretzels and sprinkle them on top for a sweet-salty crunch. Or add some whipped cream before serving. It’s lighter and cuts through the richness.
Serving & Storage
Serving
I serve this with a glass of cold milk. The milk helps wash down the sweetness. It’s also great with coffee. The bitterness of the coffee balances the sugar. For a fancy touch, add a dollop of whipped cream and a drizzle of extra peanut butter.
Storage
Keep it in the fridge. It does not store well at room temperature because of the fudge and cream. It will get soft and messy. In the fridge, it stays firm. Cover it tightly to prevent it from absorbing fridge smells. It lasts 5 days.
Freezing
Can you freeze it? Yes, but with caveats. Freeze the cake before adding the fudge. Wrap it tightly in plastic and foil. It freezes for up to 3 months. Thaw in the fridge overnight. Then add the fudge. If you freeze it with the fudge, the texture changes. The fudge can become grainy. So, freeze plain, add fudge later.
Meal Prep
This is perfect for meal prep. Cut it into squares and store them in individual containers. Grab one for dessert. It’s a treat, not a health food, so enjoy it in moderation.
Nutrition Information
I’m not a nutritionist, but here’s the breakdown.
| Nutrient | Per Slice (1/12 of cake) |
|---|---|
| Calories | 450 |
| Protein | 6g |
| Carbs | 55g |
| Fiber | 2g |
| Fat | 24g |
| Sodium | 350mg |
My Take
This is comfort food with cream and cheese. Not diet food. But it’s better than takeout and I know what’s in it. It’s a treat. Enjoy it. Don’t feel guilty. Life is short. Eat the cake.
Final Thoughts
This Reese’s Poke Cake with Fudge Drizzle is more than just a dessert. It’s a memory. It’s my grandmother’s kitchen. It’s the smell of Sunday afternoon. It’s love, poured into a pan.
If you make this, drop a comment! I love hearing how it turns out in your kitchen. Did you use chocolate cake mix? Did you add pretzels? I want to know. Share your variations. We’re all learning together.
Happy cooking!
FAQs
Can I use chunky peanut butter?
I don’t recommend it. Chunky peanut butter has bits that don’t melt as smoothly. It can leave little lumps in the syrup. Creamy is best for that silky texture. If you must use chunky, melt it longer and strain it through a sieve. But why complicate things?
Why did my cake fall apart when I cut it?
It probably wasn’t cool enough. The fudge needs to set. If the cake is even slightly warm, the fudge won’t hold. Also, make sure you used a sharp knife. A dull knife will crush the cake. Use a serrated knife for cleaner cuts.
Can I make this ahead of time?
Yes! This is actually better made ahead. Make it the night before. Let it cool. Add the fudge. Chill it overnight. It will be perfect in the morning. This is my favorite way to make it for parties.
What if I don’t have heavy cream?
You can use whole milk, but the syrup will be thinner. You might need to reduce the amount or add a bit more peanut butter to thicken it. It won’t be as rich, but it will still work. Don’t use skim milk. It’s too watery.
Can I use a different cake mix?
Yellow is traditional. But chocolate works too. Vanilla works too. Just adjust the syrup if needed. If you use a spice cake, it might clash with the peanut butter. Stick to neutral flavors like yellow, white, or chocolate.
How do I store leftovers?
Keep it in the fridge. Cover it tightly. It lasts up to 5 days. If you leave it out, the fudge will get soft and attract ants. Fridge is best. Bring it to room temperature for 15 minutes before serving for the best texture.
Is this cake too sweet?
It is sweet. Very sweet. If you find it too sweet, serve it with black coffee or unsweetened tea. The bitterness balances the sugar. Or add a pinch of sea salt on top. Salt cuts sweetness. It’s a game-changer.
Pin This Recipe!
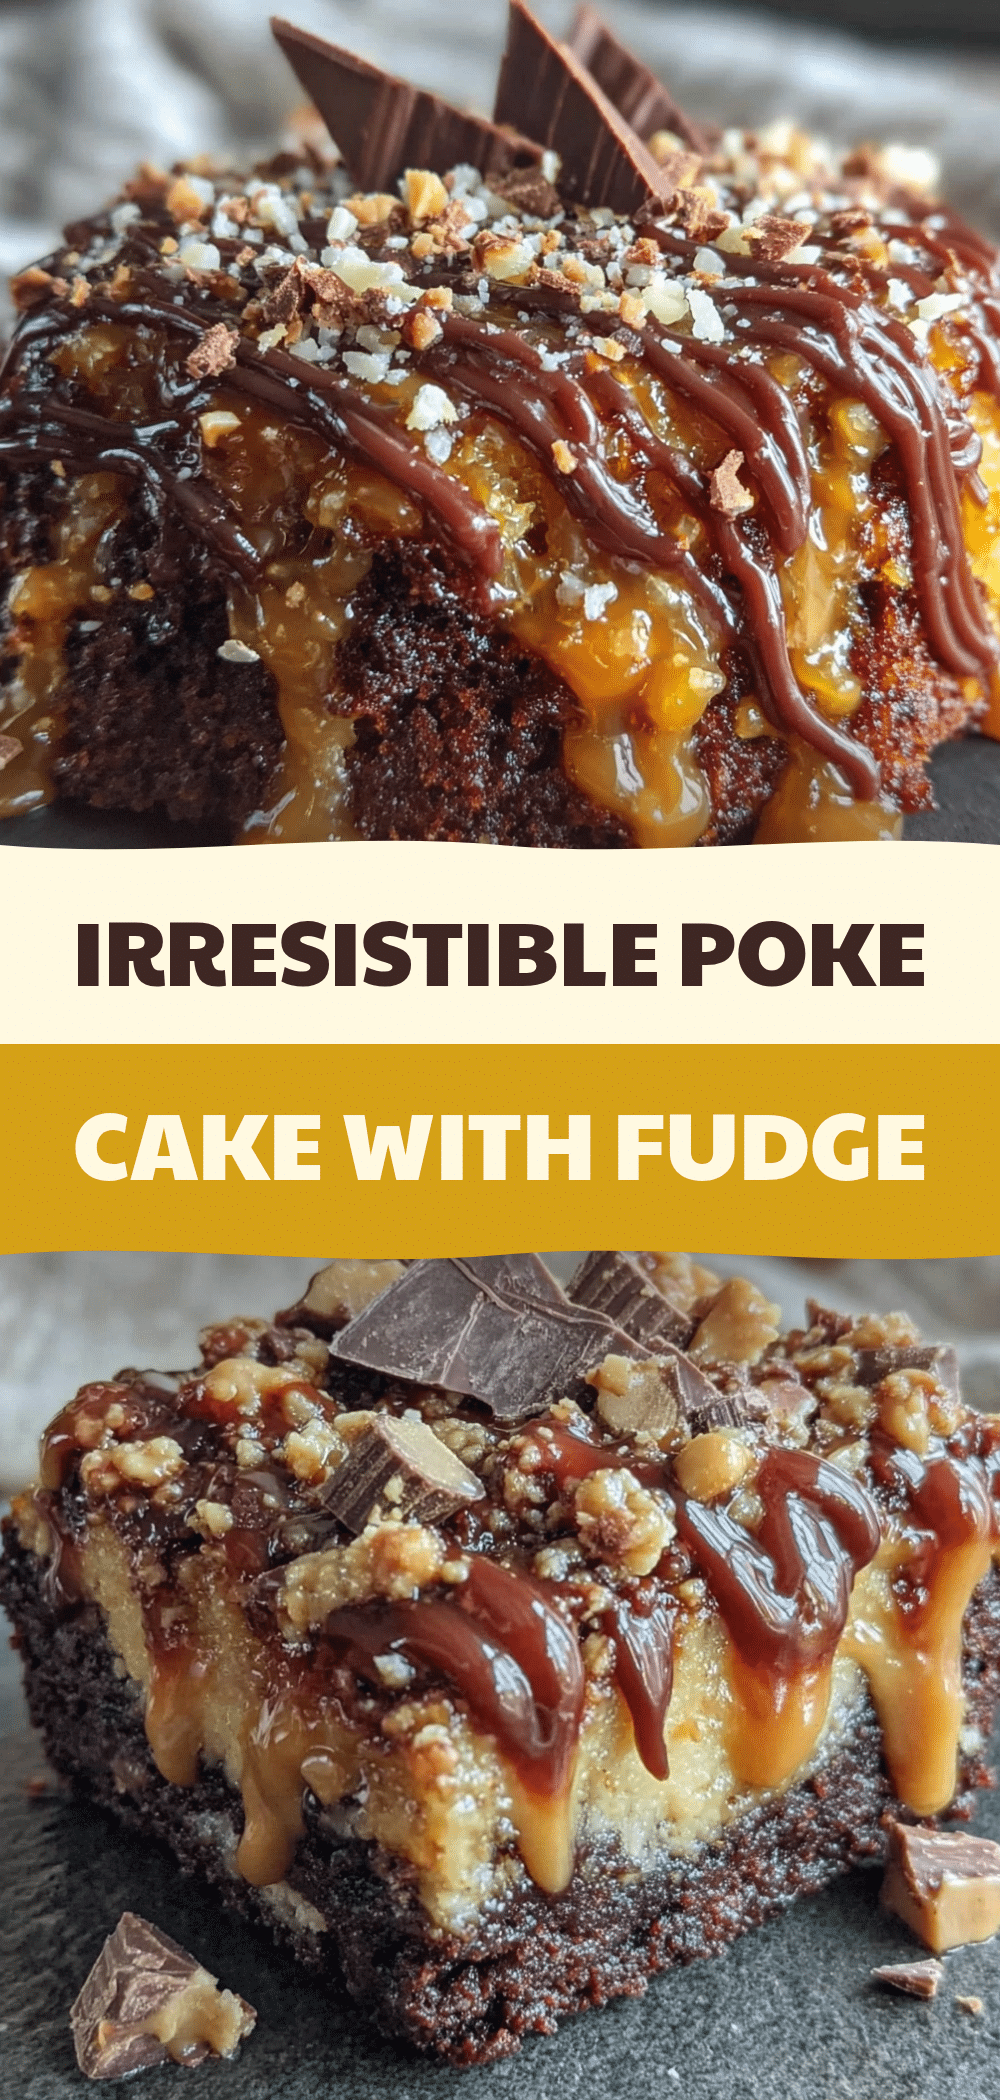
Reese’s Poke Cake with Fudge Drizzle
- Total Time: 3 hours
- Yield: 12 servings 1x
Description
A moist, rich poke cake infused with a creamy peanut butter syrup and topped with a rich chocolate fudge drizzle and chopped peanut butter cups. This comforting dessert is foolproof, make-ahead friendly, and tastes like childhood.
Ingredients
- 1 box (15.25 oz / 434g) yellow cake mix
- 1 cup (240ml) water
- 1/3 cup (80ml) vegetable oil
- 3 large eggs, room temperature
- 1 cup (250g) creamy peanut butter (e.g., Jif or Skippy)
- 1/2 cup (120ml) heavy cream
- 1 jar (16oz / 450g) chocolate fudge frosting (e.g., Hershey’s)
- 1 cup (120g) mini peanut butter cups, chopped
Instructions
- Preheat oven to 350°F (175°C). Grease a 9×13 inch baking pan with butter or cooking spray.
- In a large bowl, combine cake mix, water, oil, and eggs. Whisk for about two minutes until smooth and lump-free.
- Pour batter into the prepared pan and spread evenly.
- Bake for 25-30 minutes, or until a toothpick inserted into the center comes out clean. Do not overbake.
- Remove from oven and immediately poke holes all over the surface using the handle of a wooden spoon, spacing them about an inch apart. Ensure holes are poked while the cake is still hot.
- In a microwave-safe bowl, combine creamy peanut butter and heavy cream. Microwave in 30-second intervals, stirring in between, until smooth and pourable.
- Pour the peanut butter syrup evenly over the hot, poked cake. Spread any pools on top gently with a spatula.
- Let the cake cool completely at room temperature for at least two hours, or overnight in the refrigerator.
- Once the cake is completely cool, warm the fudge frosting slightly in the microwave for 10-15 seconds to make it spreadable.
- Spread the fudge frosting evenly over the top of the cake.
- Sprinkle chopped peanut butter cups over the fudge and press gently to stick.
- Chill the cake in the refrigerator for at least 30 minutes to set the fudge before slicing into squares.
Notes
The cake must be completely cool before adding the fudge, otherwise the fudge will melt and slide off. For even syrup distribution, poke holes in a grid pattern. This cake stores well in the fridge for up to 5 days. It can be frozen before adding the fudge for up to 3 months.
- Prep Time: 15 minutes
- Cook Time: 30 minutes
- Category: Dessert
- Cuisine: American
Nutrition
- Serving Size: 1 slice (1/12 of cak
- Calories: 450
- Sodium: 350
- Fat: 24
- Carbohydrates: 55
- Fiber: 2
- Protein: 6
Keywords: Reese's Poke Cake, fudge drizzle, peanut butter cake, poke cake recipe, easy dessert, make-ahead dessert, chocolate peanut butter, comfort food


