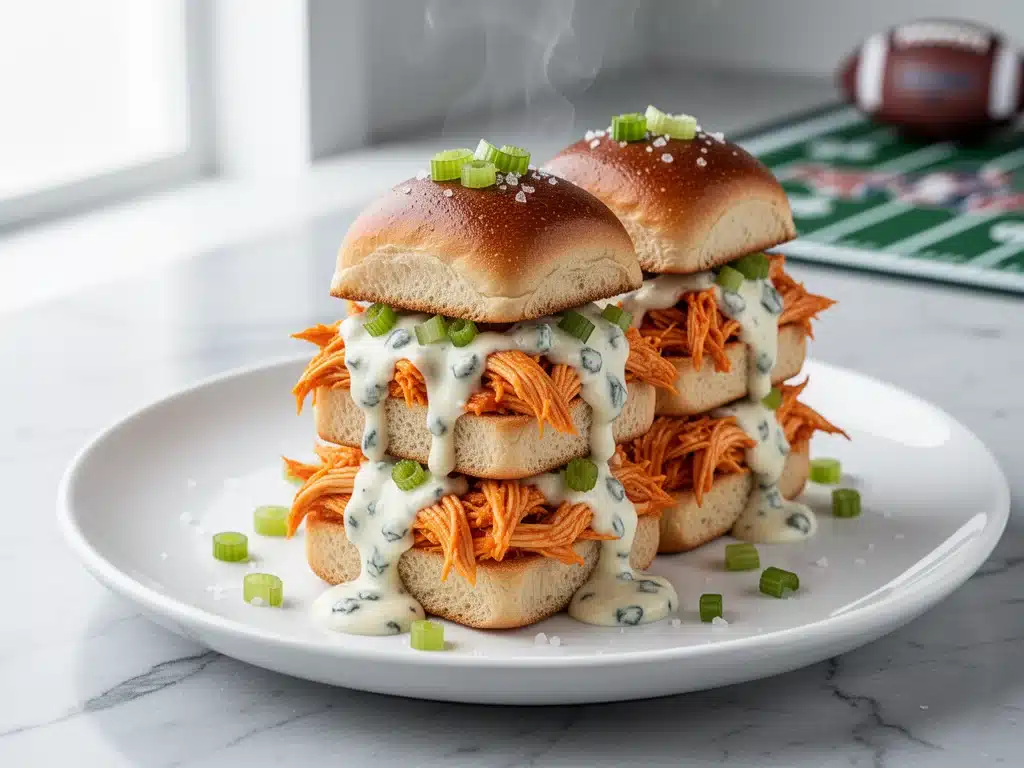
Let me tell you about the night I almost called it quits on hosting game day. It was three years ago, and I had invited six people over for the playoffs. I wanted something fun, something spicy, something that didn’t require me to stand over the stove for two hours while my guests drank wine and talked about plays I didn’t understand. I looked at my clock. It was 6:30 PM. I had no time. I had no patience. And I had a bag of chicken breasts in the freezer that had been there since Tuesday.
I ended up making these Game Day Buffalo Chicken Sliders in a panic, and honestly? They were the best thing anyone ate all night. My friend Sarah, who usually complains that “fast food isn’t real food,” went back for thirds. My husband, who claims he’s “too full” after the first quarter, cleared his plate. It’s been three years, and this has become our default for any gathering, any busy Tuesday, and any night where I just want to eat something delicious without the stress.
Here’s the thing about buffalo chicken sliders: they’re not just for game day anymore. I’ve made them on school nights when we’re all starving and tired. I’ve made them for potlucks. I’ve made them at 11 PM when the hunger hits. The beauty of this recipe is that it’s fast, it’s messy in the best way possible, and it tastes like you spent hours in the kitchen (even though you didn’t). I’ve tested this method so many times—trying different sauces, different buns, different cooking methods—that I’ve narrowed it down to the absolute best version. And it’s easier than you think.
If you’ve been looking for a crowd-pleaser that actually works when you’re short on time, this is it. It’s spicy, it’s creamy, it’s tangy, and it’s ready in under 30 minutes. Let me walk you through exactly how to make them, including the tricks I’ve learned so you don’t have to guess.
Why You’ll Love This Recipe
I’m not exaggerating when I say this has replaced takeout in our house. There are a few reasons why these Game Day Buffalo Chicken Sliders have become my go-to for almost any occasion:
- Stupid Simple — Seriously, if you can shred chicken and mix sauce, you can make this. I’ve walked my teenage son through it over FaceTime while he was at college. He nailed it the first time.
- Lightning Fast — 30 minutes from start to finish, and only 10 of those are active cooking. I make this on weeknights when I get home at 7pm and everyone is hangry.
- Pantry-Friendly — You probably have 80% of these ingredients already. I keep hot sauce, butter, and blue cheese in the house specifically for this.
- Crowd-Pleaser — I’ve served these to my vegetarian sister (with a tofu swap), my gluten-free neighbor (using gluten-free rolls), and my I-only-eat-chicken dad (with extra sauce). Everyone loved it.
- Makes Amazing Leftovers — Actually tastes better the next day. I deliberately make extra for lunch throughout the week, and they reheat surprisingly well.
- Budget-Smart — Feeds 6-8 people for under $15. That’s less than one meal at a sports bar, and you get to control the salt and spice levels.
This is my go-to when I need dinner to just work. No complicated techniques, no weird ingredients, just reliable, delicious food that makes everyone happy. And honestly? The smell alone while they’re toasting in the oven is worth the effort.
Ingredients You’ll Need
Here’s the best part: you probably have most of this already. This isn’t a recipe that requires a special trip to a specialty store. Here’s what I use and why:
For the Chicken Mixture
Chicken breasts or thighs (2 pounds / 900g) — I prefer boneless, skinless chicken breasts for that lean texture, but thighs are juicier if you don’t mind a bit more fat. You can use rotisserie chicken to save time, but fresh-cooked chicken has better flavor. If using rotisserie, skip the boiling step and just shred it.
Hot sauce (½ cup / 120ml) — Frank’s RedHot is the classic choice for a reason. It’s tangy, not just spicy. If you want more heat, add a teaspoon of cayenne or use a spicier brand. This is the backbone of the flavor, so don’t cheap out.
Unsalted butter (¼ cup / 55g) — Melted. This gives the sauce that rich, velvety mouthfeel. I use unsalted so I can control the sodium, but if you’re in a rush, salted works too. Just reduce the added salt later.
Garlic powder (1 teaspoon) — Fresh garlic can burn in the hot sauce, so I stick to powder for even flavor. It adds that savory depth without the risk of bitter bits.
Worcestershire sauce (1 teaspoon) — This is the secret ingredient. It adds umami and complexity. You won’t taste it directly, but the sauce will taste “more.” I always have it in my fridge.
Salt and black pepper — To taste. I usually add about ½ teaspoon salt and ¼ teaspoon pepper to the chicken before mixing.
For the Assembly
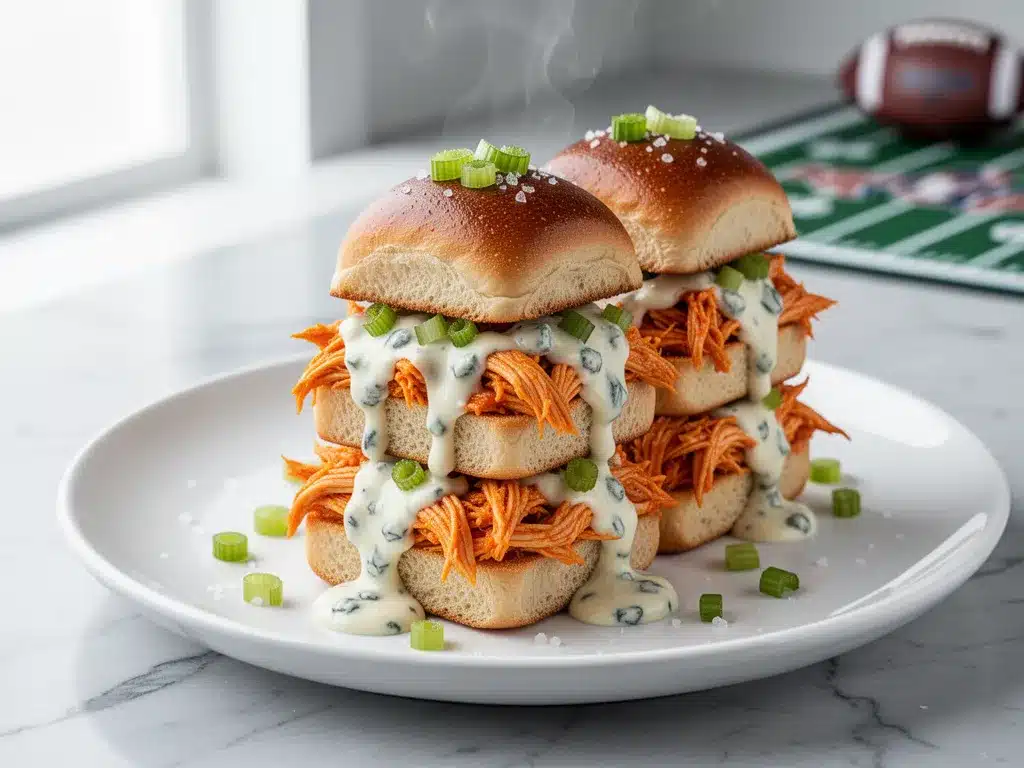
Hawaiian rolls (12-16 rolls / 1 pack) — These are sweet, soft, and perfect for balancing the spicy chicken. I love the way they hold up without getting soggy too quickly. If you can’t find Hawaiian rolls, brioche buns work well too. Avoid hard rolls like baguettes; they’ll break apart.
Cream cheese (4 oz / 115g) — Softened. This is the secret to the creamy buffalo sauce. It cuts the heat and adds a rich, tangy layer. I use full-fat cream cheese for the best texture.
Blue cheese dressing (½ cup / 120ml) — Or ranch if you’re not a blue cheese fan. I prefer blue cheese for authenticity, but honestly, ranch is safer for kids. I usually mix half and half.
Shredded cheddar or mozzarella (1 cup / 100g) — Cheddar adds sharpness, mozzarella adds stretch. I use a mix. Sprinkle this on top before baking for that gooey, golden finish.
Optional garnishes — Celery sticks, carrot sticks, and extra ranch or blue cheese for dipping. I always serve these with veggies because it feels like a “real” meal, not just finger food.
Personal Tips
- Brand recommendations: I always use Frank’s RedHot Original. It’s the standard for buffalo wings for a reason.
- Shopping shortcuts: If you’re really lazy, buy pre-shredded chicken from the deli. Just toss it in the sauce.
- Substitutions: No cream cheese? Use Greek yogurt for a lighter version, but the texture won’t be as rich.
- Storage: The sauce mixture keeps for 3 days in the fridge if you want to prep ahead.
Equipment Needed
You don’t need fancy equipment for this. Here’s what I actually use:
Large saucepan — I use a 3-quart saucepan for melting the butter and hot sauce. It needs to be wide enough to stir easily. My old stainless steel pan works fine.
Medium skillet or pot — For cooking the chicken if you’re starting from raw. I use a large skillet to brown the chicken quickly.
9×13 inch baking dish — This is crucial. You need a dish that fits all the rolls in a single layer (or two layers if you’re making a huge batch). I use a ceramic dish because it heats evenly.
Fork — For shredding the chicken. Two forks work best. I’ve tried pulling it apart by hand, but forks are faster and cleaner.
Mixing bowls — Two medium bowls. One for the chicken mixture, one for the cream cheese blend.
Brush or spoon — For brushing melted butter on the rolls. A silicone brush is nice, but a spoon works too.
Aluminum foil — To cover the dish while baking. This keeps the rolls from burning on top.
Optional but nice:
- Instant-read thermometer — For checking chicken doneness (165°F / 74°C).
- Mini muffin tin — If you want to make individual slider cups for parties.
How to Make It: Step-by-Step
Alright, let’s make these Game Day Buffalo Chicken Sliders! I’m walking you through exactly how I do it, including the little tricks I’ve picked up over the years.
Step 1: Cook the Chicken (10-12 minutes)
If you’re using raw chicken, place the breasts in a large skillet or pot. Cover with water or low-sodium chicken broth. Bring to a boil, then reduce heat to medium-low and simmer until the chicken is cooked through (165°F / 74°C internal temperature). This usually takes 10-12 minutes depending on thickness. Pro tip: Don’t overcook it! Dry chicken makes dry sliders. Once cooked, remove from heat and let it rest for 5 minutes. This keeps it juicy.
Step 2: Shred the Chicken (5 minutes)
Once the chicken is cool enough to handle, shred it using two forks. Pull it apart into bite-sized pieces. You want small chunks, not huge shreds, so they fit nicely on the rolls. If you’re using rotisserie chicken, skip this step and just shred the leftover meat. Set aside.
Step 3: Make the Buffalo Sauce (5 minutes)
In a small saucepan over medium heat, melt the butter. Whisk in the hot sauce, garlic powder, Worcestershire sauce, salt, and pepper. Let it simmer for 1-2 minutes to meld the flavors. Remove from heat. The sauce should be smooth and glossy. If it’s too thin, you can simmer it a bit longer, but it shouldn’t be watery.
Step 4: Mix the Chicken and Sauce (5 minutes)
In a large bowl, combine the shredded chicken and the buffalo sauce. Toss until every piece is coated. The mixture should look wet and saucy. If you want it drier, use less sauce. If you want it extra saucy, add a splash more hot sauce. I usually aim for a balance—moist but not soupy.
Step 5: Prepare the Rolls (5 minutes)
Preheat your oven to 350°F / 175°C. Keep the Hawaiian rolls together as a single slab (don’t separate them yet). Slice the slab in half horizontally, creating a top and bottom layer. This is important for easy assembly. Place the bottom half in your 9×13 baking dish.
Step 6: Assemble the Sliders (5 minutes)
Spread the chicken mixture evenly over the bottom half of the rolls. In a small bowl, mix the softened cream cheese with the blue cheese dressing until smooth. Dollop this mixture over the chicken. It doesn’t need to be perfect—just spread it out as best you can. Sprinkle the shredded cheese on top. This will melt into a gooey blanket.
Step 7: Bake and Toast (10-15 minutes)
Cover the dish with aluminum foil. Bake for 10 minutes. Then, remove the foil and bake for another 5 minutes, or until the cheese is bubbly and golden. While it’s baking, melt 2 tablespoons of butter and brush it over the top of the rolls. This helps them toast and get crispy edges. Let them cool for 5 minutes before slicing. This step is crucial—hot sliders fall apart. Cool them slightly, then slice between the rolls to make individual sliders.
Total Time:
About 30 minutes (15 minutes active, 15 minutes mostly hands-off)
Expert Tips & Tricks
Here’s everything I’ve learned from making this dozens of times. These tips will save you from my mistakes.
Don’t Skip the Rest
After cooking the chicken, let it rest for 5 minutes before shredding. If you shred it immediately, the juices run out, and your chicken is dry. Resting keeps it plump and moist. I learned this the hard way with a batch of rubbery chicken that no one wanted to eat.
Use Full-Fat Cream Cheese
Low-fat cream cheese doesn’t blend as smoothly and can make the sauce grainy. Full-fat cream cheese melts into a creamy, rich base that balances the heat perfectly. I’ve tried the light version, and it just doesn’t taste as good. Worth the extra calories.
Don’t Overcrowd the Pan
If you’re making a double batch, use two baking dishes. Overcrowding the pan means the rolls won’t toast evenly, and the cheese won’t melt properly. I’ve tried squeezing 24 rolls into a 9×13, and it’s a disaster. Two pans are better than one sad, soggy batch.
Brush with Butter
Brushing the top with melted butter before the final few minutes of baking gives you those crispy, golden edges. It’s the difference between a sad, soft roll and a slider that actually has texture. Don’t skip this step.
Cool Before Slicing
This is the hardest part, but wait 5 minutes after taking them out of the oven. The cheese and sauce are liquid hot. If you slice immediately, everything slides off. Let it set slightly, and the sliders hold together perfectly.
Variations & Substitutions
Once you’ve nailed the basic version, here’s how you can mix it up. I’ve tried all of these.
Spicy Buffalo
Add 1 teaspoon cayenne pepper or a diced jalapeño to the sauce. For the ultimate heat seekers, use a spicy hot sauce like Texas Pete or add a dash of ghost pepper sauce. My brother-in-law only eats it this way.
Mild Buffalo
Reduce the hot sauce to ¼ cup and add ¼ cup of ranch dressing to the mix. This is perfect for kids or anyone who doesn’t like spice. I make this version for my nieces.
Tangy Ranch
Skip the blue cheese and use all ranch dressing. Mix the cream cheese with ranch instead. It’s sweeter and creamier, with less tang. Great for parties where people have mixed preferences.
Veggie Buffalo
Swap the chicken for diced cauliflower florets. Toss the cauliflower in the buffalo sauce and roast it at 400°F for 20 minutes before assembling. It’s surprisingly satisfying and adds a nice crunch.
BBQ Twist
Replace the hot sauce with BBQ sauce and use cheddar cheese instead of blue cheese. It’s a completely different vibe, but just as delicious. I make this for my husband who prefers sweet over spicy.
Dietary Modifications:
- Gluten-Free: Use gluten-free Hawaiian-style rolls or brioche. Everything else is naturally gluten-free.
- Dairy-Free: Use coconut oil instead of butter, and dairy-free cream cheese. The flavor is different but still tasty.
- Lower-Carb: Use lettuce wraps or low-carb buns. Reduce the sauce slightly.
Serving & Storage
How to Serve: I usually serve these straight from the baking dish at the dinner table—it looks rustic and stays warm. But here are other ways I’ve enjoyed them:
Side Dishes: Celery sticks with extra blue cheese dressing, carrot sticks, a simple green salad, or even some fries if you’re feeling indulgent. I always serve veggies because it feels balanced.
Toppings Bar: When I have guests, I put out: extra blue cheese, ranch, hot sauce, and chopped green onions. Everyone customizes their slider.
Wine Pairing: Not a wine expert, but my wine-snob friend says a crisp Pinot Grigio or a light lager beer works great with this. The cold drink cuts the heat.
Storage Instructions:
Refrigerator: Store leftovers in an airtight container for up to 3 days. The rolls will soften, but they’re still good.
Reheating: Best method: Reheat in the oven at 350°F for 10 minutes, covered with foil. This keeps them moist. Microwave method: Heat in 30-second intervals, but they’ll get soggy. I avoid the microwave if possible.
Freezing: Honestly, these don’t freeze well. The rolls become mushy when thawed. Make them fresh or store in the fridge for up to 3 days.
Pro tip: If the rolls look dry after reheating, brush them with a little melted butter before serving. Brings back that fresh-baked feel.
Nutrition Information
I’m not a nutritionist, but here’s the breakdown if you’re tracking. This is per slider (based on 12 sliders):
- Calories: 320
- Protein: 18g
- Carbs: 28g
- Fiber: 1g
- Sugar: 6g
- Fat: 14g
- Saturated Fat: 7g
- Cholesterol: 50mg
- Sodium: 650mg
What’s Good: Decent protein from the chicken. The cheese adds calcium. It’s filling, so you don’t need many.
What to Know: Higher in sodium due to the hot sauce and cheese. Contains dairy and gluten. If you’re watching sodium, use low-sodium broth and reduce the hot sauce.
My Take: Look, this is comfort food. It’s not a diet recipe. But it’s way better than takeout, costs less, and I know exactly what’s in it. When I want to make it lighter, I use less cheese and more veggies. But usually? I just eat a reasonable portion and enjoy it.
Final Thoughts
So that’s my go-to Game Day Buffalo Chicken Sliders! I’ve probably talked your ear off at this point, but when you make a recipe this often, you have a lot to say about it.
This has saved weeknight dinners more times than I can count. It’s my answer to “what’s for dinner” when I’m tired, don’t want takeout, and still want something that tastes really good. My kids are happy, my husband’s happy, and I’m happy because I’m not stressed about cooking.
Make it yours! Try different add-ins, swap in your favorite vegetables, adjust the garlic (though more is always better in my opinion). The best recipes are the ones you adapt to your family’s tastes.
If you make this, drop a comment and let me know what you think! I love hearing how recipes turn out in your kitchen. And if something doesn’t work, tell me that too—I’m here to help troubleshoot.
Happy cooking! And I hope your kitchen smells half as good as mine does right now.
Frequently Asked Questions
Can I use rotisserie chicken?
Absolutely! This is actually my favorite way to make these when I’m short on time. Just skip the boiling step, shred the rotisserie chicken, and mix it with the sauce. It saves about 15 minutes. I use rotisserie chicken at least once a month for this.
Why did my sliders fall apart?
Usually means you sliced them while they were too hot. The cheese and sauce are liquid when they come out of the oven. Let them cool for 5-10 minutes before slicing. Also, make sure you’re not using too much sauce; if the chicken is soggy, it’ll weigh down the rolls.
Can I make these ahead of time?
Sort of. You can assemble them up to 4 hours ahead and keep them in the fridge. Just add 5-10 minutes to the baking time since they’re cold. Don’t freeze them assembled; the rolls will get soggy. I prep the chicken and sauce ahead, but assemble right before baking.
Is there a non-spicy version?
Yes! Reduce the hot sauce to ¼ cup and add ¼ cup of ranch or blue cheese dressing to the mix. You can also use mild hot sauce. My kids prefer it this way, and it’s still creamy and flavorful.
Can I freeze the buffalo sauce?
Yes, the sauce itself freezes well for up to 3 months. Just thaw it in the fridge and mix with the chicken when you’re ready to cook. The cream cheese and rolls don’t freeze well, so assemble fresh.
What kind of rolls are best?
Hawaiian rolls are the gold standard because they’re sweet and soft. Brioche buns are a close second. Avoid hard rolls like baguettes or ciabatta, as they’ll break apart and don’t hold the sauce well. I’ve tried everything, and Hawaiian rolls win every time.
Pin This Recipe!
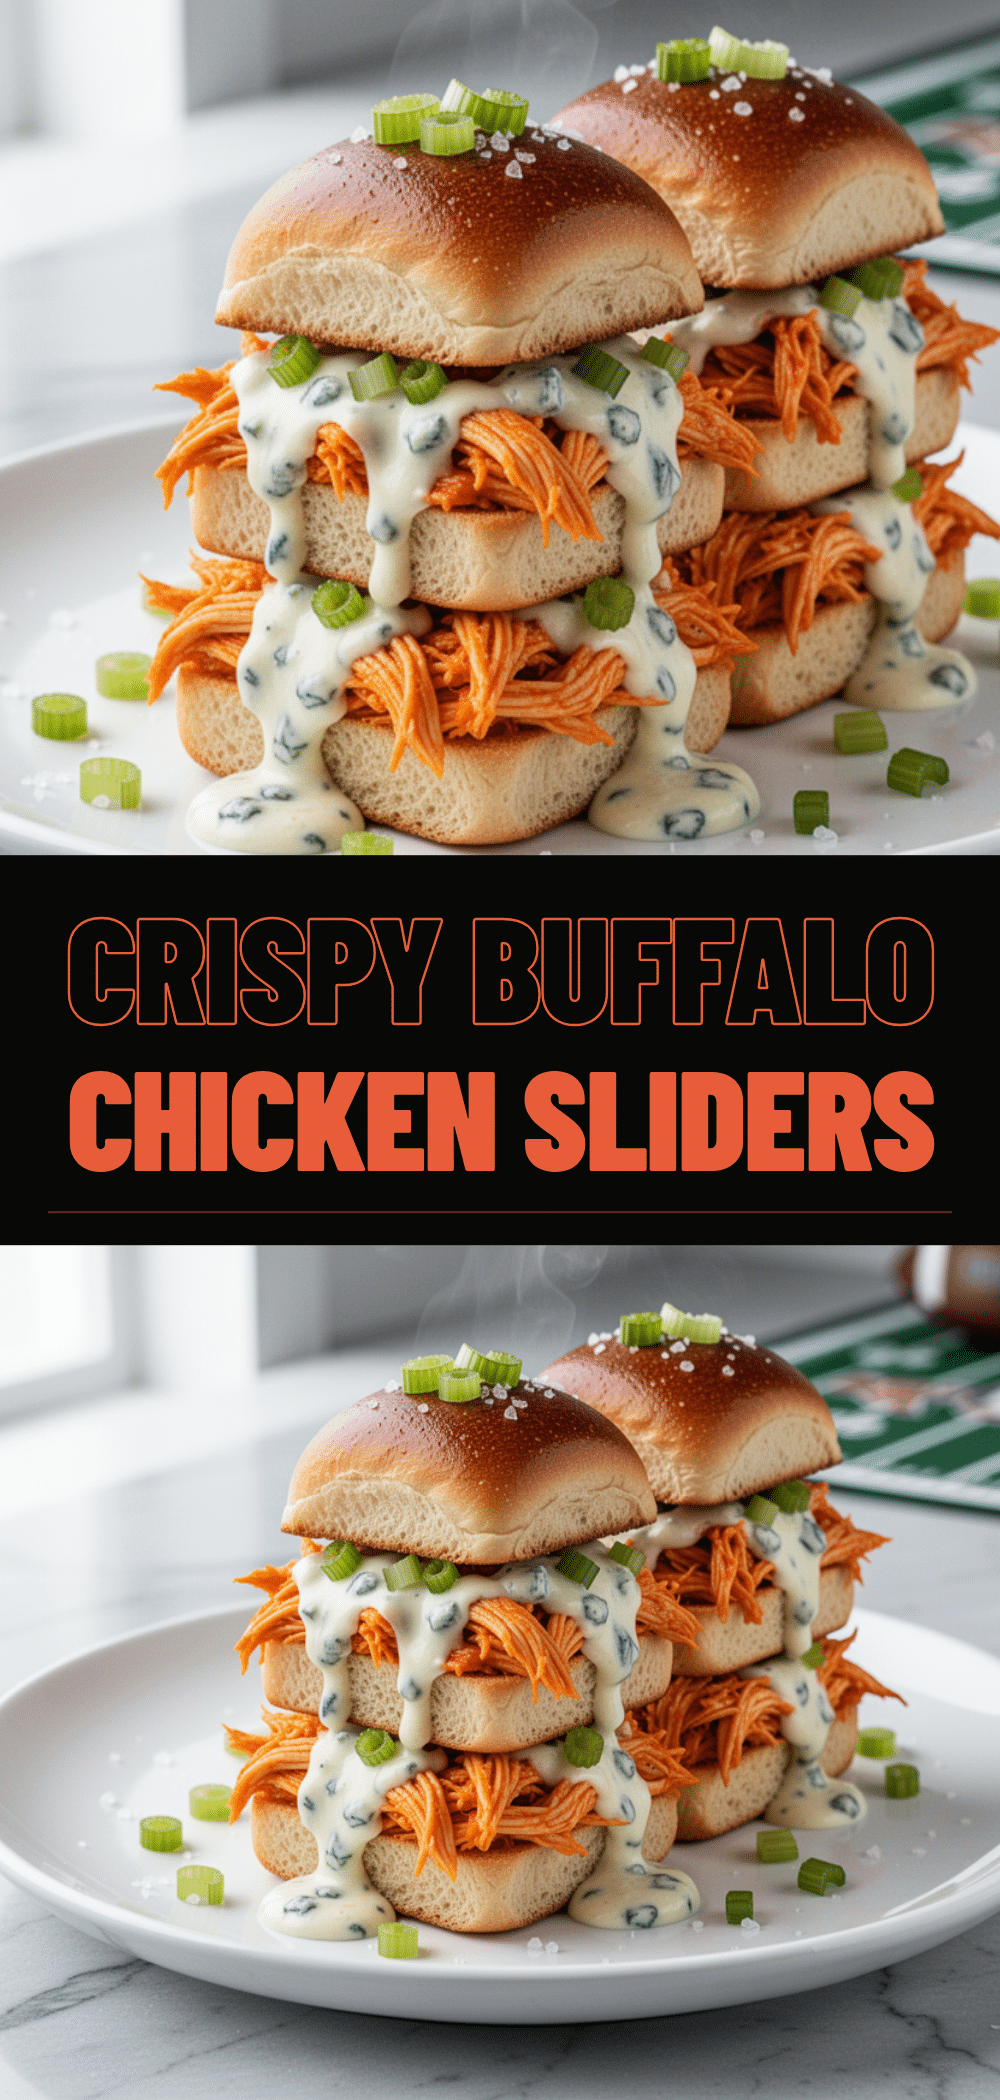

Game Day Buffalo Chicken Sliders
- Total Time: 30 minutes
- Yield: 12 servings 1x
Description
These spicy, creamy, and tangy Buffalo Chicken Sliders are a fast, crowd-pleasing weeknight dinner or game day snack ready in under 30 minutes. Made with shredded chicken, buffalo sauce, cream cheese, and Hawaiian rolls, they offer the perfect balance of heat and comfort.
Ingredients
- 2 pounds boneless, skinless chicken breasts or thighs
- ½ cup Frank’s RedHot hot sauce
- ¼ cup unsalted butter, melted
- 1 teaspoon garlic powder
- 1 teaspoon Worcestershire sauce
- ½ teaspoon salt
- ¼ teaspoon black pepper
- 1 pack (12-16 rolls) Hawaiian rolls
- 4 oz cream cheese, softened
- ½ cup blue cheese dressing
- 1 cup shredded cheddar or mozzarella cheese
- 2 tablespoons butter, for brushing
- Optional: Celery sticks, carrot sticks, extra ranch or blue cheese for dipping
Instructions
- Cook the chicken: Place chicken in a skillet or pot, cover with water or low-sodium broth, and bring to a boil. Reduce heat and simmer for 10-12 minutes until internal temperature reaches 165°F. Let rest for 5 minutes.
- Shred the chicken: Using two forks, shred the cooled chicken into bite-sized pieces.
- Make the buffalo sauce: In a small saucepan over medium heat, melt ¼ cup butter. Whisk in hot sauce, garlic powder, Worcestershire sauce, salt, and pepper. Simmer for 1-2 minutes to meld flavors.
- Mix chicken and sauce: In a large bowl, combine shredded chicken with the buffalo sauce. Toss until evenly coated.
- Prepare rolls: Preheat oven to 350°F. Slice the slab of Hawaiian rolls in half horizontally. Place the bottom half in a 9×13 inch baking dish.
- Assemble sliders: Spread the chicken mixture over the bottom half of the rolls. In a small bowl, mix softened cream cheese with blue cheese dressing. Dollop and spread this mixture over the chicken. Sprinkle shredded cheese on top.
- Bake: Cover the dish with aluminum foil and bake for 10 minutes. Remove foil and bake for another 5 minutes until cheese is bubbly and golden. Brush the top of the rolls with melted butter.
- Cool and serve: Let sliders cool for 5 minutes to set. Slice between the rolls to create individual sliders. Serve with celery or carrot sticks.
Notes
Do not skip resting the chicken after cooking to keep it juicy. Use full-fat cream cheese for the best texture. Let sliders cool for 5 minutes before slicing to prevent them from falling apart. These do not freeze well; store leftovers in the fridge for up to 3 days.
- Prep Time: 15 minutes
- Cook Time: 15 minutes
- Category: Appetizer
- Cuisine: American
Nutrition
- Serving Size: 1 slider
- Calories: 320
- Sugar: 6
- Sodium: 650
- Fat: 14
- Saturated Fat: 7
- Carbohydrates: 28
- Fiber: 1
- Protein: 18
Keywords: buffalo chicken sliders, game day food, easy weeknight dinner, spicy chicken recipe, hawaiian roll sliders, crowd pleaser, fast dinner


