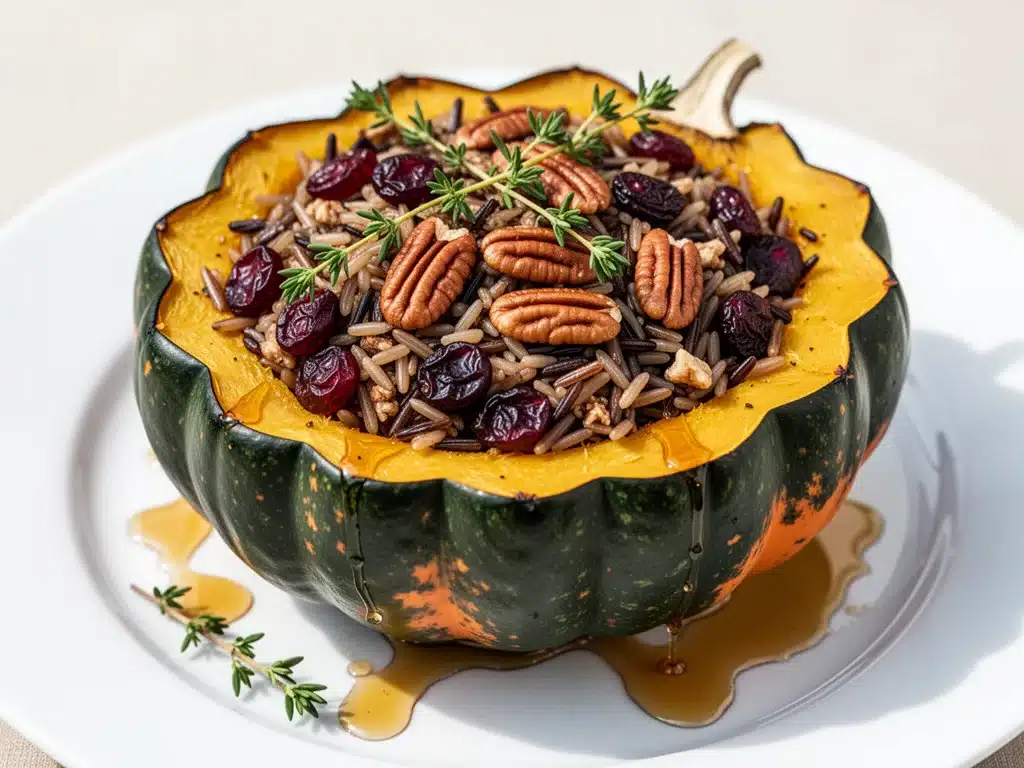
There was a specific Tuesday in October last year when I stood in my kitchen, staring at two acorn squashes that looked like they had been sitting on the counter since the leaves started changing. I had bought them on a whim, imagining some elaborate, Pinterest-perfect stuffing with wild mushrooms and expensive sausage. I was going to be the person who hosted a beautiful, cozy dinner party. Instead, I burned the first one because I forgot about it while answering emails, and the second one came out dry and bland.
I was ready to throw the whole thing out and order pizza. But then I remembered my grandmother’s method. She didn’t use wild mushrooms or fancy sausage. She used what she had, she kept it simple, and she roasted the squash until it was sweet and tender. I scraped out the burnt bits, tried a different approach with brown sugar and butter, and the result was so good that my husband asked if I was trying to impress him.
This stuffed acorn squash recipe isn’t about showing off. It’s about taking a humble, slightly intimidating ingredient and turning it into a dinner that feels like a warm hug. It’s the perfect fall dinner idea because it looks impressive but actually takes almost zero effort. You roast the squash, mix a quick filling, pop it back in the oven, and boom—you have a meal that smells like autumn and tastes like comfort.
I’ve made this stuffed acorn squash at least twenty times since that burnt squash incident. I’ve tweaked the filling, changed the spices, and even tried adding some leftover slow cooker beef bourguignon to it once (don’t ask, it was weird). But the core method remains the same: roast, stuff, roast again. It’s reliable, it’s budget-friendly, and it feeds people without breaking the bank or your back. If you’re looking for a way to use up those squashes before they go bad, or just want a dinner that makes your house smell amazing, this is it.
Why You’ll Love This Stuffed Acorn Squash
Look, I get it. Roasting a whole squash can feel like a chore. But once you try this stuffed acorn squash, you’ll wonder why you ever avoided it. Here’s why this recipe has earned a permanent spot in my weekly rotation:
It Looks Fancy but Is Actually Lazy — Seriously, the presentation does all the heavy lifting. You just scoop out the insides, dump in some filling, and bake it. No piping, no intricate assembly. It looks like something you’d serve at a boutique bistro, but it’s basically just roasted vegetables with butter.
It’s Naturally Gluten-Free — Most of the ingredients are whole foods. Unless you’re using a stuffing mix with breadcrumbs (which I rarely do), this is naturally gluten-free. I make this for my celiac sister, and she’s always the one asking for the recipe. No cross-contamination stress, no weird substitutions.
It’s a Flavor Powerhouse — Acorn squash is naturally sweet and nutty. When you pair that with savory, herby, buttery filling, you get this incredible balance that keeps people coming back for seconds. It’s not one-note. It’s complex, but in a way that doesn’t require a culinary degree.
It Feeds a Crowd for Cheap — Squash is incredibly cheap in the fall. You can get two large ones for the price of a single avocado. This recipe serves four generously, or six if you pair it with a simple salad. It’s way cheaper than takeout and way healthier.
It’s Great for Meal Prep — I make this on Sundays, and the leftovers actually taste better on Tuesday. The flavors meld together in the fridge. I reheat mine in the microwave with a splash of water to keep it moist. It’s become my go-to lunch when I’m tired of sandwiches.
This is my go-to when I need dinner to just work. No complicated techniques, no weird ingredients, just reliable, delicious food that makes everyone happy. It’s the kind of meal that makes you feel like a good cook, even if you’re running on three hours of sleep.
Ingredients You’ll Need
Here’s the best part: you probably have most of this already. I’m particular about three ingredients here, and I’ll tell you exactly why. For everything else, grab what you have in your pantry.
For the Squash
Acorn squash (2 medium, about 1.5 lbs each) — Look for squashes that feel heavy for their size. That means more flesh and less hollow space. The skin should be deep green, almost black, with no soft spots. If it’s light green or has yellow patches, it’s overripe. I buy mine from the local farmers market when they’re fresh, but the grocery store works fine in a pinch.
Butter (2 tablespoons, unsalted) — I use unsalted so I can control the salt. If you’re dairy-free, swap this for olive oil or coconut oil. But honestly, the butter adds this rich, nutty flavor that makes the squash sing. Don’t skimp on it.
Maple syrup (1 tablespoon) — This isn’t for dessert. It’s just a touch of sweetness to balance the savory filling. I use pure maple syrup, not the pancake syrup stuff. If you don’t have maple, brown sugar works, but maple tastes cleaner and more autumnal.
For the Filling
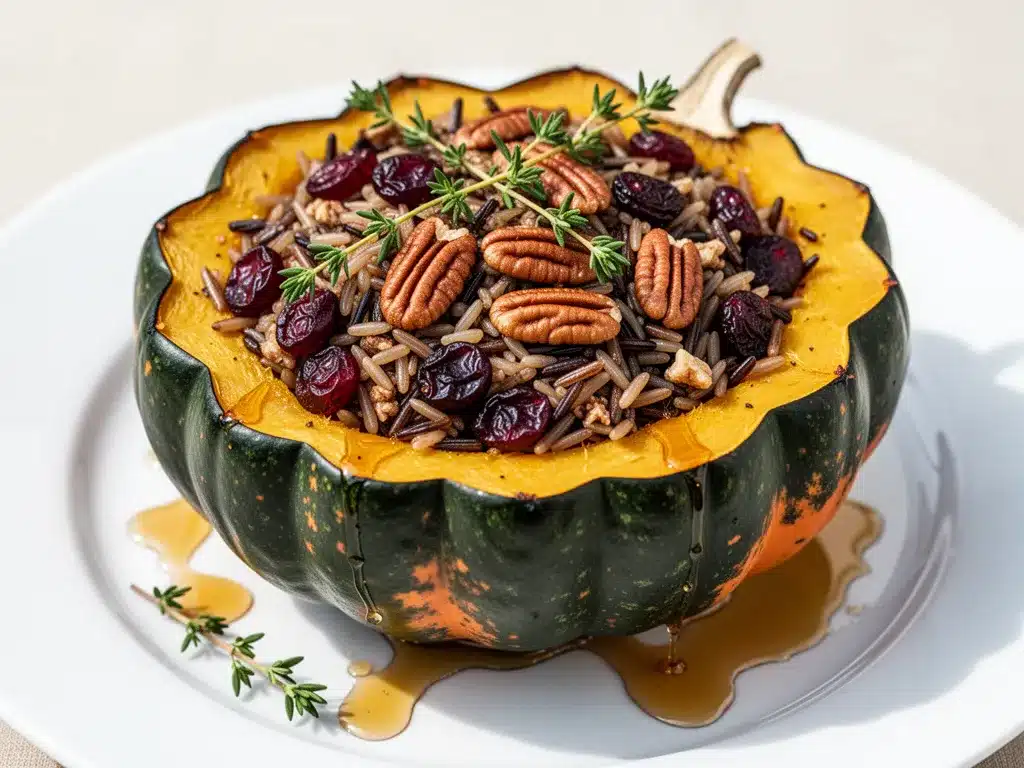
Cooked grains (2 cups) — I use cooked brown rice or quinoa. Brown rice adds a nice chewiness, while quinoa is lighter. You can use leftover rice from last night’s dinner—this is the ultimate leftover hack. If you’re using stuffing mix, follow the package directions but skip the broth and use water. I prefer grains because they hold their shape better.
Celery (1 stalk, finely diced) — This adds crunch and savory depth. If you hate celery, swap it for diced onions or fennel. But celery is classic for a reason. It cuts through the richness of the squash.
Onion (1 small yellow onion, finely diced) — Sweetness and aroma. I cook this down until it’s soft and translucent. No raw onion bites in this recipe. If you’re feeling fancy, add some minced shallots too.
Garlic (3 cloves, minced) — Don’t use jarred garlic here. It tastes metallic and ruins the delicate flavor of the squash. Fresh is non-negotiable. Mince it yourself. It takes two minutes and makes a huge difference.
Sage (1 tablespoon, fresh chopped) — This is the secret weapon. Sage tastes like fall. It’s earthy, piney, and slightly peppery. If you don’t have fresh sage, use 1 teaspoon dried sage. But fresh is so much better. I grow my own sage plant every summer—it’s easy and worth it.
Walnuts (½ cup, chopped) — Adds crunch and richness. I toast them in a dry pan for 2 minutes before adding them to the filling. It brings out their oil and makes them taste nuttier. If you’re allergic to walnuts, pecans or almonds work just as well. Even pumpkin seeds (pepitas) are a nice crunch.
Chicken broth (½ cup) — I use low-sodium broth so I can control the salt. Vegetable broth works for a vegetarian version. If you’re out of broth, water works, but broth adds more depth.
Salt and black pepper — To taste. I usually use about 1 teaspoon salt and ½ teaspoon pepper, but adjust to your preference. Always taste your filling before stuffing the squash.
Optional Add-ins — I sometimes add cooked cranberries (about ½ cup) for tartness, or crumbled cooked sausage for extra protein. But the base recipe is so good I rarely need to add more. Keep it simple.
Equipment Needed
You don’t need fancy equipment for this. Here’s what I actually use.
Sharp chef’s knife — This is crucial. Cutting through raw acorn squash can be tough. A dull knife will slip and hurt you. I use my 8-inch Wüsthof, but any sharp knife works. If your knife isn’t sharp, get it sharpened or buy a new one. It’s worth the investment for your safety.
Cutting board — Any size works. I use a large plastic one so I can handle the squash without it rolling around. If your board is slippery, put a damp towel underneath it. Learned this the hard way with a flying squash half.
Roasting pan or baking sheet — I use a 9×13 glass baking dish because it fits two squashes perfectly. A metal baking sheet works too, but you might need to fold up some foil to keep the squash from rolling. Glass distributes heat evenly, which helps the squash cook through.
Spoon — A sturdy metal spoon or a grapefruit spoon for scooping out the seeds and pulp. A regular tablespoon works, but a grapefruit spoon is easier because of the curved edge.
Mixing bowl — Any medium-sized bowl to mix your filling. I use a ceramic bowl because it’s easy to clean.
Measuring cups and spoons — Standard stuff. Dollar store versions work fine. Precision isn’t super critical here, but it helps to have a rough idea of ratios.
Oven — Obviously. Preheat to 400°F (200°C). Make sure your oven is calibrated correctly. If your oven runs hot, check the squash a few minutes earlier.
How to Make It: Step-by-Step
Alright, let’s make this! I’m walking you through exactly how I do it, including the little tricks I’ve picked up over the years.
Step 1: Prep the Squash (10 minutes)
First, wash your squash. Then, cut them in half lengthwise. This is the hardest part. Stand the squash upright on your cutting board and carefully slice down through the center. If it’s tough, microwave it for 2 minutes first to soften the skin a bit. It makes cutting way easier. Use a grapefruit spoon or regular spoon to scoop out the seeds and stringy pulp. You don’t need to get it perfectly clean—just get the loose bits out. Set the halves face-down on your roasting pan.
Step 2: Pre-Roast the Squash (30 minutes)
Drizzle the inside of each squash half with 1 tablespoon of melted butter and a drizzle of maple syrup. Sprinkle with a pinch of salt and pepper. Place them face-down in the preheated oven. Roast for 30 minutes. This step is crucial. It partially cooks the squash so it’s tender enough to eat, but still holds its shape. When you take them out, they should be fork-tender. If you poke them and the fork goes in easily, they’re ready.
Step 3: Make the Filling (10 minutes)
While the squash roasts, make the filling. Heat 1 tablespoon of olive oil in a skillet over medium heat. Add the diced onion and celery. Cook for 5 minutes until soft. Add the minced garlic and cook for 1 minute until fragrant. Do not let the garlic burn—it gets bitter quickly. Stir in the cooked grains, chopped sage, and toasted walnuts. Pour in the chicken broth and stir to combine. Cook for 2 minutes until the broth is absorbed. Season with salt and pepper to taste. This should smell amazing. If it smells good now, it’ll taste even better.
Step 4: Stuff and Finish Roasting (15 minutes)
Take the partially roasted squash out of the oven. Flip them over so they’re face-up. Spoon the filling into each half, mounding it slightly. Don’t pack it down too tightly—it needs room to heat through. Drizzle the tops with a little more butter or olive oil. Return them to the oven, face-up, and roast for 15 minutes. This melts the filling together and warms it through. The edges of the filling might get slightly crispy, which is delicious.
Step 5: Serve
Take them out of the oven and let them cool for 5 minutes. They’ll be very hot. Garnish with fresh parsley or extra sage if you have it. Serve immediately. These are best eaten with a spoon, right out of the skin. It’s messy, but that’s part of the fun.
Total Time: About 1 hour (15 minutes active, 45 minutes hands-off)
Troubleshooting:
- Squash is still hard: Roast for another 10 minutes. Different squashes vary in thickness.
- Filling is dry: Add a splash more broth when mixing. It should be moist but not soupy.
- Squash is falling apart: You might have over-roasted it the first time. Next time, check it at 25 minutes.
Expert Tips & Tricks
Here’s everything I’ve learned from making this dozens of times. These tips will save you from my mistakes.
Choose the Right Squash
Look for squashes that are heavy for their size. That means more flesh. The skin should be hard and dull, not shiny. Shiny skin can mean it’s not fully mature. Also, check for soft spots. If it’s soft anywhere, it’s going in the trash. I’ve been burned by that before.
Don’t Skip the Pre-Roast
I know it’s tempting to just stuff and roast everything at once. But raw squash takes longer to cook than the filling. If you do it all at once, the filling burns before the squash is tender. The two-stage roast is the secret to perfect texture.
Toast Your Nuts
Raw walnuts taste bland. Toasting them in a dry pan for 2-3 minutes brings out their natural oils and flavor. It’s a small step that makes a big difference. Don’t skip it. I learned this from making charred corn and black bean dip, where toasted pepitas were the star.
Adjust the Seasoning
Taste your filling before you stuff the squash. It should taste slightly salty, because the squash is bland. If it tastes perfect raw, it’ll taste bland after baking. Adjust salt and pepper now, not later.
Use Leftover Grains
This is the best use for leftover rice or quinoa. If you have cold rice from last night, use it. It holds its shape better than freshly cooked rice, which can get mushy. I make a big batch of grains on Sunday and use them all week.
Variations & Substitutions
Once you’ve nailed the basic version, here’s how you can mix it up. I’ve tried all of these.
Vegetarian Version
Simply swap chicken broth for vegetable broth. The rest of the recipe stays the same. This is my default version because it’s lighter and still delicious.
Meat Lover’s
Add 1 cup of cooked, crumbled Italian sausage or bacon bits to the filling. I sometimes use leftover brown sugar bourbon glazed ribs pulled off the bone and chopped up—it’s weird but surprisingly good. Or just stick with sausage for a classic fall flavor.
Cranberry Walnut
Add ½ cup of fresh or dried cranberries to the filling. The tartness cuts through the sweetness of the squash. I use fresh cranberries when they’re in season, and dried cranberries the rest of the year. It’s like a flavor explosion.
Cheesy
Stir ½ cup of grated cheddar or parmesan into the filling. Or sprinkle it on top before the final roast. It melts into a gooey, golden crust. My kids love this version.
Gluten-Free
Use gluten-free grains like rice or quinoa. If you’re using stuffing mix, check the label to ensure it’s gluten-free. Most stuffing mixes have wheat breadcrumbs, so grains are safer.
Dairy-Free
Swap butter for olive oil or coconut oil. Use vegetable broth instead of chicken broth. The flavor will be slightly different, but still delicious. I make this for my dairy-free friends, and they love it.
Serving & Storage
How to Serve:
I usually serve these straight from the baking dish at the dinner table. They look rustic and stay warm. Pair them with a simple green salad with bals vinaigrette, or some roasted Brussels sprouts. For a complete meal, add a protein like game day buffalo chicken sliders if you’re feeding a crowd, or just enjoy the squash as a hearty vegetarian main.
Toppings Bar:
When I have guests, I put out: extra toasted walnuts, fresh sage leaves, red pepper flakes, and a bottle of hot sauce. Everyone customizes their squash. It’s fun and interactive.
Storage Instructions:
Refrigerator: Store leftovers in an airtight container for up to 4 days. The squash will get softer, but the flavor stays good. I actually prefer the leftovers because the filling soaks into the squash.
Reheating: Best method: Microwave with a splash of water for 2-3 minutes. The water creates steam and keeps the squash from drying out. Oven method: Wrap in foil and warm at 350°F for 15 minutes. Don’t reheat in the oven without foil—it’ll dry out.
Freezing: Honestly, this doesn’t freeze well. The squash gets watery and mushy when thawed. The filling holds up okay, but the texture loss isn’t worth it. Make it fresh or store in the fridge.
Nutrition Information
I’m not a nutritionist, but here’s the breakdown if you’re tracking. This is per serving (based on 4 servings).
| Nutrient | Amount |
|---|---|
| Calories | 320 |
| Protein | 8g |
| Carbs | 45g |
| Fiber | 6g |
| Sugar | 12g |
| Fat | 14g |
| Sodium | 380mg |
What’s Good:
- High in fiber from the squash and grains.
- Good source of vitamin A from the squash.
- Healthy fats from the walnuts and olive oil.
What to Know:
- Higher in carbs due to the squash and grains.
- Contains dairy (unless swapped).
- Can be made gluten-free.
Look, this is comfort food. It’s not a diet recipe. But it’s way better than takeout, costs less, and I know exactly what’s in it. When I want to make it lighter, I use less butter and more veggies. But usually? I just eat a reasonable portion and enjoy it.
Final Thoughts
So that’s my go-to stuffed acorn squash! I’ve probably talked your ear off at this point, but when you make a recipe this often, you have a lot to say about it.
This has saved weeknight dinners more times than I can count. It’s my answer to “what’s for dinner” when I’m tired, don’t want takeout, and still want something that tastes really good. My kids are happy, my husband’s happy, and I’m happy because I’m not stressed about cooking.
Make it yours! Try different add-ins, swap in your favorite vegetables, adjust the spices. The best recipes are the ones you adapt to your family’s tastes. If you make this, drop a comment and let me know what you think! I love hearing how recipes turn out in your kitchen. And if something doesn’t work, tell me that too—I’m here to help troubleshoot.
Happy cooking! And I hope your kitchen smells half as good as mine does right now.
Frequently Asked Questions
Can I use butternut squash instead?
You can, but the texture and flavor are different. Butternut squash is sweeter and less nutty. It also doesn’t have the same “boat” shape, so you’ll need to scoop out the flesh and roast it in a dish instead. I prefer acorn squash for this recipe because of its shape and earthy flavor, but butternut works in a pinch.
Why did my squash turn out watery?
This usually happens if you didn’t pre-roast it long enough, or if you added too much liquid to the filling. Make sure you’re using cooked, drained grains. If you’re using fresh veggies in the filling, cook them down first to release their moisture. Also, don’t cover the squash tightly when reheating—steam builds up and makes it soggy.
Can I make this ahead for a dinner party?
Sort of. You can pre-roast the squash halves up to 2 days ahead and store them in the fridge. Make the filling the day of, stuff the squash, and roast for the final 15 minutes. It saves you time on the day of, but the squash might get a bit softer. I do this all the time for parties—it works fine.
Is acorn squash healthy?
Yes! It’s packed with vitamin A, vitamin C, and fiber. It’s low in calories and high in nutrients. The skin is edible and adds extra fiber. It’s a great way to get your veggies in, especially if you’re not a fan of bitter greens.
Can I freeze the filling?
Yes, the filling freezes well for up to 3 months. Store it in an airtight container. Thaw it in the fridge overnight before using. The texture might be slightly softer, but the flavor is still good. I make extra filling and freeze it for quick weeknight meals.
What wine pairs well with this?
I’m not a wine expert, but my wine-snob friend says a crisp Pinot Grigio or a light-bodied Pinot Noir works great. For something non-alcoholic, I love spiked apple cider margaritas or just hot apple cider with cinnamon. The sweetness of the squash pairs well with apple flavors.
How do I know when the squash is done?
Poke it with a fork. If the fork goes in easily and the squash feels soft, it’s done. The skin should also be slightly wrinkled. If it’s still hard, roast for another 10 minutes. Different squashes vary in thickness, so keep an eye on it.
Pin This Recipe!
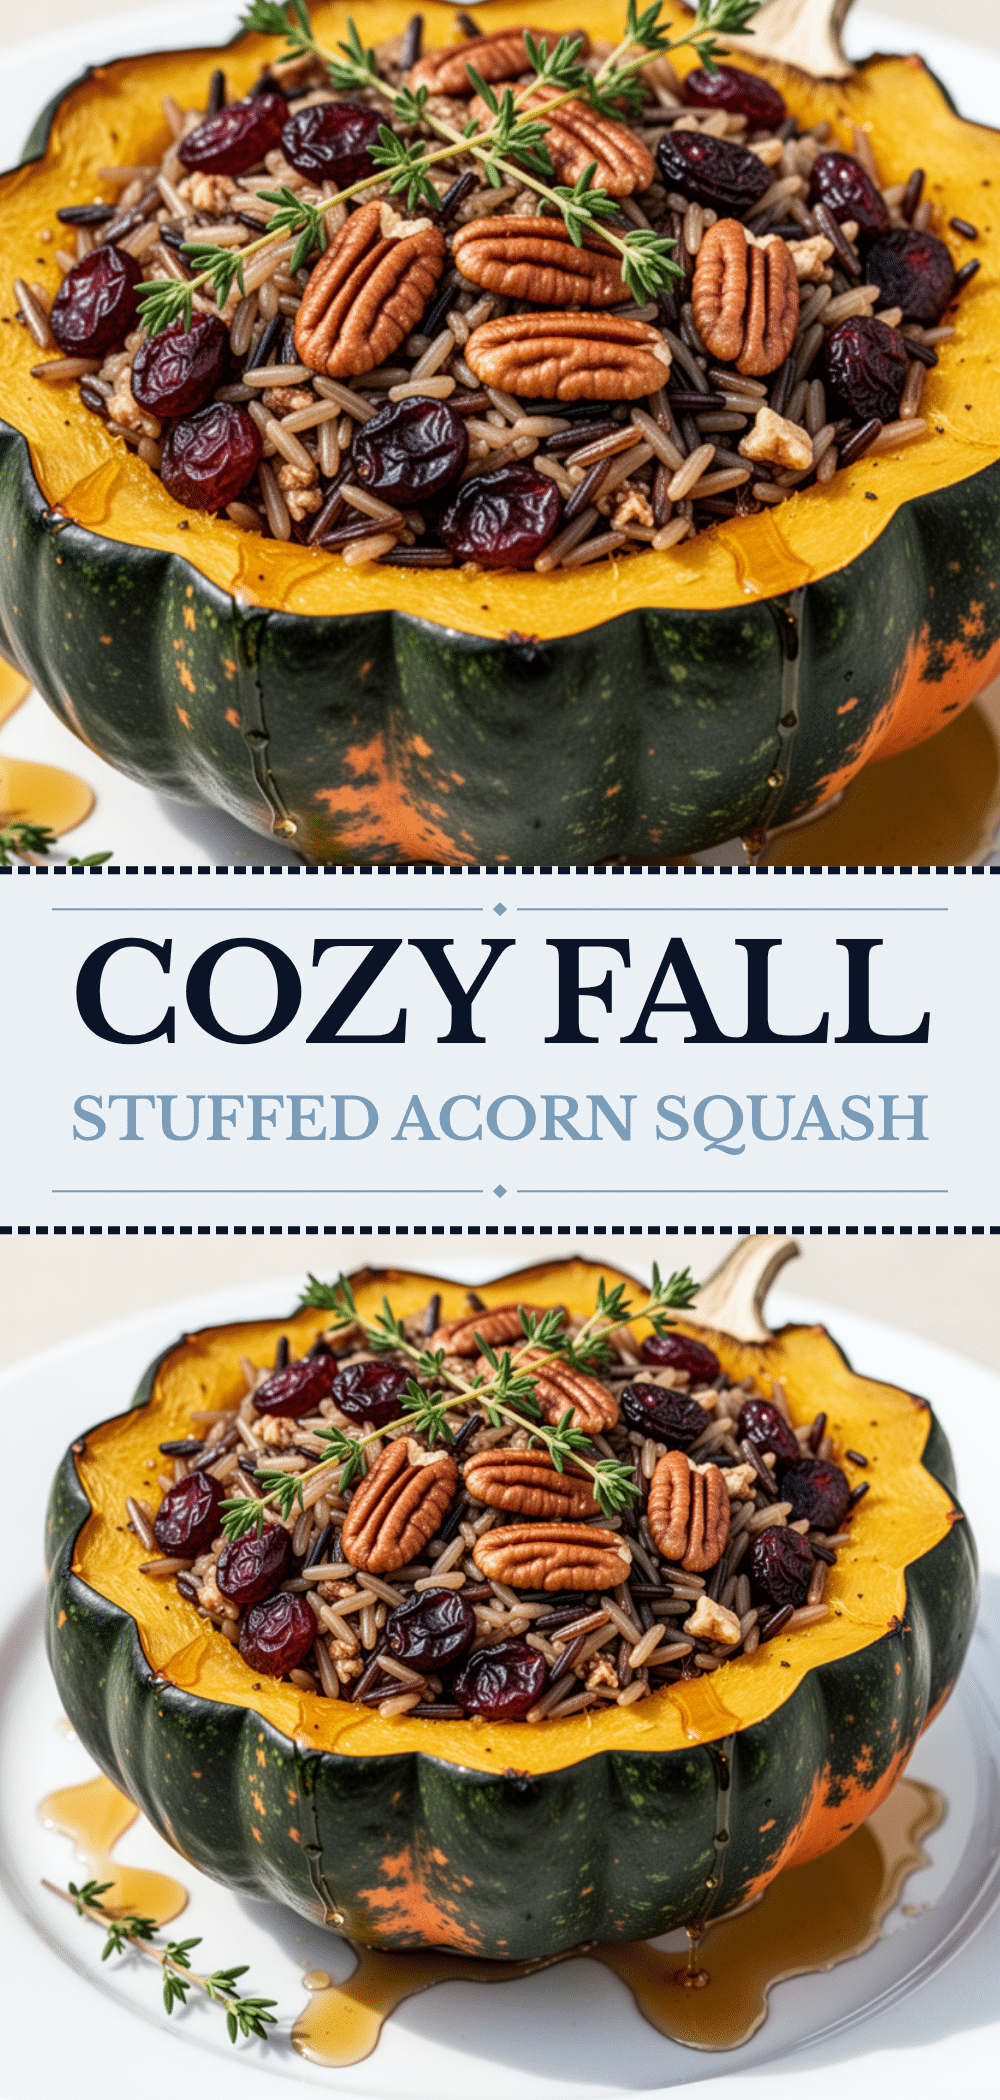
Stuffed Acorn Squash: Easy Fall Dinner Idea
- Total Time: 1 hour
- Yield: 4 servings 1x
Description
A cozy, budget-friendly fall dinner featuring roasted acorn squash halves filled with a savory mixture of grains, walnuts, sage, and onions. This naturally gluten-free recipe is easy to make and perfect for meal prep.
Ingredients
- 2 medium acorn squash (about 1.5 lbs each)
- 2 tablespoons unsalted butter (divided)
- 1 tablespoon pure maple syrup
- 2 cups cooked grains (brown rice or quinoa)
- 1 stalk celery, finely diced
- 1 small yellow onion, finely diced
- 3 cloves garlic, minced
- 1 tablespoon fresh sage, chopped
- 1/2 cup walnuts, chopped and toasted
- 1/2 cup chicken broth (or vegetable broth for vegetarian)
- Salt and black pepper to taste
- Optional: 1/2 cup cooked cranberries, crumbled sausage, or grated cheese
Instructions
- Preheat oven to 400°F (200°C).
- Wash squash and cut in half lengthwise. Scoop out seeds and pulp with a spoon.
- Place squash halves face-down on a roasting pan or baking sheet.
- Drizzle insides with 1 tablespoon melted butter and maple syrup. Sprinkle with salt and pepper.
- Roast face-down for 30 minutes until fork-tender.
- While squash roasts, heat olive oil in a skillet over medium heat. Sauté onion and celery for 5 minutes until soft.
- Add garlic and cook for 1 minute until fragrant.
- Stir in cooked grains, sage, and toasted walnuts. Add broth and cook for 2 minutes until absorbed.
- Season filling with salt and pepper to taste.
- Remove squash from oven and flip face-up.
- Spoon filling into each squash half, mounding slightly.
- Drizzle tops with remaining butter or olive oil.
- Return to oven face-up and roast for 15 minutes until filling is heated through.
- Let cool for 5 minutes before serving.
Notes
Choose squash that feels heavy for its size with hard, dull skin. Toast walnuts in a dry pan for 2-3 minutes to enhance flavor. Pre-roasting the squash is crucial to ensure it is tender without burning the filling. Leftovers can be stored in the refrigerator for up to 4 days and reheated in the microwave with a splash of water.
- Prep Time: 15 minutes
- Cook Time: 45 minutes
- Category: Main Course
- Cuisine: American
Nutrition
- Serving Size: 1 stuffed squash hal
- Calories: 320
- Sugar: 12
- Sodium: 380
- Fat: 14
- Saturated Fat: 4
- Carbohydrates: 45
- Fiber: 6
- Protein: 8
Keywords: acorn squash, stuffed squash, fall dinner, vegetarian, gluten-free, meal prep, healthy dinner, autumn recipes


