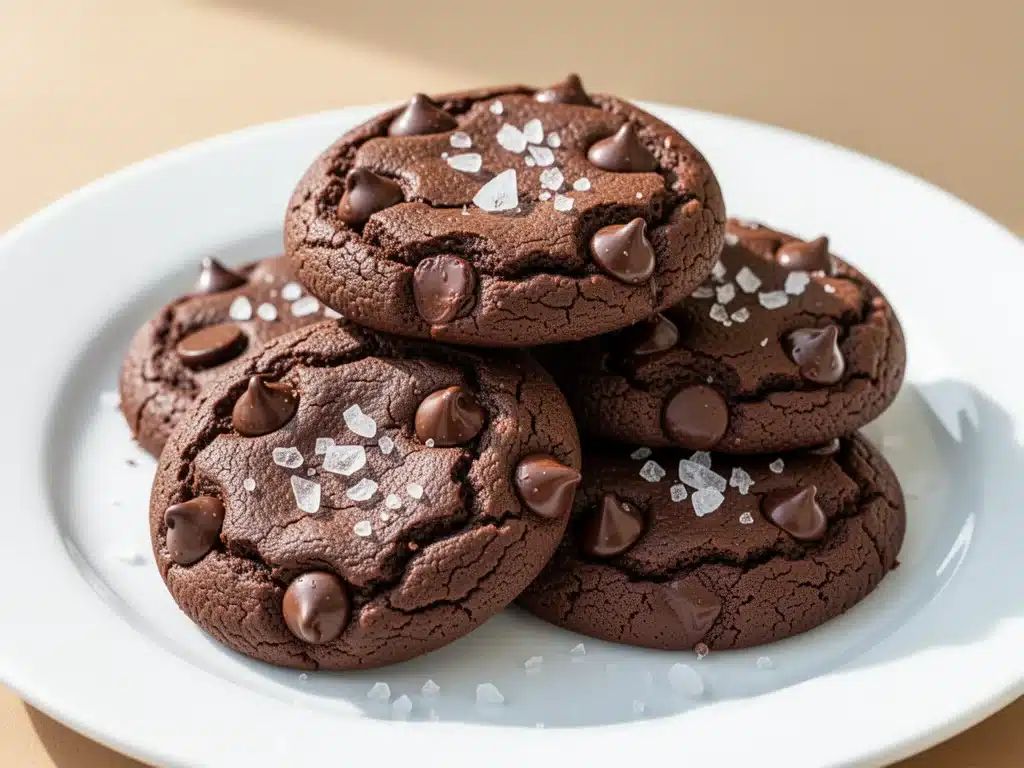
It was 4:30 PM on a rainy Sunday, and the house was quiet. Too quiet. My kids were supposed to be “playing independently,” which usually translates to “arguing in the other room.” I was staring at the kitchen counter, feeling that specific kind of exhaustion that comes from a long week but doesn’t quite let up just because it’s the weekend. I wanted something sweet. Not a cake—that feels like a project. Not store-bought cookies—those taste like cardboard and regret. I wanted real chocolate cookies. Warm, gooey, slightly crisp on the edges, and soft in the middle.
The problem? My stand mixer had died three days ago, and I was determined not to buy a new one until Monday. No electric mixer. No fancy gadgets. Just me, a wooden spoon, and whatever was in my pantry.
I threw together what I thought would be a mediocre batch of chocolate cookies. I just whisked everything by hand, ignoring the recipes that told me I needed to cream butter and sugar for “precisely three minutes.” I wasn’t in the mood for precision. I was in the mood for comfort.
Twenty minutes later, I pulled the tray out of the oven. The smell hit me first—rich, dark chocolate and toasted brown butter. I took one bite while it was still too hot to handle. It was perfect. Chewy, fudgy, and deeply chocolatey without being dry. My son wandered in, saw me eating them, and immediately asked if he could have one. Then two. Then he went back to playing, satisfied.
That was six months ago. Since then, I’ve made these no-mixer chocolate cookies at least twenty times. They’ve become my go-to when I’m tired, when I’m hosting a last-minute group chat dinner, or when I just need a hug in cookie form. They’re easier than my grilled peach cobbler because you don’t even need to turn on the oven if you’re feeling lazy (though you should). They’re the kind of dessert that makes people ask for the recipe, and then look surprised when I tell them they can make it with just a bowl and a spoon.
Here’s the thing about these cookies: they’re not just “easy.” They’re genuinely delicious. And once you try them, you’ll never go back to the mixer version. Seriously.
Why You’ll Love This No-Mixer Chocolate Cookie Recipe
There are about ten reasons I keep making these cookies, but here are the big ones. If you’re skeptical about hand-mixing cookies, let me convince you.
Zero Equipment Needed — I’m serious. No stand mixer, no hand mixer, no food processor. Just a large bowl and a sturdy spoon or spatula. This is huge for me because I have limited counter space and a small apartment kitchen. If you can boil water, you can make these.
Under 20 Minutes Active Time — From start to finish, including mixing and scooping, it takes about 15 minutes. The baking time is hands-off. I make these on weeknights when I get home from work at 6 PM and still want something homemade by 7:30 PM. It’s faster than ordering delivery.
One-Bowl Wonder — No washing multiple bowls, no scraping down the sides of a mixer attachment. You dump everything in one bowl, stir, scoop, bake, and wash one bowl. The cleanup is so fast it feels like cheating. I’ve made these while my toddler was napping, and I had the kitchen clean before he woke up.
Guaranteed Chewy Texture — Many “easy” cookies turn out cakey or dry. These are dense, fudgy, and chewy. The secret? No creaming. By skipping the creaming step, you don’t incorporate as much air, which keeps the cookies dense and rich. I’ve tested this against my grandma’s traditional recipe, and honestly, these are better for my taste. They’re less crumbly and more indulgent.
Pantry Staples Only — You probably have all of this already. Flour, sugar, butter, cocoa powder, eggs, baking soda, salt. No weird ingredients you have to drive to the specialty store for. I keep a bag of cocoa powder and a stick of butter in the fridge just so I can make these on a whim.
Makes Amazing Leftovers — Actually tastes better the next day. The cookies continue to soften as they cool, and by the next morning, they’re perfectly chewy. I deliberately make extra for lunch throughout the week. My husband steals them from the Tupperware every day. I pretend to be mad, but I’m not.
Budget-Smart — Feeds 4-6 people (or one very hungry person) for under $5. That’s less than one cookie at a boutique bakery. I make these when I’m trying to save money but still want to feel fancy.
This is my go-to when I need dessert to just work. No complicated techniques, no weird ingredients, just reliable, delicious food that makes everyone happy. Even my picky eater kids love them.
Ingredients You’ll Need
Here’s the best part: you probably have most of this already. This looks like a short list, but each ingredient plays a specific role in making these cookies fudgy and flavorful. I’m particular about a few things here, and I’ll tell you exactly why.
Unsalted Butter (½ cup / 113g) — This is the base. Use real butter, not margarine. It makes a huge difference in flavor. I like to soften it in the microwave for 10-15 seconds so it’s easy to mix by hand. If it’s too hard, you’ll struggle to stir it into the sugar.
Granulated Sugar (½ cup / 100g) — This adds sweetness and helps with the crisp edges. I use regular white sugar. Brown sugar is optional, but I like the contrast of white sugar for this specific recipe. It keeps the cookies lighter in color and crispier.
Light Brown Sugar (½ cup / 100g) — This adds moisture and chewiness. I pack it down firmly when measuring. If you don’t have brown sugar, you can use all granulated sugar, but the cookies will be less chewy. I’ve tried it, and it’s fine, but brown sugar is better.
Egg (1 large) — This binds everything together. Room temperature is best, but cold works if you’re in a hurry. Just whisk it in quickly.
Vanilla Extract (1 teaspoon) — Don’t skip this. It enhances the chocolate flavor. I use pure vanilla, not imitation. If you’re out, it’s okay, but the cookies won’t taste as complex.
All-Purpose Flour (1 ¼ cups / 150g) — This is the structure. Don’t use cake flour or bread flour. All-purpose is perfect. Spoon it into the measuring cup and level it off. Don’t scoop directly from the bag, or you’ll pack too much flour and get dry cookies.
Cocoa Powder (½ cup / 50g) — This is the star. Use unsweetened cocoa powder, not hot chocolate mix. I use Hershey’s Special Dark for a deeper chocolate flavor, but regular cocoa powder works fine. Natural cocoa powder is standard, but Dutch-processed works too (just add ¼ teaspoon baking powder if you use Dutch-processed).
Baking Soda (½ teaspoon) — This helps the cookies spread and rise slightly. Make sure it’s fresh. If it’s old, your cookies won’t spread and will be dense bricks. I check mine every few months.
Salt (¼ teaspoon) — Salt enhances chocolate flavor. It’s not optional. I use fine sea salt. If you use kosher salt, use a slightly larger pinch.
Chocolate Chips (½ cup / 85g) — Optional, but I recommend semi-sweet chocolate chips. They add pockets of melted chocolate. I use Ghirardelli 60% Cacao. If you’re allergic to chocolate, you can skip this, but why would you?
Optional Add-ins: I sometimes add a handful of walnuts or pecans for crunch. Or a sprinkle of flaky sea salt on top after baking for a fancy touch. I’ve also added a tablespoon of instant espresso powder to deepen the chocolate flavor. It doesn’t make them taste like coffee; it just makes the chocolate taste more like chocolate.
Equipment Needed
You don’t need fancy equipment for this. Here’s what I actually use.
Large Mixing Bowl — I use a 4-quart stainless steel bowl. It needs to be big enough to mix everything without spilling. Any bowl works, as long as it’s stable.
Wooden Spoon or Silicone Spatula — For mixing. I prefer a wooden spoon because it’s sturdy and doesn’t bend. A silicone spatula works too, but you might need to use more force to combine the butter and sugar.
Measuring Cups and Spoons — Pretty standard stuff. Dollar store versions work fine. I use a set of dry measuring cups and a set of liquid measuring cups.
Baking Sheets — I use two half-sheet pans. If you only have one, you’ll need to bake in batches. I line them with parchment paper for easy cleanup. I don’t like greasing the pan because the cookies have enough fat in them.
Parchment Paper — This is my favorite tool. It prevents sticking and makes cleanup instant. I buy it in rolls and cut it to size. You can use silicone baking mats, but parchment is cheaper and disposable.
Cooling Rack — Optional but nice. It helps the cookies cool evenly so they don’t get soggy on the bottom. I usually just let them cool on the pan for 5 minutes, then move them to a rack.
Whisk — For the egg and vanilla. You can use a fork if you don’t have a whisk, but a whisk combines them faster.
Spoon or Cookie Scoop — For portioning the dough. I use a tablespoon, but a cookie scoop gives uniform sizes. Uniform sizes bake evenly, which is nice but not required.
How to Make It: Step-by-Step
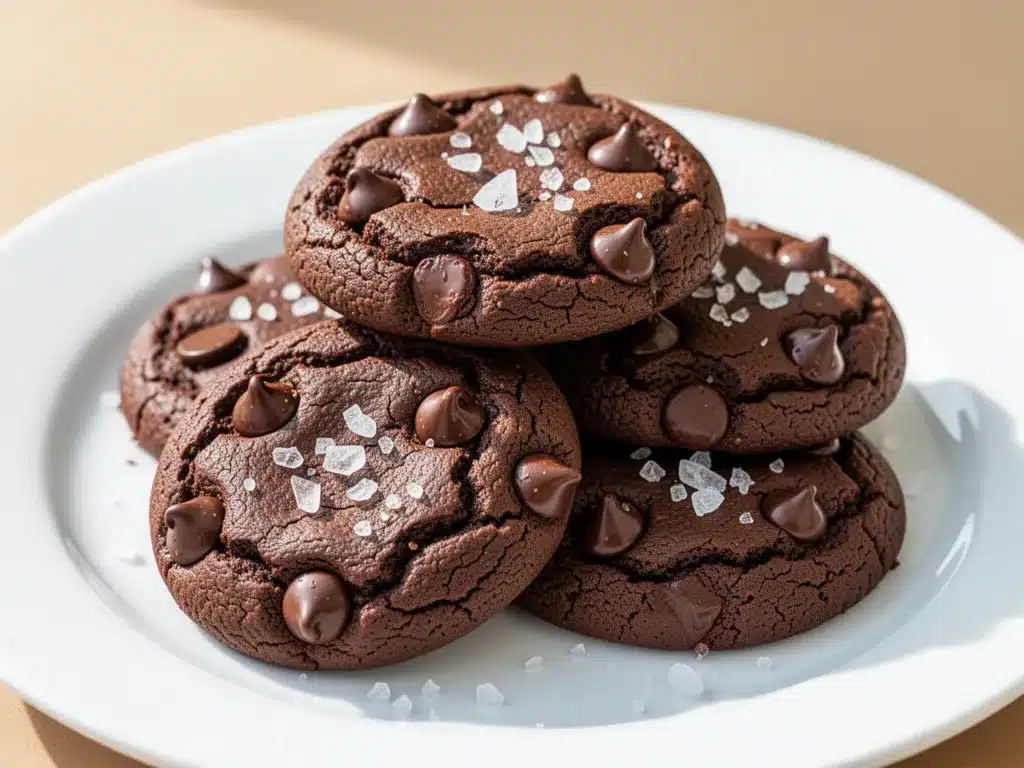
Alright, let’s make this! I’m walking you through exactly how I do it, including the little tricks I’ve picked up over time.
Step 1: Prep Your Oven and Pans (2 minutes)
Preheat your oven to 350°F (175°C). Line two baking sheets with parchment paper. This is crucial because the cookies spread and can stick if you don’t use parchment. If you’re in a rush, you can grease the pans with butter, but parchment is better. Set the pans aside.
Step 2: Mix the Butter and Sugars (3-4 minutes)
In your large mixing bowl, combine the softened unsalted butter, granulated sugar, and brown sugar. Use your wooden spoon or spatula to mix them together. You’re not creaming them like you would with a mixer, so just stir vigorously until the mixture looks somewhat combined and creamy. It won’t be fluffy, and that’s okay. This takes about 2-3 minutes of arm work. If the butter is too hard, microwave it for 10 more seconds.
Step 3: Add the Wet Ingredients (1 minute)
Crack the egg into the bowl and add the vanilla extract. Whisk them together with the butter mixture until fully incorporated. The mixture will look a bit curdled at first, which is normal. Just keep stirring until it’s smooth. This shouldn’t take more than a minute.
Step 4: Combine the Dry Ingredients (2 minutes)
Add the all-purpose flour, cocoa powder, baking soda, and salt to the bowl. Stir with your spoon until just combined. Be careful not to overmix. You want the flour to disappear, but if you stir too much, you’ll develop gluten and get tough cookies. The dough will look thick and stiff. This is good. It should hold its shape when you scoop it.
Step 5: Fold in the Chocolate Chips (1 minute)
If you’re using chocolate chips, fold them into the dough now. Use a gentle folding motion to distribute them evenly. Don’t crush them. If you’re adding nuts or espresso powder, add them now too.
Step 6: Scoop the Dough (3 minutes)
Use a tablespoon or cookie scoop to drop balls of dough onto the prepared baking sheets. Space them about 2 inches apart because they will spread. I usually get 12-14 cookies per batch. Don’t flatten them with your hand; they’ll spread on their own in the oven. If you press them down, they’ll come out flat and crisp instead of chewy.
Step 7: Bake (9-11 minutes)
Place the baking sheets in the preheated oven. Bake for 9-11 minutes. You’re looking for cookies that are set on the edges but still slightly soft in the center. They will look underdone when you take them out, and that’s exactly what you want. If you bake them until they look fully done, they’ll be dry once they cool. The residual heat will finish cooking them on the pan.
Step 8: Cool and Serve (10 minutes)
Let the cookies cool on the baking sheet for 5 minutes. This allows them to set. Then, transfer them to a cooling rack to cool completely. They’ll crisp up slightly as they cool, but stay chewy in the middle. Eat them warm for the best texture. They’re also great at room temperature, but warm is best.
Total Time: About 30 minutes (10 minutes active, 20 minutes baking/cooling)
Expert Tips & Tricks
Here’s everything I’ve learned from making this dozens of times. These tips will save you from my mistakes.
Softened Butter is Key
The butter needs to be soft enough to mix by hand, but not melted. Melted butter makes greasy cookies. If you microwave it, do it in short bursts (5-10 seconds) and check often. It should leave an indent when you press it with your finger.
Don’t Overmix the Dough
Once you add the flour, mix just until no dry streaks remain. Overmixing develops gluten, which makes cookies tough. I know it’s tempting to stir more, but trust me. Less is more.
Underbake on Purpose
This is the #1 tip. Remove the cookies when the edges are set but the centers are still soft. They will continue to cook on the hot pan. If you wait until they look done in the oven, they’ll be dry. I’ve burned a batch by leaving them in too long—don’t make my mistake.
Use Parchment Paper
It’s not just for cleanup. It creates a barrier that prevents sticking and promotes even baking. Cookies baked directly on metal pans often burn on the bottom. Parchment saves you from that.
Room Temperature Egg
If your egg is cold, it can seize the butter mixture. Let the egg sit on the counter for 15 minutes before using. If you forget, drop it in warm water for 5 minutes.
Flaky Salt on Top
Immediately after taking the cookies out of the oven, sprinkle them with flaky sea salt. The heat melts the salt slightly, and it adds a savory contrast to the sweet chocolate. It sounds weird, but it’s amazing. I learned this from a bakery in Portland.
Variations & Substitutions
Once you’ve nailed the basic version, here’s how you can mix it up. I’ve tried all of these.
Double Chocolate
Add ½ cup of mini chocolate chips to the dough. Or use chocolate chips instead of cocoa powder in the dough (drop the cocoa powder). This makes them extra fudgy. I like this version for movie nights.
Peanut Butter Swirl
Add a teaspoon of peanut butter on top of each dough ball before baking. Swirl it in with a knife. The salty-sweet combo is incredible. My daughter loves this version.
Chewy Brownie Cookies
Replace ¼ cup of flour with ¼ cup of cocoa powder. Add an extra egg yolk. This makes them denser and more brownie-like. I make these when I’m craving a brownie but want something portable.
Gluten-Free
Use a 1:1 gluten-free flour blend. Everything else stays the same. I’ve used Bob’s Red Mill 1:1 blend, and it works great. The texture is slightly more crumbly, but still delicious.
Dairy-Free
Replace butter with coconut oil (solid, not melted) or a dairy-free butter alternative. Use dairy-free chocolate chips. The flavor is slightly different, but still good. My lactose-intolerant friend requests this version.
Vegan
Replace butter with vegan butter or coconut oil. Replace egg with a flax egg (1 tablespoon ground flaxseed + 3 tablespoons water, let sit 5 minutes). Use vegan chocolate chips. It’s not exactly the same, but it’s close. I’ve made this for vegan friends, and they loved it.
Serving & Storage
How to Serve:
I usually serve these straight from the cooling rack, warm. They’re great with a glass of cold milk, a cup of coffee, or even a scoop of vanilla ice cream. I’ve also served them at parties alongside my charred corn and black bean dip for a sweet-and-savory spread. They travel well in a tin, making them perfect for potlucks or gift-giving.
Toppings Bar:
When I have guests, I put out: extra chocolate chips, crushed nuts, flaky sea salt, and caramel drizzle. Everyone customizes their cookie. It’s fun and interactive.
Storage Instructions:
Refrigerator: Store in an airtight container for up to 5 days. They stay chewy. If they start to dry out, add a slice of bread to the container. The bread releases moisture that keeps the cookies soft.
Freezing: These freeze beautifully. Scoop the dough onto a baking sheet, freeze until solid, then transfer to a freezer bag. Bake from frozen, adding 1-2 minutes to the bake time. Or freeze baked cookies. They thaw perfectly at room temperature. I freeze dough balls for quick weekday desserts.
Pro Tip: If leftovers are drying out, microwave a cookie for 10 seconds. It revives the chewiness instantly. Just don’t overdo it, or it’ll melt.
Nutrition Information
I’m not a nutritionist, but here’s the breakdown if you’re tracking.
Per Cookie (makes 12-14 cookies):
- Calories: 140
- Protein: 2g
- Carbs: 20g
- Fiber: 1g
- Sugar: 13g
- Fat: 7g
- Saturated Fat: 4g
- Cholesterol: 20mg
- Sodium: 90mg
What’s Good:
- Decent protein from the egg and flour
- Antioxidants from cocoa powder
- Easy to control sugar content (you’re making it from scratch)
What to Know:
- Higher in calories and sugar from butter and sugar
- Contains dairy and gluten
- Moderate sodium
My Take:
Look, these are chocolate cookies. They’re supposed to be indulgent. They’re not a health food. But they’re way better than store-bought, and you know exactly what’s in them. When I want to make them lighter, I reduce the sugar by ¼ cup and add more oats. But usually? I just eat one or two and enjoy them.
Final Thoughts
So that’s my no-mixer chocolate cookie recipe! I’ve probably talked your ear off at this point, but when you make a recipe this often, you have a lot to say about it.
This has saved weeknight desserts more times than I can count. It’s my answer to “what’s for dessert” when I’m tired, don’t want to order out, and still want something homemade. My kids are happy, my husband’s happy, and I’m happy because I’m not stressed about cooking.
Make it yours! Try different add-ins, swap in your favorite chocolate, adjust the salt. The best recipes are the ones you adapt to your family’s tastes. And if you’re feeling fancy, serve them with a glass of red wine or a spiked apple cider margarita for a cozy night in.
If you make this, drop a comment and let me know what you think! I love hearing how recipes turn out in your kitchen. And if something doesn’t work, tell me that too—I’m here to help troubleshoot.
Happy baking! And I hope your kitchen smells half as good as mine does right now.
Frequently Asked Questions
Can I use melted butter instead of softened butter?
You can, but the texture will be different. Melted butter makes the cookies flatter and crispier. Softened butter gives them that chewy, cake-like center. If you use melted butter, chill the dough for 30 minutes before baking to prevent excessive spreading. But for the best texture, stick with softened butter.
Why did my cookies spread too much?
Usually means the butter was too soft or melted, or the oven wasn’t hot enough. Make sure your butter is just softened, not runny. Also, check your oven temperature with a thermometer. Many ovens run cooler than they say. If the dough is too warm, chill it for 15 minutes before baking.
Can I make this dough ahead of time?
Yes! Scoop the dough onto a baking sheet, cover with plastic wrap, and refrigerate for up to 3 days. Or freeze it for up to 3 months. Bake from refrigerated (add 1-2 minutes) or frozen (add 2-3 minutes). This is great for meal prep. I make a batch on Sunday and bake fresh cookies all week.
Can I use Dutch-processed cocoa powder?
Yes, but you’ll need to adjust the leavening. Dutch-processed cocoa is acidic-neutralized, so it doesn’t react with baking soda. Add ¼ teaspoon baking powder to the dry ingredients if you use Dutch-processed cocoa. Otherwise, the cookies won’t spread enough and will be dense.
Why are my cookies dry?
Overbaking is the most common cause. Remove them when they look slightly underdone. They’ll finish cooking on the hot pan. Also, make sure you’re measuring your flour correctly. Scooping flour packs it in, leading to dry cookies. Spoon it into the cup and level it off.
Can I double this recipe?
Absolutely! Double everything and use two large bowls to mix. The baking times stay the same. I do this when I’m feeding a crowd or meal-prepping. Just make sure your baking sheets aren’t overcrowded. Cookies need space to spread.
What’s the best chocolate chip to use?
I recommend semi-sweet chocolate chips for balance. Ghirardelli 60% Cacao is my favorite. Butterscotch chips or white chocolate chips also work well. If you’re using chunks, chop a bar of chocolate into pieces. Chunks create more pockets of melted chocolate than uniform chips.
Pin This Recipe!
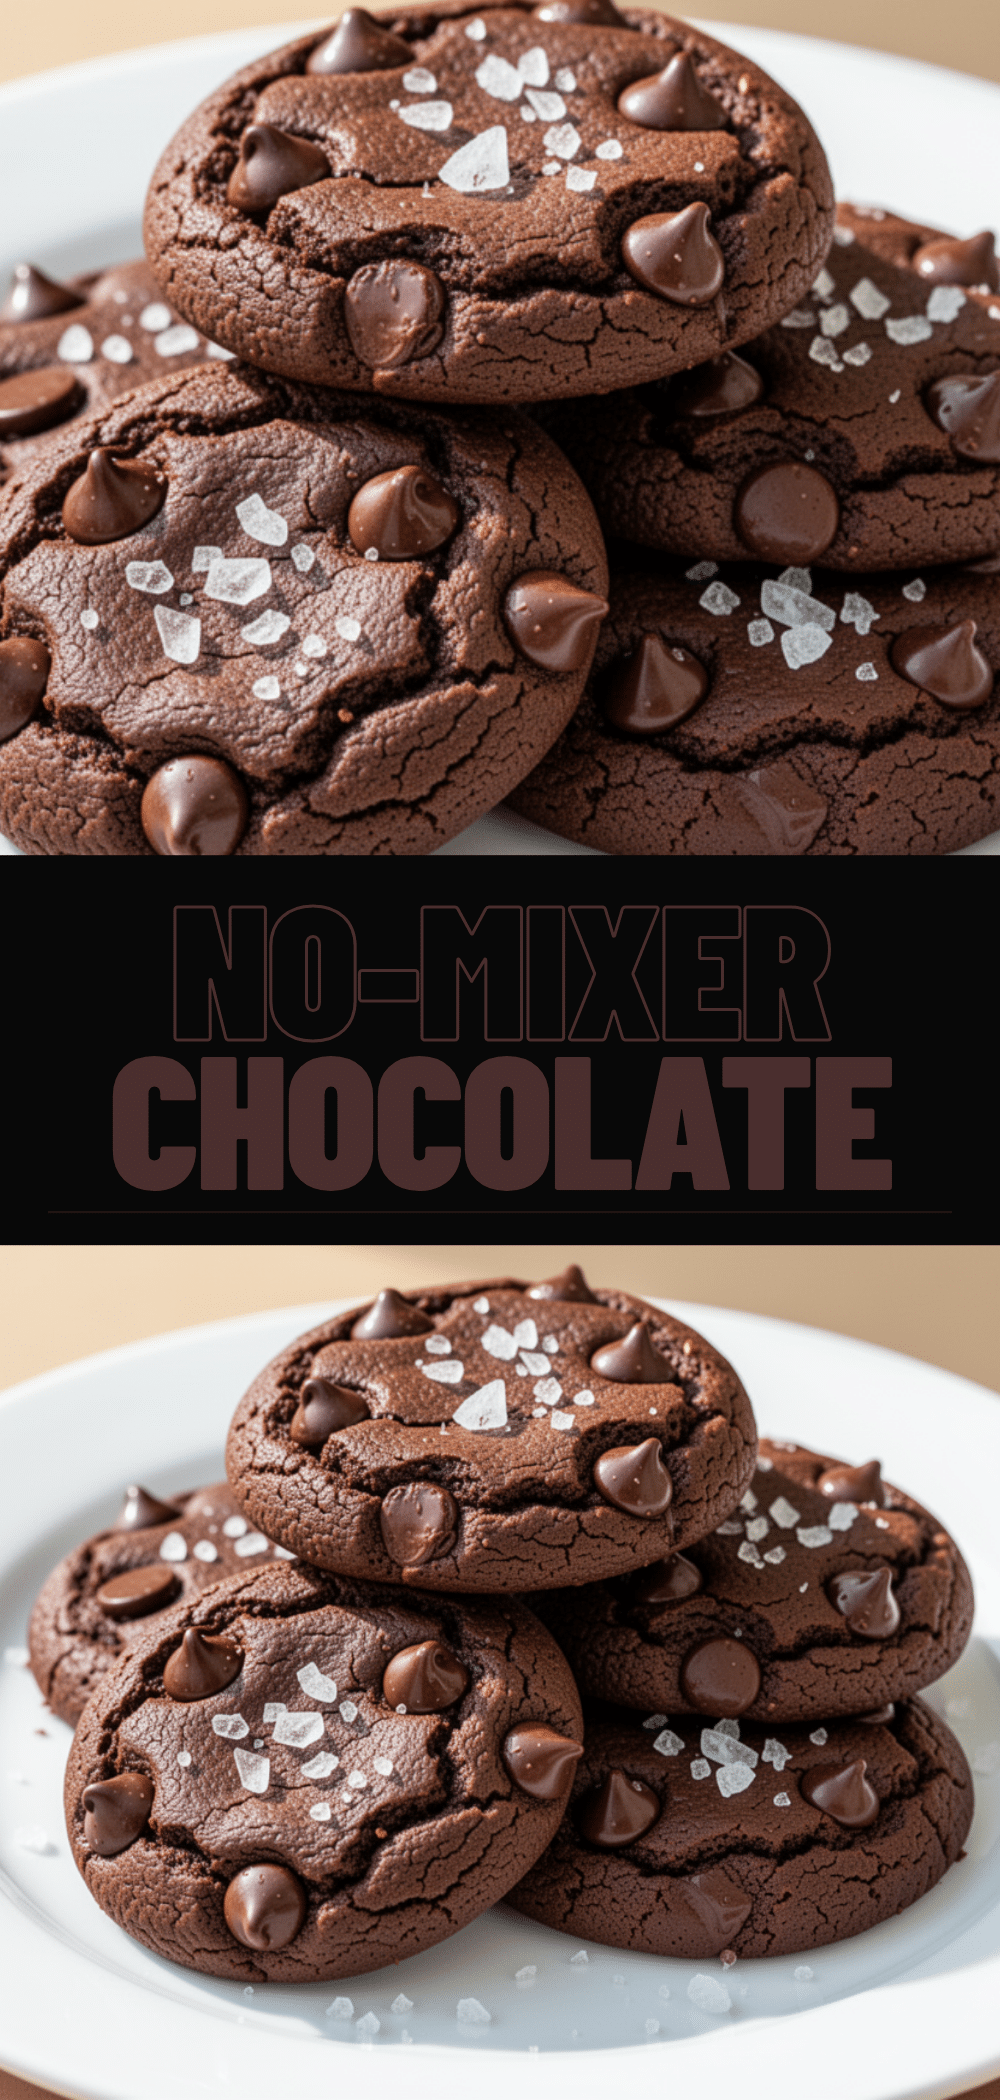

No-Mixer Chocolate Cookies: Easy Dessert Recipe
- Total Time: 30 minutes
- Yield: 12-14 cookies 1x
Description
These chewy, fudgy chocolate cookies require no electric mixer, just a bowl and a spoon. Made with pantry staples, they are ready in under 30 minutes and offer a perfect balance of crisp edges and soft centers.
Ingredients
- 1/2 cup (113g) unsalted butter, softened
- 1/2 cup (100g) granulated sugar
- 1/2 cup (100g) light brown sugar, packed
- 1 large egg, room temperature
- 1 teaspoon vanilla extract
- 1 1/4 cups (150g) all-purpose flour
- 1/2 cup (50g) unsweetened cocoa powder
- 1/2 teaspoon baking soda
- 1/4 teaspoon salt
- 1/2 cup (85g) semi-sweet chocolate chips
Instructions
- Preheat oven to 350°F (175°C) and line two baking sheets with parchment paper.
- In a large mixing bowl, combine softened butter, granulated sugar, and brown sugar. Stir vigorously with a wooden spoon or spatula until the mixture is combined and creamy (about 2-3 minutes).
- Add the egg and vanilla extract to the butter mixture. Whisk until fully incorporated and smooth.
- Add the flour, cocoa powder, baking soda, and salt to the wet ingredients. Stir until just combined and no dry streaks remain; do not overmix.
- Fold in the chocolate chips (and any optional add-ins like nuts or espresso powder) until evenly distributed.
- Scoop tablespoon-sized balls of dough onto the prepared baking sheets, spacing them about 2 inches apart.
- Bake for 9-11 minutes, or until the edges are set but the centers are still slightly soft.
- Let the cookies cool on the baking sheet for 5 minutes to set, then transfer to a cooling rack to cool completely.
- Optional: Sprinkle with flaky sea salt immediately after removing from the oven.
Notes
Ensure butter is softened but not melted for the best chewy texture. Do not overmix the dough once flour is added to prevent tough cookies. Underbake slightly for a fudgy center; cookies will continue to cook on the hot pan. Store in an airtight container for up to 5 days or freeze dough balls for later baking.
- Prep Time: 10 minutes
- Cook Time: 20 minutes
- Category: Dessert
- Cuisine: American
Nutrition
- Serving Size: 1 cookie
- Calories: 140
- Sugar: 13
- Sodium: 90
- Fat: 7
- Saturated Fat: 4
- Carbohydrates: 20
- Fiber: 1
- Protein: 2
Keywords: chocolate cookies, no mixer cookies, easy dessert, fudgy cookies, one bowl recipe, quick cookies, homemade cookies


