I still remember the sheer panic of staring at my empty pantry at 6:45 PM on a Friday. The guests were supposed to arrive in fifteen minutes, the ice was melting in the cooler, and I had absolutely nothing to serve for dessert. I had tried to be a responsible adult and meal-prep the main course, but in my hubris, I assumed I’d have time to whip up something fancy for sweets. Spoiler alert: I didn’t. I was one step away from serving store-bought granola bars on a fancy plate and hoping no one noticed.
Then I remembered the jar of peanut butter in the back of my cupboard and a bag of chocolate chips that had been hiding there since Christmas. I didn’t have time to bake. I didn’t have time to wait for an oven to preheat. I just had five minutes and a desperate need to look like I cared.
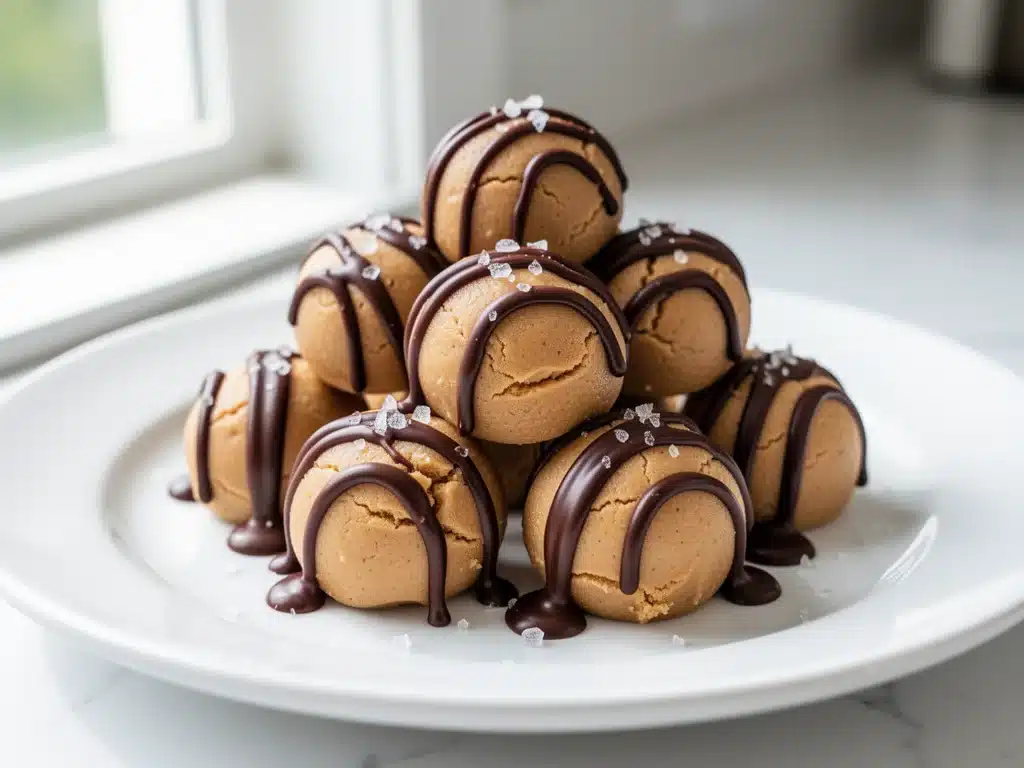
So I threw together what I now call my no bake peanut butter bites. I mixed peanut butter, honey, oats, and chocolate chips in a bowl, rolled them into little balls, and stuck them in the freezer while I changed my shirt. When the doorbell rang, I pulled a plate of these glossy, chocolate-covered treasures out of the fridge. My friends thought I’d ordered from a fancy bakery. I didn’t correct them.
That night changed how I approach party planning forever. I realized that some of the best recipes aren’t the ones that require a stand mixer or three hours of standing over a stove. They’re the ones that come together in the time it takes to pour a drink. These no bake peanut butter bites are exactly that: a lifeline for busy nights, a guilt-free-ish indulgence, and honestly, one of the most addictive snacks I’ve ever made. They’re sweet, salty, crunchy, and creamy all at once. And the best part? You can make them in under five minutes of active time.
Why You’ll Love This Recipe
There are about ten reasons I keep making these little peanut butter bites, but here are the big ones that keep them in my regular rotation.
Lightning Fast — Seriously, if you can stir a bowl, you can make these. The active prep time is roughly five minutes. The rest is just waiting for the peanut butter to chill. I’ve made these while watching a movie, while helping my kids with homework, and while pretending to work on my laptop. They are the ultimate multitasker.
Five Ingredients or Less — I’m particular about my ingredients. I don’t want to buy ten different spices for a recipe I’ll make once a year. For this, I use peanut butter, honey, oats, vanilla, and chocolate chips. That’s it. You probably already have half of this in your kitchen right now. It’s pantry-friendly in the truest sense.
Texture Heaven — There’s something about the contrast of the chewy oat interior and the crisp chocolate shell that drives me crazy (in a good way). The peanut butter provides that rich, salty base, while the oats add a necessary crunch. It’s not just soft and gooey; it has structure. It feels like a real treat, not just a sticky blob.
Make-Ahead Magic — These taste better after they’ve chilled. In fact, they need to chill. But that means you can make them days in advance. I’ll make a batch on Sunday, store them in the fridge, and they’re ready to grab for a midweek snack or a last-minute dinner party dessert. They hold up perfectly for up to two weeks in the fridge.
Budget-Smart — Let’s be real. Dessert can get expensive. Ordering takeout or buying premium cookies adds up. This recipe costs pennies per bite. I feed a family of four and these disappear fast, but they’re cheap enough that I don’t stress about the cost. It’s less than the price of a single candy bar at the gas station.
This is my go-to when I need a sweet fix that feels homemade but requires zero effort. No standing over a hot stove, no complicated techniques, just reliable, delicious food that makes everyone happy.
Ingredients You’ll Need
Here’s the best part: you probably have most of this already. I’m not asking you to go to the store for anything obscure. Here is exactly what you need and why I’m picky about each one.
Creamy Peanut Butter (1 cup / 250g) — This is the star. I always use standard creamy peanut butter (like Jif or Skippy). Natural peanut butter? Skip it. The oils separate in natural peanut butter, and these bites will be too greasy and won’t hold their shape. You want the emulsified kind that stays solid at room temperature. If you use natural, you’ll end up with a puddle, not a bite.
Honey (½ cup / 120ml) — Honey acts as the binder. It’s sticky, sweet, and helps hold everything together. Maple syrup works too if you want to keep it vegan, but honey gives a richer flavor that pairs better with the chocolate. I use regular golden honey. Dark honey can be too strong.
Old-Fashioned Rolled Oats (1 ½ cups / 120g) — Do not use instant oats. They’re too fine and will make the texture mushy. Do not use steel-cut oats. They’re too hard. You need old-fashioned rolled oats. They provide that chewy, hearty texture. If you’re worried about gluten, look for certified gluten-free oats, as regular oats are often processed in facilities with wheat.
Vanilla Extract (1 teaspoon) — Just a splash. It rounds out the peanut flavor and makes it taste more like a dessert than a snack. Don’t skip it. It’s the secret weapon that makes it taste “baked” even though it’s not.
Semi-Sweet Chocolate Chips (1 cup / 170g) — For the coating. I like semi-sweet because it cuts the sweetness of the honey. Milk chocolate is too sweet for my taste, and dark chocolate can be too bitter. Semi-sweet is the perfect middle ground. You can use mini chips if you want easier melting, but regular chips work fine if you’re patient.
Optional: Sea Salt Flakes — A tiny pinch on top after dipping. It elevates the flavor and makes them look professional. I do this when I’m feeling fancy or when guests are coming over.
Common Questions About Ingredients
Can I use almond butter instead? — Yes! Almond butter works great, but it’s thicker. You might need an extra teaspoon of honey to get the mixture to stick. The flavor is nuttier and more expensive, but delicious.
What if I don’t have honey? — Use light corn syrup or maple syrup. Corn syrup is less sweet and very sticky, which helps binding. Maple syrup will change the flavor profile slightly to a more rustic taste.
Do I need to buy special chocolate? — No. Regular chocolate chips from the grocery store work perfectly. You’re melting them, so you don’t need high-end couverture chocolate. Save the fancy stuff for when you’re actually baking.
Equipment Needed
You don’t need fancy equipment for this. Here’s what I actually use.
Large Mixing Bowl — Any size works, but go big. You want room to stir without making a mess. I use a ceramic bowl because it’s heavy and doesn’t slide around.
Wooden Spoon or Spatula — For mixing. You need something sturdy to combine the sticky peanut butter and honey with the dry oats. A silicone spatula works well to scrape the sides.
Microwave-Safe Bowl — For melting the chocolate. Glass or ceramic works best. I use a smaller bowl specifically for the chocolate so I don’t cross-contaminate it with the peanut butter mixture.
Parchment Paper — Line a baking sheet or plate with this. The chocolate bites will be sticky, and you do not want them sticking to the plate. Parchment paper is your best friend here.
Small Spoon or Dipping Fork — To dip the balls into the chocolate. I use a regular teaspoon to roll them in the chocolate, then lift them out. It’s messy but effective.
How to Make It: Step-by-Step
Alright, let’s make these no bake peanut butter bites! I’m walking you through exactly how I do it, including the little tricks I’ve picked up so you don’t end up with a sticky mess.
Step 1: Mix the Base (2 minutes)
In your large bowl, combine the creamy peanut butter and honey. Stir them together vigorously. If the peanut butter is cold from the fridge, it might be stiff. You can microwave it for 15 seconds to soften it up, making it easier to mix. Once smooth, add the rolled oats and vanilla extract. Mix until all the oats are thoroughly coated. The mixture should look like a thick, sticky dough. If it feels too dry and crumbly, add another teaspoon of honey. If it’s too wet, add a sprinkle more oats.
Step 2: Chill the Mixture (10 minutes)
This step is crucial. Cover the bowl with plastic wrap or a towel and put it in the fridge for about 10 minutes. This firms up the peanut butter and makes the mixture much easier to handle. If you skip this, your hands will be covered in sticky peanut butter, and the balls will fall apart. I know it’s tempting to rush, but ten minutes of waiting saves you ten minutes of frustration.
Step 3: Roll the Bites (5 minutes)
Take the bowl out of the fridge. Using a tablespoon or a small cookie scoop, portion out the mixture. Roll each portion between your palms to form a smooth ball. If your hands get sticky, wet them slightly with water. Place the balls on the parchment-lined baking sheet. You should get about 20-25 bites depending on the size. Don’t worry if they aren’t perfect spheres; they’ll look fine once coated in chocolate.
Step 4: Melt the Chocolate (2 minutes)
Place the chocolate chips in your microwave-safe bowl. Microwave in 30-second intervals, stirring between each interval. This is important! Chocolate burns easily. Start with 30 seconds, stir, then check. Usually, it takes 60-90 seconds total to melt smoothly. If it looks lumpy, keep stirring; the residual heat will melt it. If it’s too thick, add a tiny teaspoon of coconut oil or vegetable shortening to thin it out. This makes the coating smoother and easier to dip.
Step 5: Dip and Coat
Take a chilled peanut butter ball and drop it into the melted chocolate. Use a spoon to cover it completely. Lift it out, letting the excess chocolate drip off. Tap the spoon gently against the side of the bowl to remove excess. Place it back on the parchment paper. Repeat with all the balls. Work quickly so the chocolate doesn’t harden too fast in the bowl.
Step 6: Set and Serve
Once all the bites are coated, sprinkle with sea salt flakes if using. Put the entire tray in the fridge for 15-20 minutes to let the chocolate set completely. Once firm, they are ready to eat. Store them in an airtight container in the fridge.
Total Time: About 20 minutes (5 minutes active, 15 minutes chilling).
Troubleshooting Your Bites
Bites are too soft: Your peanut butter might have been too warm, or you didn’t chill the mixture enough. Next time, chill for 15 minutes and ensure your peanut butter is at room temperature, not hot.
Chocolate is too thick: You didn’t stir enough during melting, or the chocolate seized. Add a tiny bit of oil and stir vigorously.
Chocolate is cracking: The chocolate layer is too thick. Make sure you’re dipping lightly and letting the excess drip off. A thin coat cracks less than a thick one.
Expert Tips & Tricks
Here’s everything I’ve learned from making these dozens of times. These tips will save you from my mistakes.
Keep Your Hands Dry
When rolling the oats, if they stick to your fingers, dip your hands in cold water for a second. The water prevents sticking but doesn’t make the oats soggy. Dry your hands off before rolling.
Don’t Overheat the Chocolate
This is the #1 mistake people make. Microwaves are unpredictable. Always go low and slow. If the chocolate gets too hot, it becomes grainy and won’t coat smoothly. If you’re nervous, use a double boiler on the stove instead. It takes longer but is foolproof.
Use a Cookie Scoop
If you want uniform bites, use a small ice cream scoop or cookie scoop. It ensures every bite is the same size, which means they cook and set evenly. It also speeds up the process significantly.
Double Dip for Extra Crunch
If you love a thick chocolate coating, dip the ball in chocolate, let it set for 5 minutes in the fridge, then dip it again. This creates a professional-looking shell that snaps when you bite it.
Flavor Variations
I love adding a handful of mini M&Ms or crushed pretzels to the peanut butter mixture before rolling. It adds texture and surprise. For a holiday twist, add red and green sprinkles to the wet chocolate before it sets.
Variations & Substitutions
Once you’ve nailed the basic version, here’s how you can mix it up. I’ve tried all of these.
Chocolate Chip Peanut Butter Bites
Add ½ cup of mini chocolate chips directly into the peanut butter mixture before rolling. This gives you chocolate in every bite, not just on the outside. This is my personal favorite version.
Pretzel Peanut Butter Bites
Crush a handful of pretzels and mix them into the oat mixture. The salty crunch contrasts beautifully with the sweet chocolate. It’s like a mini Reese’s with a crunch.
Vegan Version
Use maple syrup instead of honey and dairy-free chocolate chips. Use natural peanut butter, but note that it may require a bit more chilling time. These are just as delicious and satisfy the vegan crowd perfectly.
Peanut Butter Cup Style
Instead of rolling small balls, press the mixture into mini muffin tins lined with cupcake liners. Pour melted chocolate on top. These are essentially homemade Reese’s Cups. They take a bit longer to make but are perfect for gifting.
Gluten-Free
Simply use certified gluten-free oats. Everything else is naturally gluten-free, so this is an easy swap for those with allergies.
No-Oat Version
If you’re avoiding oats, you can use crushed graham crackers or cereal (like Cheerios) for crunch. The texture will be different, but it still works. I prefer oats for the chew, but graham crackers add a nice cookie-like flavor.
Serving & Storage
How to Serve:
I usually serve these straight from the fridge. They are best cold because the chocolate is crisp and the peanut butter is firm. I put them on a small plate with a napkin, as they can be a bit messy if the chocolate melts. They pair well with coffee or milk. I’ve also served them alongside vegan mango turmeric smoothie bowls for a balanced brunch spread, though they are definitely on the sweet side.
Side Dishes:
These are a dessert or snack, so they don’t really have sides. But they go great with a hot cup of tea or a glass of cold milk. If you’re having a party, they complement savory snacks well, like labor day charred corn and black bean dip, offering a sweet contrast to spicy dips.
Storage Instructions:
Store in an airtight container in the refrigerator for up to two weeks. They can also be frozen for up to three months. To freeze, place them on a tray in the freezer until solid, then transfer to a freezer bag. Thaw in the fridge before eating. They do not store well at room temperature because the peanut butter can soften and the chocolate might sweat in humidity.
Pro Tip:
If you’re taking these to a potluck or party, bring them in a cooler with ice packs. They stay perfect and don’t melt. I’ve learned this the hard way after leaving a batch in the car on a hot day.
Nutrition Information
I’m not a nutritionist, but here’s the breakdown if you’re tracking. Keep in mind that these are treats, so portion control is key.
Per Bite (based on 20 bites):
- Calories: 120
- Protein: 3g
- Carbs: 12g
- Fiber: 1g
- Sugar: 8g
- Fat: 7g
- Saturated Fat: 2g
What’s Good:
They provide some protein from the peanut butter and fiber from the oats. They don’t have refined flour, which is a plus. The fats are mostly from healthy peanut butter fats.
What to Know:
They are calorie-dense due to the peanut butter and chocolate. A few bites are enough to satisfy a sweet tooth. They contain peanuts, so they are not suitable for those with nut allergies.
My Take:
Look, this is a sweet treat. It’s not a health food. But it’s better than a candy bar because you know exactly what’s in it. No weird preservatives, just real ingredients. When I want to make it lighter, I use a smaller amount of chocolate chips and more oats. But usually? I just enjoy two bites and call it a day.
Final Thoughts
So that’s my go-to no bake peanut butter bites! I’ve probably talked your ear off at this point, but when you make a recipe this often, you have a lot to say about it.
This has saved me more times than I can count. It’s my answer to “what’s for dessert?” when I’m tired, don’t want to bake, and still want something that tastes homemade. My kids are happy, my friends are impressed, and I’m happy because I’m not stressed about cooking.
Make it yours! Try different add-ins, swap in your favorite chocolate, or adjust the sweetness. The best recipes are the ones you adapt to your family’s tastes. If you make these, drop a comment and let me know what you think! I love hearing how recipes turn out in your kitchen. And if something doesn’t work, tell me that too—I’m here to help troubleshoot.
Happy cooking! And I hope your kitchen smells half as good as mine does right now.
Frequently Asked Questions
Can I use natural peanut butter?
I generally don’t recommend it. Natural peanut butter has separated oils that make the mixture greasy and difficult to roll. The bites may not hold their shape well. If you must use it, make sure you stir the oil back in thoroughly and chill the mixture longer. But for the best results, stick to standard creamy peanut butter.
Why did my chocolate crack?
Cracking usually happens if the chocolate layer is too thick or if the peanut butter bite was too warm when dipped. Make sure you let the peanut butter balls chill thoroughly before dipping. Also, ensure you are dipping lightly and letting excess chocolate drip off. A thin coat cracks less than a thick one.
Can I make these ahead of time?
Yes! These are perfect for make-ahead. You can make them up to two weeks in advance and store them in the fridge. They actually taste better after a day or two because the flavors have time to meld. I often make a batch on Sunday for the week.
How do I store them?
Store them in an airtight container in the refrigerator. They can also be frozen. If freezing, place them on a baking sheet in the freezer until solid, then transfer to a freezer bag. They will last for up to three months. Thaw in the fridge before eating.
Can I dip them in dark chocolate?
Absolutely. Dark chocolate works great and adds a nice bitterness that balances the sweet honey and peanut butter. Just be aware that dark chocolate can be thicker and harder to dip. You may need to add a teaspoon of coconut oil to thin it out.
Are these gluten-free?
If you use certified gluten-free oats, yes. All other ingredients are naturally gluten-free. Just double-check your peanut butter and chocolate chips to ensure they are processed in a gluten-free facility if you have celiac disease.
What if I don’t have a microwave?
You can melt the chocolate in a double boiler. Place a heatproof bowl over a pot of simmering water (make sure the bowl doesn’t touch the water). Stir constantly until smooth. This method gives you more control and prevents burning.
Pin This Recipe!
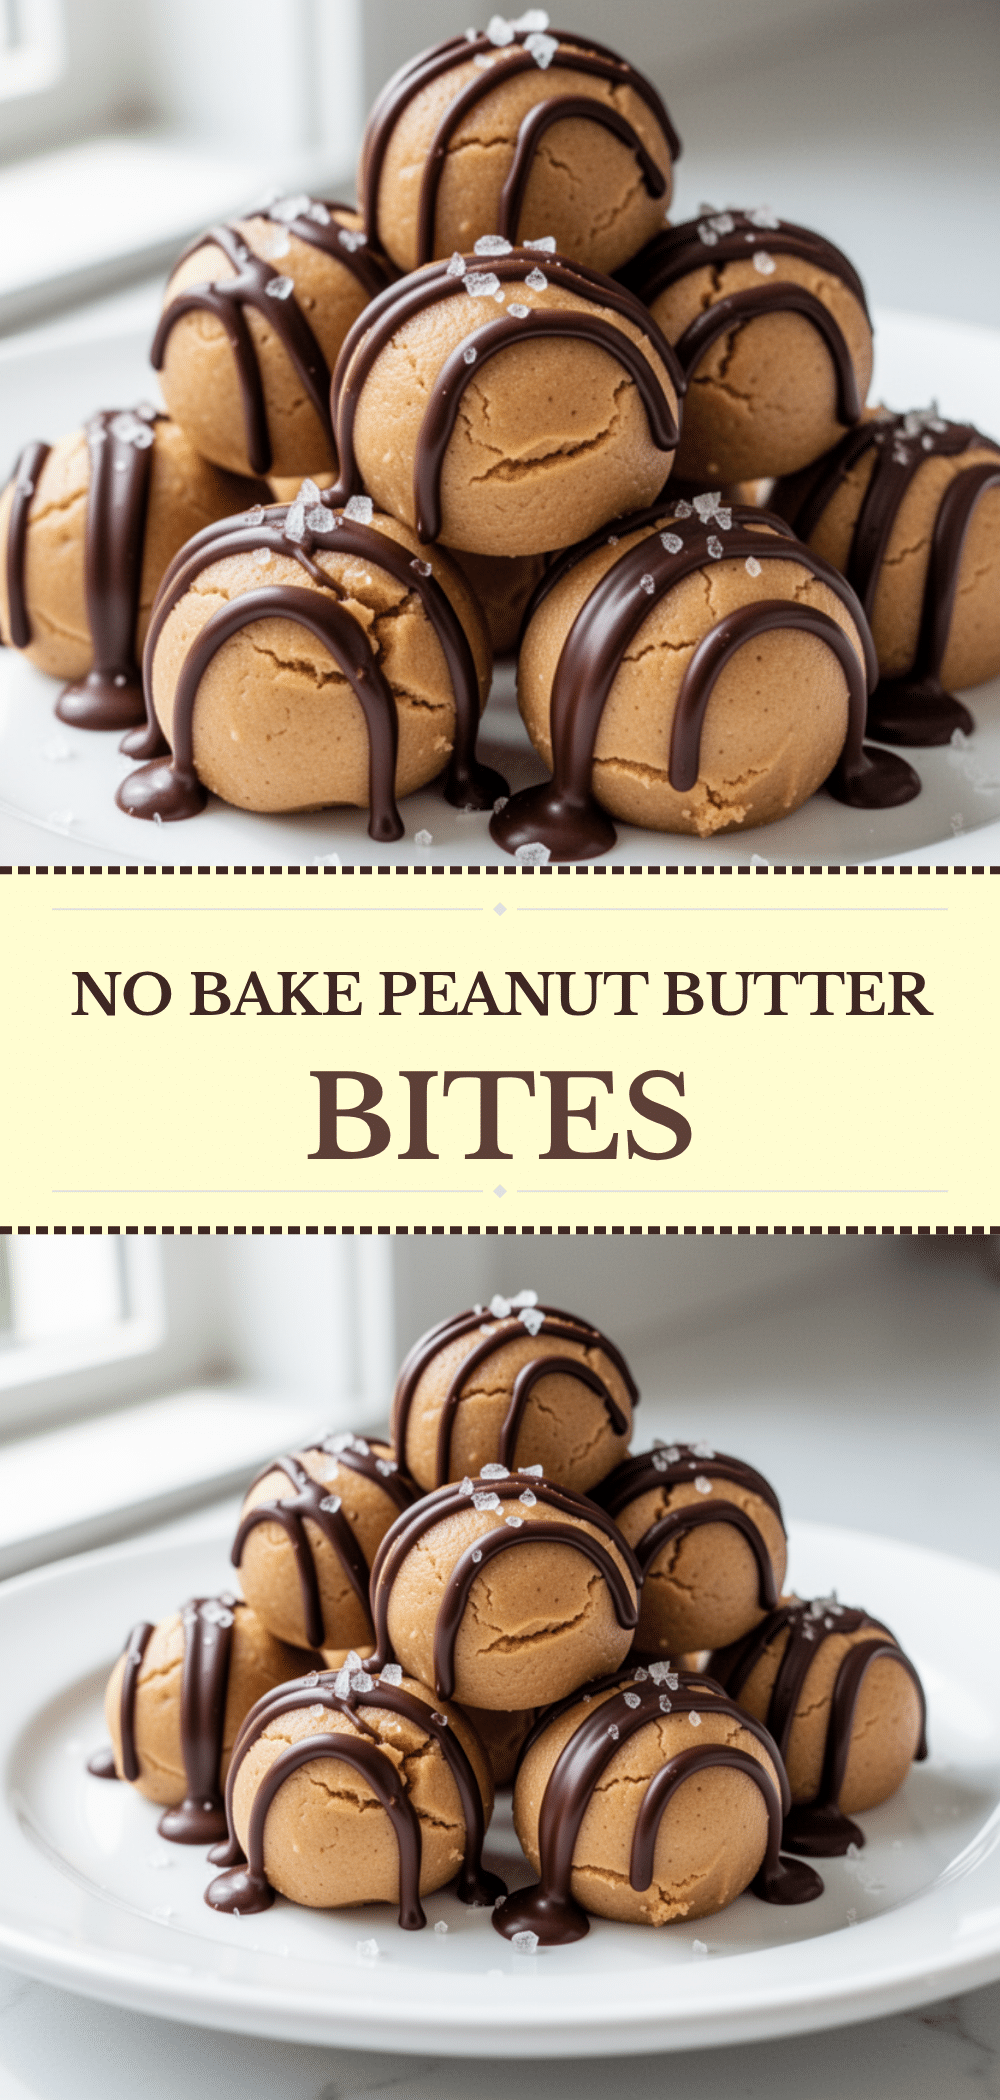

No Bake Peanut Butter Bites
- Total Time: 20 minutes
- Yield: 20 servings 1x
Description
A quick and easy 5-minute no-bake dessert made with peanut butter, honey, oats, and chocolate chips. These sweet and salty bites are perfect for last-minute parties or a guilt-free-ish indulgence.
Ingredients
- 1 cup creamy peanut butter
- 1/2 cup honey
- 1 1/2 cups old-fashioned rolled oats
- 1 teaspoon vanilla extract
- 1 cup semi-sweet chocolate chips
- Sea salt flakes (optional)
Instructions
- In a large bowl, combine creamy peanut butter and honey. Stir vigorously until smooth. If peanut butter is cold, microwave for 15 seconds to soften.
- Add rolled oats and vanilla extract to the peanut butter mixture. Mix until all oats are thoroughly coated and the mixture resembles a thick, sticky dough.
- Cover the bowl and chill in the refrigerator for 10 minutes to firm up the mixture.
- Using a tablespoon or cookie scoop, portion the mixture and roll into balls between your palms. Place on a parchment-lined baking sheet.
- Place chocolate chips in a microwave-safe bowl. Microwave in 30-second intervals, stirring between each, until smooth (usually 60-90 seconds total).
- Dip each chilled peanut butter ball into the melted chocolate, coating completely. Lift out and let excess chocolate drip off.
- Place coated bites back on the parchment paper. Sprinkle with sea salt flakes if desired.
- Refrigerate for 15-20 minutes until the chocolate is set completely.
- Store in an airtight container in the refrigerator.
Notes
Do not use natural peanut butter as the separated oils will make the bites greasy and they won’t hold their shape. Use old-fashioned rolled oats, not instant or steel-cut. If chocolate is too thick, add a teaspoon of coconut oil or vegetable shortening. For a thicker coating, double dip the bites.
- Prep Time: 5 minutes
- Cook Time: 0 minutes
- Category: Dessert
- Cuisine: American
Nutrition
- Serving Size: 1 bite
- Calories: 120
- Sugar: 8
- Fat: 7
- Saturated Fat: 2
- Carbohydrates: 12
- Fiber: 1
- Protein: 3
Keywords: no bake, peanut butter bites, easy dessert, 5 minute recipe, chocolate covered, party snack, make ahead dessert


