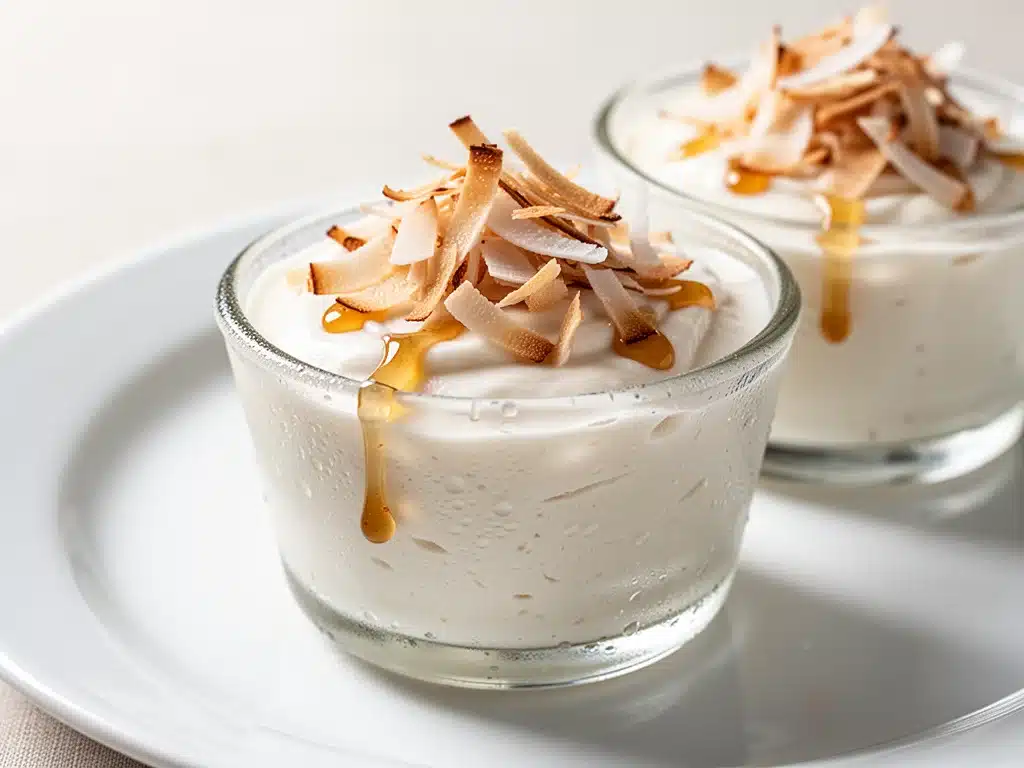
I’ll be honest with you. For years, I was the person who bought the store-bought coconut macaroons from the bakery counter. You know the ones—slightly too sweet, a bit dense, but undeniably comforting. I loved them, but I hated what I didn’t love: the weird aftertaste, the excessive sugar, and the fact that they were definitely not vegan. So, when I decided to cut back on dairy and refined sugars, I thought I’d have to give them up. I was wrong. Terribly wrong.
Last summer, I was hosting a small gathering for some friends who are vegan. I was panicking. I didn’t have any fancy ingredients, no xanthan gum, no expensive plant-based creams that separate if you look at them wrong. I had a can of full-fat coconut milk, some fresh lime, and a bag of shredded coconut. I threw together what I thought would be a sad, lumpy mess. It turned out to be creamy, tangy, sweet, and absolutely addictive. My vegan friends devoured them, and my non-vegan friends asked for the recipe three times.
That was the moment I realized I didn’t need a complex recipe to make a dessert that felt indulgent. I needed simplicity. These creamy coconut dessert cups are exactly that. They’re not just “good for being vegan.” They’re genuinely delicious, regardless of your dietary preferences. They taste like a vacation in a cup—tropical, refreshing, and rich without being heavy. I’ve made these at least twenty times since that summer day, tweaking the lime ratio and the sweetness level until I landed on the perfect balance. And the best part? They take five minutes of active time. Seriously. If you can open a can and whisk, you can make this.
I’ve tested this recipe with different types of coconut milk, different sweeteners, and even different serving vessels. Some people like them in little ramekins, some in mason jars, and some just straight out of the coconut shell (if you’re brave enough to eat it all at once). But the core recipe remains the same: simple, creamy, and completely plant-based. It’s the kind of dessert that feels like a cheat meal but is actually quite wholesome. Plus, unlike my grilled peach cobbler, which requires an oven and an hour of waiting, these are ready to eat immediately. No baking, no fuss, just pure tropical bliss.
Why You’ll Love This Recipe
There are about ten reasons I keep making these, but here are the big ones that keep me coming back to the pantry for more coconut milk.
Stupid Simple — I’m not exaggerating when I say this is the easiest dessert I make. No baking. No cooking. No tempering chocolate. You just mix, chill, and eat. I’ve made these while my kids were doing homework in the next room, and they were ready before they finished their math worksheets.
Lightning Fast — Five minutes of active prep time. The rest is just chilling in the fridge. If you’re in a pinch and need a dessert for guests who are arriving in an hour, these are your savior. You can even make them the night before, which is even better because the flavors meld together.
Pantry-Friendly — You probably have most of these ingredients already. Full-fat coconut milk is a staple in my cabinet right now, right alongside olive oil and flour. Shredded coconut is in the baking aisle. Lime is in the fruit bowl. Maple syrup is in the sweetener bin. It’s a low-effort, high-reward ingredient list.
Crowd-Pleaser — I’ve served these to people who hate coconuts (yes, they exist) and people who are obsessed with them. The key is the lime. The acidity cuts through the richness of the coconut fat, making it taste bright and fresh rather than heavy and cloying. Even my pickiest eater, who usually turns his nose up at anything “tropical,” asks for these regularly.
Makes Amazing Leftovers — These actually taste better the next day. The texture firms up, becoming more like a panna cotta or a mousse. I deliberately make a double batch so I have a healthy(ish) dessert option for my afternoon snack. It’s sweet enough to satisfy a craving but light enough that I don’t feel sluggish afterward.
Budget-Smart — Compared to buying fancy vegan desserts or taking out for ice cream, this costs pennies per serving. A can of coconut milk is cheap, and you can buy shredded coconut in bulk. It’s a luxury dessert on a budget.
This is my go-to when I need dessert to just work. No complicated techniques, no weird ingredients, just reliable, delicious food that makes everyone happy. It’s proof that you don’t need dairy to make something creamy and satisfying.
Ingredients You’ll Need
Here’s the best part: you probably have most of this already. I’m particular about three ingredients here, and I’ll tell you exactly why.
For the Base:
Full-fat coconut milk (2 cans / 400ml each) — This is non-negotiable. You must use full-fat, not the light version. The light version is mostly water and won’t set properly. Also, don’t use the carton milk meant for drinking; it’s too thin. You need the thick, creamy stuff from the can. Look for brands that don’t have guar gum if you can find them, as it can make the texture slightly gelatinous, but it’s not a dealbreaker.
Shredded coconut (1 cup / 80g) — I use unsweetened shredded coconut. It adds texture and bursts of coconut flavor. If you can’t find unsweetened, you can use sweetened, but you’ll need to reduce the maple syrup in the recipe. I like to toast it lightly in a dry pan for 2-3 minutes before mixing it in. It brings out a nutty aroma that elevates the whole dish. Trust me on this step.
Coconut cream (½ cup / 120ml) — This is optional but recommended for extra richness. If your coconut milk is very thick, you might not need it. But if you want that ultra-luxurious mouthfeel, add a little extra coconut cream. You can scoop this out of the top of a chilled can of coconut milk.
For the Flavor:
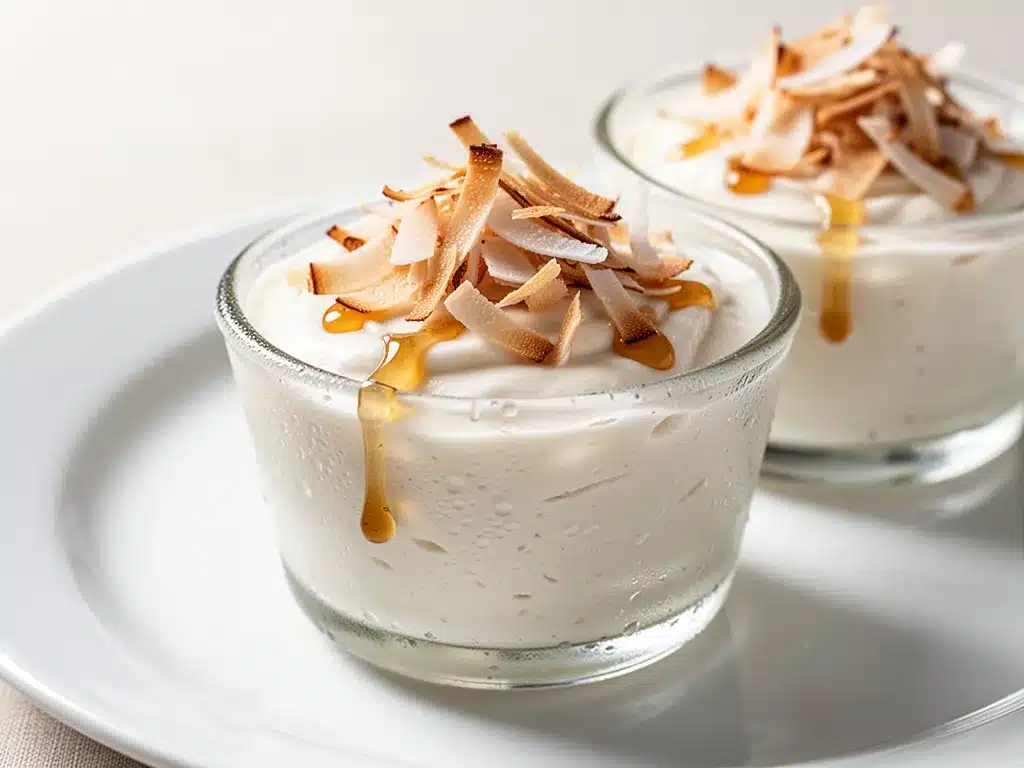
Maple syrup (¼ cup / 60ml) — I use pure maple syrup because it has a depth of flavor that sugar doesn’t. Agave nectar works too, but it’s neutral. Honey is not vegan, so skip that. I like the slight caramel note maple adds. Adjust to taste—if you like it sweeter, go to ⅓ cup.
Fresh lime juice (3 tablespoons / 45ml) — This is the secret weapon. The lime cuts the richness and makes the coconut taste like a dessert, not just a drink. Use fresh lime juice. Bottled lime juice tastes artificial and bitter. Squeeze two or three limes and strain out the pulp.
Lime zest (1 teaspoon) — The oils in the zest are where the flavor is. Zest one lime before you juice it. Don’t skip this; it adds a bright, aromatic top note that lime juice alone can’t provide.
Vanilla extract (1 teaspoon) — Pure vanilla extract. Not imitation. It rounds out the flavors and makes it taste more like a custard.
Salt (¼ teaspoon) — A pinch of salt enhances the sweetness and balances the lime. Don’t skip it.
For the Topping:
Chopped macadamia nuts (¼ cup / 20g) — Optional, but highly recommended. They add a crunch that contrasts with the creamy texture. Toast them lightly for extra flavor.
Extra shredded coconut (for garnish)
Edible flowers or mint leaves — For presentation. I like to make these look fancy when I have guests, but they’re just as good without the garnish.
Equipment Needed
You don’t need fancy equipment for this. Here’s what I actually use.
Mixing bowl — A medium-sized bowl is perfect. I use a glass bowl because I can see what’s happening easily.
Whisk — A simple balloon whisk works best. You need to incorporate air and emulsify the coconut milk with the lime juice. A fork works, but a whisk is faster.
Spatula — For scraping the bowl and folding in the shredded coconut. Silicone spatulas are great because they get every bit of the mixture.
Serving vessels — I use small ramekins, mason jars, or even coconut shells if I’m feeling fancy. The size doesn’t matter, but smaller portions look more elegant.
Refrigerator — Obviously, you need space in the fridge to chill these. Plan ahead.
Microplane or zester — For the lime zest. A regular grater works, but a microplane gives you finer zest that disperses better.
Can opener — For the coconut milk. Duh.
How to Make It: Step-by-Step
Alright, let’s make this! I’m walking you through exactly how I do it, including the little tricks I’ve picked up.
Step 1: Chill Your Coconut Milk (10 minutes)
If your coconut milk is room temperature, put it in the fridge for at least 10 minutes. This helps the cream separate slightly from the water, making it easier to scoop out extra coconut cream if you want to use it. If you’re using coconut cream from a carton, skip this step.
Step 2: Prep Your Lime
Zest your lime first, before you cut it open. You only need the green part, not the white pith, which is bitter. Then, cut the lime and juice it. Strain out the pulp so you have smooth lime juice. Measure out 3 tablespoons.
Step 3: Mix the Base
In your mixing bowl, add the full-fat coconut milk, maple syrup, lime juice, lime zest, vanilla extract, and salt. Whisk vigorously for about 1-2 minutes. You want the mixture to become smooth and slightly frothy. The lime juice will react with the coconut milk, thickening it slightly. This is normal. It’s creating a emulsion.
Step 4: Fold in the Coconut
Add the toasted shredded coconut to the mixture. Gently fold it in with your spatula. Don’t overmix; you just want to distribute it evenly. If you’re using chopped macadamia nuts, add them now too.
Step 5: Portion and Chill
Spoon the mixture into your serving vessels. I like to fill them about ¾ full, leaving room for toppings. Smooth the tops with the back of a spoon. Cover with plastic wrap or lids. Place in the fridge for at least 2 hours, or overnight. The longer they chill, the firmer they become.
Step 6: Garnish and Serve
Before serving, top with extra shredded coconut, chopped macadamia nuts, or edible flowers. Serve cold. Enjoy!
Total Time: About 5 minutes active, plus 2 hours chilling.
Expert Tips & Tricks
Here’s everything I’ve learned from making these dozens of times. These tips will save you from my mistakes.
Use Full-Fat Coconut Milk
This is the #1 tip. If you use light coconut milk, your dessert cups will be watery and won’t set. You need the fat to create that creamy texture. Look for brands that don’t have additives if you can find them.
Toast Your Coconut
Raw shredded coconut is fine, but toasted coconut has a deeper, nuttier flavor. Heat a dry skillet over medium heat and toast the coconut for 2-3 minutes, stirring constantly, until it’s lightly golden. Let it cool before adding to the mixture.
Balance the Lime
The lime is crucial. Too little, and it tastes like sweetened coconut pudding. Too much, and it’s too sour. Start with 3 tablespoons and adjust to your taste. If you like it tangier, add more. If you like it milder, reduce it.
Chill Thoroughly
Don’t rush the chilling process. If you eat them too soon, they’ll be loose and soupy. Give them at least 2 hours, preferably 4-6 hours, to set properly.
Customize the Sweetness
Maple syrup is my go-to, but you can use agave, brown rice syrup, or even date syrup. Each will give a slightly different flavor profile. Maple syrup adds a nice depth, while agave is more neutral.
Add a Kick
For a tropical twist, add a pinch of cardamom or a dash of cinnamon. It complements the coconut and lime beautifully. I also like a tiny pinch of chili powder for a spicy-sweet contrast.
Variations & Substitutions
Once you’ve nailed the basic version, here’s how you can mix it up. I’ve tried all of these.
Mango Coconut Cups
Add ½ cup of pureed mango to the mixture. It adds natural sweetness and a vibrant color. This is my favorite variation in the summer.
Chocolate Coconut Cups
Add 2 tablespoons of cocoa powder or cacao nibs to the mixture. It turns them into chocolate-coconut delights. Great for chocolate lovers.
Passion Fruit Coconut Cups
Replace the lime juice with passion fruit purée. It’s tart and sweet and incredibly aromatic. A true tropical experience.
Matcha Coconut Cups
Add 1 teaspoon of matcha powder to the mixture. It adds a earthy, green tea flavor that pairs surprisingly well with coconut. Whisk it in well to avoid clumps.
Gluten-Free
This recipe is naturally gluten-free. Just ensure your shredded coconut and maple syrup are certified gluten-free if you have celiac disease.
Sugar-Free
Use a sugar-free maple syrup alternative or stevia. Note that the texture might be slightly different, but the flavor will still be good.
Nut-Free
Omit the macadamia nuts. The dessert is still creamy and delicious without them.
Serving & Storage
How to Serve:
I usually serve these straight from the fridge. They look elegant in small glass jars or ramekins. Top with extra shredded coconut, chopped nuts, or fresh fruit like mango or berries. They’re perfect for dinner parties, potlucks, or just a late-night snack.
Side Dishes:
These are desserts, so they don’t need sides. But if you’re serving them as part of a larger meal, they pair well with light, fresh flavors. Think grilled fruits, salads, or light seafood.
Storage:
Store in an airtight container in the fridge for up to 5 days. They actually taste better after a day or two, as the flavors meld together. Do not freeze them, as the texture will change and become grainy upon thawing.
Reheating:
Do not reheat. These are meant to be served cold. If they’ve firmed up too much, let them sit at room temperature for 10-15 minutes before serving.
Nutrition Information
I’m not a nutritionist, but here’s the breakdown if you’re tracking.
Per Serving (based on 6 servings):
- Calories: 220
- Protein: 2g
- Carbs: 18g
- Fiber: 3g
- Sugar: 12g
- Fat: 16g
- Saturated Fat: 14g
- Cholesterol: 0mg
- Sodium: 15mg
What’s Good:
– High in healthy fats from coconut
– No dairy or cholesterol
– Good source of fiber from coconut
– Naturally sweetened (depending on your choice of syrup)
What to Know:
– Higher in calories from coconut fat
– Contains tree nuts (if using macadamia)
– Moderate sugar content (adjustable)
My Take:
Look, this is a dessert. It’s rich and creamy. It’s not a diet recipe, but it’s made with whole food ingredients. When I want to make it lighter, I use less maple syrup and add more fruit. But usually? I just enjoy it in moderation. It’s a treat, not a staple.
Final Thoughts
So that’s my creamy coconut dessert cups! I’ve probably talked your ear off at this point, but when you make a recipe this often, you have a lot to say about it. These have saved me from dessert disasters more times than I can count. They’re my answer to “I need something sweet” when I don’t want to bake or order takeout. My kids are happy, my friends are happy, and I’m happy because I’m not stressed about cooking.
Make it yours! Try different flavors, swap in your favorite toppings, adjust the lime. The best recipes are the ones you adapt to your family’s tastes. If you make this, drop a comment and let me know what you think! I love hearing how recipes turn out in your kitchen. And if something doesn’t work, tell me that too—I’m here to help troubleshoot.
Happy cooking! And I hope your kitchen smells half as good as mine does right now.
Frequently Asked Questions
Can I use coconut cream instead of coconut milk?
Yes! In fact, if you want an even richer dessert, you can use all coconut cream. Just note that it will be thicker and heavier. You might need to add a splash of coconut water or almond milk to thin it out to your desired consistency.
Why did my dessert cups turn out watery?
This usually happens if you used light coconut milk or if the mixture wasn’t chilled long enough. Make sure you use full-fat coconut milk and chill for at least 2 hours. If they’re still loose, you can add a little more shredded coconut or chill them longer.
Can I make this ahead for a party?
Absolutely! These are perfect for making ahead. You can make them up to 2 days in advance. Just keep them covered in the fridge. They’ll hold their shape well and the flavors will deepen.
Can I freeze these?
I don’t recommend freezing them. The texture of coconut milk changes when frozen and thawed—it can become grainy or separate. It’s best to make them fresh and store them in the fridge for up to 5 days.
Can I use honey instead of maple syrup?
If you’re not vegan, yes, you can use honey. It will add a floral note to the dessert. Just keep in mind that honey is sweeter than maple syrup, so you might need to use a little less.
How do I know when the coconut milk is good?
Shake the can before opening. If it sounds sloshy, it’s probably well-mixed. If it sounds solid, the cream has separated, which is good. Look for brands that don’t have guar gum or other thickeners if you want a smoother texture.
Pin This Recipe!
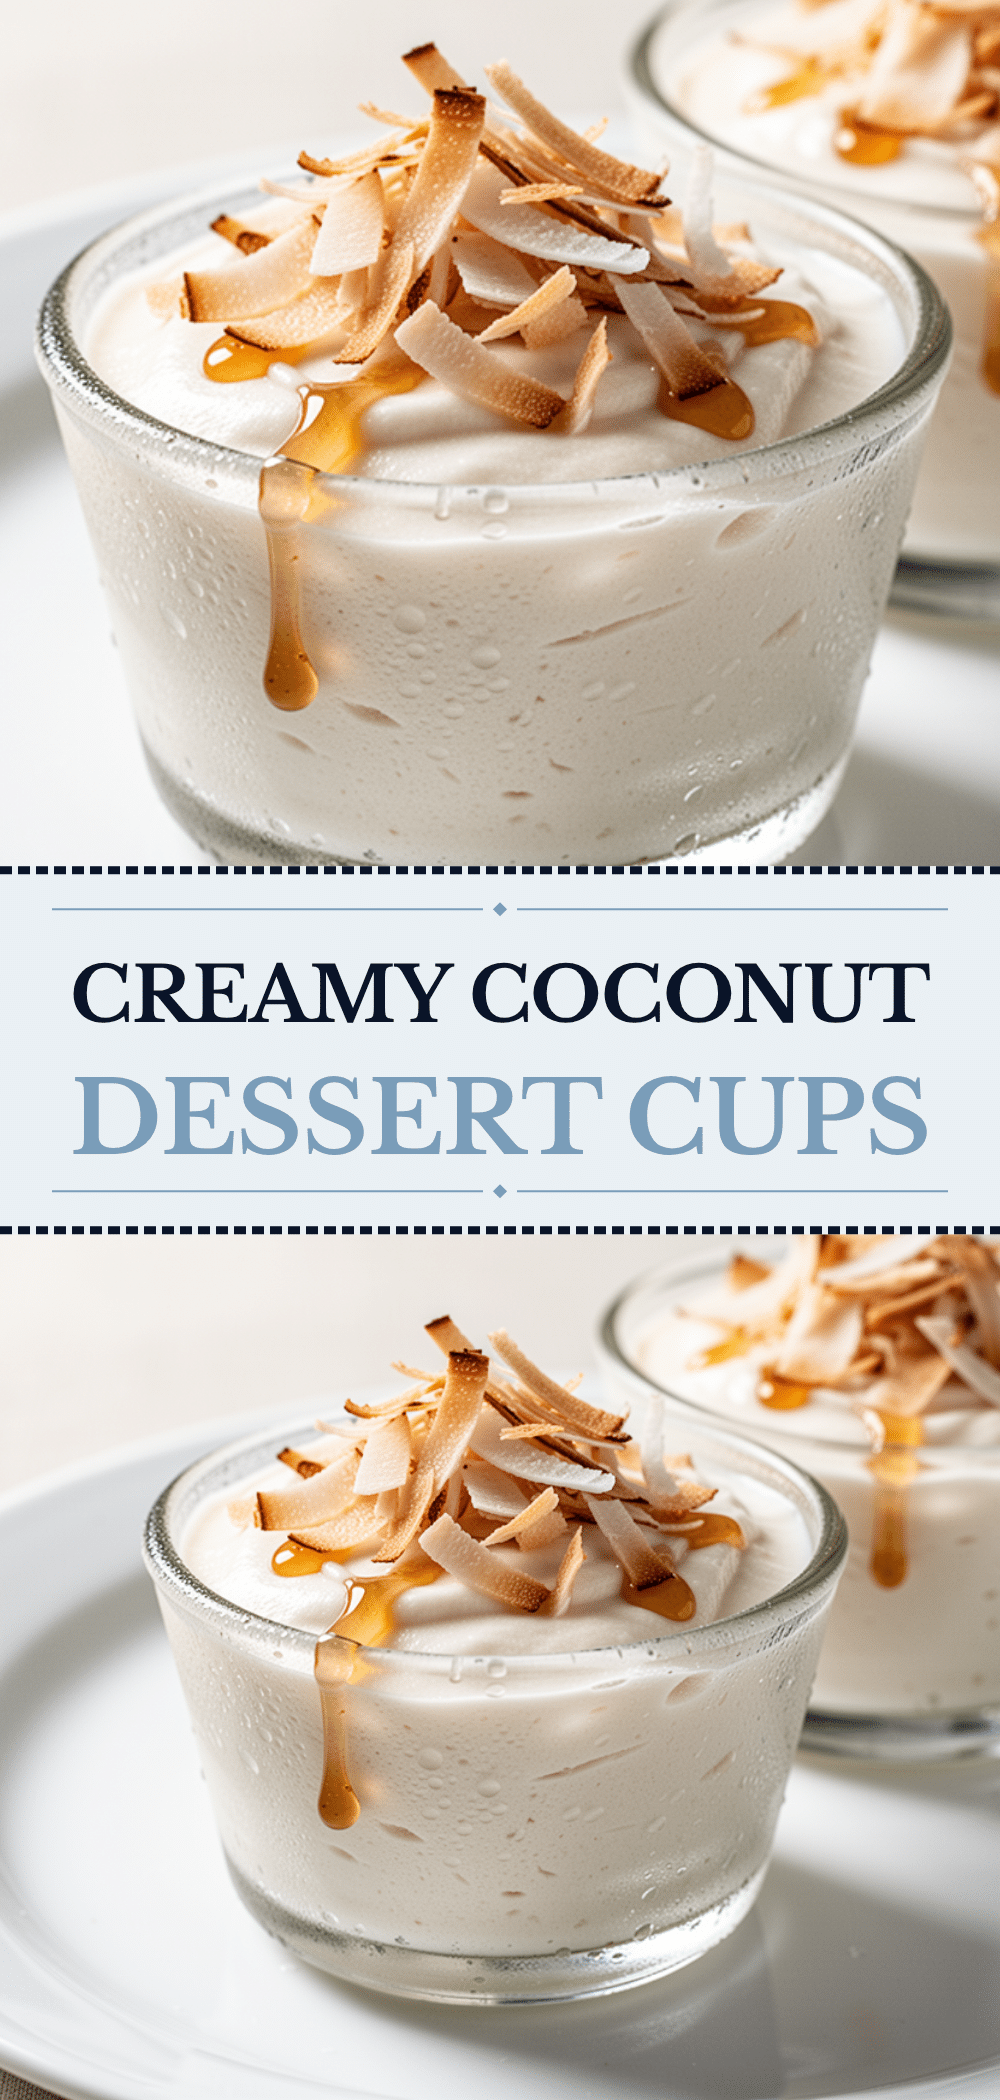
Creamy Coconut Dessert Cups: 5-Min Vegan Treat
- Total Time: 2 hours 5 minutes
- Yield: 6 servings 1x
Description
A simple, creamy, and tangy vegan dessert made with full-fat coconut milk, lime, and shredded coconut. Ready in just 5 minutes of active time with no baking required.
Ingredients
- 2 cans (400ml each) full-fat coconut milk
- 1 cup (80g) unsweetened shredded coconut
- ½ cup (120ml) coconut cream (optional)
- ¼ cup (60ml) pure maple syrup
- 3 tablespoons (45ml) fresh lime juice
- 1 teaspoon lime zest
- 1 teaspoon pure vanilla extract
- ¼ teaspoon salt
- ¼ cup (20g) chopped macadamia nuts (optional)
- Extra shredded coconut for garnish
- Edible flowers or mint leaves for garnish
Instructions
- Chill the coconut milk in the refrigerator for at least 10 minutes to help separate the cream.
- Zest the lime, then cut and juice it, straining out the pulp to get 3 tablespoons of juice.
- In a medium mixing bowl, whisk together the coconut milk, maple syrup, lime juice, lime zest, vanilla extract, and salt for 1-2 minutes until smooth and slightly frothy.
- Lightly toast the shredded coconut in a dry pan for 2-3 minutes until golden, then let it cool.
- Gently fold the toasted shredded coconut (and macadamia nuts if using) into the mixture.
- Spoon the mixture into serving vessels (ramekins, mason jars, etc.), filling about ¾ full.
- Cover and refrigerate for at least 2 hours, or overnight, until firm.
- Garnish with extra shredded coconut, nuts, or edible flowers before serving cold.
Notes
Use full-fat coconut milk from a can, not carton milk or light versions, to ensure the dessert sets properly. Toasting the shredded coconut enhances the flavor. The dessert tastes better after chilling overnight. Do not freeze, as the texture may become grainy.
- Prep Time: 5 minutes
- Cook Time: 0 minutes
- Category: Dessert
- Cuisine: Tropical
Nutrition
- Serving Size: 1 cup
- Calories: 220
- Sugar: 12
- Sodium: 15
- Fat: 16
- Saturated Fat: 14
- Carbohydrates: 18
- Fiber: 3
- Protein: 2
Keywords: vegan dessert, coconut dessert, no bake, gluten-free, healthy dessert, lime coconut, quick dessert, plant-based


