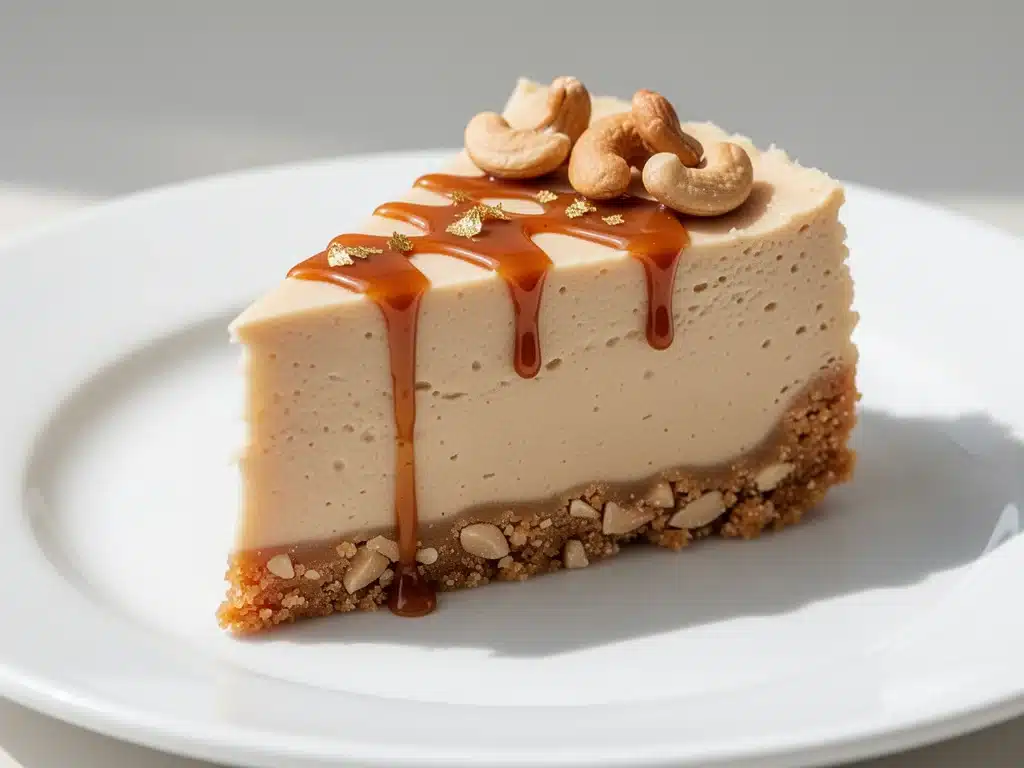
Let me start with a confession: I used to think “vegan cheesecake” was a polite way of saying “sad, crumbly disappointment.” You know the type. A dense block of cashews that tastes like wet cardboard, topped with a berry compote that was clearly made from a jar and microwaved. I avoided it like the plague. If I wanted cheesecake, I wanted the thick, tangy, impossibly creamy New York style version that makes your fork stick to the plate. I didn’t want “health food.” I wanted dessert.
Then, about three years ago, I was hosting a holiday dinner for my partner’s family. My mother-in-law, who is not exactly known for her subtlety, asked for a dairy-free dessert because her doctor had put her on a strict low-lactose diet. She wasn’t vegan, just avoiding dairy. I panicked. I didn’t have time to experiment with aquafaba or weird starches. I needed something that would fool even the most skeptical dairy-lover.
I threw together a quick batch of what I thought would be a mediocre cashew cream. I blended soaked cashews with coconut cream, a splash of lemon juice, and maple syrup, poured it over a graham cracker crust, and froze it. I honestly expected it to be grainy. I expected it to separate. I expected the worst.
What happened instead? My mother-in-law took one bite, closed her eyes, and said, “This is actually better than the regular one.” I’m not kidding. She didn’t even know it was vegan until I told her. That moment changed everything for me. It wasn’t just about accommodating dietary restrictions; it was about realizing that plant-based desserts can be genuinely indulgent, rich, and satisfying without the heavy dairy guilt.
This creamy vegan dessert cheesecake has become my go-to for any occasion where I want to impress without spending hours in the kitchen. It’s no-bake, which means zero risk of cracking or water baths. It’s made with just five simple ingredients you probably already have on hand. And the texture? Silky. Smooth. Tangy. Rich. It’s the kind of dessert that disappears before you can say “seconds.” I’ve made this at least twenty times since that holiday dinner, tweaking the ratios until it was absolutely perfect. If you’ve been avoiding vegan cheesecake because you think it’s complicated or tasteless, this is the recipe that will change your mind.
Why You’ll Love This No-Bake Plant Based Dessert
There are about ten reasons I keep making this, but here are the big ones. This isn’t just a “substitute” recipe. It’s a standalone winner that stands up to traditional cheesecake in every way.
Stupid Simple — Seriously, if you can blend ingredients and press crumbs into a pan, you can make this. There’s no baking, no water bath, no cracking crusts. I’ve made this while half-asleep on a Sunday afternoon, and it still turned out perfect. The only “cooking” involved is blending.
Lightning Fast Prep — The active time is about 15 minutes. The rest is just waiting for it to set in the freezer. This is my lifesaver when I forget to buy dessert until the morning of a party. I can whip this up, toss it in the freezer, and have it ready by dinner time.
Actually Creamy — I’m not exaggerating when I say this rivals any dairy cheesecake I’ve ever had. The key is using high-quality full-fat coconut cream and soaking your cashews long enough. The result is a luxuriously smooth texture that melts in your mouth. No grit. No chalkiness. Just pure, velvety goodness.
Gluten-Free Friendly — By swapping the crust to almond flour or gluten-free graham crackers, this becomes naturally gluten-free. My celiac friend requests this version for every gathering. It’s rare to find a dessert that satisfies both dietary needs without tasting like it’s compromising.
Makes Amazing Leftovers — This actually tastes better the next day. The flavors meld together in the fridge, and the texture firms up to that perfect spoonable consistency. I deliberately make extra for breakfast (yes, I eat dessert for breakfast sometimes) or for lunch when I need a pick-me-up.
Budget-Smart — You don’t need expensive specialty ingredients. Cashews are affordable, coconut cream is cheap if you buy the canned variety, and maple syrup is pantry-staple cheap. This feeds 8-10 people for under $15. That’s less than a single slice at a fancy dessert shop.
This is my go-to when I need a dessert that just works. No complicated techniques, no weird ingredients, just reliable, delicious food that makes everyone happy. Whether you’re vegan, lactose-intolerant, or just curious, this recipe will win you over.
Ingredients You’ll Need
Here’s the best part: you probably have most of these already. This recipe relies on whole-food, plant-based ingredients that are easy to find in any grocery store. I’m particular about three ingredients here, and I’ll tell you exactly why they matter.
Cashews (2 cups / 280g raw, unsalted) — These are the base of your creaminess. You must use raw cashews. Roasted or salted cashews will throw off the flavor and texture. Soaking them is non-negotiable—it softens them enough to blend into a completely smooth cream. I use the cheapest raw cashews I can find; you don’t need premium “culinary grade.” Just raw and unsalted.
Full-Fat Coconut Cream (1 can / 400ml) — This adds richness and fat, mimicking the mouthfeel of heavy cream. Make sure you buy “full-fat” or “full cream” coconut milk. The light version will make your cheesecake watery and thin. Chill the can overnight and scoop out the solid cream part. Save the watery liquid for smoothies later—it’s not wasted.
Maple Syrup (½ cup / 120ml pure) — Use real maple syrup, not “pancake syrup” or corn syrup blend. Real maple syrup adds a subtle depth of flavor that balances the tanginess. If you’re allergic to maple, agave nectar works, but it’s less flavorful. Honey isn’t vegan, so skip it.
Lemon Juice (3 tablespoons / 45ml fresh) — This is the secret to the “cheesecake” tang. Freshly squeezed is best. Bottled lemon juice has a preservative taste that doesn’t work here. If you don’t have fresh lemons, you can use a little citric acid dissolved in water, but fresh lemon is much better.
Vanilla Extract (2 teaspoons pure) — Adds warmth and rounds out the flavor. Use real vanilla extract, not imitation. If you’re feeling fancy, scrape in half a vanilla bean, but extract is fine.
Salt (½ teaspoon) — Crucial for balancing the sweetness. Don’t skip it. It makes the flavors pop.
For the Crust:
Graham Cracker Crumbs (1 ½ cups / 150g) — Or use gluten-free graham crackers, almond flour, or even crushed digestive biscuits. I prefer graham crackers for that classic cheesecake taste. If using whole crackers, pulse them in a food processor until fine.
Coconut Oil (3 tablespoons / 45ml melted) — Helps bind the crust and adds a slight richness. You can use melted vegan butter, but coconut oil keeps it dairy-free and adds a nice firmness when chilled.
Maple Syrup (2 tablespoons / 30ml) — Just a little to sweeten the crust.
Pinch of Salt — To enhance the cracker flavor.
Personal Tips:
- Soaking Cashews: If you’re short on time, you can boil cashews for 10 minutes to speed up the softening process. But overnight soaking in cold water yields the smoothest result.
- Chilling the Can: The trick to getting thick coconut cream is chilling the can upright in the fridge for at least 12 hours. Then open it carefully and scoop out the solid top layer.
- Blending Power: A high-speed blender like a Vitamix or Ninja works best. If you’re using a standard blender, you may need to stop and scrape down the sides more often. Patience is key.
Equipment Needed
You don’t need fancy equipment for this. Here’s what I actually use.
High-Speed Blender — I use my Vitamix, but a decent standard blender works too. The key is that it needs to be powerful enough to pulverize the cashews into a completely smooth cream. If your blender is weak, soak the cashews longer.
Food Processor — For making the crust. A small one works fine. If you don’t have one, put the crackers in a ziplock bag and crush them with a rolling pin. It’s more work but totally doable.
9-Inch Springform Pan — This is the classic cheesecake pan. It allows you to remove the sides easily for clean slices. If you don’t have one, use a 9-inch round cake pan lined with parchment paper. Just be careful when removing it.
Measuring Cups and Spoons — Pretty standard stuff. Dollar store versions work fine.
Spatula — For scraping the bowl and smoothing the top. A silicone spatula is best because it’s flexible.
Microplane or Zester — Optional, but nice for adding lemon zest on top. It adds a fresh aroma that pairs perfectly with the lemon juice.
Chill Time — Not equipment, but essential. You need a freezer space large enough to hold your springform pan flat. If your freezer is packed, you might need to rearrange things.
How to Make It: Step-by-Step
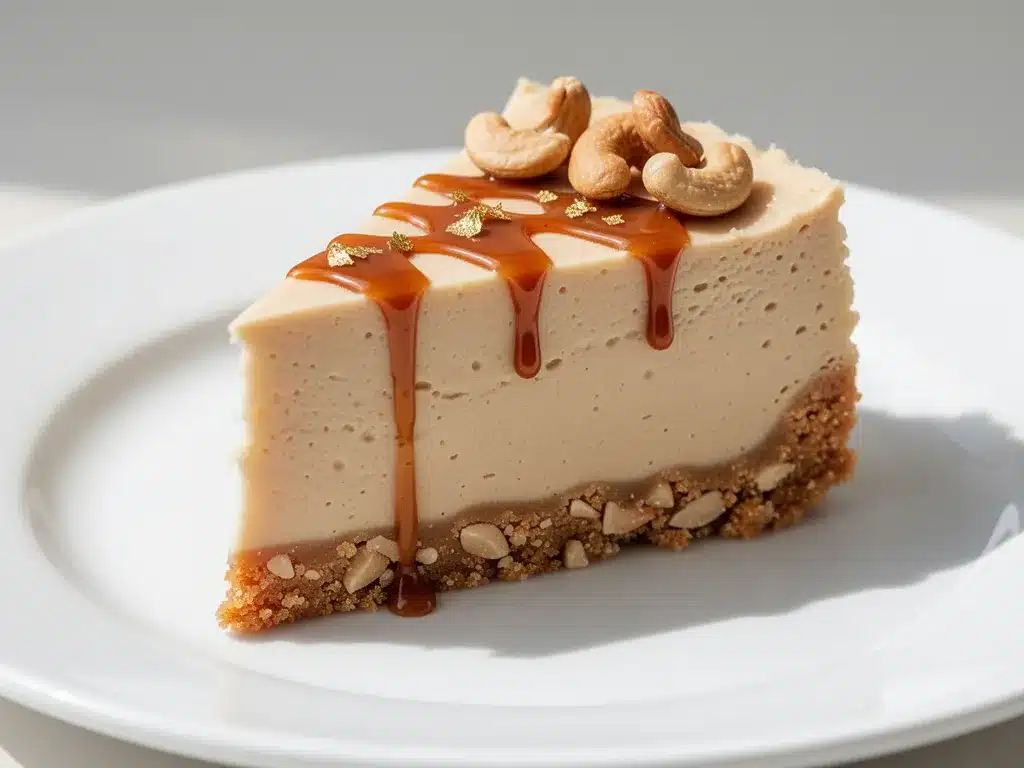
Alright, let’s make this! I’m walking you through exactly how I do it, including the little tricks I’ve picked up.
Step 1: Soak the Cashews (Overnight or Quick Method)
Start by rinsing your raw cashews under cold water. Place them in a large bowl and cover with hot water by at least two inches. Let them soak for at least 4 hours, or ideally overnight. If you’re in a hurry, cover them with boiling water and let them sit for 1 hour. Drain and rinse well. They should feel soft and creamy when you squeeze one between your fingers. If it’s still hard, soak longer.
Step 2: Make the Crust
In a medium bowl, combine the graham cracker crumbs, melted coconut oil, 2 tablespoons maple syrup, and a pinch of salt. Mix until it looks like wet sand. Press this mixture firmly into the bottom of your 9-inch springform pan. Use the bottom of a measuring cup to pack it down tightly. You want it even and compact. Set aside while you make the filling.
Step 3: Blend the Filling
Add the drained cashews, chilled coconut cream, ½ cup maple syrup, lemon juice, vanilla extract, and ½ teaspoon salt to your blender. Blend on high for 2-3 minutes. Stop and scrape down the sides as needed. Keep blending until the mixture is completely smooth and creamy. There should be no visible cashew bits. If it’s too thick to blend, add 1-2 tablespoons of water, but go slow—you can always add more, you can’t take it out.
Step 4: Pour and Smooth
Pour the filling over the crust. Use a spatula to smooth the top, making sure it’s even. Tap the pan gently on the counter a few times to release any air bubbles. This helps prevent cracks later.
Step 5: Freeze to Set
Place the springform pan in the freezer. Freeze for at least 6 hours, or preferably overnight. The cheesecake needs to be completely firm before you remove it from the pan. If you try to cut it while it’s still soft, it will be messy.
Step 6: Top and Serve
Once firm, run a knife around the edge of the pan to loosen it. Unclip the springform ring. Transfer to a serving plate. You can serve it plain, or top with fresh berries, chocolate shavings, or a drizzle of melted dark chocolate. Slice with a sharp knife dipped in hot water for clean cuts.
Total Time: About 15 minutes active, plus 6+ hours freezing.
Expert Tips & Tricks
Here’s everything I’ve learned from making this dozens of times. These tips will save you from my mistakes.
Soak Until Soft
This is the #1 tip. If your cashews aren’t fully soft, your cheesecake will be grainy. I’ve made this mistake twice, and it was heartbreaking. Trust the soak. If you’re short on time, the boiling water method works, but don’t skip it.
Chill the Coconut Cream
Don’t try to use warm or room temperature coconut cream. It needs to be solid. Chill the can overnight. If you open it and it’s still liquidy, put it back in the fridge for a few more hours. This is non-negotiable for the right texture.
Balance the Tang
Vegan cheesecake can taste too sweet if you don’t add enough acid. The lemon juice is crucial. If you taste the filling and it tastes flat, add another tablespoon of lemon juice. You want that tangy kick that mimics cream cheese.
Don’t Rush the Freeze
I’ve been tempted to cut into it after 4 hours, but it’s still too soft. Wait at least 6 hours, or better yet, overnight. A firm cheesecake slices cleanly. A soft one is a mushy disaster.
Common Mistakes (and how to avoid them):
- Mistake: Grainy texture Fix: Blend longer. Check that cashews are fully soaked. Use a high-speed blender if possible.
- Mistake: Too sweet Fix: Add more lemon juice or a pinch of salt. Taste the filling before freezing.
- Mistake: Crust falls apart Fix: Press it down firmly. Make sure you have enough coconut oil to bind it.
Pro Tricks I’ve Learned:
- For Extra Richness Add 2 tablespoons of cocoa powder for a chocolate version. Or swap lemon juice for orange juice for a citrus twist.
- For Better Slicing Dip your knife in hot water and wipe it dry between each cut. This gives you clean, professional-looking slices.
- Make-Ahead Strategy This keeps in the freezer for up to 2 weeks. Wrap it tightly in plastic wrap if you’re storing it long-term.
Variations & Substitutions
Once you’ve nailed the basic version, here’s how you can mix it up. I’ve tried all of these.
Chocolate Peanut Butter Cheesecake
Add ¼ cup cocoa powder and ¼ cup peanut butter to the filling. Top with crushed peanuts. This is my partner’s favorite version. It’s like a Reese’s Cup in cheesecake form.
Berry Swirl
Warm 1 cup of mixed berries with 1 tablespoon maple syrup and 1 teaspoon cornstarch until thickened. Let it cool, then swirl it into the filling before freezing. Beautiful and fruity.
Lemon Blueberry
Add extra lemon zest to the filling. Top with fresh blueberries after slicing. Bright and refreshing, perfect for summer.
Coconut Macadamia
Swap cashews for macadamia nuts. They’re more expensive but incredibly rich and buttery. Add toasted coconut flakes on top.
Dietary Modifications:
- Sugar-Free: Use monk fruit sweetener instead of maple syrup. It measures 1:1, but check the label.
- Nut-Free: This is tricky because cashews are the base. You can try using soaked sunflower seeds, but the texture will be different. It’s not as creamy.
- Gluten-Free: Use gluten-free graham crackers or almond flour for the crust.
Serving & Storage
How to Serve:
I usually serve this straight from the freezer, letting it sit for 10 minutes to soften slightly. It’s best when it’s firm but scoopable. Here are other ways I’ve enjoyed it:
- With Fresh Fruit: Strawberries, raspberries, or mango slices pair beautifully.
- With Chocolate Sauce: Drizzle melted dark chocolate over the top.
- With Whipped Coconut Cream: Whip chilled coconut cream with a little vanilla and pipe it on top for extra flair.
Storage Instructions:
Freezer: Store in the freezer for up to 2 weeks. Wrap tightly in plastic wrap to prevent freezer burn. Thaw in the fridge for 30 minutes before serving.
Refrigerator: If you prefer a softer texture, keep it in the fridge. It will be softer but still sliceable. Use within 3 days.
Never Refreeze: Once thawed, don’t refreeze. The texture will suffer.
Pro Tip: If your slices are sticking to the knife, dip it in hot water again. Clean and dry between cuts for perfect presentation.
Nutrition Information
I’m not a nutritionist, but here’s the breakdown if you’re tracking.
Per Serving (based on 8 servings):
- Calories: 320
- Protein: 6g
- Carbs: 38g
- Fiber: 3g
- Sugar: 24g
- Fat: 18g
- Saturated Fat: 12g
What’s Good:
- Good source of healthy fats from cashews and coconut
- High in fiber and magnesium from cashews
- No refined sugar if you use pure maple syrup
What to Know:
- Higher in calories due to nuts and coconut
- Contains tree nuts
- Sugar content is moderate; adjust maple syrup to taste
My Take:
Look, this is a dessert. It’s rich and indulgent. It’s not a health food, but it’s made with whole-food ingredients. It’s way better than store-bought vegan desserts, which are often full of stabilizers and weird chemicals. When I want to make it lighter, I reduce the maple syrup and add more berries. But usually? I just eat a reasonable slice and enjoy it.
Final Thoughts
So that’s my go-to creamy vegan dessert cheesecake! I’ve probably talked your ear off at this point, but when you make a recipe this often, you have a lot to say about it.
This has saved holiday dinners more times than I can count. It’s my answer to “what’s for dessert” when I want something special but don’t want to spend hours baking. My family is happy, my guests are impressed, and I’m happy because I’m not stressed about cooking.
Make it yours! Try different toppings, swap in your favorite fruits, adjust the sweetness. The best recipes are the ones you adapt to your tastes. And if you’re looking for other no-bake treats, check out my vegan mango turmeric smoothie bowl for a lighter option, or my grilled peach cobbler if you want something warm and baked.
If you make this, drop a comment and let me know what you think! I love hearing how recipes turn out in your kitchen. And if something doesn’t work, tell me that too—I’m here to help troubleshoot.
Happy cooking! And I hope your kitchen smells half as good as mine does right now.
Frequently Asked Questions
Q: Can I use raw cashews instead of soaked ones?
A: You can, but the texture won’t be as smooth. Raw cashews are hard, and even a high-speed blender might leave bits. Soaking softens them and ensures a creamy, cheesecake-like texture. If you’re in a rush, boil them for 10 minutes.
Q: Why did my cheesecake turn out grainy?
A: Usually means the cashews weren’t fully softened or you didn’t blend long enough. Make sure to soak them properly and blend until completely smooth. If your blender isn’t powerful, you may need to add a little water to help it blend.
Q: Can I use coconut milk instead of coconut cream?
A: Only if it’s full-fat. Light coconut milk will make the cheesecake watery. Chill the can and scoop out the solid cream. If you only have light milk, you can add a thickener like agar-agar, but it’s not necessary if you use full-fat.
Q: How long does this last in the freezer?
A: Up to 2 weeks if wrapped tightly. After that, it might develop freezer burn. Thaw in the fridge for 30 minutes before serving.
Q: Can I make this with almond butter instead of cashews?
A: You can, but the texture will be different. Almond butter is oilier and might make the cheesecake too soft. If you try it, reduce the coconut cream slightly. Cashews are best for that neutral, creamy flavor.
Q: Is this recipe gluten-free?
A: Yes, if you use gluten-free graham crackers or almond flour for the crust. The filling is naturally gluten-free.
Q: Can I add protein powder to this?
A: You can, but it might change the texture. Add 1 scoop of vanilla protein powder and adjust the liquid if needed. It will make it higher in protein, but it might be denser.
Pin This Recipe!
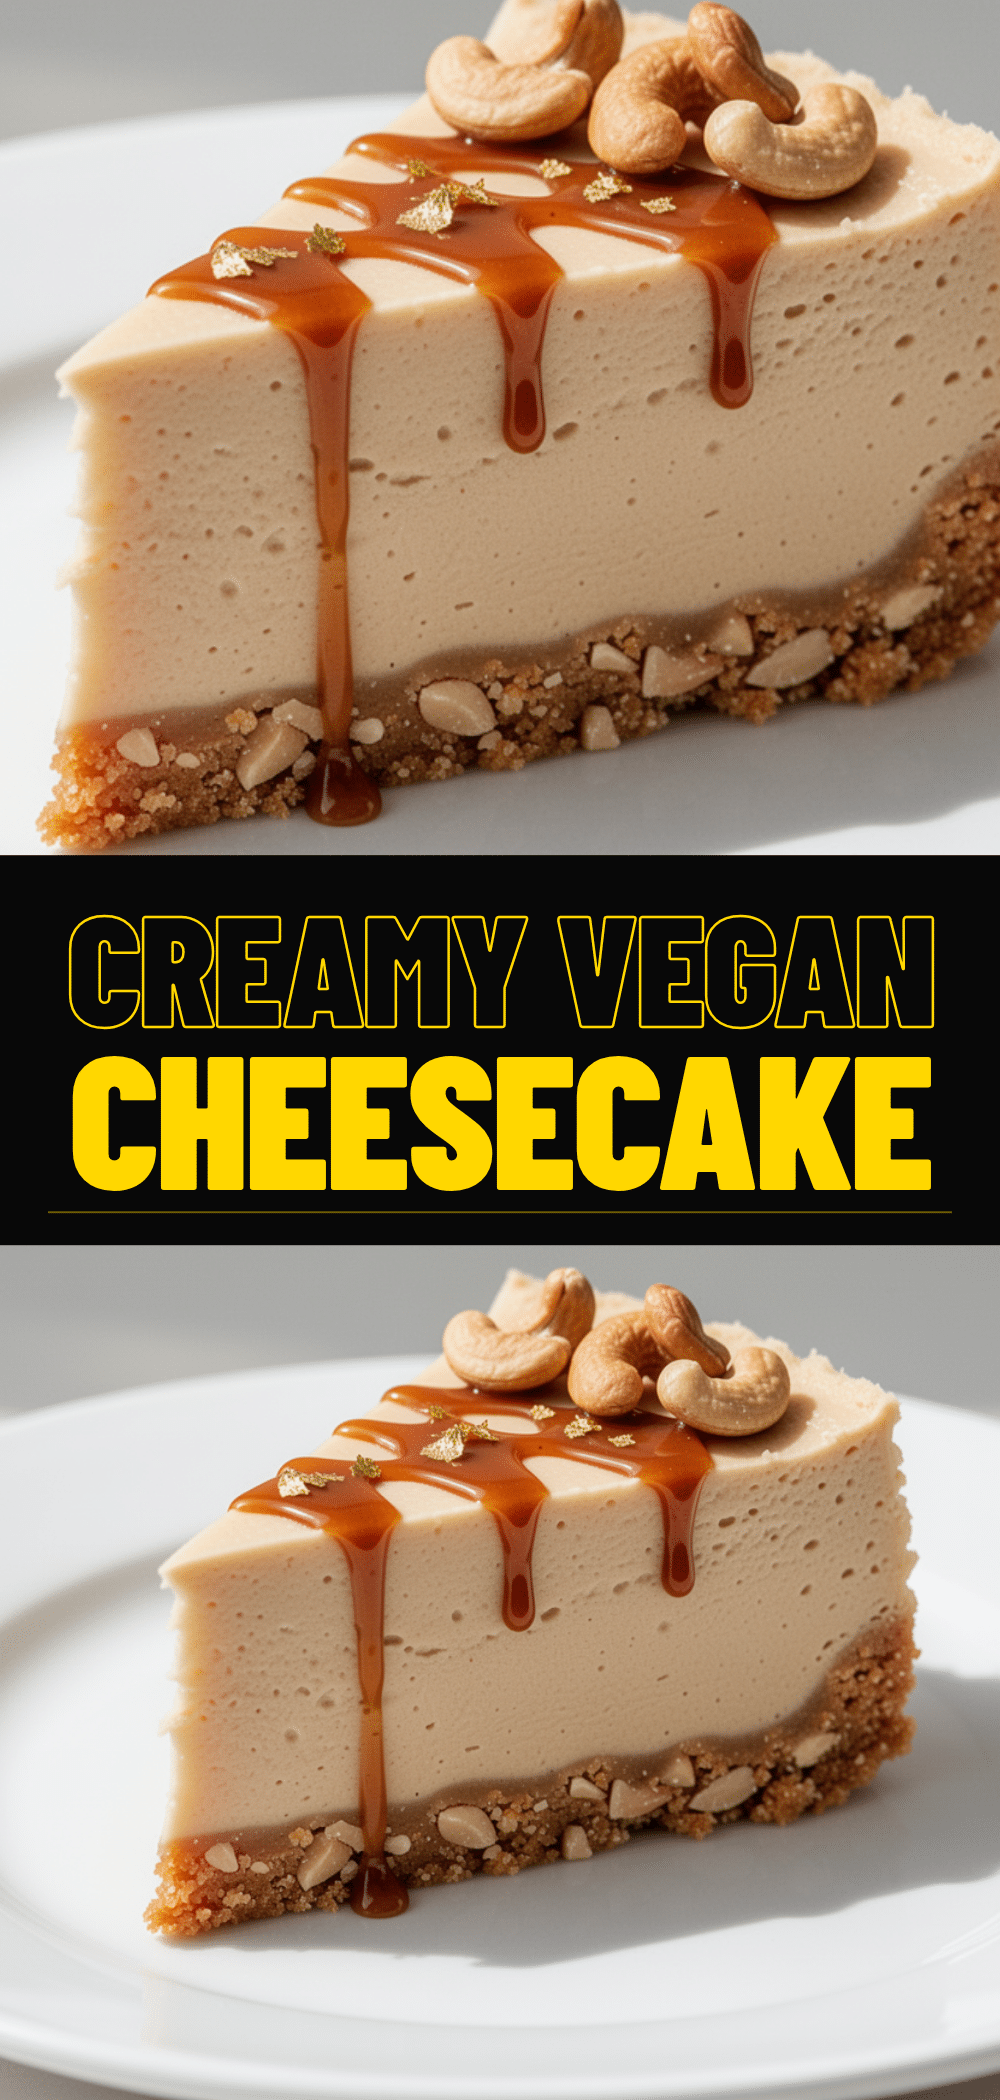
Creamy Vegan Dessert Cheesecake: 5-Ingredient No Bake
- Total Time: 6 hours 15 minutes
- Yield: 8 servings 1x
Description
A rich, silky, and tangy no-bake vegan cheesecake made with just a few simple ingredients. This dairy-free dessert rivals traditional New York style cheesecake in texture and flavor without the heavy dairy guilt.
Ingredients
- 2 cups (280g) raw, unsalted cashews
- 1 can (400ml) full-fat coconut cream
- 1/2 cup (120ml) pure maple syrup
- 3 tablespoons (45ml) fresh lemon juice
- 2 teaspoons pure vanilla extract
- 1/2 teaspoon salt
- 1 1/2 cups (150g) graham cracker crumbs
- 3 tablespoons (45ml) melted coconut oil
- 2 tablespoons (30ml) maple syrup (for crust)
- Pinch of salt (for crust)
Instructions
- Soak the raw cashews in hot water for at least 4 hours or overnight. For a quick method, cover with boiling water and let sit for 1 hour. Drain and rinse well.
- In a medium bowl, combine graham cracker crumbs, melted coconut oil, 2 tablespoons maple syrup, and a pinch of salt. Mix until it resembles wet sand.
- Press the crust mixture firmly into the bottom of a 9-inch springform pan. Use the bottom of a measuring cup to pack it down tightly. Set aside.
- Add the drained cashews, chilled coconut cream, 1/2 cup maple syrup, lemon juice, vanilla extract, and 1/2 teaspoon salt to a high-speed blender.
- Blend on high for 2-3 minutes, stopping to scrape down the sides as needed, until the mixture is completely smooth and creamy with no visible cashew bits.
- Pour the filling over the prepared crust. Use a spatula to smooth the top and tap the pan gently to release air bubbles.
- Freeze the cheesecake for at least 6 hours, or preferably overnight, until completely firm.
- To serve, run a knife around the edge to loosen, unclip the springform ring, and slice with a sharp knife dipped in hot water for clean cuts.
Notes
Ensure cashews are fully soaked and soft for a smooth texture. Chill the coconut cream can overnight to separate the solid cream from the liquid. If the filling is too thick to blend, add 1-2 tablespoons of water. For best results, freeze overnight. Store in the freezer for up to 2 weeks.
- Prep Time: 15 minutes
- Cook Time: 0 minutes
- Category: Dessert
- Cuisine: American
Nutrition
- Serving Size: 1 slice
- Calories: 320
- Sugar: 24
- Sodium: 150
- Fat: 18
- Saturated Fat: 12
- Carbohydrates: 38
- Fiber: 3
- Protein: 6
Keywords: vegan cheesecake, no bake dessert, gluten free dessert, cashew cheesecake, dairy free, plant based dessert, healthy dessert, easy vegan recipes


