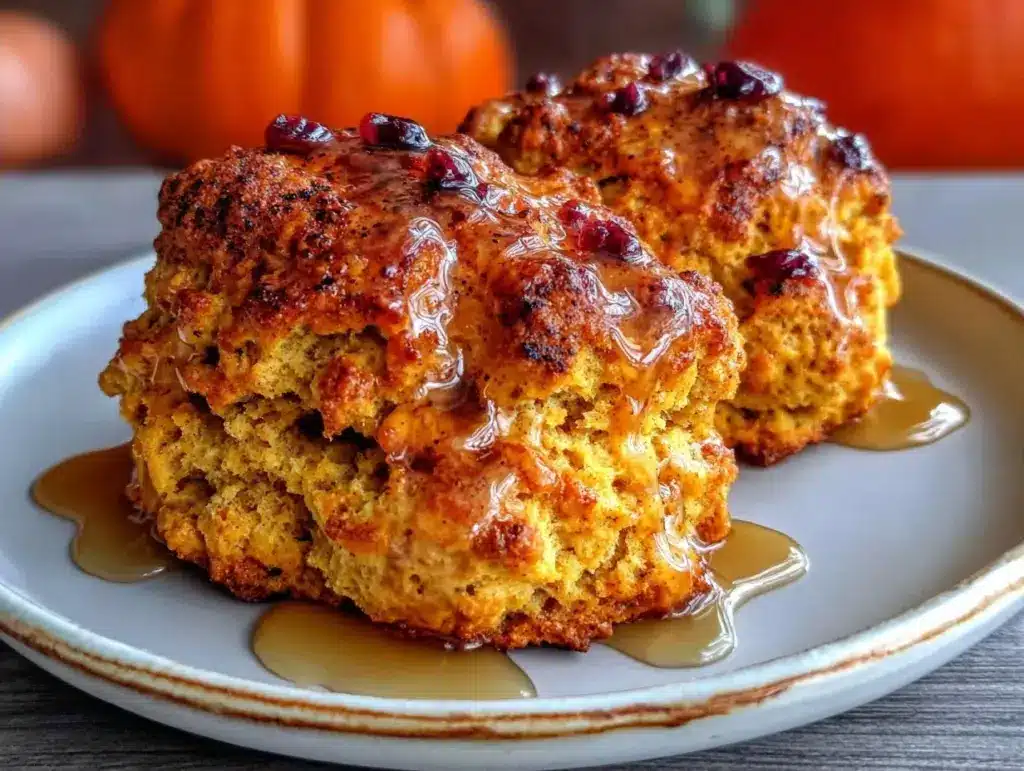
It was a crisp Tuesday morning in October, the kind where the air bites your cheeks just enough to remind you that summer is officially gone. I had decided, with the confidence of someone who had watched three YouTube tutorials, that I would master the art of the pumpkin scone. I wanted something cozy, something that tasted like autumn in a bite, but also something that would actually keep me going through my morning writing slump without crashing me by 10 a.m.
Let’s just say my first batch was… ambitious. I overmixed the dough, which is apparently the cardinal sin of scone-making. The result? Dense, dry bricks that tasted more like cardboard than pumpkin. I threw them out (well, into the compost, because I’m not a monster) and sat on my kitchen floor eating cold cereal, wondering if I’d ever be a “baker.” But then I remembered the fall spiced zucchini dessert bread I’d made the week before. That recipe taught me that whole-food ingredients can be sweet, satisfying, and surprisingly energizing. I realized my mistake wasn’t the pumpkin; it was the technique.
So, I started over. This time, I focused on keeping the butter cold, handling the dough gently, and using a fiber-rich base that wouldn’t spike my blood sugar. The result? These Easy Fall Pumpkin Scones with Maple Glaze. They are tender, flaky, and packed with the warm spices of the season. They’re not just a treat; they’re actual fuel for your day. I’ve made this Easy Fall Pumpkin Scones with Maple Glaze recipe at least a dozen times since that fateful Tuesday. Each time, the kitchen smells like a bakery, and my energy stays steady until lunch. If you’ve ever struggled with dense baked goods or want a healthier twist on a classic fall breakfast, this is your new go-to. Let’s get baking.
Why You’ll Love This Fiber-Rich Fuel Recipe
There’s something magical about pulling warm, spiced scones out of the oven on a cool morning. But beyond the nostalgia and the smell, this recipe solves a real problem: how to eat something sweet that actually nourishes you. Most pumpkin baked goods are loaded with refined sugar and white flour, leaving you feeling sluggish an hour later. Not this batch. Here’s why this Easy Fall Pumpkin Scones with Maple Glaze has earned a permanent spot in my weekly rotation:
- Steady Energy Boost — By using a mix of whole wheat flour and oats, this recipe provides complex carbohydrates and fiber. I tested this myself: I ate one scone with my coffee at 7 a.m., and I didn’t hit the mid-morning wall until after lunch. It’s sustained fuel, not a sugar crash.
- Minimal Cleanup — This is a one-bowl mixing method for the dry ingredients, and the dough comes together in minutes. I’ve made this recipe while juggling a toddler and a phone call. It’s genuinely easy, which means you’ll actually make it again.
- Warm Spices, No Junk — The flavor comes from cinnamon, ginger, nutmeg, and cloves, not artificial extracts. It tastes like fall, not like a candy store. The natural sweetness from the pumpkin puree and maple syrup is subtle and rich.
- Perfectly Flaky Texture — The secret is keeping the butter cold and handling the dough minimally. These scones have a tender crumb with a slight crunch on the edges. I’ve compared them to the ones at my favorite local cafe, and honestly, these are better because I know exactly what’s in them.
- Make-Ahead Friendly — You can mix the dry ingredients the night before and keep them in an airtight container. In the morning, you just add the wet ingredients, bake, and go. It’s the ultimate weeknight-to-morning hack for busy schedules.
This is my go-to when I need breakfast that feels indulgent but supports my energy levels. It’s comfort food that works for you, not against you.
Key Ingredients for Success
Building a great scone starts with understanding what each ingredient does. You don’t need fancy, hard-to-find items, but you do need quality basics. Here is exactly what you need for this Easy Fall Pumpkin Scones with Maple Glaze, with my honest tips for each.
All-Purpose Flour
(2 cups / 250g) — The base. I use all-purpose flour for tenderness, but you can swap half for whole wheat flour if you want extra fiber. Don’t go 100% whole wheat unless you like dense bricks. The 50/50 mix is the sweet spot for texture and nutrition.
Old-Fashioned Rolled Oats
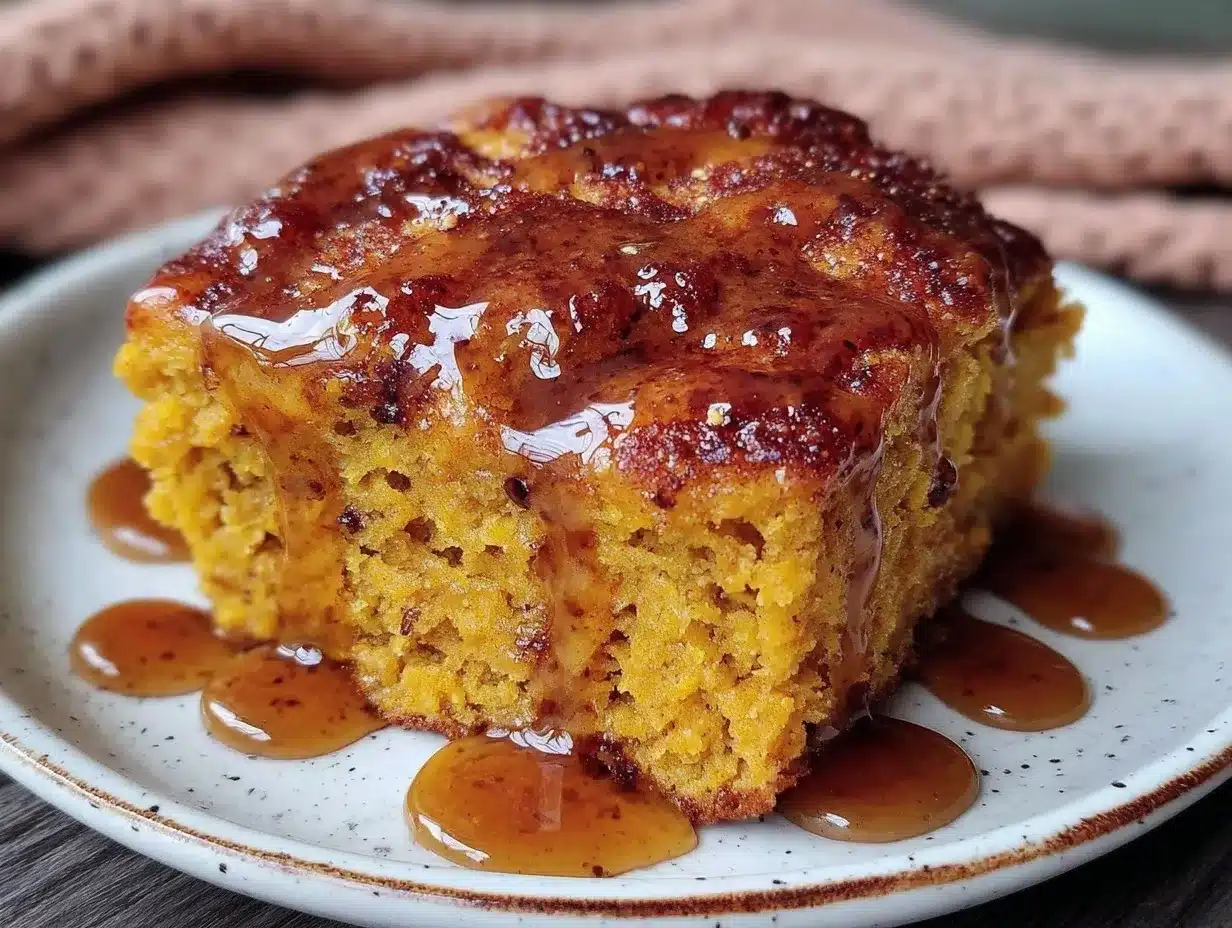
(1/2 cup / 40g, finely ground) — This is my secret weapon. Grinding the oats adds fiber and helps bind the dough without making it gritty. It also helps the scone hold its moisture. You can pulse them in a blender or food processor for 10 seconds before measuring.
Baking Powder
(2 teaspoons / 8g) — The leavening agent. Make sure yours is fresh! If your baking powder is older than 6 months, it might not lift your scones properly. I keep a fresh tin at all times. This ensures those scones get nice and fluffy.
Salt
(1/2 teaspoon / 3g) — Essential for balancing the sweetness and enhancing the spice. Don’t skip it, even if you’re watching sodium. A pinch goes a long way.
Unsalted Butter
(1/2 cup / 113g, very cold and cubed) — This is non-negotiable. The butter creates the steam pockets that make scones flaky. If your butter is soft, your scones will be flat. Cube it and throw it back in the fridge for 10 minutes before adding it to the flour.
Pumpkin Puree
(1/2 cup / 120g) — Not pumpkin pie filling! Make sure you’re using 100% pure pumpkin. It adds moisture, natural sweetness, and a boost of beta-carotene. Canned is fine, but if you have leftover roasted pumpkin from a previous treat like the layered pumpkin dessert trifle, that works too.
Maple Syrup
(1/4 cup / 60ml) — Real maple syrup (Grade A or B) for the dough and glaze. It adds a deep, woody sweetness that sugar just can’t match. It also contributes to the fiber content slightly.
Egg
(1 large egg, beaten) — The binder. It holds everything together and adds structure. Room temperature eggs mix more evenly, so take yours out of the fridge 15 minutes before you start.
Pumpkin Pie Spice
(1 teaspoon / 2g) — A blend of cinnamon, ginger, nutmeg, and cloves. It’s the flavor of autumn. If you don’t have a blend, mix your own: 1/2 tsp cinnamon, 1/4 tsp ginger, 1/8 tsp nutmeg, 1/8 tsp cloves.
Vanilla Extract
(1 teaspoon / 5ml) — Enhances the overall flavor profile. Use pure vanilla, not imitation. It makes a noticeable difference in the final taste.
Tools You’ll Need
You don’t need a fancy kitchen to make these. Here’s what I use, and what you can substitute if you don’t have it.
Large Mixing Bowl — I use a 4-quart ceramic bowl. It’s heavy enough not to tip over when I’m cutting in the butter.
Pastry Blender or Fork — A pastry blender is ideal for cutting the butter into the flour, but a sturdy fork works just as well. You’re looking for pea-sized crumbs.
Measuring Cups and Spoons — For dry ingredients, spoon and level is better than scooping, which packs the flour down. For accuracy, a kitchen scale is best, but cups work if you’re careful.
Baking Sheet — I use a rimmed half-sheet pan. Line it with parchment paper for easy cleanup and even baking.
Small Saucepan — For melting the butter and maple syrup for the glaze. A small one is perfect to avoid burning.
Cooling Rack — Essential for letting the glaze set without making the bottoms soggy.
How to Make Easy Fall Pumpkin Scones
Ready to bake? Here’s the step-by-step process. Pay attention to the sensory cues—they’re your best guide.
Step 1: Prep Your Dry Ingredients (5 minutes)
Preheat your oven to 400°F (200°C). Line a baking sheet with parchment paper. In your large mixing bowl, whisk together the all-purpose flour, ground oats, baking powder, salt, and pumpkin pie spice. Make sure there are no lumps of baking powder. This ensures even rising. Set this aside.
Step 2: Cut in the Butter (3 minutes)
Add the very cold, cubed butter to the dry ingredients. Using a pastry blender or your fingers, work the butter into the flour until the mixture resembles coarse crumbs with some pea-sized pieces of butter remaining. These butter chunks are crucial—they create steam during baking, which makes the scones flaky. Don’t overwork it; you want visible bits of butter.
Step 3: Mix the Wet Ingredients (2 minutes)
In a separate small bowl or measuring cup, whisk together the pumpkin puree, maple syrup, beaten egg, and vanilla extract. The mixture should be smooth and uniform. If it looks too thick, add a teaspoon of milk or cream, but usually, the pumpkin puree has enough moisture.
Step 4: Combine the Dough (3 minutes)
Make a well in the center of the dry ingredients and pour in the wet mixture. Use a spatula or your hands to gently fold the mixture together. Stop as soon as the dough comes together. It will look shaggy and slightly sticky. This is normal. Overmixing develops gluten, which leads to tough scones. If you see dry flour pockets, give it one more gentle fold. Do not knead it like bread.
Step 5: Shape the Scones (5 minutes)
Turn the dough out onto a lightly floured surface. Gently pat it into a circle about 1 inch thick. Don’t roll it out with a rolling pin, as that can compress the layers. Use your hands to pat it. Cut the circle into 8 wedges, like a pizza. Place the wedges on the prepared baking sheet, leaving about 2 inches between them for spreading.
Step 6: Bake (18-20 minutes)
Bake in the preheated oven for 18-20 minutes. The scones are done when they are golden brown on top and firm to the touch. If they’re still soft in the middle, give them another 2-3 minutes. Avoid opening the oven door too early, as the sudden drop in temperature can cause them to collapse.
Step 7: Make the Glaze (5 minutes)
While the scones bake, make the glaze. In a small saucepan over low heat, combine 2 tablespoons of butter and 2 tablespoons of maple syrup. Warm until the butter is melted and the mixture is smooth. Remove from heat. Let the scones cool on the pan for 5 minutes, then drizzle the glaze over them.
Total Time: 40 minutes (5 min prep, 3 min butter, 2 min wet, 3 min mix, 5 min shape, 20 min bake, 5 min glaze).
Expert Tips for Perfect Scones
Here’s everything I learned from making this recipe too many times (in a good way).
The Cold Butter Rule
I cannot stress this enough. If your butter melts into the flour before it hits the oven, you lose the flaky layers. Cube your butter, put it back in the fridge for 10 minutes, and work quickly. If your kitchen is warm, put your bowl in the fridge for 10 minutes after cutting in the butter. It’s worth the extra step.
Handle the Dough Gently
The less you touch the dough, the better the texture. I used to panic when the dough looked messy, but it’s supposed to look shaggy. Gentle folding is key. Think of it as a hug, not a wrestling match.
Don’t Skip the Resting Time
Letting the shaped scones rest in the fridge for 10-15 minutes before baking helps the butter re-solidify. This ensures they hold their shape in the oven. I often do this when I’m multitasking.
Glaze Consistency
If your glaze is too thick, add a teaspoon of milk. If it’s too thin, let it cool a bit longer or add a pinch of powdered sugar. You want it to drizzle easily but still stick to the scone.
Storage Reality Check
These scones are best fresh. They don’t freeze well because the texture changes. If you have leftovers, store them in an airtight container at room temperature for up to 2 days. Reheat in the oven for 5 minutes to restore crispness.
Recipe Variations
Once you’ve nailed the basic version, here’s how to mix it up. The base recipe is flexible.
Chai Spice Scones
Swap the pumpkin pie spice for chai spice blend. Add 1/2 teaspoon of cardamom and a pinch of black pepper. It adds a warming, aromatic kick that pairs beautifully with the maple glaze.
Brown Butter Cinnamon Scones
Instead of regular butter, brown your butter first and let it cool slightly before adding it to the dry ingredients. This adds a nutty, deep flavor. It’s similar to the technique in my brown butter cinnamon fall bars.
Gluten-Free Option
Use a 1:1 gluten-free flour blend that includes xanthan gum. Make sure your oats are certified gluten-free. The texture might be slightly more crumbly, but the flavor is still amazing.
Dairy-Free Variation
Substitute the butter with cold coconut oil or a dairy-free butter alternative. For the glaze, use coconut milk instead of butter. The flavor will be slightly different but still delicious.
Add-Ins: Pecans and Raisins
Stir in 1/2 cup of chopped pecans and 1/4 cup of raisins into the dough before shaping. It adds crunch and chew. I love this version for a heartier breakfast.
Maple Glaze Swap
For a different twist, replace the maple syrup in the glaze with honey or agave nectar. Or, add a pinch of sea salt to the glaze for a salted caramel effect.
Serving & Storage
Serving Suggestions
These scones are perfect with a hot cup of coffee or tea. I often serve them with a side of Greek yogurt and fresh berries for added protein. They also pair well with a glass of cold milk or a slow-cooker hot apple cider for a cozy weekend brunch.
Storage Tips
Room Temperature: Store in an airtight container for up to 2 days. They may soften slightly, so reheat in the oven to crisp up.
Refrigerator: Not recommended, as the cold can dry them out. If you must, store in an airtight container for up to 3 days and reheat.
Freezing: These scones do not freeze well due to the moisture content and glaze. I suggest freezing the unbaked dough wedges on a baking sheet, then transferring to a freezer bag. Bake from frozen, adding 2-3 minutes to the baking time.
Nutrition Information
I’m not a nutritionist, but here’s the breakdown per scone (with glaze):
| Nutrient | Amount |
|---|---|
| Calories | 280 kcal |
| Protein | 5g |
| Carbohydrates | 42g |
| Fiber | 3g |
| Fat | 12g |
| Sodium | 220mg |
My Take: This is a balanced breakfast option. The fiber from the oats and whole wheat flour helps slow down the sugar absorption from the maple syrup. It’s not a “diet” food, but it’s much better than a donut. It’s real food that fuels your day without feeling like a compromise.
Final Thoughts
Making these Easy Fall Pumpkin Scones with Maple Glaze is my favorite way to welcome the season. It’s a recipe that combines simplicity with depth of flavor, and it gives me energy that lasts. I hope you try it and find your own new favorite fall tradition. Remember, baking is about experimentation, so don’t be afraid to tweak the spices or add-ins to suit your taste.
If you make this, drop a comment! I love hearing how it turns out in your kitchen. Happy cooking!
FAQs
Can I use pumpkin pie filling instead of pure pumpkin puree?
No, please don’t. Pumpkin pie filling is loaded with sugar and spices, which will throw off the balance of your scone dough. You need 100% pure pumpkin puree for the right texture and flavor. You can control the sweetness with the maple syrup.
Why did my scones turn out flat?
This usually happens if the butter was too warm or if the dough was overmixed. The butter needs to be cold to create steam pockets. Also, make sure your baking powder is fresh. If your baking powder is old, it won’t lift the scones properly.
Can I make these scones ahead of time?
You can mix the dry ingredients the night before and store them in an airtight container. In the morning, just add the wet ingredients and bake. You can also shape the scones and refrigerate them for up to 24 hours before baking.
How do I store leftover scones?
Store them in an airtight container at room temperature for up to 2 days. Reheat in the oven at 350°F for 5-10 minutes to restore crispness. Avoid the microwave, as it will make them chewy.
Can I freeze the dough?
Yes, you can freeze the unbaked scones. Place them on a baking sheet and freeze until solid, then transfer to a freezer bag. Bake from frozen, adding 2-3 minutes to the baking time. Do not freeze the glazed scones, as the glaze will become sticky and messy.
What if I don’t have pumpkin pie spice?
You can make your own blend. Mix 1/2 teaspoon cinnamon, 1/4 teaspoon ginger, 1/8 teaspoon nutmeg, and 1/8 teaspoon cloves. It’s easy to make and tastes fresher than store-bought blends.
Pin This Recipe!
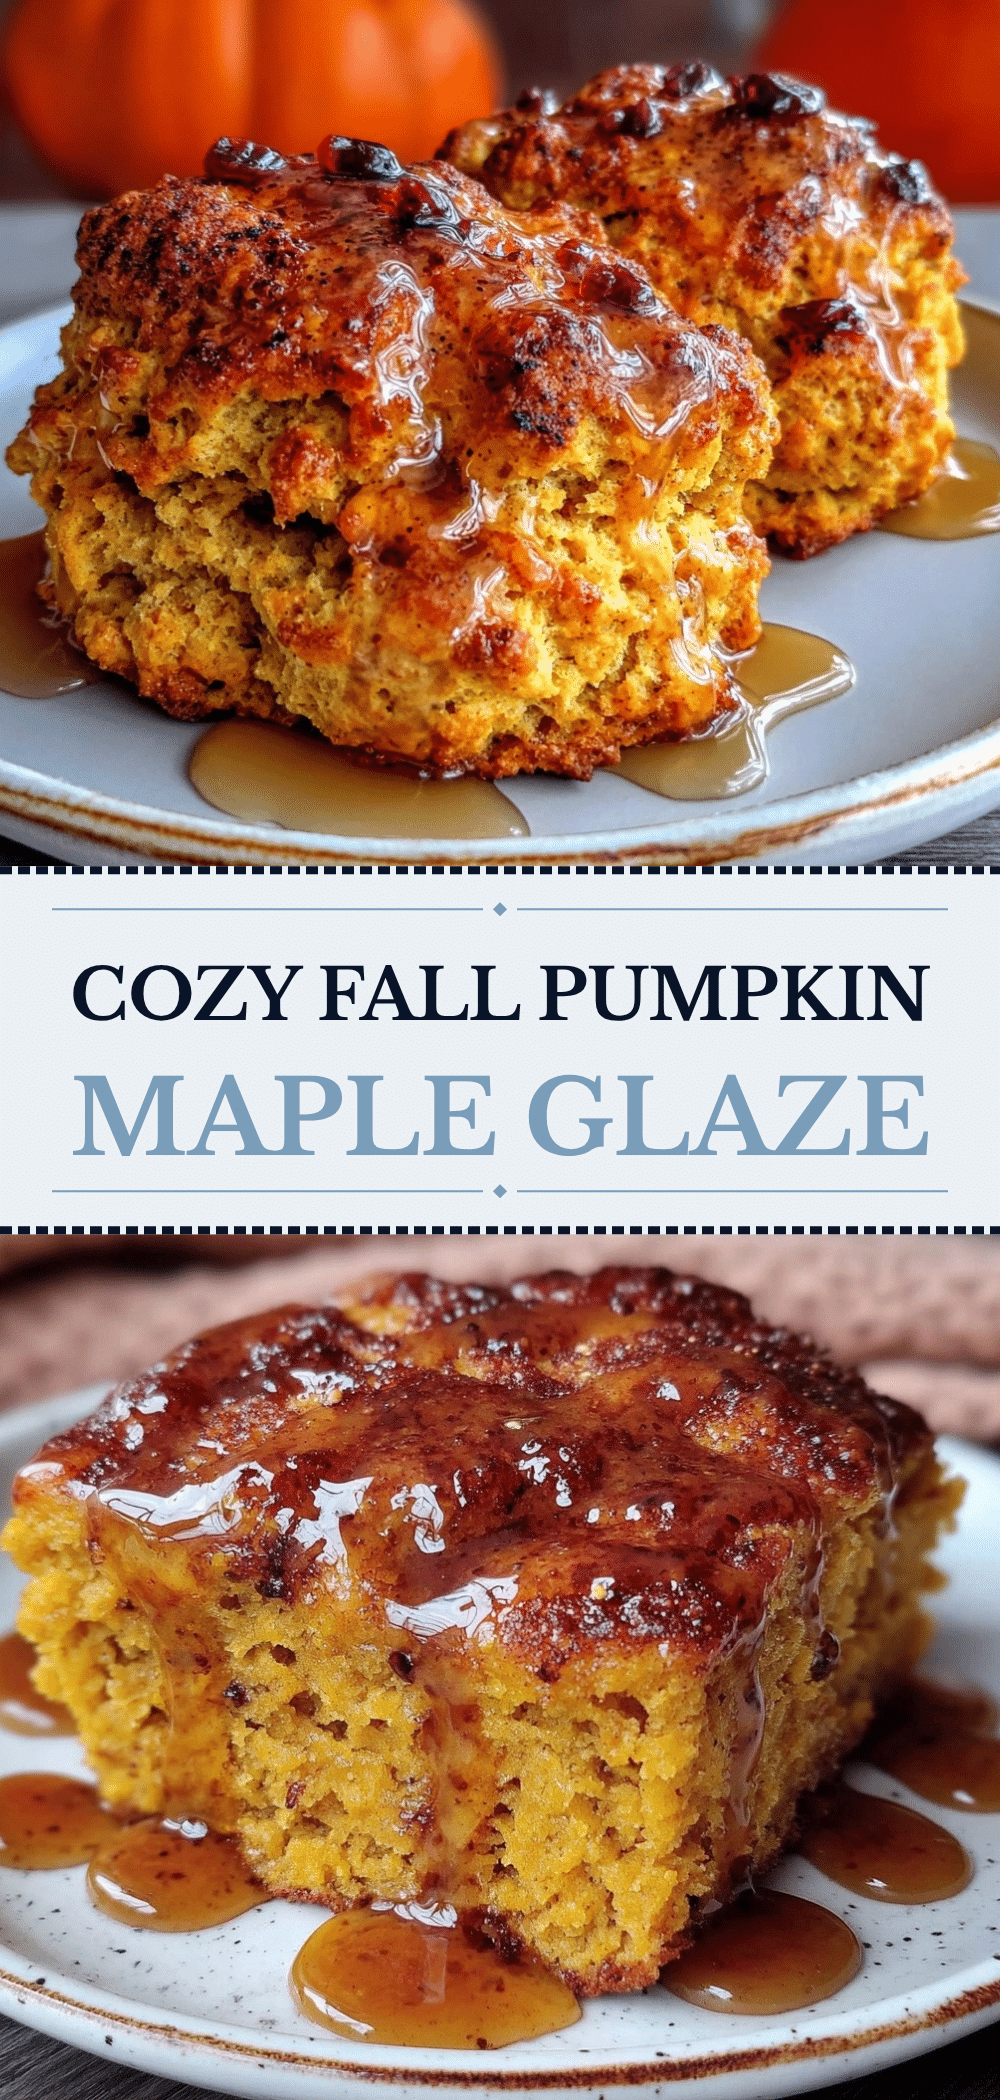
Easy Fall Pumpkin Scones with Maple Glaze
- Total Time: 40 minutes
- Yield: 8 servings 1x
Description
Tender, flaky pumpkin scones made with whole wheat flour and oats for a fiber-rich, steady-energy breakfast. Paired with a simple maple glaze, these scones offer the cozy flavors of autumn without the sugar crash.
Ingredients
- 2 cups (250g) all-purpose flour
- 1/2 cup (40g) old-fashioned rolled oats, finely ground
- 2 teaspoons baking powder
- 1/2 teaspoon salt
- 1 teaspoon pumpkin pie spice
- 1/2 cup (113g) unsalted butter, very cold and cubed
- 1/2 cup (120g) 100% pure pumpkin puree
- 1/4 cup (60ml) real maple syrup
- 1 large egg, beaten
- 1 teaspoon vanilla extract
- 2 tablespoons unsalted butter (for glaze)
- 2 tablespoons maple syrup (for glaze)
Instructions
- Preheat oven to 400°F (200°C) and line a baking sheet with parchment paper.
- In a large mixing bowl, whisk together the all-purpose flour, ground oats, baking powder, salt, and pumpkin pie spice until no lumps remain.
- Add the very cold, cubed butter to the dry ingredients. Using a pastry blender or your fingers, work the butter into the flour until the mixture resembles coarse crumbs with pea-sized pieces of butter remaining.
- In a separate small bowl, whisk together the pumpkin puree, maple syrup, beaten egg, and vanilla extract until smooth.
- Make a well in the center of the dry ingredients and pour in the wet mixture. Gently fold together with a spatula or hands until the dough just comes together; it should look shaggy and slightly sticky. Do not overmix or knead.
- Turn the dough out onto a lightly floured surface and gently pat it into a circle about 1 inch thick. Cut the circle into 8 wedges and place them on the prepared baking sheet, leaving 2 inches between each.
- Bake for 18-20 minutes until golden brown on top and firm to the touch.
- While scones bake, make the glaze by warming 2 tablespoons of butter and 2 tablespoons of maple syrup in a small saucepan over low heat until smooth.
- Let scones cool on the pan for 5 minutes, then drizzle with the warm glaze.
Notes
Keep butter very cold to ensure flaky texture. Handle dough gently to avoid tough scones. For best results, let shaped scones rest in the fridge for 10-15 minutes before baking. These do not freeze well once baked; freeze unbaked dough wedges if needed.
- Prep Time: 18 minutes
- Cook Time: 20 minutes
- Category: Breakfast
- Cuisine: American
Nutrition
- Serving Size: 1 scone
- Calories: 280
- Sugar: 18
- Sodium: 220
- Fat: 12
- Saturated Fat: 7
- Carbohydrates: 42
- Fiber: 3
- Protein: 5
Keywords: pumpkin scones, fall baking, fiber-rich breakfast, maple glaze, healthy scones, autumn recipes, easy baking


