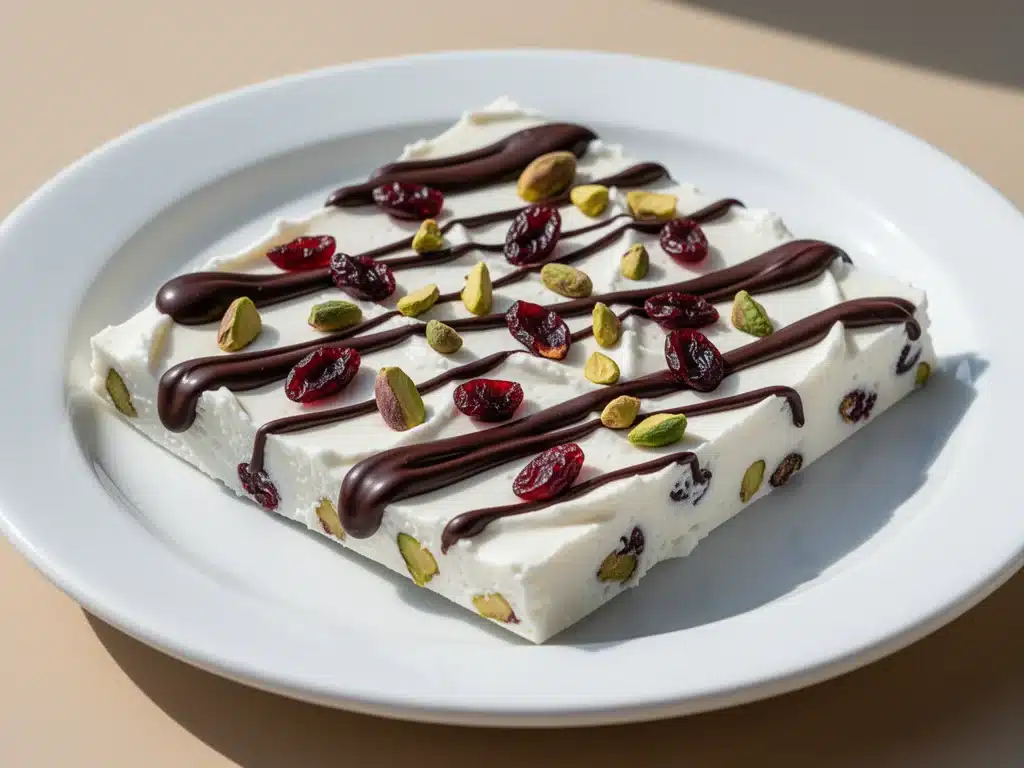
I have a confession to make. Last month, I stood in the grocery store aisle for a full ten minutes, staring at a box of “healthy” granola bars. They cost $6.50 for a pack of four, contained ingredients I couldn’t pronounce, and tasted like compressed cardboard with a hint of artificial honey. I put them back. I went home, opened my fridge, and realized I had exactly what I needed sitting in a tub of Greek yogurt.
That’s when I made Greek Yogurt Dessert Bark. It’s stupidly simple, takes three ingredients, and requires zero oven time. It’s the kind of snack that feels like a cheat code for healthy eating. I’ve been making this for my kids’ after-school snacks, my own afternoon slump, and even as a light dessert when I’m craving something sweet but don’t want to feel guilty. It’s crunchy, creamy, tangy, and sweet all at once. And the best part? It costs less than $2 to make a huge batch that lasts all week.
I know what you’re thinking: “Yogurt bark? Really?” Trust me. Once you try it, you’ll wonder why you ever bought those overpriced, ingredient-heavy bars from the store. It’s basically a frozen treat that happens to be good for you. I’ve tested this recipe more times than I can count, tweaking the ratios of yogurt to honey and experimenting with different toppings, and I’ve finally landed on the perfect version. It’s my go-to when I need a quick snack that doesn’t leave me with a sugar crash an hour later.
If you’re looking for a way to sneak more protein into your diet without tasting like you’re eating a supplement, this is it. It’s also perfect for meal prepping. I make a big batch on Sunday, break it into pieces, and store them in the freezer. When Wednesday afternoon hits and I’m craving something sweet, I just grab a piece. It’s refreshing, satisfying, and honestly, better than any granola bar I’ve ever bought. Let’s get into why this simple snack has completely changed my snacking habits.
Why You’ll Love This Recipe
There are about ten reasons I keep making Greek Yogurt Dessert Bark, but here are the big ones that keep it in my regular rotation. This isn’t just a snack; it’s a solution to the “what do I eat when I’m bored but trying to be healthy” problem.
- Stupid Simple — Seriously, if you can spread yogurt on a baking sheet, you can make this. I’ve made this while helping my kids with homework and while on a conference call. It’s that low-effort, high-reward.
- Lightning Fast — The active time is literally 5 minutes. The rest is just freezing. I throw it together in the morning, and it’s ready by dinner. No baking, no waiting for dough to rise, no complex techniques.
- Pantry-Friendly — You probably have most of this already. Greek yogurt, honey, and some frozen fruit are staples in my house. I keep frozen berries on hand specifically for this because it’s so easy to throw together.
- Protein-Packed — This isn’t just empty calories. Each piece gives you a solid hit of protein from the yogurt, which keeps me full for hours. It’s way better than a bag of chips or a candy bar for that 3 PM slump.
- Makes Amazing Leftovers — Actually, it *is* leftovers. This recipe makes a big batch, and it keeps in the freezer for weeks. I break it into portions, and it stays fresh and crunchy for a long time. Perfect for meal prep.
- Budget-Smart — Feeds a family of four for under $10. That’s less than half the cost of store-bought “healthy” snacks. I buy store-brand Greek yogurt and frozen fruit to keep costs even lower.
This is my go-to when I need a snack that just works. No complicated techniques, no weird ingredients, just reliable, delicious food that makes everyone happy. My kids think it’s a treat, my husband thinks it’s a convenient snack, and I know it’s actually good for us. It’s a win-win-win.
Ingredients You’ll Need
Here’s the best part: you probably have most of this already in your fridge or freezer. This looks like a minimal list, but that’s the point. The fewer ingredients, the easier it is to stick with it. I’m particular about two things here: the type of yogurt and the sweetness level, and I’ll tell you exactly why.
For the Base:
Greek Yogurt (3 cups / 750g) — This is the star. I use plain, full-fat Greek yogurt. The full fat gives it a creamy, rich texture that mimics ice cream. Low-fat versions can be icy and less satisfying. I like Fage or Chobani, but any brand works. Make sure it’s plain, not vanilla, so you can control the sweetness.
Honey (3 tablespoons / 45ml) — I use raw honey for its subtle floral notes, but any honey works. Maple syrup is a good substitute if you want it vegan, though it will be thinner. I like the thickness of honey because it helps bind the yogurt slightly. Adjust to taste—if you like it sweeter, add a bit more.
Vanilla Extract (1 teaspoon / 5ml) — Just a teaspoon. It adds that warm, comforting flavor that makes it taste like dessert. Don’t skip this. It makes a huge difference in how “treat-like” it tastes. Use pure vanilla extract, not imitation.
For the Toppings:
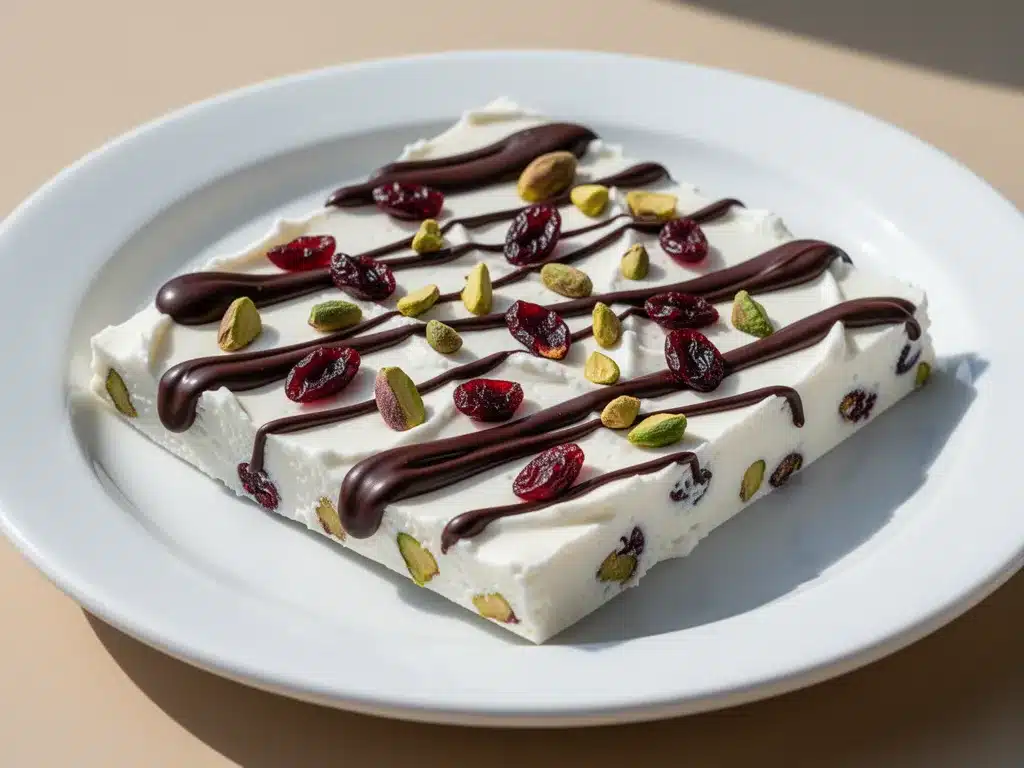
Frozen Berries (1 cup / 150g) — I use a mix of blueberries, raspberries, and strawberries. Frozen berries are perfect because they don’t make the yogurt soggy when you spread them out. They stay firm and add bursts of tartness. Fresh berries can be too juicy and might make the bark wet. If you only have fresh, chop them small and pat them dry.
Chopped Nuts (½ cup / 60g) — Almonds, pecans, or walnuts work great. I like almonds for their crunch. Toasting them first adds another layer of flavor, but it’s not necessary. This adds healthy fats and protein, plus that crucial crunch factor.
Dark Chocolate Chips (¼ cup / 40g) — Optional, but recommended. I use semi-sweet chocolate chips. They add a little richness and make it feel like a real dessert. If you’re avoiding sugar, you can skip these or use sugar-free chips. I usually add them in the last minute before freezing so they don’t sink.
Coconut Flakes (2 tablespoons / 10g) — Toasted coconut flakes add a nice tropical twist and extra crunch. I sprinkle them on top for visual appeal and flavor. If you’re not a fan of coconut, you can skip this or use granola instead.
Granola (¼ cup / 30g) — For extra crunch, I sometimes sprinkle a little granola on top. It adds texture and makes it feel more like a parfait. Use a simple, low-sugar granola to keep it healthy.
Seeds (2 tablespoons / 15g) — Chia seeds, pumpkin seeds, or sunflower seeds are great for adding nutrition. I like pumpkin seeds for their nutty flavor. They blend in well and don’t overpower the taste.
Personal Tips:
- Brand Recommendations: I always use Fage Total 5% Greek yogurt—it’s thick and creamy. For honey, I prefer local raw honey when available, but any honey works.
- Shopping Shortcuts: I buy frozen berries in bulk bags. They’re cheaper and just as good for this recipe. No need to buy fresh berries unless you’re eating them immediately.
- Substitutions: No honey? Use maple syrup or agave nectar. No nuts? Use seeds or granola. The base is flexible.
- Storage: Keep your yogurt cold until you’re ready to use it. Warm yogurt spreads too thinly.
Equipment Needed
You don’t need fancy equipment for this. Here’s what I actually use. Most of this is stuff you already have in your kitchen.
Baking Sheet — I use a standard 13×9 inch baking sheet. It needs to be large enough to spread the yogurt in a thin, even layer. I prefer metal sheets because they conduct heat well, but glass works too. Make sure it fits in your freezer.
Parchment Paper — Essential. Line your baking sheet with parchment paper. This prevents sticking and makes cleanup a breeze. I never skip this. Trying to scrape yogurt bark off a bare pan is a nightmare.
Spatula — A rubber or silicone spatula is perfect for spreading the yogurt evenly. I use a flat-edged spatula to get a smooth surface. A spoon works in a pinch, but a spatula gives better control.
Mixing Bowl — A medium-sized bowl to mix the yogurt, honey, and vanilla. Any bowl works, as long as it’s big enough to hold the yogurt and let you stir it easily.
Freezer-Safe Container — Once the bark is set, you’ll need an airtight container or freezer bag to store it. I use a large zip-top bag or a plastic container with a lid. Make sure it’s freezer-safe.
Knife or Scissors — To break the bark into pieces. I use a knife to score the bark into squares, then snap it apart. Scissors work too if you’re breaking it into smaller chunks.
Measuring Spoons — For the honey and vanilla. Standard measuring spoons work fine. I keep a set on my counter for quick access.
Optional but nice:
- Silicone Mat — If you don’t have parchment paper, a silicone baking mat works. But parchment is cheaper and easier to replace.
- Food Processor — If you want to chop your nuts or make granola from scratch, a food processor is handy. But a knife works fine for chopping.
Tool Tips:
- Don’t have a large baking sheet? Use two smaller sheets. It’s fine, just make sure you have enough space to spread the yogurt thinly.
- I’m obsessed with my silicone spatula from OXO—it’s flexible and scrapes the bowl clean every time.
How to Make It: Step-by-Step
Alright, let’s make this! I’m walking you through exactly how I do it, including the little tricks I’ve picked up. It’s so simple that you’ll wonder why you ever complicated your snacks.
Step 1: Prep Your Baking Sheet (2 minutes)
Line your baking sheet with parchment paper. Make sure the parchment covers the entire surface and overlaps the edges slightly so you can lift the bark out later if needed. This is non-negotiable. Without parchment, you’ll be scraping yogurt off metal for hours. Set the sheet aside.
Step 2: Mix the Yogurt Base (3 minutes)
In a medium mixing bowl, combine the Greek yogurt, honey, and vanilla extract. Stir until well combined. The mixture should be smooth and creamy. If it’s too thick, add a splash of milk to thin it out. If it’s too thin, add a bit more yogurt. You want a spreadable consistency, like thick frosting. Taste it—it should be sweet but tangy. Adjust honey if needed.
Step 3: Spread the Yogurt (2 minutes)
Pour the yogurt mixture onto the prepared baking sheet. Use your spatula to spread it into an even layer, about ¼ inch thick. Get it as smooth as you can. The thinner the layer, the crunchier the bark. If it’s too thick, it’ll be chewy and soft. Work quickly so the yogurt doesn’t start to melt. You’re aiming for a uniform sheet.
Step 4: Add Your Toppings (2 minutes)
Immediately sprinkle your chosen toppings over the yogurt. I like to scatter the frozen berries, chopped nuts, chocolate chips, and coconut flakes evenly across the surface. Don’t press them in too hard—they’ll sink slightly as the yogurt freezes. Aim for a balanced distribution so every piece has a mix of toppings. This step is fun, so let your kids help if they’re around.
Step 5: Freeze Until Set (2-3 hours)
Place the baking sheet in the freezer. Let it freeze for at least 2 hours, or until the yogurt is completely solid. If you’re in a hurry, you can check it after 1.5 hours, but it needs to be firm to the touch. If it’s still soft, give it more time. This is the waiting part, but it’s worth it. Don’t try to break it early, or it’ll be a mess.
Step 6: Break and Store (5 minutes)
Once the bark is fully frozen, lift it out of the freezer. Use a knife to score the bark into squares or irregular chunks. Then, snap it along the scored lines. You can also just break it into random shapes—it’s bark, after all. Place the pieces in a freezer-safe container or zip-top bag. Store in the freezer for up to 3 months. It’s ready to eat whenever you are.
Total Time: About 20 minutes active, plus 2-3 hours freezing.
Built-in Troubleshooting:
- Yogurt too thin? Add more Greek yogurt or freeze for a shorter time. It should be spreadable, not runny.
- Toppings sinking? This is normal. Just make sure you add them quickly before the yogurt starts to freeze.
- Bark too soft? It needs more time in the freezer. Check it after 2 hours. If it’s still soft, give it another 30 minutes.
Expert Tips & Tricks
Here’s everything I’ve learned from making this dozens of times. These tips will save you from my mistakes and ensure your bark turns out perfect every time.
Use Full-Fat Yogurt
This is the #1 tip. Full-fat Greek yogurt gives you that creamy, rich texture that low-fat versions just can’t match. Low-fat yogurt tends to be icy and less satisfying. I’ve tried it both ways, and the full-fat version is always better. It’s worth the extra calories for the taste and texture.
Spread It Thin
The thinner you spread the yogurt, the crunchier the bark. I aim for ¼ inch thick. If it’s too thick, it’ll be chewy and soft, which isn’t what you want. Use a spatula to get it even. Consistency is key here.
Don’t Skip the Parchment
I know it seems obvious, but I’ve seen people skip it. Don’t. Parchment paper makes removal and cleanup so easy. Without it, you’ll be scraping yogurt off metal, and it’ll stick. Save yourself the headache.
Add Toppings Quickly
Spread the yogurt, then immediately add toppings. If you wait, the yogurt starts to freeze, and the toppings won’t stick. Work fast. It takes less than a minute.
Freeze on a Flat Surface
Make sure your freezer shelf is level. If the sheet is tilted, the yogurt will pool on one side. I’ve made this mistake before, and the bark was uneven. Check your freezer shelf before you start.
Common Mistakes (and how to avoid them):
Mistake: Bark is too sweet
Fix: Reduce the honey next time. Taste the yogurt before spreading. You can always add more honey, but you can’t take it away. Start with 2 tablespoons and add more if needed.
Mistake: Toppings are clumped
Fix: Scatter them evenly. Don’t pile them in one spot. Use your fingers to distribute them across the surface.
Mistake: Bark sticks to parchment
Fix: Make sure the parchment is flat and smooth. If there are wrinkles, the yogurt might seep under. Press the parchment down firmly before spreading.
Pro Tricks I’ve Learned:
For Extra Crunch
Add a layer of granola or crushed nuts on top before freezing. It adds a nice texture contrast. I like to use crushed almond cookies for a fun twist.
For Better Flavor
Toast your nuts before chopping them. It brings out their natural oils and makes them more flavorful. It’s a small step that makes a big difference.
For Presentation
Arrange your toppings in a pattern. I like to scatter berries in a random but even way. It looks more professional and appetizing. Great for sharing on social media.
Variations & Substitutions
Once you’ve nailed the basic version, here’s how you can mix it up. I’ve tried all of these, and they’re all delicious.
Tropical Twist
Swap berries for chopped mango and pineapple. Add toasted coconut flakes and macadamia nuts. It tastes like a vacation in your mouth. I love this version in the summer.
Chocolate Peanut Butter
Swirl in 2 tablespoons of peanut butter before adding toppings. Add chocolate chips and crushed peanuts. It’s like a Reese’s cup in bark form. My kids go crazy for this one.
Apple Cinnamon
Add diced apples and a sprinkle of cinnamon. Drizzle with a little maple syrup. It tastes like apple pie. Great for fall. I sometimes add a crumble topping for extra crunch.
Berry Cheesecake
Add a layer of cream cheese mixed with a little sugar and vanilla. Top with strawberries and graham cracker crumbs. It’s like a cheesecake bark. I make this for parties.
Vegan Version
Use coconut yogurt instead of Greek yogurt. Use maple syrup instead of honey. Add vegan chocolate chips and nuts. It’s just as good, if not better. My vegan friends love this version.
Gluten-Free
Make sure your yogurt and toppings are gluten-free. Most Greek yogurt is naturally gluten-free, but check labels. Use gluten-free granola or nuts. It’s easy to keep it GF.
Lower-Sugar
Reduce honey to 1 tablespoon. Use unsweetened yogurt. Add berries for natural sweetness. It’s less sweet but still tasty. Good for those watching sugar intake.
Serving & Storage
How to Serve:
I usually serve this straight from the freezer. It’s best enjoyed cold and crunchy. But here are other ways I’ve enjoyed it:
Side Dishes:
- Pair with fresh fruit for a complete snack.
- Crush it and use as a topping for smoothie bowls.
- Serve alongside coffee or tea for a sweet treat.
Toppings Bar:
When I have guests, I let them add their own toppings. Extra chocolate, nuts, or dried fruit. Everyone customizes their bark.
Storage Instructions:
Refrigerator:
Store in an airtight container for up to 1 week. It will stay crunchy if kept dry.
Freezer:
Store in a freezer-safe bag or container for up to 3 months. It keeps its texture and flavor. Label the bag with the date so you know how old it is.
Reheating:
Not applicable. Eat it frozen. If it’s too hard, let it sit for a minute to soften slightly.
Meal Prep:
Make a big batch on Sunday. Break it into portions and store in the freezer. Grab a piece whenever you need a snack. It’s perfect for busy weeks.
Nutrition Information
I’m not a nutritionist, but here’s the breakdown if you’re tracking. This is approximate, as toppings can vary.
Per Serving (based on 10 pieces):
| Nutrient | Amount |
|---|---|
| Calories | 120 |
| Protein | 8g |
| Carbs | 12g |
| Fiber | 2g |
| Sugar | 9g |
| Fat | 5g |
| Saturated Fat | 3g |
| Cholesterol | 15mg |
| Sodium | 35mg |
What’s Good:
- High in protein from Greek yogurt.
- Contains healthy fats from nuts.
- Low in added sugar (adjustable).
- Good source of calcium.
What to Know:
- Higher in calories if you add lots of chocolate or nuts.
- Contains dairy (unless vegan version).
- Moderate sugar from honey and fruit.
My Take:
Look, this is a healthy snack, but it’s still a treat. It’s not a diet food, but it’s way better than a candy bar. When I want to make it lighter, I reduce the honey and add more berries. But usually? I just enjoy a reasonable portion and feel good about it.
Final Thoughts
So that’s my go-to Greek Yogurt Dessert Bark! I’ve probably talked your ear off at this point, but when you make a recipe this often, you have a lot to say about it.
This has saved my after-school snacking routine more times than I can count. It’s my answer to “what do I eat when I’m bored but trying to be healthy.” My kids are happy, my husband’s happy, and I’m happy because I’m not stressed about making something complicated.
Make it yours! Try different toppings, swap in your favorite fruits, adjust the sweetness. The best recipes are the ones you adapt to your family’s tastes. And if you’re looking for more healthy snacks, check out this vegan mango turmeric smoothie bowl for a breakfast option that’s just as easy.
If you make this, drop a comment and let me know what you think! I love hearing how recipes turn out in your kitchen. And if something doesn’t work, tell me that too—I’m here to help troubleshoot.
Happy snacking! And I hope your kitchen smells half as good as mine does right now.
Frequently Asked Questions
Q: Can I use low-fat yogurt?
A: You can, but the texture will be icier and less creamy. Full-fat Greek yogurt gives you that rich, ice-cream-like consistency. If you must use low-fat, add a bit of cream cheese to thicken it. But honestly, full-fat is worth it.
Q: How long does this last in the freezer?
A: Up to 3 months. It keeps its texture and flavor well. Just make sure it’s stored in an airtight container to prevent freezer burn.
Q: Can I use fresh fruit instead of frozen?
A: You can, but fresh fruit has more water content, which can make the yogurt soggy. If you use fresh fruit, chop it small and pat it dry. Frozen berries are better because they stay firm.
Q: Why did my bark stick to the parchment?
A: Usually means the yogurt was too warm or the parchment wasn’t flat. Make sure the yogurt is cold before spreading, and press the parchment down firmly. If it sticks, let it sit in the freezer for a few more minutes.
Q: Can I make this ahead for a party?
A: Absolutely! Make it 2-3 days ahead and store in the freezer. It’s perfect for parties because you can break it into pieces and serve it on a platter. Just keep it frozen until serving time.
Q: Is this recipe gluten-free?
A: Yes, if you use gluten-free toppings. Greek yogurt is naturally gluten-free, and most nuts and fruits are too. Just check your yogurt label to be sure, and use gluten-free granola or chocolate chips if needed.
Q: Can I add protein powder?
A: You can, but it might change the texture. Add a scoop of vanilla protein powder to the yogurt mixture, but you may need to add a splash of milk to thin it out. It works, but it’s not necessary for the flavor.
Pin This Recipe!
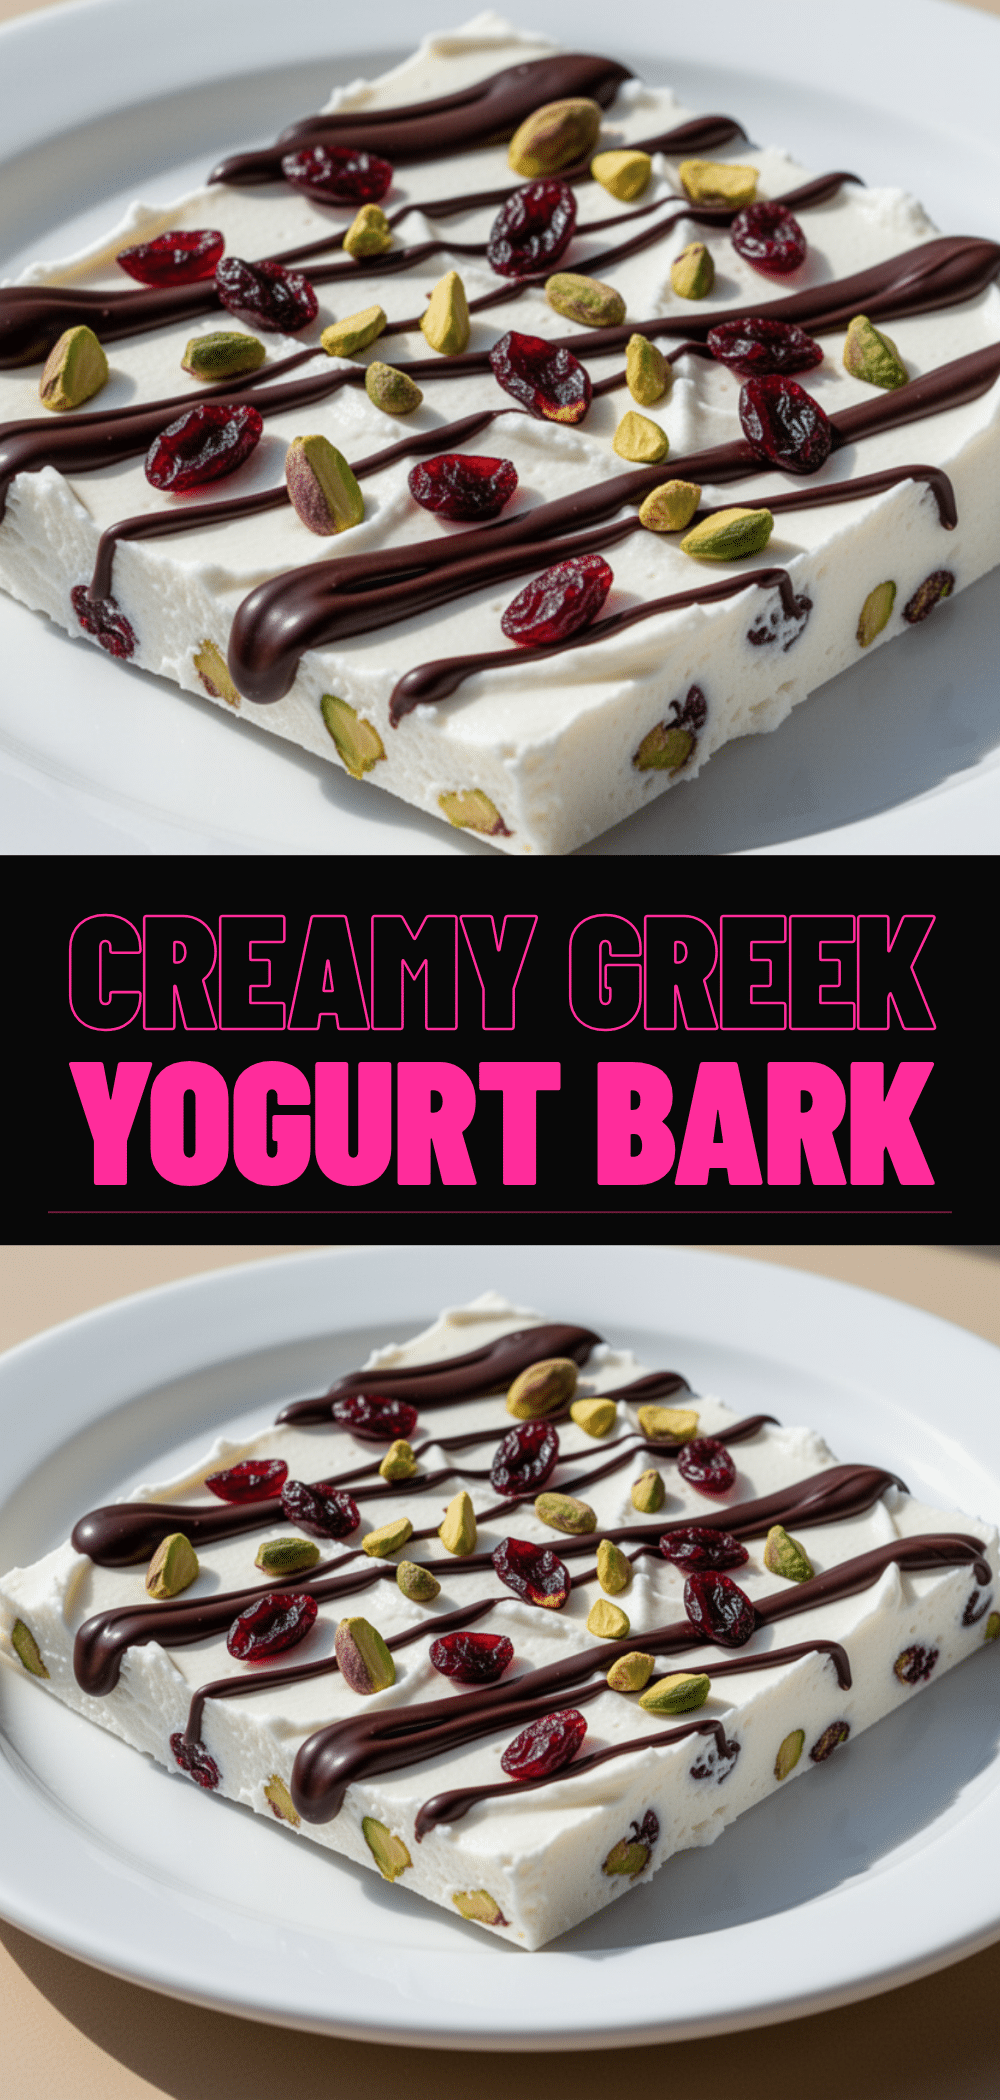
Greek Yogurt Dessert Bark: 3-Ingredient Healthy No Bake Snack
- Total Time: 2 hours 5 minutes
- Yield: 10 servings 1x
Description
A simple, no-bake frozen snack made with Greek yogurt, honey, and vanilla, topped with frozen berries and nuts. It’s a protein-packed, budget-friendly treat that takes only 5 minutes of active prep time.
Ingredients
- 3 cups plain full-fat Greek yogurt
- 3 tablespoons honey
- 1 teaspoon vanilla extract
- 1 cup frozen berries (blueberries, raspberries, strawberries)
- ½ cup chopped nuts (almonds, pecans, or walnuts)
- ¼ cup dark chocolate chips (optional)
- 2 tablespoons toasted coconut flakes (optional)
- ¼ cup granola (optional)
- 2 tablespoons seeds (chia, pumpkin, or sunflower)
Instructions
- Line a 13×9 inch baking sheet with parchment paper.
- In a medium mixing bowl, combine the Greek yogurt, honey, and vanilla extract. Stir until smooth and creamy.
- Pour the yogurt mixture onto the prepared baking sheet and spread it into an even layer about ¼ inch thick using a spatula.
- Immediately sprinkle the frozen berries, chopped nuts, chocolate chips, coconut flakes, granola, and seeds evenly over the yogurt.
- Place the baking sheet in the freezer and freeze for at least 2 hours, or until the yogurt is completely solid.
- Remove from the freezer and break the bark into squares or irregular chunks using a knife or scissors.
- Store the pieces in a freezer-safe container or zip-top bag for up to 3 months.
Notes
Use full-fat Greek yogurt for the best creamy texture. Spread the yogurt thinly for a crunchier bark. Ensure toppings are added quickly before the yogurt starts to freeze. If using fresh fruit, chop small and pat dry to prevent sogginess.
- Prep Time: 5 minutes
- Cook Time: 0 minutes
- Category: Snack
- Cuisine: American
Nutrition
- Serving Size: 1 piece (approx. 1/1
- Calories: 120
- Sugar: 9
- Sodium: 35
- Fat: 5
- Saturated Fat: 3
- Carbohydrates: 12
- Fiber: 2
- Protein: 8
Keywords: Greek yogurt, healthy snack, no bake, frozen dessert, protein snack, meal prep, budget friendly, gluten-free option


