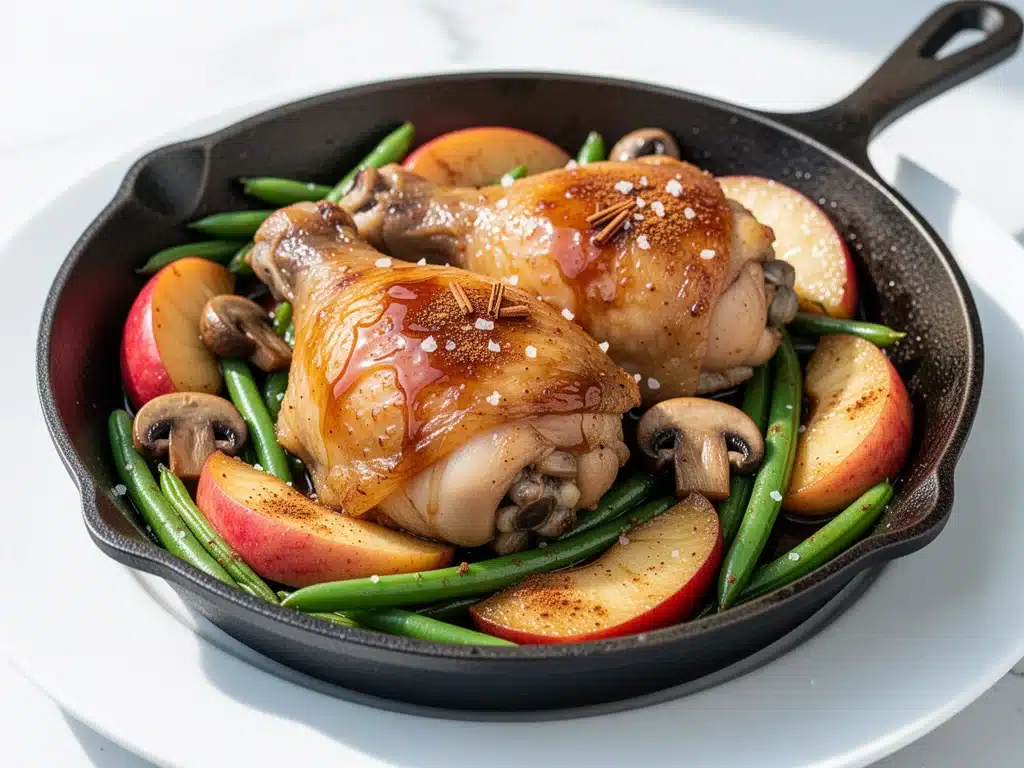
Last October, I was standing in my kitchen at 6:30 PM, staring at a fridge that was suspiciously empty except for a bag of apples and two chicken breasts. I was exhausted. The kids were already arguing in the other room, my husband had just walked through the door looking like he’d survived a marathon, and the idea of chopping vegetables, preheating the oven, and scrubbing three pans later that night felt impossible. I needed dinner. I needed it fast. And I needed it to taste like comfort, not compromise.
So I did what any desperate home cook does: I threw everything into one skillet. I had leftover apple cider, some thyme, a stick of butter, and those chicken breasts. I figured, why not? Apples and chicken sound weird on paper, but they’re best friends in the fall. I tossed them in, let them simmer, and within twenty minutes, the whole house smelled like a bakery. My kids, who usually turn their noses up at anything that isn’t chicken nuggets, ate every bite. My husband asked for seconds. That night, I realized I’d stumbled onto something special. It wasn’t just a meal; it was a lifeline.
That accidental Tuesday dinner became my new obsession. I’ve since tested this one-pan apple chicken skillet recipe at least fifteen times, tweaking the spices, adjusting the cooking time, and perfecting the balance between sweet and savory. The result? A dish that feels fancy enough for a dinner party but simple enough for a chaotic weeknight. It’s tender chicken, caramelized apples, and a pan sauce that you’ll want to spoon over everything. Best of all, there’s only one pan to clean. Seriously. One pan.
If you’re tired of the same old chicken recipes, or if you’re looking for something that brings a little seasonal warmth to your table without the fuss, this is it. It’s sweet, savory, cozy, and incredibly easy. Let me show you how to make it.
Why You’ll Love This Recipe
There are a dozen reasons this one-pan apple chicken skillet has earned a permanent spot in my weekly rotation, but let’s be real—you probably only need three of them to get convinced. Here’s why this dish works so well:
Zero Stress Cleanup — This is the biggest selling point for me. I cook dinner every single night, and by 7 PM, my brain is fried. The idea of washing a baking sheet, a cutting board, a mixing bowl, AND a skillet is enough to make me order pizza. With this recipe, you brown the chicken, cook the apples, and make the sauce all in the same pan. One pan. One wash. It’s a game-changer for mental sanity.
Flavor That Feels Fancy — Don’t let the simplicity fool you. The combination of sweet apples, savory chicken, and rich pan juices tastes like something you’d order at a nice bistro. The apples break down slightly, creating a natural thickening agent for the sauce, while the chicken stays juicy because it’s braised in that flavorful liquid. It’s complex flavor with zero effort.
Perfect for Pickiest Eaters — I have a toddler who thinks vegetables are a personal attack. Surprisingly, this recipe wins him over. The sweetness from the apples masks the “weirdness” of the herbs, and the chicken is tender enough for small teeth. It’s a sneaky way to get some fruit into the meal without it feeling like a health food lecture. Plus, it’s naturally gluten-free if you skip the flour thickener, which is a huge win for my gluten-sensitive friend.
Ready in Under 30 Minutes — From chopping to plating, this takes about 25 minutes. That’s faster than waiting for a delivery driver, and it’s way healthier than takeout. I make this on nights when I’m running on fumes, and it always comes through.
This is my go-to when I need dinner to just work. No complicated techniques, no weird ingredients, just reliable, delicious food that makes everyone happy.
Ingredients You’ll Need
Here’s the best part: you probably have most of these ingredients already. This isn’t a recipe that requires a special trip to three different specialty stores. It’s pantry-friendly, seasonal, and straightforward. I’m particular about a few things here, though, so pay attention to the details.
Chicken Breasts (2 large, boneless, skinless) — I prefer chicken breasts because they cook quickly. Thighs work too and stay juicier, but breasts are what I usually have on hand. If they’re super thick, pound them a bit so they cook evenly. Uniform thickness is key.
Apples (3 medium, peeled and sliced) — This is where texture matters. I use a mix of Granny Smith and Honeycrisp. Granny Smith holds its shape and adds tartness, while Honeycrisp gets soft and sweet. Avoid Red Delicious—they turn to mush and have no flavor. You want apples that can handle the heat without disappearing completely.
Butter (2 tablespoons) — Unsalted is best so you can control the saltiness. Butter adds that rich, velvety mouthfeel to the sauce. Don’t skimp here; it’s the base of the flavor.
Onion (1 medium yellow onion, diced) — Sweetness and depth. Yellow onions are the workhorse of the kitchen. If you only have white onions, use them, but yellow is better for this sweet-savory profile.
Garlic (3 cloves, minced) — Fresh only. I know it’s a pain, but jarred garlic has a metallic aftertaste that really clashes with the delicate apple flavor. Three cloves is the sweet spot. Not too overpowering, not too subtle.
Apple Cider (1 cup) — This is the star liquid. Use real apple cider, not apple juice. Cider has that cloudy, rich, spiced flavor that juice lacks. If you can’t find cider, use white wine and a splash of vinegar, but cider is traditional and delicious. Look for the refrigerated kind if possible.
Chicken Broth (½ cup) — Low-sodium is important here because you’re reducing the liquid. You want to control the salt level. Vegetable broth works if you’re avoiding poultry.
Thyme (1 teaspoon dried, or 1 tablespoon fresh) — Thyme and apples are best friends. Dried thyme is fine, but fresh is brighter. If you don’t have thyme, rosemary works in a pinch, but it’s stronger, so use less.
Flour (1 tablespoon) — Just a little bit to thicken the sauce into a gravy-like consistency. Skip it if you want it lighter.
Salt and Black Pepper — To taste. Always season your chicken before searing it.
Optional Add-ins:
Bacon (4 strips, cooked and crumbled) — If you’re a bacon lover, this adds a smoky crunch. I often cook the bacon first, remove it, then use the rendered fat to cook the chicken. Delicious.
Cranberries (½ cup dried) — Adds a tart pop of color and flavor. Great for holiday vibes.
Walnuts or Pecans (¼ cup, toasted) — Sprinkle on top for crunch. It elevates the dish from “comfort food” to “dinner party worthy.”
Equipment Needed
You don’t need fancy equipment for this. Here’s what I actually use. Most of this is stuff you already have, but having the right size pan makes a huge difference.
12-Inch Skillet — I use a stainless steel skillet, but cast iron or non-stick works fine too. The key is that it needs to be big enough to hold the chicken and apples in a single layer. If your pan is too small, the chicken will steam instead of sear, and the apples will overcrowd. A 12-inch pan is ideal. If you only have a 10-inch, you might need to cook in two batches, which adds time.
Wooden Spoon — For stirring and scraping up those browned bits (the fond) from the bottom of the pan. That fond is flavor gold. Silicone works too, but wood is gentler on the pan.
Chef’s Knife — For slicing apples and dicing onions. Sharp knives make this safer and faster. Dull knives are how you end up crying over onions—or cutting yourself.
Measuring Cups and Spoons — Standard stuff. I use a 1-cup liquid measure for the cider and broth.
Tongs — For flipping the chicken. Forks pierce the meat and let the juices escape. Tongs keep the chicken intact and juicy.
Optional: Meat Mallet — If your chicken breasts are unevenly thick, a mallet (or a heavy rolling pin) helps flatten them so they cook evenly. I usually just eyeball it, but if you’re a perfectionist, this helps.
How to Make It: Step-by-Step
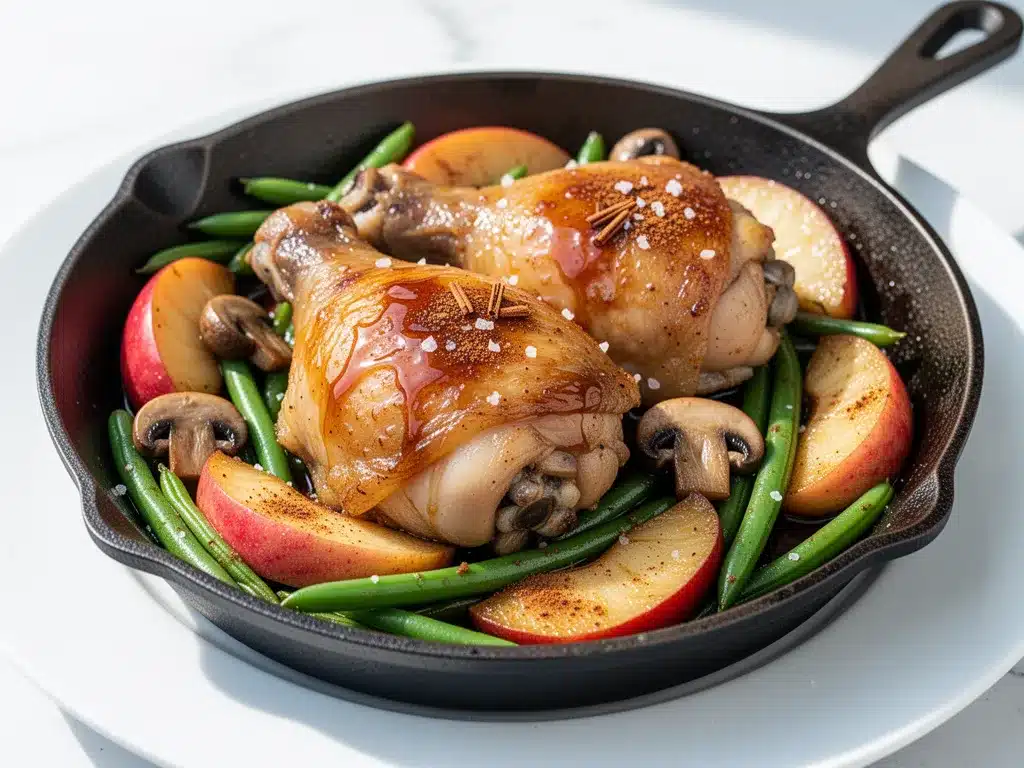
Alright, let’s make this! I’m walking you through exactly how I do it, including the little tricks I’ve picked up over time. This process is simple, but there are a few key moments that determine success.
Step 1: Prep Your Chicken and Apples (5 minutes)
Pat your chicken breasts dry with paper towels. Moisture is the enemy of a good sear. If the chicken is wet, it steams. Dry it off. Season both sides generously with salt and pepper. Slice your apples into ½-inch wedges. Remove the cores, but keep the skin on for color and texture. Dice the onion. Mince the garlic. Have everything ready before you turn on the heat.
Step 2: Sear the Chicken (4-5 minutes per side)
Heat your 12-inch skillet over medium-high heat. Add 1 tablespoon of butter (or olive oil if you prefer). Once the butter is foaming but not brown, add the chicken breasts. Don’t crowd the pan. If you’re using a big pan, they should fit with a little space between them. Sear for 4-5 minutes until golden brown and released easily from the pan. Flip and cook for another 4-5 minutes. The chicken doesn’t need to be fully cooked through yet—we’ll finish it in the sauce. Remove the chicken to a plate and set aside. Leave any juices in the pan.
Step 3: Cook the Aromatics (3 minutes)
Reduce the heat to medium. Add the remaining 1 tablespoon of butter to the same skillet. Add the diced onions and cook for 2-3 minutes until softened and translucent. Add the minced garlic and dried thyme. Cook for 30 seconds, stirring constantly. The garlic should smell fragrant but not brown. If it starts to burn, lower the heat immediately.
Step 4: Add the Apples and Deglaze (5 minutes)
Add the sliced apples to the skillet. Toss them in the butter and onion mixture. Let them cook for 3-4 minutes, stirring occasionally, until they start to soften and get a little caramelized on the edges. Pour in the apple cider. Use your wooden spoon to scrape up all the browned bits from the bottom of the pan. Those bits are pure flavor. Let the cider simmer for 1-2 minutes to reduce slightly.
Step 5: Simmer and Thicken (10 minutes)
Return the chicken breasts to the skillet, nestling them into the apple mixture. Pour in the chicken broth. If you’re using flour, whisk it with 2 tablespoons of cold water to make a slurry, then stir it into the sauce. Cover the skillet with a lid. Let it simmer on low-medium heat for 8-10 minutes. The chicken should be cooked through (internal temperature of 165°F), and the apples should be tender.
Step 6: Finish the Sauce (2 minutes)
Remove the lid. The sauce should have thickened. If it’s too thin, let it simmer uncovered for a few more minutes. If it’s too thick, add a splash of water or broth. Taste the sauce and adjust seasoning. Add more salt or pepper if needed. If you’re using fresh thyme, stir it in now.
Step 7: Serve
Transfer the chicken and apples to serving plates. Spoon the pan sauce generously over the top. Garnish with fresh thyme sprigs, toasted nuts, or crumbled bacon if you’re using them. Serve immediately.
Total Time: About 25 minutes (5 minutes prep, 20 minutes cooking)
Expert Tips & Tricks
Here’s everything I’ve learned from making this dozens of times. These tips will save you from my mistakes.
Don’t Skip the Sear — It’s tempting to just throw the chicken in and simmer, but searing first creates a crust and adds depth of flavor. That Maillard reaction is what makes the dish taste “cooked” and not “boiled.” Take the time to get a good golden brown.
Use the Right Apples — I can’t stress this enough. If you use Gala or Fuji, they might get too mushy. If you use Red Delicious, they’ll be bland. Granny Smith and Honeycrisp are the best combo. You want a mix of tart and sweet, with texture that holds up.
Scrape the Fond — When you add the cider, don’t just pour it in and walk away. Scrape the bottom of the pan with your wooden spoon. Those browned bits are concentrated flavor. If you leave them there, your sauce will be flat.
Low and Slow for Simmering — Once you add the lid, keep the heat low. You want to gently braise the chicken, not boil it. Boiling makes chicken tough. Simmering keeps it tender.
Thicken Smartly — If you want a thicker sauce, use the flour slurry. If you prefer a lighter sauce, just reduce the liquid longer. Both work. I usually skip the flour for a cleaner taste, but if you like gravy, use the slurry.
Rest the Chicken — If you have time, let the chicken rest for 5 minutes after cooking before slicing. This keeps the juices inside. If you cut into it immediately, they run out, and the meat gets dry.
Variations & Substitutions
Once you’ve nailed the basic version, here’s how you can mix it up. I’ve tried all of these, and they all work.
Pork Chops Version — Swap chicken for thick-cut pork chops. Pork and apples are a classic pairing. Cook them the same way. Pork might need an extra minute or two to cook through.
Duck Breast Version — If you’re feeling fancy, use duck breasts. Render the fat first, then cook the apples in the duck fat. Incredibly rich and delicious.
Spicy Kick — Add a pinch of cayenne pepper or red pepper flakes when you add the garlic. It cuts through the sweetness and adds warmth.
Herb Swap — No thyme? Use rosemary or sage. Sage and apples are also a classic combo, especially in fall.
Cider Swap — Can’t find cider? Use white wine (like Sauvignon Blanc) plus 1 tablespoon of apple cider vinegar. It mimics the acidity and fruitiness.
Gluten-Free — Skip the flour slurry, or use cornstarch instead. The dish is naturally gluten-free otherwise.
Dairy-Free — Swap butter for olive oil or dairy-free butter. The rest is naturally dairy-free.
Vegan Option — Swap chicken for firm tofu or seitan. Use vegetable broth and olive oil. The apples still shine.
Serving & Storage
How to Serve: I usually serve this straight from the skillet at the dinner table—it looks rustic and stays warm. But here are other ways I’ve enjoyed it:
Side Dishes:
– Mashed potatoes (to soak up the sauce)
– Rice or quinoa
– Roasted Brussels sprouts
– Green beans with almonds
– Crusty bread (for dipping)
Toppings Bar: When I have guests, I put out: toasted pecans, fresh thyme, crumbled bacon, and a drizzle of heavy cream. Everyone customizes their bowl.
Storage Instructions:
Store leftovers in an airtight container in the fridge for up to 3 days. The sauce will thicken in the fridge—totally normal.
Reheating:
Best method: Add to a skillet with a splash of water or broth over low heat. Stir gently until heated through.
Microwave method: Heat in 30-second intervals, stirring between. Add a splash of liquid to prevent drying out.
Freezing:
This doesn’t freeze well. The apples get mushy, and the sauce can separate. Make it fresh or store in the fridge for up to 3 days.
Nutrition Information
I’m not a nutritionist, but here’s the breakdown if you’re tracking. This is per serving (based on 4 servings).
– Calories: 320
– Protein: 35g
– Carbs: 22g
– Fiber: 3g
– Sugar: 15g
– Fat: 10g
– Saturated Fat: 4g
– Cholesterol: 90mg
– Sodium: 450mg
What’s Good:
– High protein from the chicken
– Fiber from the apples
– No added sugar (just natural fruit sugar)
What to Know:
– Moderate sodium (use low-sodium broth to reduce)
– Contains dairy (butter)
– Can be made gluten-free
My Take:
Look, this is comfort food. It’s not a diet recipe, but it’s balanced. The protein keeps you full, the apples provide natural sweetness, and the veggies add fiber. It’s way better than takeout, and I know exactly what’s in it.
Final Thoughts
So that’s my one-pan apple chicken skillet! I’ve probably talked your ear off at this point, but when you make a recipe this often, you have a lot to say about it. This has saved weeknight dinners more times than I can count. It’s my answer to “what’s for dinner” when I’m tired, don’t want takeout, and still want something that tastes really good. My kids are happy, my husband’s happy, and I’m happy because I’m not stressed about cooking.
Make it yours! Try different apples, swap in your favorite herbs, or add bacon if you’re feeling indulgent. The best recipes are the ones you adapt to your family’s tastes. If you make this, drop a comment and let me know what you think! I love hearing how recipes turn out in your kitchen. And if something doesn’t work, tell me that too—I’m here to help troubleshoot.
Happy cooking! And I hope your kitchen smells half as good as mine does right now.
Frequently Asked Questions
Can I use apple juice instead of cider?
You can, but the flavor won’t be as rich. Apple cider has that cloudy, spiced depth that juice lacks. If you must use juice, add a splash of apple cider vinegar and a pinch of cinnamon to mimic the complexity. But real cider is worth the extra dollar.
Why is my chicken dry?
Overcooking is the most likely culprit. Chicken breasts cook fast. Once you return them to the pan to simmer, check them after 8 minutes. If they’re at 165°F, they’re done. If you leave them in longer, they’ll dry out. Also, pounding them to even thickness helps them cook evenly.
Can I make this ahead of time?
Sort of. You can prep the chicken and apples ahead of time and store them in the fridge. When you’re ready to cook, just start at Step 2. You can’t fully cook it ahead because the apples will get mushy and the chicken will dry out when reheated. Better to cook it fresh.
What kind of apples are best?
I recommend a mix of Granny Smith (for tartness and structure) and Honeycrisp (for sweetness and juiciness). Avoid Red Delicious—they’re mealy and bland. Braeburn or Fuji also work well.
Can I use chicken thighs?
Absolutely. Chicken thighs are actually juicier and more forgiving than breasts. They’ll need about 2-3 minutes extra to cook through. The flavor is richer, too. Just reduce the cooking time slightly if they’re smaller.
Is this recipe gluten-free?
Yes, if you skip the flour thickener. The rest of the ingredients are naturally gluten-free. Just make sure your chicken broth is certified gluten-free, as some brands use wheat-based additives.
How do I reheat leftovers without it getting dry?
Add a splash of water or broth to a skillet, add the leftovers, and heat gently over low heat, stirring frequently. The extra liquid brings back the creamy texture. Microwave sort of works but tends to dry it out. If you do microwave, definitely add a splash of liquid first and heat in short bursts, stirring between.
Pin This Recipe!
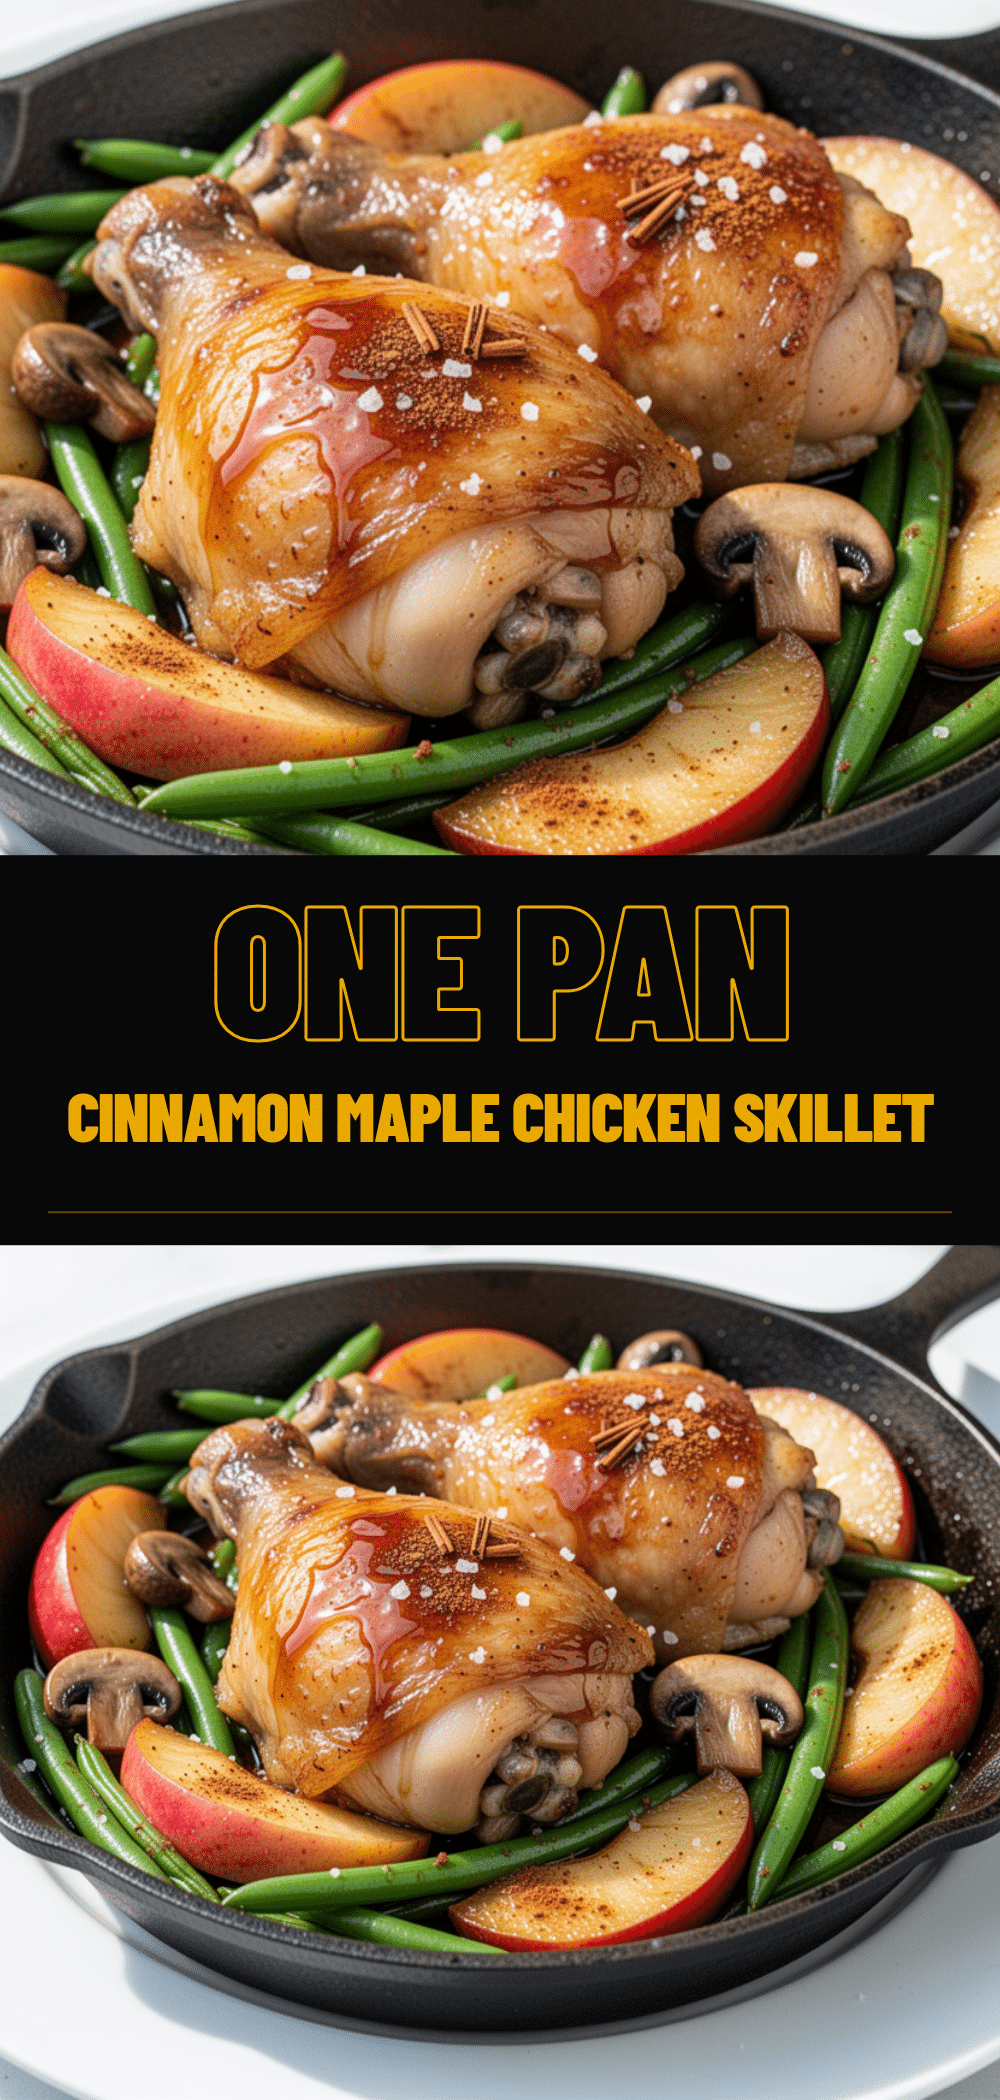
One-Pan Apple Chicken Skillet
- Total Time: 25 minutes
- Yield: 4 servings 1x
Description
A quick, one-pan weeknight dinner featuring tender chicken breasts and caramelized apples in a savory-sweet pan sauce. It’s easy to make, requires minimal cleanup, and tastes fancy enough for a dinner party.
Ingredients
- 2 large boneless, skinless chicken breasts
- 3 medium apples (mix of Granny Smith and Honeycrisp), peeled and sliced into ½-inch wedges
- 2 tablespoons unsalted butter, divided
- 1 medium yellow onion, diced
- 3 cloves garlic, minced
- 1 cup apple cider
- ½ cup low-sodium chicken broth
- 1 teaspoon dried thyme (or 1 tablespoon fresh)
- 1 tablespoon flour (optional, for thickening)
- Salt and black pepper, to taste
Instructions
- Pat chicken breasts dry and season generously with salt and pepper. Slice apples into wedges, dice onion, and mince garlic.
- Heat a 12-inch skillet over medium-high heat with 1 tablespoon of butter. Sear chicken for 4-5 minutes per side until golden brown. Remove chicken to a plate and set aside.
- Reduce heat to medium. Add remaining 1 tablespoon of butter to the skillet. Cook diced onions for 2-3 minutes until softened. Add garlic and thyme, cooking for 30 seconds until fragrant.
- Add sliced apples to the skillet and cook for 3-4 minutes until slightly caramelized. Pour in apple cider and scrape up browned bits from the bottom of the pan. Simmer for 1-2 minutes.
- Return chicken to the skillet. Pour in chicken broth. If using flour, whisk with 2 tablespoons of cold water to make a slurry and stir into the sauce.
- Cover and simmer on low-medium heat for 8-10 minutes until chicken reaches an internal temperature of 165°F and apples are tender.
- Remove lid and let sauce thicken for a few minutes if needed. Adjust seasoning with salt and pepper. Garnish with fresh thyme or optional toppings like bacon or nuts.
- Serve immediately with the pan sauce spooned over the top.
Notes
Use a mix of tart (Granny Smith) and sweet (Honeycrisp) apples for best texture. Do not skip searing the chicken for flavor. If chicken breasts are thick, pound them to ensure even cooking. This dish does not freeze well.
- Prep Time: 5 minutes
- Cook Time: 20 minutes
- Category: Main Course
- Cuisine: American
Nutrition
- Serving Size: 1 chicken breast wit
- Calories: 320
- Sugar: 15
- Sodium: 450
- Fat: 10
- Saturated Fat: 4
- Carbohydrates: 22
- Fiber: 3
- Protein: 35
Keywords: one-pan dinner, apple chicken, weeknight meals, easy chicken recipe, fall recipes, gluten-free option


