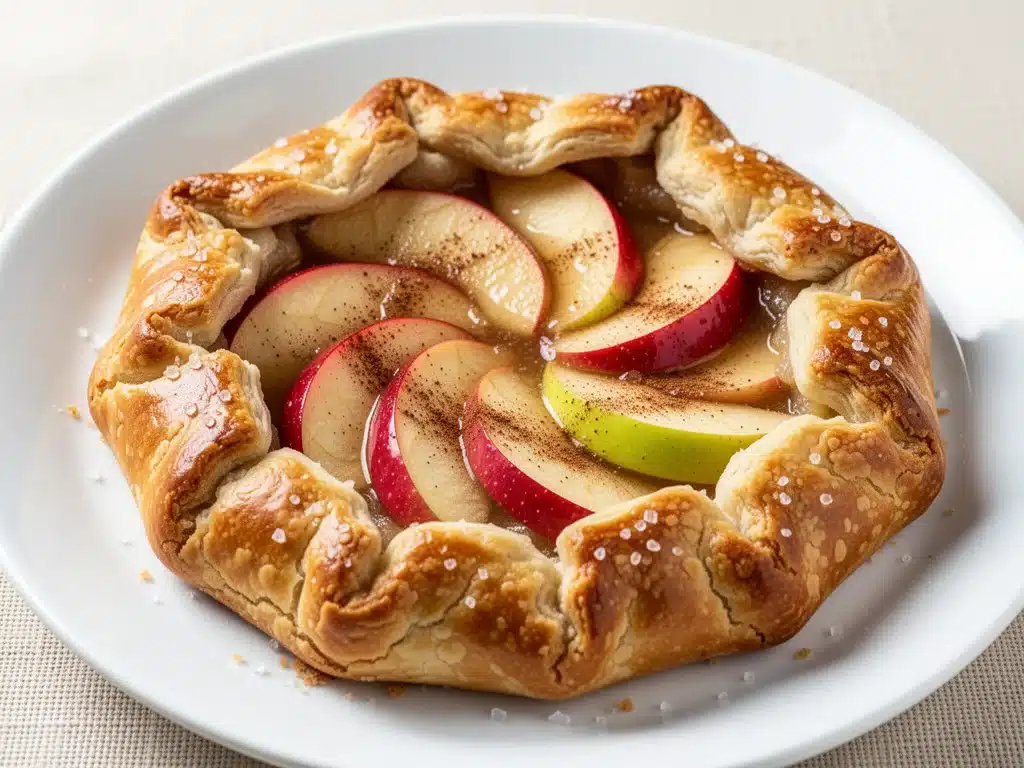
There is a specific kind of magic that happens in late October when the air turns crisp and the first harvest apples start showing up at the farmers market. I remember the first time I made this rustic apple galette. It was a Tuesday evening, raining sideways, and I had just bought a bag of Honeycrisp apples that were looking a little too perfect to ignore. I didn’t have a fancy tart pan, and honestly, I was too tired for the precision that a traditional double-crust pie demands. So I did what any stressed-out home cook does: I just threw it together on a baking sheet.
The result wasn’t just edible; it was stunning. The edges were golden and flaky, the filling was bubbling with cinnamon-spiced juices, and the whole kitchen smelled like autumn itself. My husband walked in, saw the messy, beautiful thing on the counter, and said, “Is that homemade?” Before I could answer, he was already reaching for a fork. That’s the thing about this rustic apple galette—it looks like it took hours, but it’s actually one of the easiest desserts you’ll ever make. It’s forgiving, it’s forgiving, and it tastes like a hug from your grandmother.
I’ve tested this recipe more times than I care to admit. I’ve used Granny Smiths, I’ve used Fuji apples, I’ve even tried it with pears when apples were out of season. Every single time, the result is the same: a dessert that feels fancy enough for company but simple enough for a random Tuesday snack. If you’ve ever been intimidated by baking, this is the recipe to start with. It’s about as hard as it gets to mess up, and if you do, it still tastes amazing. Let’s get into why this is going to become your new fall favorite.
Why You’ll Love This Recipe
I’ve been making this rustic apple galette for three years now, and it has completely replaced pie in my rotation. Here’s why it’s stuck around, and why I think you’ll love it too:
- Zero Rolling Pin Stress — Seriously, you don’t need to roll out a perfect circle. I just stretch the dough with my hands. If it tears? Good. That’s where the charm is. I’ve made this while holding a crying toddler, and it still turned out beautiful.
- Uses Store-Bought Dough (Optional) — Look, I respect the effort of homemade pie crust. But for a weeknight dessert? I use a high-quality refrigerated dough. It saves 30 minutes and tastes 95% as good. If you want to go all out, I’ll share my easy homemade crust recipe, but honestly, the shortcut is a game-changer.
- Ready in Under an Hour — From oven to plate, this takes about 45 minutes. That includes the time for the crust to chill, which is mostly hands-off. I can make this after dinner while the kids are watching TV. It’s the ultimate low-effort, high-reward dessert.
- Perfectly Messy — There’s something satisfying about the rustic edges. It doesn’t look like a factory-made tart. It looks like something I made with my own two hands, which makes it taste better. Plus, the leaking apple juices caramelizing on the baking sheet? That’s the best part. I scrape those bits off and eat them straight.
- Great for Leftovers — This reheats surprisingly well. I’ve eaten it cold for breakfast (don’t judge me, it’s delicious with coffee), and it’s even better warmed up with a scoop of vanilla ice cream the next day. It’s basically a pie that doesn’t demand a whole evening to make.
This is my go-to when I want to impress people without spending hours in the kitchen. It’s warm, it’s spiced, and it just works. No complicated techniques, no weird ingredients, just reliable, delicious fall food.
Ingredients You’ll Need
Here’s the best part: you probably have most of this already in your pantry. This rustic apple galette relies on simple, high-quality ingredients. I’m particular about three things here, and I’ll tell you exactly why.
For the Crust
Refrigerated Pie Crusts (2 discs / 2 packages) — I use Pepperidge Farm or a local bakery brand. If you’re feeling ambitious, you can make your own. For a similar easy crust, check out my grilled peach cobbler where I talk about crust options. Just thaw the dough in the fridge for 15-20 minutes before rolling. It needs to be pliable but still cold.
Heavy Cream (2 tablespoons) — I brush the edges with this before baking. It helps the crust get that deep, golden brown color and adds a rich flavor. Milk works in a pinch, but cream gives you that bakery-quality shine.
Coarse Sugar (1 tablespoon) — Sprinkled on top before baking. It creates a crunchy, caramelized crust that contrasts with the soft apples. Turbinado sugar is great, but regular granulated works too.
For the Filling
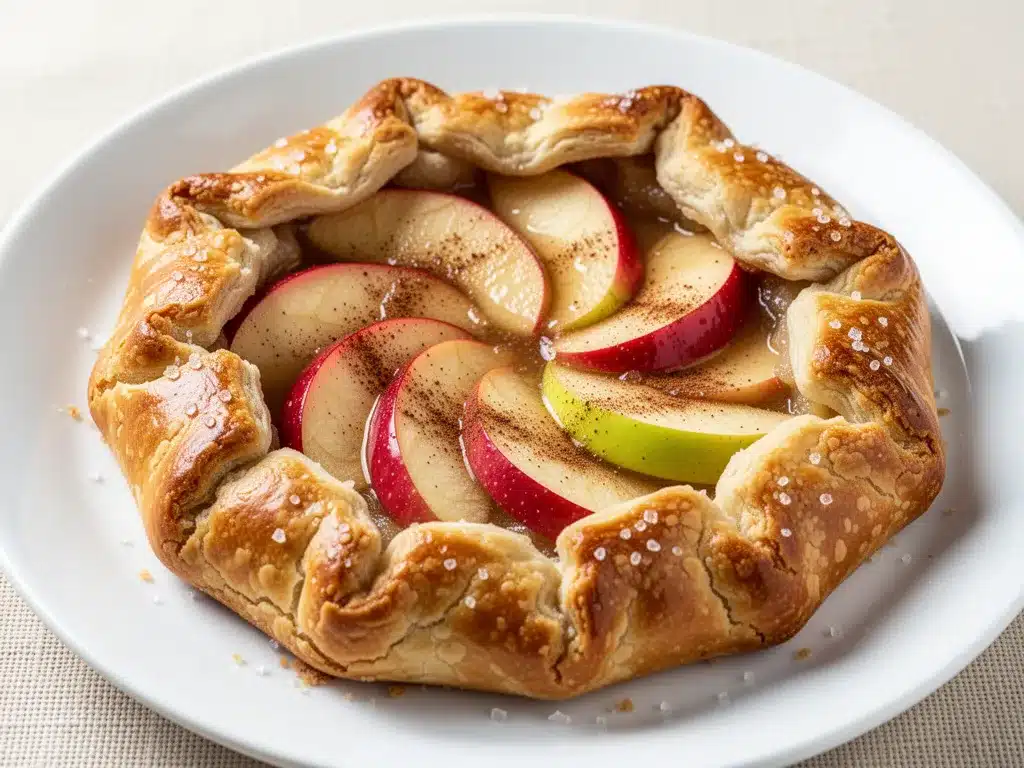
Apples (5-6 medium, about 2.5 lbs) — This is the star. I recommend a mix of Granny Smith (for tartness and structure) and Honeycrisp or Fuji (for sweetness). If you use only soft apples like Red Delicious, they’ll turn to mush. I’ve learned this the hard way. You want apples that hold their shape.
Granulated Sugar (¼ cup) — Apples vary in sweetness, so taste one before adding. If they’re super sweet, you might only need 2 tablespoons. I usually stick with ¼ cup for a nice balance.
Ground Cinnamon (1 teaspoon) — The classic fall spice. Don’t skip it. It defines the flavor profile.
Ground Ginger (¼ teaspoon) — This is the secret ingredient. It adds a warm, spicy kick that pairs perfectly with cinnamon. If you don’t have it, omit it, but I highly recommend adding it.
All-Purpose Flour (1 tablespoon) — This is what thickens the apple juices. Without it, you’ll have a soupy galette on your baking sheet. Mix it with the sugar and spices before adding to the apples.
Butter (1 tablespoon, melted) — Tossed with the apples. It adds richness and helps the fruit caramelize slightly.
Lemon Juice (1 teaspoon) — Just a splash. It brightens the flavor and prevents the apples from browning too much while you’re assembling.
Optional Add-ins
Walnuts or Pecans (½ cup, chopped) — I love adding nuts for crunch. It makes it feel more like a sophisticated dessert. I often pair this with spiked apple cider margaritas for a cozy night in.
Vanilla Ice Cream — Non-negotiable. You need something cold and creamy to contrast the hot, spiced fruit. Serve it immediately.
Equipment Needed
You don’t need fancy equipment for this. Here’s what I actually use.
- Baking Sheet — I use a half-sheet pan (18×13 inches). A large rimmed baking sheet works too. Make sure it’s not too small, or the galette will overflow.
- Parchment Paper — I always line my baking sheet. This makes cleanup a breeze and prevents the sticky apple juices from burning onto the pan. If you don’t have parchment, you can use foil, but parchment is easier.
- Large Bowl — For tossing the apples with the sugar, spices, and flour.
- Pastry Brush — For brushing the cream on the crust edges. A silicone brush works great, or just use your finger if you’re feeling rustic.
- Sharp Knife — For slicing the apples. I use a paring knife or a chef’s knife, depending on my mood.
- Peeler — For peeling the apples. A Y-peeler is faster and safer than a straight peeler.
Pro Tip: Don’t have a pastry brush? No big deal. Dip your fingers in the cream and swipe the edges. It’s a rustic galette, after all. Imperfection is the point.
How to Make It: Step-by-Step
Alright, let’s make this! I’m walking you through exactly how I do it, including the little tricks I’ve picked up over the years.
Step 1: Prep Your Oven and Dough (5 minutes)
Preheat your oven to 400°F (200°C). This high heat is crucial for getting a flaky, golden crust. While the oven heats, take your refrigerated pie dough out of the fridge. Let it sit on the counter for about 15 minutes. If it’s too cold, it will crack when you try to stretch it. If it’s too warm, it will stick to everything. You want it pliable but still cold to the touch.
Step 2: Peel and Slice the Apples (10 minutes)
Peel your apples. You can leave the skin on if you want more fiber and a speckled look, but I prefer peeled apples for a smoother texture. Slice them into thin wedges, about ¼-inch thick. Try to make them uniform so they cook evenly. Toss them in a large bowl with the melted butter, lemon juice, granulated sugar, cinnamon, ginger, and flour. Mix gently until every slice is coated. The flour will turn into a thick paste that will help bind the juices.
Step 3: Assemble the Galette (10 minutes)
Place a large sheet of parchment paper on your baking sheet. Unroll the pie dough onto the parchment. If it tears, just patch it with a small piece of leftover dough. Using a rolling pin (or your hands), gently stretch the dough into a rough 12-inch circle. It doesn’t need to be perfect. Spread the apple mixture in the center of the dough, leaving a 2-inch border all around. Don’t pile the apples too high in the center, or they won’t cook through. Arrange them in a slightly overlapping circle.
Step 4: Fold the Edges (5 minutes)
This is the fun part. Fold the edges of the dough over the apples, pleating as you go. You don’t need to cover the apples completely; you want them peeking out. Some juices will leak out, and that’s okay—it caramelizes and tastes amazing. Brush the folded edges with heavy cream and sprinkle generously with coarse sugar.
Step 5: Bake (35-40 minutes)
Slide the baking sheet into the oven. Bake for 35-40 minutes, or until the crust is deep golden brown and the apples are tender. You’ll know it’s done when you can pierce an apple slice with a knife easily. If the edges are browning too fast, cover them with a strip of foil. Let it cool on the pan for at least 15 minutes before slicing. This allows the filling to set slightly, so it doesn’t run all over your plate.
Step 6: Serve
Slice it into wedges and serve warm with a scoop of vanilla ice cream or whipped cream. The contrast of hot fruit and cold cream is pure heaven. Enjoy!
Expert Tips & Tricks
Here’s everything I’ve learned from making this dozens of times. These tips will save you from my mistakes.
Keep the Dough Cold
This is the #1 rule of pie crust. If the dough gets too warm, the butter melts, and you lose those flaky layers. If your kitchen is hot, put the dough back in the fridge for 10 minutes before rolling. I’ve made this mistake before, and the result was a tough, chewy crust. Don’t let it happen to you.
Don’t Overfill
I know it’s tempting to use all the apples, but if you overload the center, the galette will sag and the edges won’t fold properly. Leave that 2-inch border. It’s there for a reason. Less is more when it comes to the filling height.
Use a Mix of Apples
As I mentioned, mixing tart and sweet apples gives you the best flavor and texture. If you only have one type, stick with Granny Smith for structure and add a bit more sugar. Avoid Red Delicious—they get mealy and bland.
Chill Before Baking (Optional but Recommended)
If you have time, put the assembled galette in the fridge for 20 minutes before baking. This helps the dough hold its shape in the oven. I do this when I’m not in a rush, and it makes a noticeable difference in the flakiness.
Save the Leaky Bits
The apple juices that drip onto the parchment paper will caramelize and turn into little crispy, sweet clusters. I don’t scrape them off before baking. I wait until it’s cooled, then I scrape those bits off and eat them. They’re like apple candy.
Variations & Substitutions
Once you’ve nailed the basic version, here’s how you can mix it up. I’ve tried all of these.
Pear Galette
Swap the apples for ripe but firm pears (like Bosc or Anjou). Reduce the sugar to 2 tablespoons since pears are sweeter. Add a pinch of cardamom instead of ginger for a different flavor profile. This is my go-to in late summer.
Cherry Galette
Use pitted cherries instead of apples. Add 1 tablespoon of cornstarch to the filling to thicken the juices. A splash of almond extract works beautifully here. This feels more like a French patisserie dessert.
Strawberry Rhubarb
Combine sliced strawberries and rhubarb. Rhubarb is very tart, so increase the sugar to ⅓ cup. Add a teaspoon of lemon zest. This is a classic fall/winter combination that’s tangy and sweet.
Gluten-Free
Use a gluten-free pie crust. Most brands work well, but check the ingredients for xanthan gum. If it’s not listed, add ½ teaspoon to help the dough bind. The rest of the recipe stays the same.
Vegan
Use a vegan pie crust (many store-bought ones are already vegan). Substitute the butter with coconut oil or vegan butter. Use maple syrup instead of granulated sugar for a different sweetness. Serve with coconut whipped cream.
Spiced Up
Add ½ teaspoon of nutmeg and ¼ teaspoon of allspice to the cinnamon. This makes it taste like pumpkin pie filling. Great for Thanksgiving.
Serving & Storage
I usually serve this straight from the baking sheet at the dinner table—it looks rustic and stays warm. But here are other ways I’ve enjoyed it:
Side Dishes
This is a dessert, so it doesn’t need sides. But if you’re serving it after a heavy meal like slow cooker beef bourguignon, a light green salad with a vinaigrette cuts through the richness nicely.
Toppings Bar
When I have guests, I put out: vanilla ice cream, whipped cream, caramel sauce, and chopped walnuts. Everyone customizes their slice.
Storage Instructions
Refrigerator: Store leftovers in an airtight container for up to 3 days. The crust will soften slightly, but it’s still good. Reheat in the oven at 350°F for 10 minutes to crisp up the crust.
Freezing: You can freeze the unbaked galette. Wrap it tightly in plastic wrap and foil. Bake from frozen, adding 10-15 minutes to the baking time. Or, freeze the baked galette. Reheat in the oven. The texture won’t be quite as flaky, but it’s still delicious.
Pro Tip: If leftovers are drying out, reheat with a damp paper towel over the top for 30 seconds in the microwave. It adds moisture back to the crust.
Nutrition Information
I’m not a nutritionist, but here’s the breakdown if you’re tracking. This is a dessert, so enjoy it in moderation!
Per Serving (based on 8 slices):
- Calories: 280
- Protein: 3g
- Carbs: 42g
- Fiber: 3g
- Sugar: 22g
- Fat: 12g
- Saturated Fat: 5g
- Cholesterol: 15mg
- Sodium: 220mg
What’s Good:
- Apples provide fiber and vitamin C
- Relatively low in protein
- Can be made with less sugar if desired
What to Know:
- Higher in carbs from the crust and fruit
- Contains dairy (unless using vegan crust)
- Contains gluten (unless using GF crust)
My Take:
Look, this is a sweet dessert. It’s not a health food. But it’s made with real fruit and simple ingredients. When I want to make it lighter, I use a thinner crust and less sugar. But usually? I just eat a reasonable slice and enjoy it. Life’s too short for diet desserts.
Final Thoughts
So that’s my rustic apple galette! I’ve probably talked your ear off at this point, but when you make a recipe this often, you have a lot to say about it. This has saved dessert time more times than I can count. It’s my answer to “what’s for dessert” when I want something homemade but don’t have hours to spare. My kids are happy, my husband’s happy, and I’m happy because I’m not stressed about cooking.
Make it yours! Try different apples, add nuts, swap the spices. The best recipes are the ones you adapt to your family’s tastes. If you make this, drop a comment and let me know what you think! I love hearing how recipes turn out in your kitchen. And if something doesn’t work, tell me that too—I’m here to help troubleshoot.
Happy baking! And I hope your kitchen smells half as good as mine does right now.
Frequently Asked Questions
Can I use frozen apples?
You can, but they’ll be softer and release more water. If you use frozen apples, thaw them first and pat them dry with paper towels. You might need to add an extra tablespoon of flour to the filling to absorb the extra juice. Fresh apples are always better for texture, but frozen works in a pinch.
Why did my galette leak so much?
Apples release a lot of water when they bake. This is normal! The flour in the filling helps thicken it, but some leakage is inevitable. To minimize it, make sure you’re using the right amount of flour, and don’t overload the center. The leaked juices will caramelize on the pan, which is delicious. Just be prepared to scrape your baking sheet after.
Can I make this ahead for a party?
Yes! You can assemble the galette and refrigerate it for up to 24 hours before baking. Just take it out of the fridge 15 minutes before baking to take the chill off. Or, bake it a day ahead and reheat it before serving. It tastes great either way.
Why did my crust get soggy?
This usually happens if the filling is too wet or if the crust isn’t baked long enough. Make sure you’re using enough flour to thicken the juices. Also, bake it until the crust is deep golden brown, not just light yellow. A pale crust will be soft and chewy. If you’re worried, you can brush the bottom of the crust with egg white before adding the apples, but I’ve never needed to.
Can I use a different fruit?
Absolutely! Peaches, pears, plums, and cherries all work beautifully. Just adjust the sugar based on the sweetness of the fruit. For berries, you’ll need more cornstarch to thicken the juices. The technique stays the same.
How do I reheat leftovers?
The best way is in the oven or toaster oven at 350°F for 10-15 minutes. This keeps the crust crispy. The microwave will make the crust soft and chewy, so avoid it if you care about texture. If you’re in a rush, the microwave works, but it’s not ideal.
Can I double this recipe?
You can, but you’ll need two baking sheets and two sets of dough. The baking time stays the same. I usually make one galette at a time because it’s easier to manage. If you’re feeding a crowd, you can bake them sequentially.
Pin This Recipe!
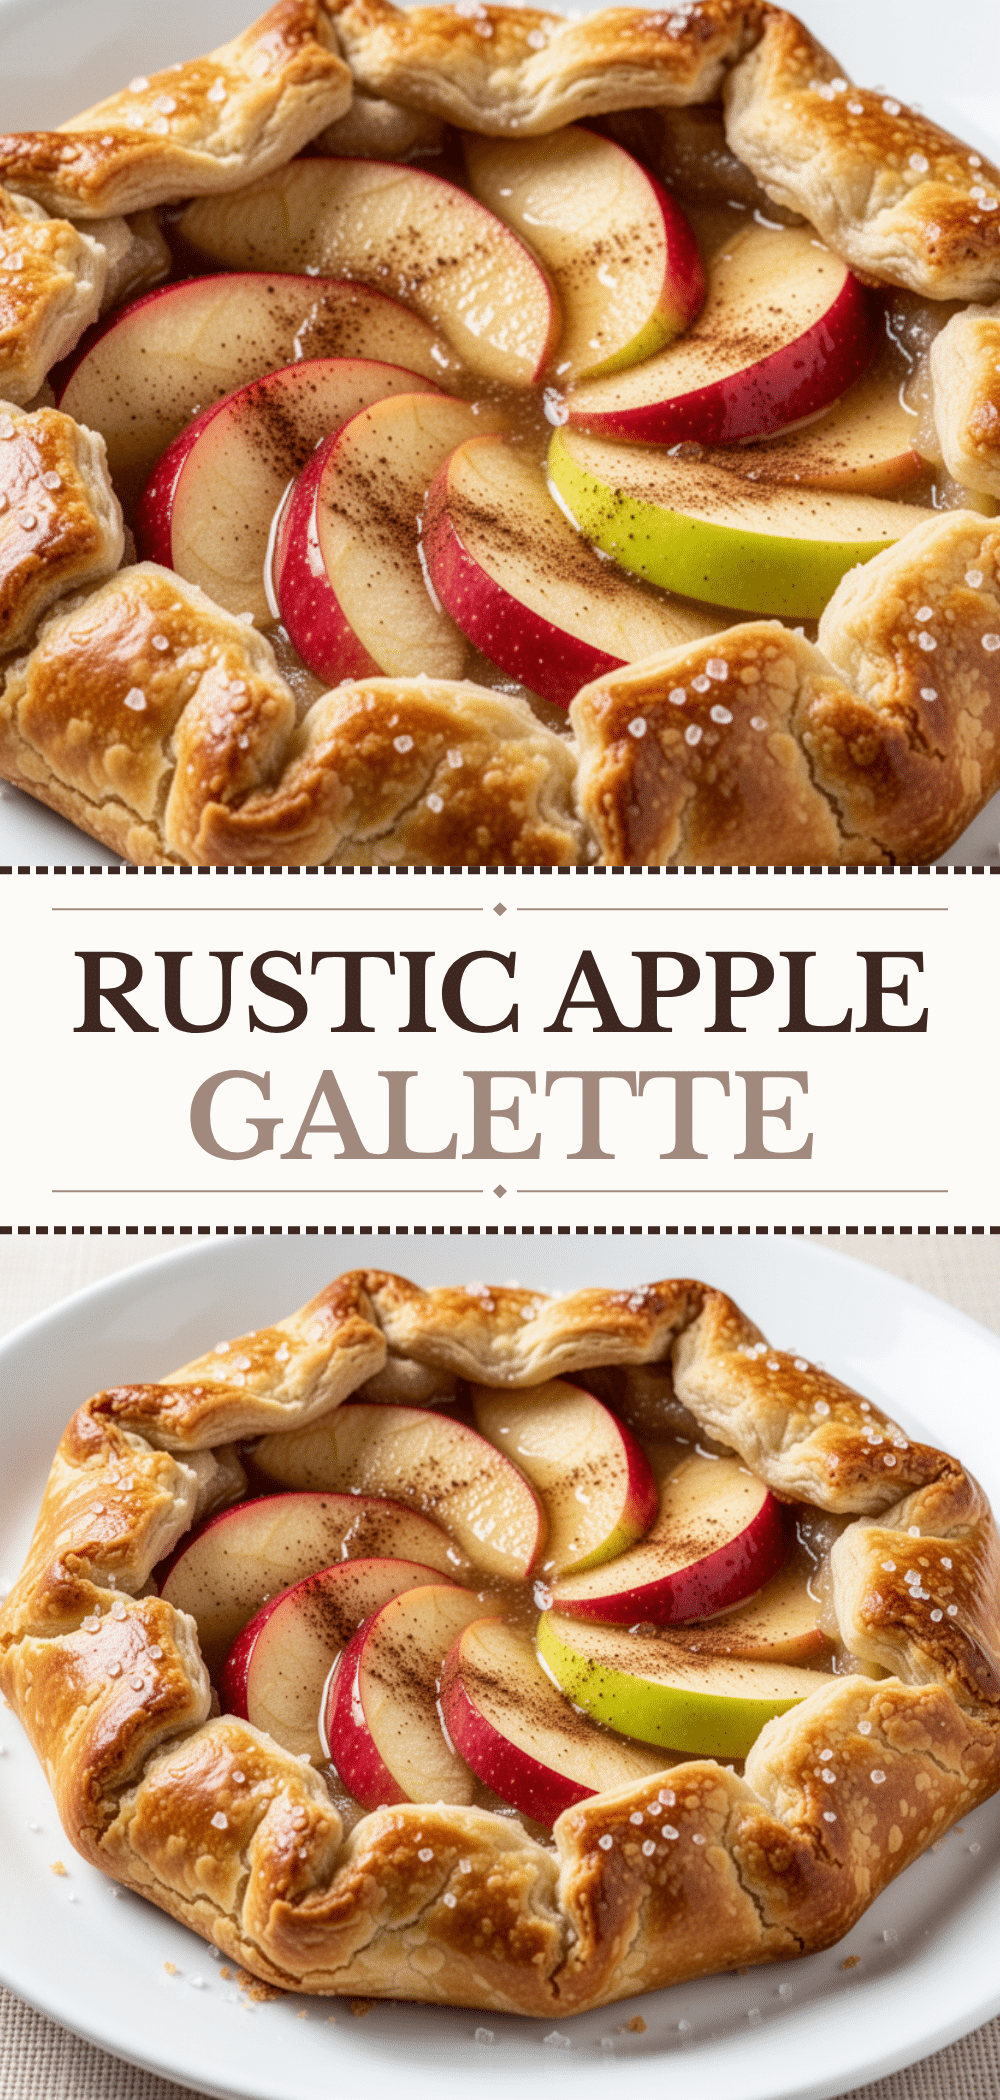

Rustic Apple Galette: 3-Step Easy Homemade Fall Dessert
- Total Time: 1 hour 10 minutes
- Yield: 8 servings 1x
Description
A forgiving, easy-to-make fall dessert featuring a flaky crust and cinnamon-spiced apple filling. This rustic galette requires no rolling pin perfection and comes together in under an hour.
Ingredients
- 2 discs refrigerated pie crusts (thawed)
- 2 tablespoons heavy cream
- 1 tablespoon coarse sugar (for topping)
- 5–6 medium apples (about 2.5 lbs), peeled and sliced into ¼-inch wedges (mix of Granny Smith and Honeycrisp/Fuji)
- ¼ cup granulated sugar
- 1 teaspoon ground cinnamon
- ¼ teaspoon ground ginger
- 1 tablespoon all-purpose flour
- 1 tablespoon melted butter
- 1 teaspoon lemon juice
- Optional: ½ cup chopped walnuts or pecans
Instructions
- Preheat oven to 400°F (200°C). Let refrigerated pie dough sit on the counter for 15 minutes to become pliable.
- Peel and slice apples into thin wedges. In a large bowl, toss apples with melted butter, lemon juice, granulated sugar, cinnamon, ginger, and flour until evenly coated.
- Line a baking sheet with parchment paper. Unroll dough onto the paper and gently stretch into a rough 12-inch circle.
- Spread the apple mixture in the center of the dough, leaving a 2-inch border. Arrange slices in an overlapping circle.
- Fold the edges of the dough over the apples, pleating as you go. Brush the folded edges with heavy cream and sprinkle with coarse sugar.
- Bake for 35-40 minutes until the crust is deep golden brown and apples are tender. If edges brown too quickly, cover with foil.
- Cool on the pan for at least 15 minutes to allow filling to set before slicing.
- Serve warm with vanilla ice cream or whipped cream.
Notes
Keep the dough cold to ensure a flaky crust. Do not overfill the center to prevent sagging. Use a mix of tart and sweet apples for best texture. The caramelized juices on the baking sheet are delicious and should be scraped off and eaten. Can be made with store-bought dough for convenience.
- Prep Time: 30 minutes
- Cook Time: 40 minutes
- Category: Dessert
- Cuisine: American
Nutrition
- Serving Size: 1 slice (1/8 of gale
- Calories: 280
- Sugar: 22
- Sodium: 220
- Fat: 12
- Saturated Fat: 5
- Carbohydrates: 42
- Fiber: 3
- Protein: 3
Keywords: apple galette, fall dessert, rustic tart, easy pie, homemade dessert, autumn baking, apple recipe


