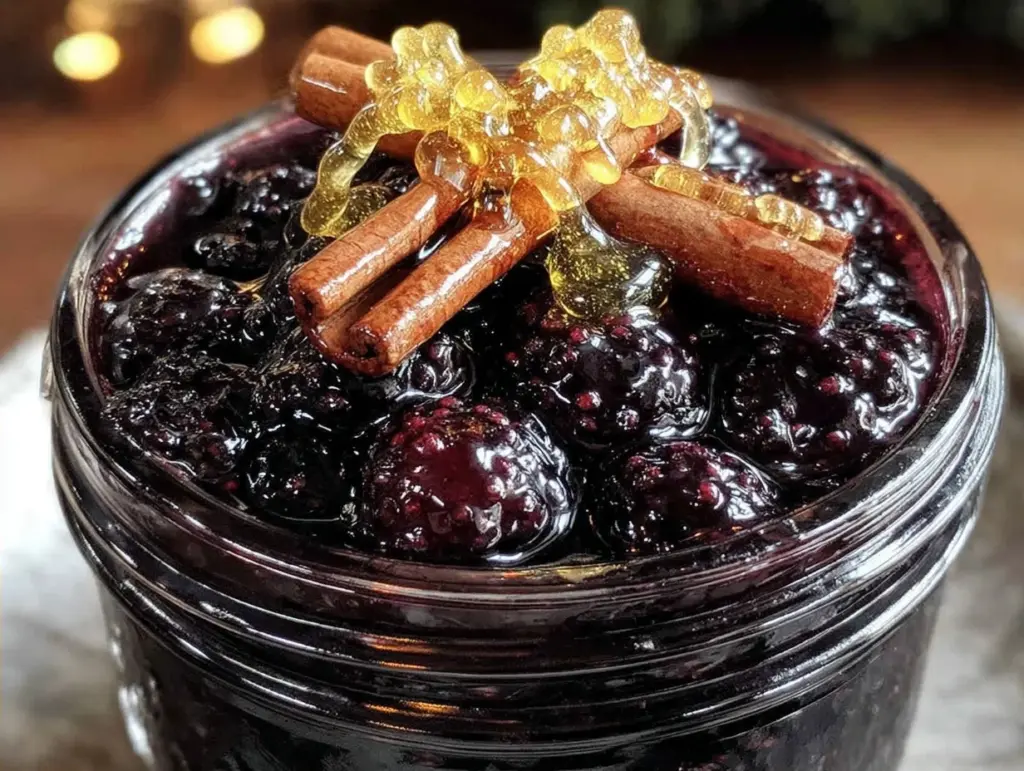
Two winters ago, I caught every cold that circled through my household. It was like a game of musical chairs where the chairs were viruses, and I was the only one left standing in the middle of the room. My husband had a head cold, my daughter had a cough, and by week three, I was feeling like my immune system had packed its bags and left for a vacation I wasn’t invited to. I tried the usual suspects—vitamin C gummies, ginger tea, even that weird zinc lozenge that tasted like metallic pennies. Nothing stuck. Then, my aunt sent me a jar of deep purple syrup. “Take a spoonful every morning,” she said. “It’s not magic, but it’s armor.”
I was skeptical. Syrup? For health? But desperate times call for desperate measures, so I took that first spoonful. It was tart, sweet, and tasted like autumn leaves and dark berries. I kept it on my counter next to the coffee. Within a month, when the neighbor kid brought home a flu bug, I felt… fine. Just fine. Not sneezing, not tired, just normal. Since then, I’ve been making my own Immune Boosting Elderberry Syrup with Honey every single autumn. It’s become my annual ritual, a small kitchen project that feels like self-care.
There’s something deeply satisfying about turning raw, foraged-looking berries into a glossy, shelf-stable liquid that keeps you healthy. It’s not just about avoiding sickness; it’s about feeling prepared. This Immune Boosting Elderberry Syrup with Honey is my go-to when the weather turns gray. It’s easier than you think, smells incredible while it simmers, and tastes way better than any pharmacy supplement. If you’ve been looking for a natural way to support your family’s health this season, you’re in the right place. Let’s make some liquid gold.
Why You’ll Love This Immune Boosting Elderberry Syrup with Honey
Once you start making this syrup, you’ll wonder why you ever bought the expensive bottles from the store. Here’s why this recipe has earned a permanent spot in my kitchen:
- It’s Actually Delicious — Most immune boosters taste like medicine. This one? It’s tart, sweet, and complex. I drink it straight from the spoon sometimes. The honey balances the tannins in the elderberries perfectly.
- Super Simple Process — You don’t need fancy equipment or weeks of prep. It’s a “dump, simmer, strain” recipe. I made this while helping my son with his homework last week. Total active time was less than 15 minutes.
- Cost-Effective — Buying organic elderberry syrup can cost $20 for a tiny bottle. Making it at home costs a fraction of that. Plus, you control the sugar content.
- Versatile Usage — It’s not just for colds. I use it in my morning oatmeal, stir it into warm tea, or even drizzle it over creamy vegan dessert cheesecake for a healthy-ish treat. It’s a pantry staple now.
- Long Shelf Life — With the honey and refrigeration, this lasts for months. I made a batch in October and it’s still going strong in March.
- Customizable Strength — Want extra ginger? More cloves? You decide. It’s your medicine cabinet, your rules.
This is my go-to when I want to feel proactive about my health. It’s comforting, it’s useful, and it tastes good doing it.
Key Ingredients for Your Immune Boosting Elderberry Syrup with Honey
The beauty of this recipe is that you probably have most of these items already. Here’s what you need, with specific measurements so you get it right the first time.
Dried Elderberries
1 cup (115g) — This is the star. Do not use fresh elderberries unless you know how to process them safely, as raw elderberries contain cyanogenic glycosides. Dried is safer, easier to find online, and concentrates the flavor. Look for organic if possible, as elderberries can be prone to pesticides. Tip: If you can’t find dried, look for frozen organic elderberries, but you may need to add an extra 15 minutes of simmering time.
Raw Honey
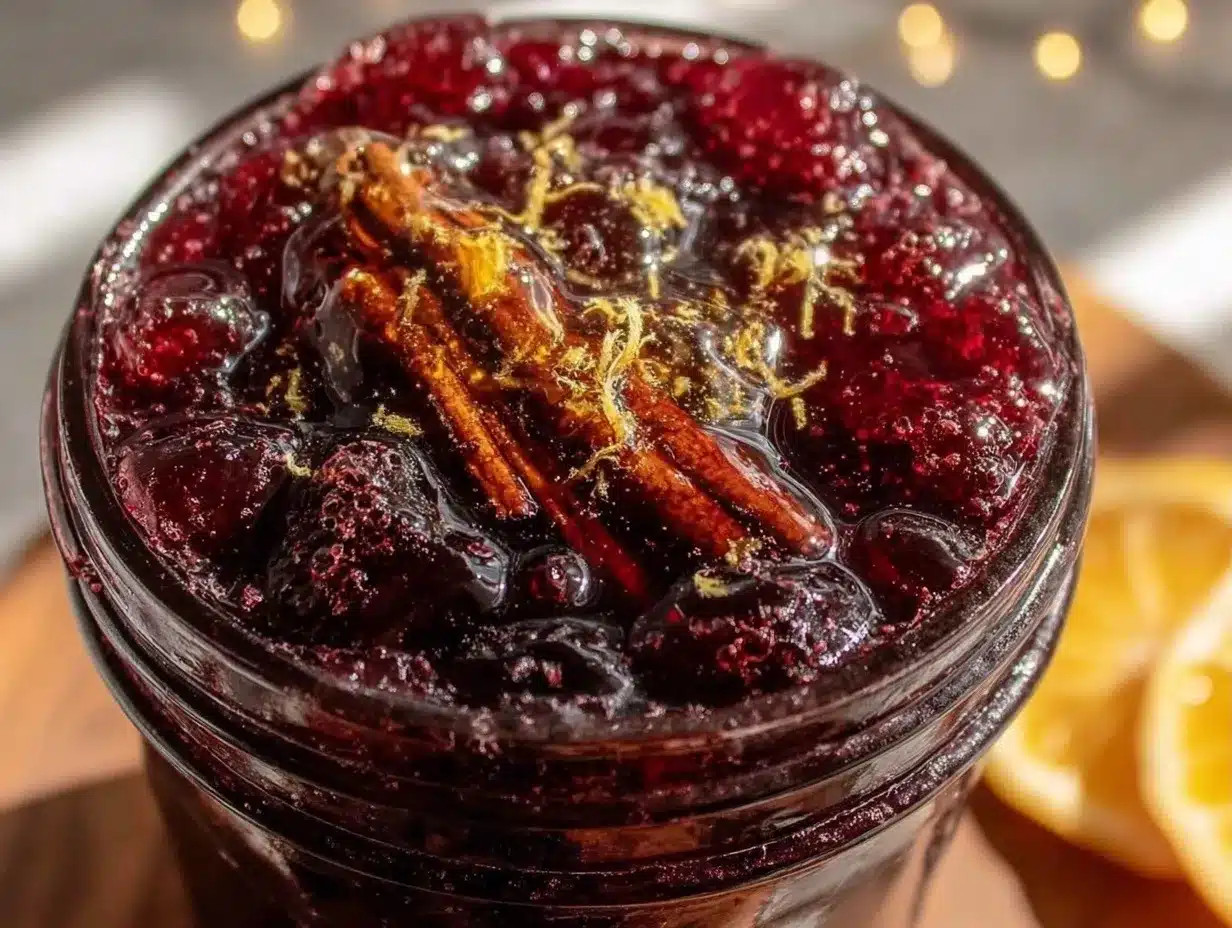
1 cup (340g) — Honey isn’t just a sweetener; it’s a natural preservative and has antimicrobial properties. I use raw, unfiltered honey because it retains more enzymes. Manuka is great but expensive. Local raw honey is perfect. Important: Add the honey AFTER the mixture has cooled slightly. High heat destroys the beneficial enzymes in raw honey.
Water
2 cups (480ml) — Just good old-fashioned tap or filtered water. You want enough to create a strong tea base without making the final syrup too watery.
Cinnamon Stick
1 large stick (5 inches / 12cm) — Adds warmth and anti-inflammatory compounds. I prefer a Ceylon cinnamon stick for its milder, sweeter flavor, but Cassia works too. Tip: Don’t use ground cinnamon; it makes the syrup gritty and hard to strain.
Whole Cloves
1 teaspoon (2g) — Adds a spicy depth. Cloves have natural analgesic properties, which can help soothe a sore throat. Tip: Don’t skip this. It’s subtle but essential for that “apothecary” flavor profile.
Fresh Ginger Root
1 tablespoon (15g), sliced — Ginger is a powerhouse for immunity. I slice it thinly rather than grating it so it infuses the water without making the strain messy. Sub: 1/2 teaspoon of dried ginger flakes if you’re out of fresh.
Star Anise (Optional)
1 pod (5g) — Adds a licorice note that makes the syrup smell like Christmas. It also has antiviral properties. Tip: Don’t crush the pod, or it will release seeds that are hard to remove.
Tools You’ll Need
You don’t need a professional kitchen to make this. Here’s what I use:
- Medium Saucepan (2-3 quart / 2-3 liter) — I use a heavy-bottomed pot to prevent scorching. A small saucepan works too if you’re making a half-batch.
- Mesh Strainer or Nut Milk Bag — A fine-mesh strainer works, but I love using a nut milk bag for an extra-clear syrup. It catches all the tiny berry bits.
- Measuring Cups and Spoons — Standard kitchen tools.
- Glass Jar with Lid — A quart-sized (1 liter) mason jar is perfect. Make sure it’s sterilized. Tip: Run it through the dishwasher or wash with hot soapy water and let it air dry completely.
- Funnel — Optional, but it keeps the counter clean. I usually just pour slowly.
How to Make Immune Boosting Elderberry Syrup with Honey
Let’s walk through the process. It’s straightforward, but timing matters.
Step 1: Combine and Simmer (15 minutes)
In your medium saucepan, combine the dried elderberries, water, cinnamon stick, cloves, ginger, and star anise (if using). Turn the heat to medium-high and bring the mixture to a boil. Once it reaches a rolling boil, reduce the heat to low. Let it simmer gently for 45 minutes to 1 hour. Why so long? Elderberries have a tough skin. You need that long simmer to extract the full color, flavor, and medicinal compounds. You’ll notice the water turning a deep, dark purple.
Step 2: Cool Slightly (10-15 minutes)
Remove the pot from the heat. Let it sit on the stove, uncovered, for about 10-15 minutes. Crucial Step: Do not add honey to boiling liquid. It will destroy the beneficial enzymes. Wait until the mixture is warm to the touch, not hot. This is also a good time to check your jar.
Step 3: Strain the Mixture (5 minutes)
Place your mesh strainer or nut milk bag over a large bowl. Pour the berry mixture through. Press down on the solids with the back of a spoon to extract every drop of liquid. If using a nut milk bag, squeeze it gently. You should have about 1.5 to 2 cups of dark purple liquid. Discard the solids. Tip: If you want a clearer syrup, strain it twice.
Step 4: Add Honey (2 minutes)
Stir in the raw honey until it is completely dissolved. The warm liquid will help it mix easily. Taste it. It should be sweet-tart. If it’s too tart, add a little more honey. If it’s too sweet, add a splash of lemon juice (optional, but adds vitamin C).
Step 5: Bottle and Store (5 minutes)
Use a funnel to pour the syrup into your sterilized glass jar. Seal tightly. Let it cool to room temperature before putting it in the fridge. Total Time: About 1 hour and 15 minutes (mostly waiting).
Expert Tips for the Best Syrup
Here’s everything I learned from making this too many times.
The Game-Changers:
- Don’t Rush the Simmer — I once tried to cut the simmer time to 20 minutes. The result was weak, watery, and barely purple. The long simmer is non-negotiable for potency.
- Honey Temperature — I learned this the hard way. The first batch I made, I added honey while it was still boiling. It tasted fine, but I lost the enzymatic benefits. Always wait until it’s warm.
- Strain Thoroughly — Elderberries leave behind tiny seeds. If you don’t strain well, your syrup will be gritty. A nut milk bag is worth the investment if you make this often.
Common Problems & Solutions:
- Syrup is too thin — You might have used too much water. Next time, use 1.5 cups of water instead of 2.
- Syrup is too thick — Add a teaspoon of warm water per serving if needed, or just stir it into tea.
- Mold in the jar — This happens if the jar wasn’t sterile or if you used wet spoons. Always use a clean, dry spoon to scoop.
Pro Tricks:
- Freeze in Ice Cubes — Pour leftover syrup into an ice cube tray and freeze. Pop a cube into your morning oatmeal or smoothie for a quick immunity boost.
- Add Lemon Juice — A tablespoon of fresh lemon juice after straining adds brightness and extra vitamin C.
Recipe Variations
Once you’ve nailed the basic version, here’s how to mix it up.
Elderberry & Ginger Bomb
Double the ginger to 2 tablespoons. This is great for nausea or when you feel a cold coming on. The ginger heat really kicks in.
Elderberry & Turmeric
Add 1 teaspoon of turmeric powder and a pinch of black pepper (to activate the turmeric) during the simmer. It adds an earthy, golden hue. Great for inflammation.
Elderberry & Blackberry
Swap half the dried elderberries for dried blackberries. It makes the syrup sweeter and fruitier. I love this version for kids.
Dairy-Free & Vegan
This recipe is naturally vegan and dairy-free. No changes needed. It pairs wonderfully with classic Indian kheer for a healthy twist on a traditional dessert.
Sugar-Free Option
Use stevia or monk fruit sweetener instead of honey. Note: Honey acts as a preservative, so sugar-free versions have a shorter shelf life. Keep them in the fridge and use within 2 weeks.
Serving & Storage
Serving Suggestions
How do you actually use this? Here are my favorites:
- Directly — 1 teaspoon daily for prevention. Yes, it’s that tart. Mix it with a little water if it’s too strong.
- Warm Tea — Stir 1-2 tablespoons into hot water with lemon. It’s my go-to evening wind-down drink.
- Smoothies — Add a tablespoon to your morning green smoothie. You won’t taste it.
- Oatmeal — Drizzle it over warm oatmeal like you would maple syrup.
- Yogurt — Stir into Greek yogurt with granola.
Storage Instructions
Refrigerator: Store in an airtight glass jar in the fridge. It will last for up to 6 months. The honey and acidity help preserve it.
Freezer: Yes, it freezes well! Pour into freezer-safe containers or ice cube trays. Thaw in the fridge when needed. Lasts 6-12 months frozen.
Room Temp: Not recommended. While honey is preservative, the water content makes it risky at room temperature. Always refrigerate.
Meal Prep Tip
Make a double batch in October. It takes the same amount of effort, and you’ll thank yourself in January when everyone else is sick.
Nutrition Information
I’m not a nutritionist, but here’s the breakdown per tablespoon (approx. 15ml):
| Nutrient | Amount |
|---|---|
| Calories | 50 |
| Total Fat | 0g |
| Carbohydrates | 13g |
| Fiber | 1g |
| Sugars | 11g (from honey) |
| Protein | 0g |
| Sodium | 0mg |
My Take: This is a natural sweetener with health benefits, not a diet food. It has sugar from the honey, but it’s unprocessed and contains antioxidants. Use it mindfully. A little goes a long way. It’s better than soda or refined sugar syrups, and it actually does something for your body.
Final Thoughts
Making Immune Boosting Elderberry Syrup with Honey is more than just a recipe; it’s a way to take care of yourself and your family during the hard months. It’s a small act of love that happens in your kitchen. The smell of simmering berries, the deep purple color, the taste of honey—it all comes together to make you feel prepared.
I hope you try this. It’s simple, it’s effective, and it’s delicious. If you make it, drop a comment! I love hearing how it turns out in your kitchen. Do you drink it straight or in tea? Let me know. Happy cooking!
FAQs
Can I use fresh elderberries?
It’s risky. Fresh elderberries contain cyanogenic glycosides, which can be toxic if not prepared correctly. Dried elderberries are safer and easier to find. If you must use fresh, cook them thoroughly for a longer time (1-2 hours) and ensure they are fully processed. For most home cooks, dried is the way to go.
How long does elderberry syrup last?
In the fridge, it lasts up to 6 months. In the freezer, up to a year. If you notice any mold, off-smells, or fermentation (bubbles), throw it out. Better safe than sorry.
Can I give this to children?
Yes, but in smaller doses. For children over 1 year old, start with 1/2 teaspoon daily. Never give honey to infants under 1 year due to botulism risk. Elderberries are generally safe for kids, but always consult your pediatrician if you have concerns.
Can I substitute the honey?
You can use maple syrup, but it will change the flavor and reduce the shelf life. Agave nectar is another option. However, honey is the best preservative for this recipe. If you use a different sweetener, keep the syrup in the fridge and use it within 1 month.
Does this cure a cold?
No supplement cures a cold. However, studies suggest that elderberry can reduce the duration and severity of flu symptoms if taken early. Think of it as support, not a miracle cure. Keep taking your vitamins and washing your hands!
Can I make this in a slow cooker?
Yes! Combine all ingredients except honey in the slow cooker. Cook on low for 6-8 hours. Let it cool slightly, strain, and add honey. It’s a great hands-off method if you’re busy.
Why is my syrup cloudy?
Natural sediment from the berries can make it cloudy. This is normal and harmless. If you want crystal-clear syrup, strain it twice through a nut milk bag or cheesecloth. You can also let it settle in the fridge for a day and carefully decant the clear liquid from the top.
Pin This Recipe!
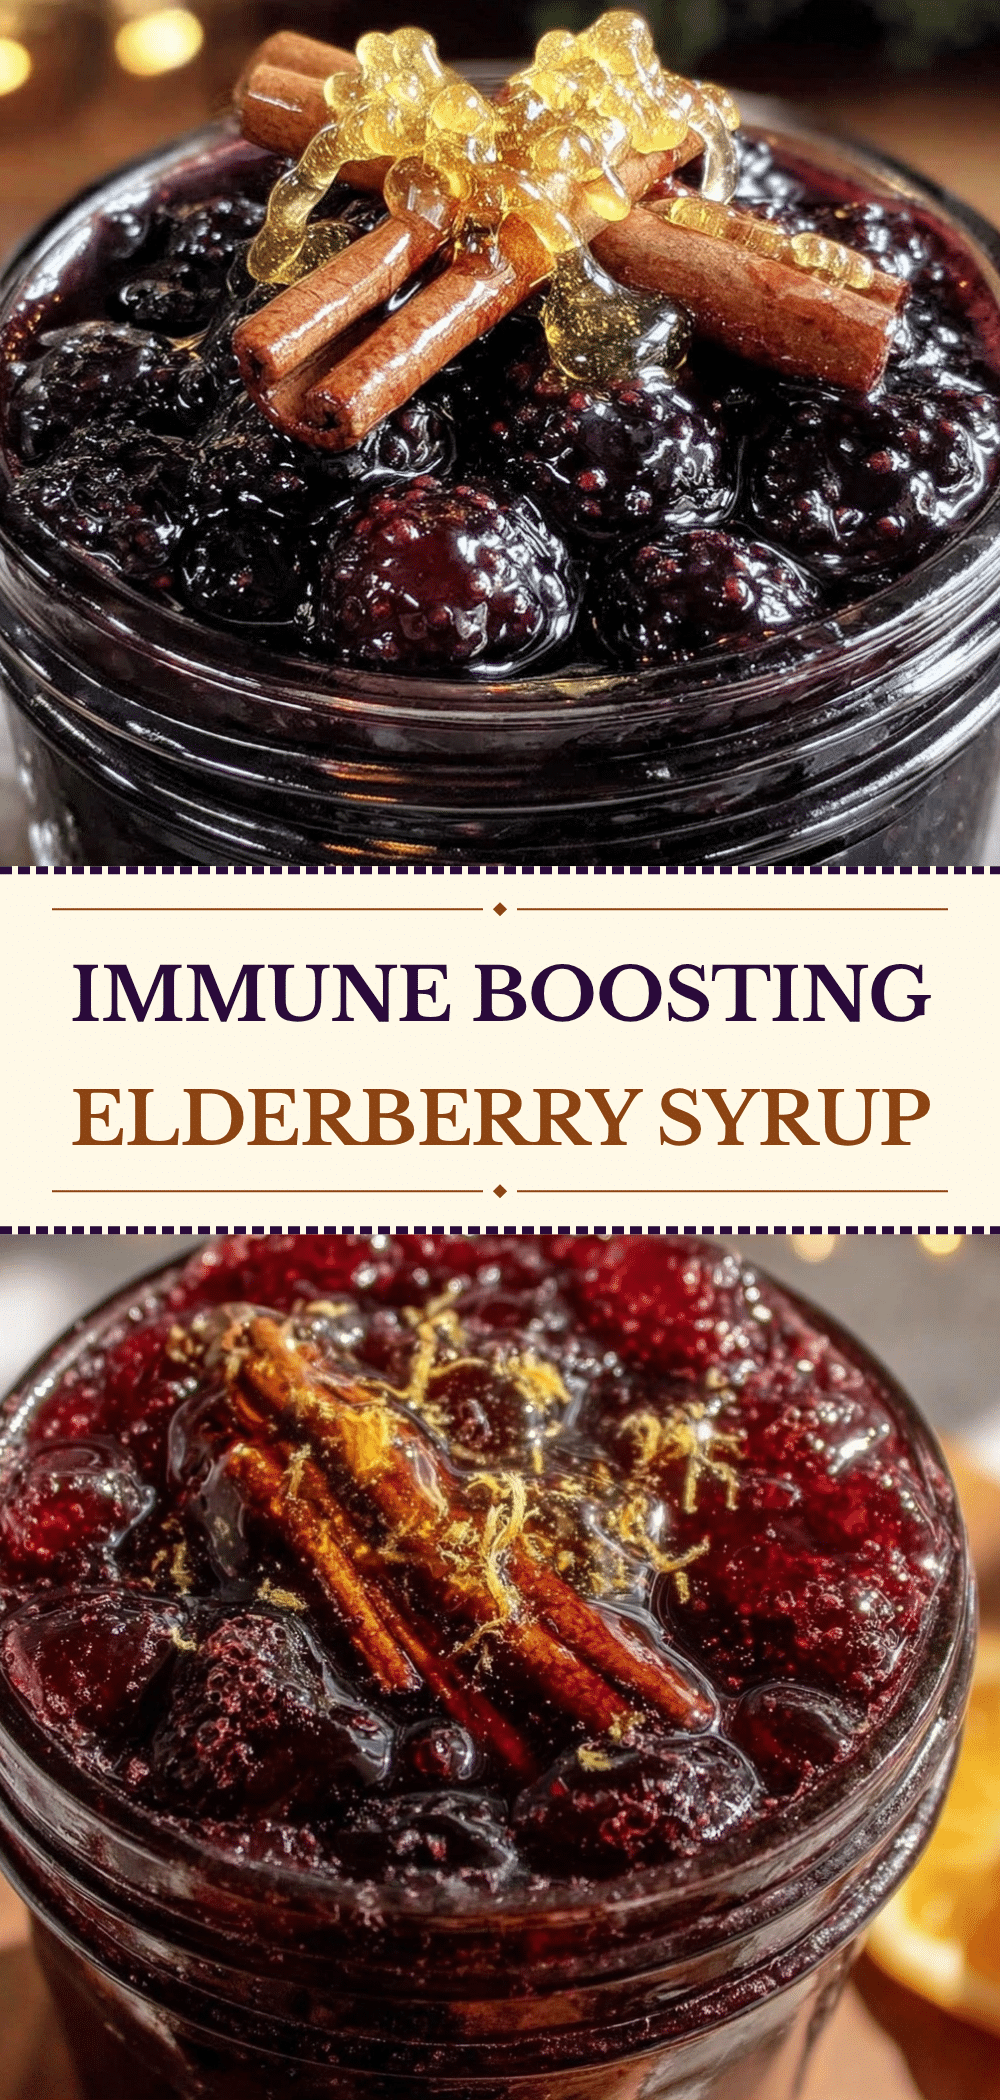
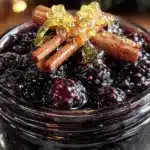
Immune Boosting Elderberry Syrup: Easy 10-Minute Honey Recipe
- Total Time: 1 hour 15 minutes
- Yield: 1.5 to 2 cups 1x
Description
A simple, homemade elderberry syrup made with dried berries, honey, and warming spices. This natural remedy supports immune health, tastes delicious, and is easy to prepare with minimal active time.
Ingredients
- 1 cup (115g) dried elderberries
- 1 cup (340g) raw honey
- 2 cups (480ml) water
- 1 large cinnamon stick (5 inches / 12cm)
- 1 teaspoon whole cloves
- 1 tablespoon fresh ginger root, sliced
- 1 star anise pod (optional)
Instructions
- In a medium saucepan, combine dried elderberries, water, cinnamon stick, cloves, ginger, and star anise (if using).
- Bring the mixture to a rolling boil over medium-high heat, then reduce heat to low.
- Simmer gently for 45 minutes to 1 hour until the liquid turns a deep purple color.
- Remove from heat and let cool for 10-15 minutes until warm to the touch (do not add honey to boiling liquid).
- Strain the mixture through a fine-mesh strainer or nut milk bag into a bowl, pressing solids to extract all liquid.
- Stir in the raw honey until completely dissolved.
- Pour into a sterilized glass jar and let cool to room temperature before refrigerating.
Notes
Do not use fresh elderberries unless properly processed, as they contain cyanogenic glycosides. Always add honey after the mixture has cooled slightly to preserve beneficial enzymes. Store in the refrigerator for up to 6 months or freeze for up to 12 months. Ensure all equipment is sterilized to prevent mold.
- Prep Time: 15 minutes
- Cook Time: 45 minutes
- Category: Condiments
- Cuisine: American
Nutrition
- Serving Size: 1 tablespoon
- Calories: 50
- Sugar: 11
- Carbohydrates: 13
- Fiber: 1
Keywords: elderberry syrup, immune boost, honey recipe, natural cold remedy, homemade syrup, winter wellness, vegan syrup