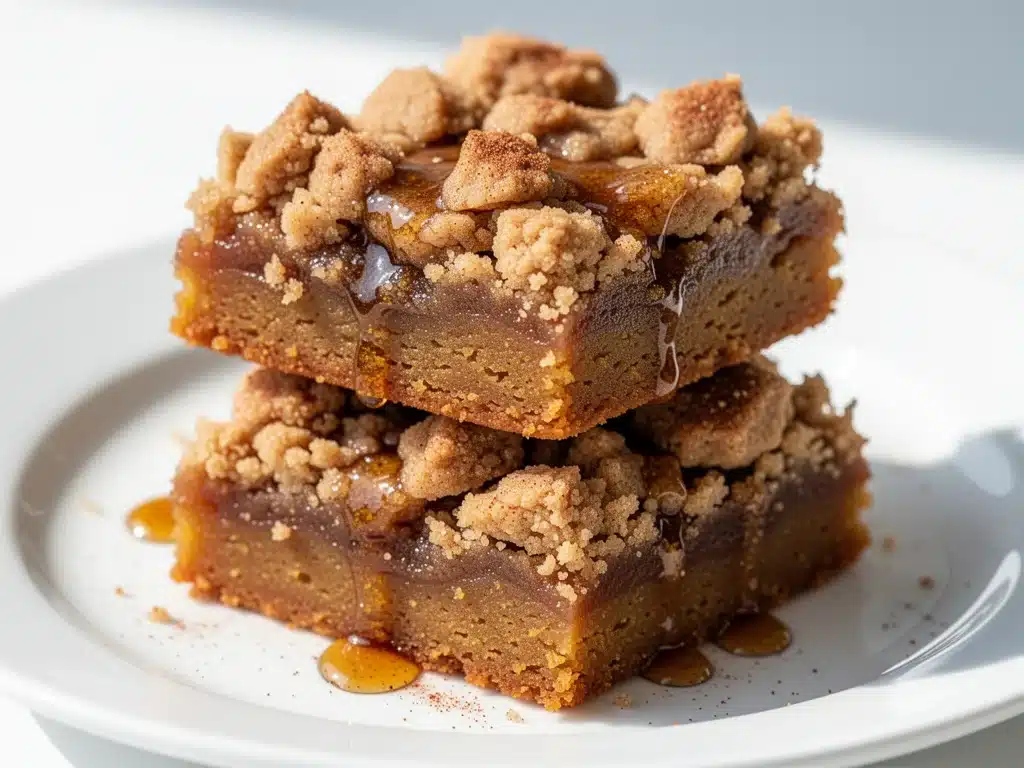
Last Tuesday, I was standing in my kitchen at 9 PM, staring into the oven light like it held the secrets of the universe. I had burned the butter. Twice. Yes, twice in one evening. I was trying to perfect these brown butter cinnamon fall bars, and I was ready to throw in the towel and just eat the cookies plain. But then, on the third attempt, I remembered a trick my pastry chef neighbor taught me years ago: take the pan off the heat the second it smells like hazelnuts.
I did it. I pulled it off. The butter turned a gorgeous amber, smelling like nutty heaven. I mixed it into the dough, baked it up, and took one bite. My husband, who usually only cares about savory food, actually paused mid-chew and said, “Okay, what is this magic?” That was the moment I knew I had something special. These bars are rich, spiced, and deeply comforting. They’re the taste of crisp autumn evenings, wrapped up in a square you can hold.
I’ve made these bars at least fifteen times over the last month. I’ve tweaked the spice ratios, tested different flours, and even tried swapping half the butter for oil (don’t do that—trust me). The version I’m sharing with you today is the winner. It’s tender, chewy, and packed with that warm cinnamon flavor that screams “fall.” If you’re looking for an easy autumn dessert that looks fancy but is actually super simple to make, these are it. I promise they’re worth the brown butter effort.
Why You’ll Love This Recipe
There are about ten reasons I keep making these brown butter cinnamon fall bars, but here are the big ones that will win you over.
Nutty, Deep Flavor — Brown butter isn’t just a technique; it’s a flavor bomb. It adds a toasted, hazelnut depth that regular butter just can’t match. It makes these bars taste like they came from a high-end bakery, even though they’re made in a standard 9×13 pan.
Super Easy Mix — Seriously, if you can melt butter and stir a bowl, you can make this. No creaming method, no fancy equipment. Just melt, mix, spread, and bake. I’ve made these while helping my kid with homework (and yes, the dog was barking at the door). It’s that low-stress.
Perfectly Chewy Texture — I’ve tried bars that are cakey and bars that are crisp. This one hits the sweet spot. Chewy, soft, and slightly crumbly in the best way. The brown butter creates a tender crumb that melts in your mouth.
Make-Ahead Friendly — These taste even better the next day. The flavors meld together overnight, making the cinnamon pop even more. I often make them on Sunday for the week’s after-school snacks. They keep well in the fridge for up to five days.
Crowd-Pleaser — I served these at a neighbor’s housewarming party, and they were gone in ten minutes. People who don’t usually eat sweets asked for the recipe. My picky-eater niece, who usually turns her nose up at anything with “butter” in the name, ate three squares. That’s high praise.
This is my go-to when I need a dessert that feels special but doesn’t require a lot of time or skill. It’s reliable, delicious, and always makes everyone happy.
Ingredients You’ll Need
Here’s the best part: you probably have most of this already. I’m particular about three ingredients here, and I’ll tell you exactly why.
Unsalted Butter (1 cup / 226g) — This is where the magic happens. You’ll be browning it. Use high-quality butter if you can find it; the flavor difference is noticeable. I like using European-style butter for its higher fat content, which browns beautifully.
Brown Sugar (1 ½ cups / 300g) — Packed. This gives the bars their chew and their deep caramel notes. Light brown sugar works too, but dark brown has more molasses, which pairs perfectly with cinnamon. Don’t skip this step—packing it ensures the right texture.
Granulated Sugar (½ cup / 100g) — This balances the sweetness and helps create that slight crisp edge. It’s not just for bulk; it adds structure.
Large Eggs (2 large) — Room temperature is best. If you forget, just crack them into a bowl of warm water for five minutes. Cold eggs can seize the butter mixture, which is no fun.
Vanilla Extract (2 teaspoons) — Use real vanilla, not imitation. The flavor is more subtle in bars than in cookies, so you’ll taste the difference. I use Nielsen-Massey because it’s consistent.
All-Purpose Flour (2 ¼ cups / 280g) — Don’t over-measure! Spoon it into the cup and level it off. Too much flour makes these dense and cakey. I use Gold Medal flour because it has a nice protein content that gives good structure without being tough.
Baking Powder (1 teaspoon) — And baking soda (½ teaspoon). These help the bars rise slightly and stay tender. Make sure your baking powder is fresh; old powder won’t work.
Cinnamon (2 teaspoons) — Ground cinnamon. I use Saigon cinnamon because it’s spicier and more aromatic. If you prefer milder, use Ceylon cinnamon. Either way, don’t skimp.
Salt (½ teaspoon) — Essential for balancing the sweetness. It makes the cinnamon flavor pop.
Optional: White Chocolate Chips (½ cup) — I love adding these for extra sweetness and meltiness. They’re not traditional, but they’re delicious. If you’re strict with the classic flavor, skip them.
For the Cinnamon Sugar Topping:
Granulated Sugar (2 tablespoons) — Mixed with Cinnamon (1 teaspoon) and Butter (1 tablespoon, melted). This creates that crumbly, spicy crust on top.
Equipment Needed
You don’t need fancy equipment for this. Here’s what I actually use.
Medium Saucepan — I use a stainless steel one with a thick bottom. This helps the butter brown evenly without burning. A light-colored pan is helpful so you can see the color change clearly.
Large Mixing Bowl — Glass or ceramic works best. You need room to whisk the eggs and sugars vigorously.
Whisk — For combining the wet ingredients. A silicone spatula is also good for scraping the bowl.
9×13 Inch Baking Pan — Grease it well. I line it with parchment paper for easy removal, but greasing is essential if you don’t use parchment.
Parchment Paper — For lining the pan. This is a lifesaver for clean-up and getting the bars out in one piece.
Microplane or Grater — If you want to zest a lemon for garnish (optional), but mostly useful for grating fresh nutmeg if you’re feeling fancy.
Measuring Cups and Spoons — Standard stuff. Dollar store versions work fine, just make sure they’re accurate.
Offset Spatula — For spreading the batter evenly. A regular spatula works too, but an offset one makes it easier.
How to Make It: Step-by-Step
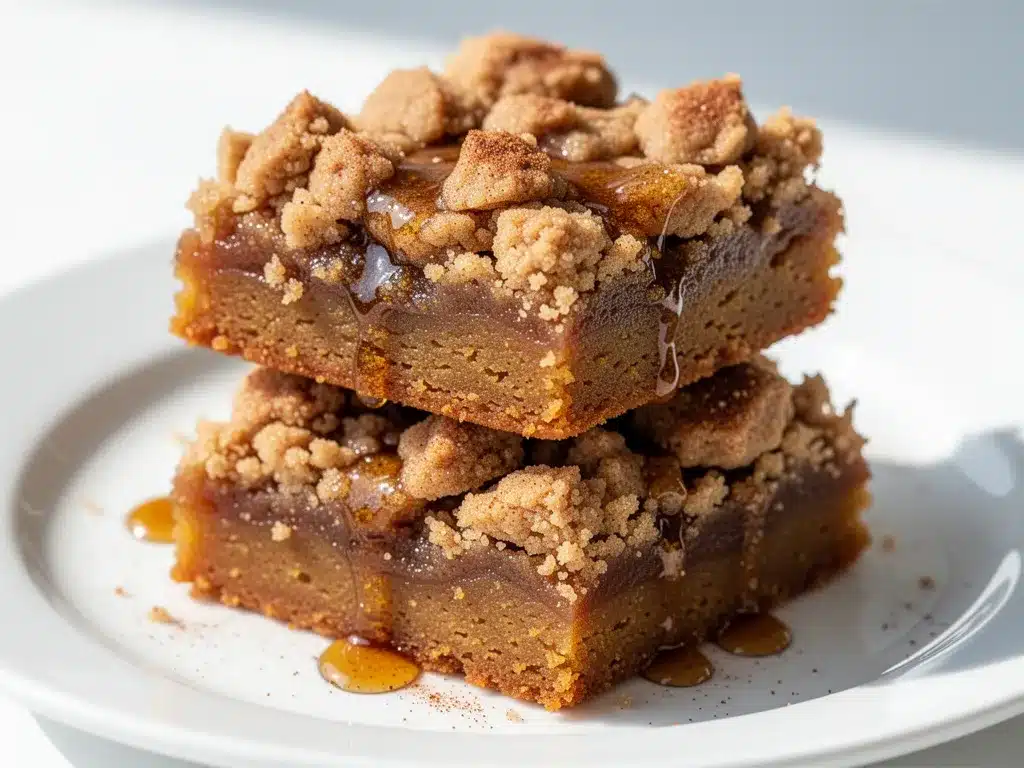
Alright, let’s make this! I’m walking you through exactly how I do it, including the little tricks I’ve picked up.
Step 1: Brown the Butter (10 minutes)
Melt the butter in a medium saucepan over medium heat. Stir frequently. It will foam up, then settle. Watch it closely. It’s going to go from golden to amber to brown in seconds. You’re looking for a rich, nutty aroma and a deep amber color. The milk solids at the bottom will turn brown. This takes about 5-7 minutes. Immediately pour the brown butter into a heatproof bowl to stop the cooking. Let it cool for 5 minutes so it doesn’t scramble the eggs later.
Step 2: Mix the Wet Ingredients (5 minutes)
In a large bowl, whisk the cooled brown butter, brown sugar, and granulated sugar until smooth. Add the eggs one at a time, whisking well after each addition. Stir in the vanilla extract. The mixture should look glossy and slightly thickened.
Step 3: Combine Dry Ingredients (2 minutes)
In a separate bowl, whisk together the flour, baking powder, baking soda, cinnamon, and salt. This ensures even distribution of the leavening agents and spices.
Step 4: Make the Dough (3 minutes)
Gradually add the dry ingredients to the wet ingredients, mixing on low speed or by hand until just combined. Do not overmix! The dough will be thick and sticky. If you’re adding white chocolate chips, fold them in now.
Step 5: Prepare the Topping (2 minutes)
In a small bowl, mix the 2 tablespoons of granulated sugar with the 1 teaspoon of cinnamon. Set aside.
Step 6: Assemble and Bake (25-30 minutes)
Preheat your oven to 350°F (175°C). Grease a 9×13 inch baking pan and line it with parchment paper, leaving an overhang on the sides for easy removal. Spread the batter evenly into the pan. Sprinkle the cinnamon sugar mixture evenly over the top. Bake for 25-30 minutes, or until the edges are golden brown and a toothpick inserted in the center comes out with a few moist crumbs (not wet batter).
Step 7: Cool and Cut
Let the bars cool in the pan for at least 15 minutes before cutting. This helps them set. Use the parchment overhang to lift them out, then cut into squares. Enjoy warm or at room temperature.
Expert Tips & Tricks
Here’s everything I’ve learned from making this dozens of times. These tips will save you from my mistakes.
Don’t Burn the Butter — This is the #1 tip. If the butter smells like burnt toast, start over. It’s not worth ruining the whole batch. Take the pan off the heat as soon as you see the amber color and smell the nuts.
Let the Butter Cool — If you add eggs to hot butter, you’ll get scrambled eggs in your batter. Let it cool for at least 5 minutes. It should be warm to the touch, not hot.
Don’t Overmix — Once you add the flour, mix until just combined. Overmixing develops gluten, which makes these bars tough instead of tender.
Use Parchment Paper — It’s not just for easy cleanup; it prevents sticking and helps the bars cool evenly. Line the pan with a “sling” for easy removal.
Check Early — Ovens vary. Start checking at 25 minutes. If the edges are dark and the center is set, they’re done. Overbaking makes them dry.
Common Mistakes:
- Bars are too dense: You probably overmixed the dough or used too much flour. Measure flour correctly.
- Butter separated: The butter was too hot when you added the eggs. Always cool it first.
- Topping didn’t stick: Make sure the topping is sprinkled on immediately after the batter is in the pan, and press it down gently.
Variations & Substitutions
Once you’ve nailed the basic version, here’s how you can mix it up. I’ve tried all of these.
Pumpkin Spice Variation — Add ½ cup pumpkin puree and swap the cinnamon for pumpkin pie spice. Reduce the milk slightly if needed. This is a fall favorite.
Apple Cinnamon — Fold in 1 cup of finely diced apples (Granny Smith works well) and add a pinch of nutmeg. Toss the apples in a little flour first to prevent sinking.
Maple Glaze — Drizzle a simple maple glaze (2 cups powdered sugar + 3 tablespoons maple syrup) over the cooled bars. Adds extra sweetness and shine.
Walnut or Pecan — Add ½ cup of chopped nuts to the batter. Toast them first for extra flavor. Great for adding crunch.
Gluten-Free — Use a 1:1 gluten-free flour blend. The texture might be slightly more crumbly, but it still works well.
Dairy-Free — Use dairy-free butter and white chocolate chips. The flavor will be slightly different, but still good.
Serving & Storage
How to Serve: I usually serve these warm with a cup of coffee or tea. They’re perfect for autumn gatherings, potlucks, or just a quiet evening at home. Pair them with spiked apple cider margaritas for a festive drink pairing.
Side Dishes: These bars are sweet enough on their own, but if you want a savory contrast, serve them with charred corn and black bean dip for a unique sweet-savory spread.
Storage: Store in an airtight container at room temperature for up to 5 days. They keep well in the fridge for up to a week. Bring to room temperature before serving for the best texture.
Freezing: These freeze well! Wrap individual bars in plastic wrap and store in a freezer-safe bag for up to 3 months. Thaw at room temperature.
Nutrition Information
I’m not a nutritionist, but here’s the breakdown if you’re tracking. Per bar (based on 16 servings):
- Calories: 280
- Protein: 3g
- Carbs: 38g
- Fiber: 1g
- Sugar: 24g
- Fat: 14g
- Saturated Fat: 8g
- Cholesterol: 45mg
- Sodium: 180mg
Look, this is a dessert with brown butter and sugar. It’s not a health food. But it’s homemade, so you know exactly what’s in it. Enjoy it in moderation!
Final Thoughts
So that’s my go-to brown butter cinnamon fall bars! I’ve probably talked your ear off at this point, but when you make a recipe this often, you have a lot to say about it. These bars have saved my dessert game more times than I can count. They’re my answer to “what’s for dessert” when I want something cozy and comforting without a lot of fuss.
Make it yours! Try different nuts, swap the cinnamon for cardamom, or add a drizzle of caramel. The best recipes are the ones you adapt to your tastes. If you make this, drop a comment and let me know what you think! I love hearing how recipes turn out in your kitchen.
Happy baking! And I hope your kitchen smells half as good as mine does right now.
Frequently Asked Questions
Can I use salted butter instead of unsalted?
You can, but reduce the added salt in the recipe by half. Salted butter varies in salt content, so it’s hard to control. Unsalted is safer for baking.
Why did my bars turn out cakey?
This usually happens if you overmix the dough or use too much flour. Make sure you’re spooning the flour into the measuring cup, not scooping it. Also, don’t overbake.
Can I make these ahead of time?
Yes! They taste even better the next day. Make them 1-2 days ahead and store in an airtight container. They also freeze well for up to 3 months.
Can I use a different pan size?
You can use an 8×8 pan, but the bars will be thicker and may need 5-10 more minutes to bake. Keep an eye on them to avoid overbaking.
Is brown butter necessary?
It’s not strictly necessary, but it adds a depth of flavor that makes these bars special. Regular butter works, but you’ll miss that nutty taste.
Can I add chocolate chips?
Absolutely! Semi-sweet or dark chocolate chips pair beautifully with cinnamon. White chocolate is also a great option for a sweeter bar.
How do I store leftovers?
Store in an airtight container at room temperature for up to 5 days. For longer storage, freeze them individually wrapped.
Pin This Recipe!
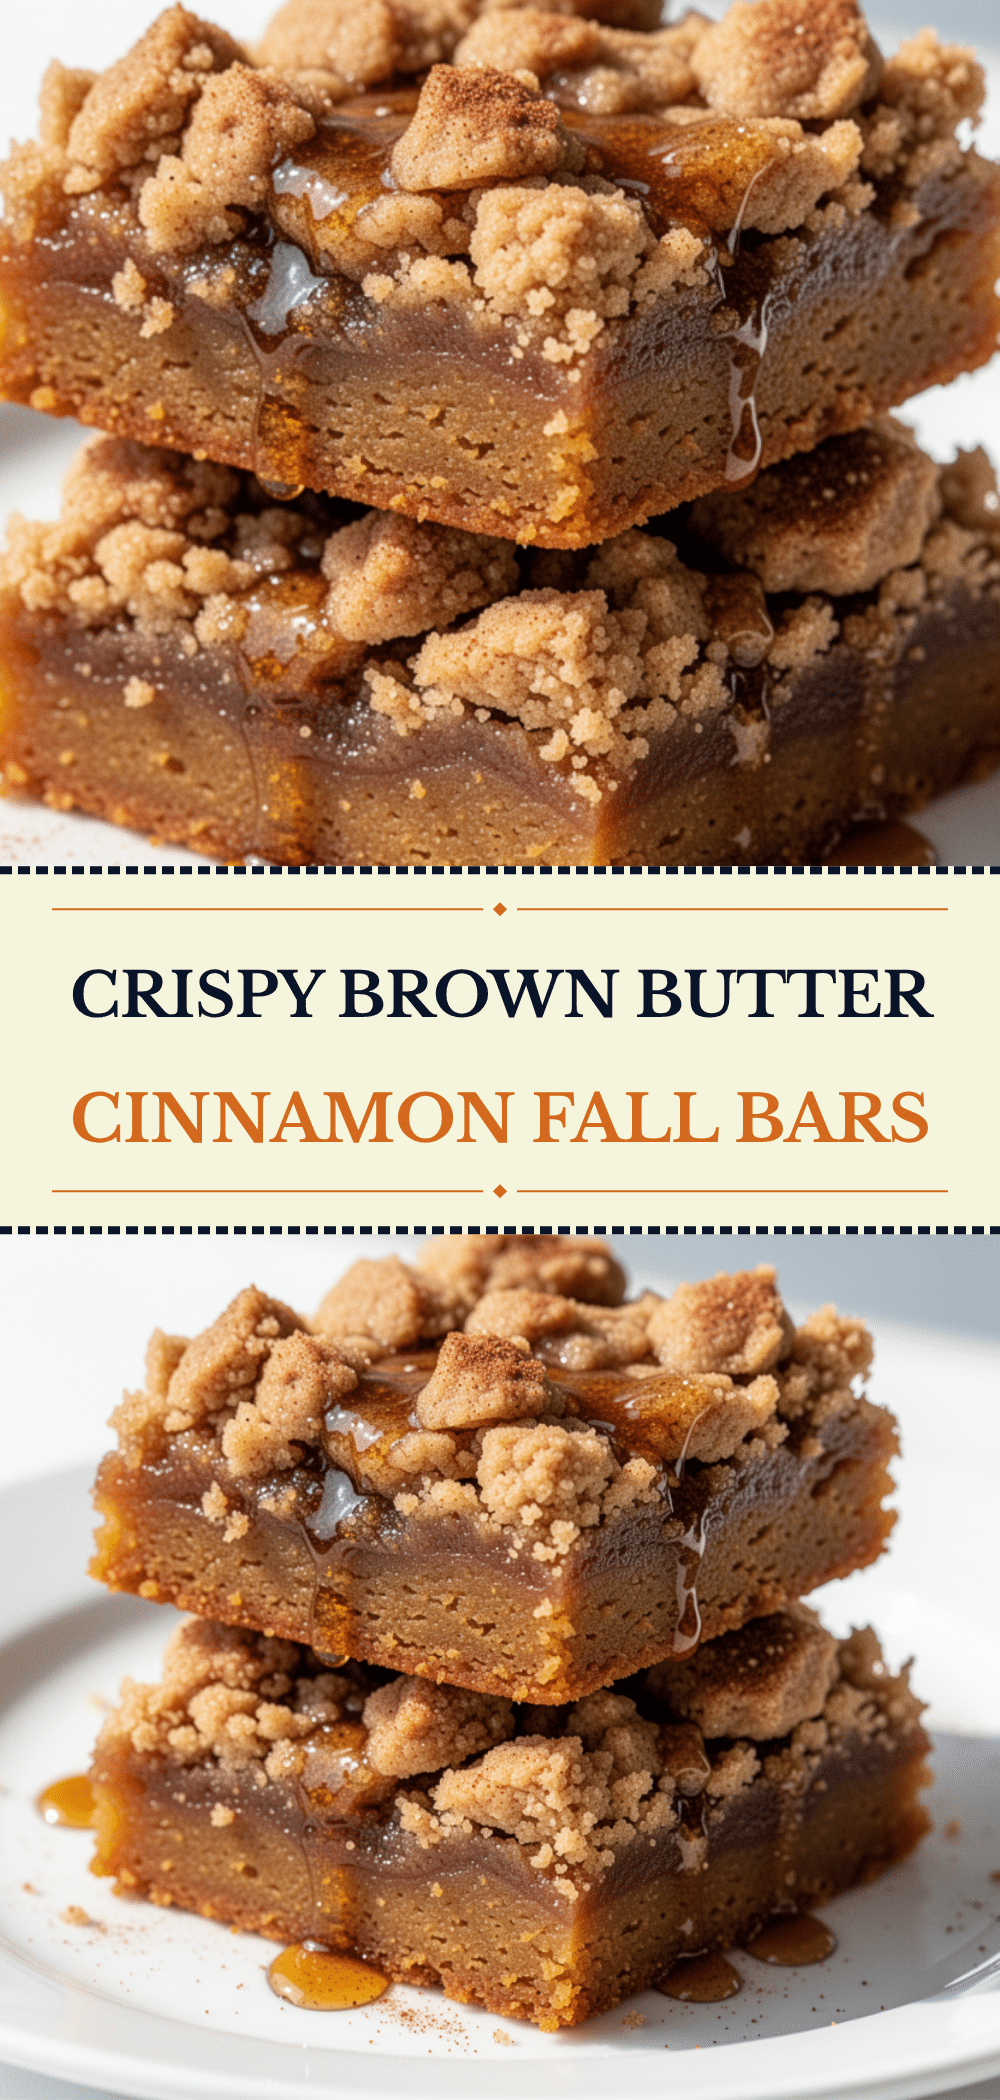
Brown Butter Cinnamon Fall Bars
- Total Time: 45 minutes
- Yield: 16 servings 1x
Description
Rich, chewy autumn bars featuring nutty brown butter and warm cinnamon, topped with a spicy sugar crust. Easy to make and perfect for fall gatherings.
Ingredients
- 1 cup (226g) unsalted butter
- 1 ½ cups (300g) packed brown sugar
- ½ cup (100g) granulated sugar
- 2 large eggs, room temperature
- 2 teaspoons vanilla extract
- 2 ¼ cups (280g) all-purpose flour
- 1 teaspoon baking powder
- ½ teaspoon baking soda
- 2 teaspoons ground cinnamon
- ½ teaspoon salt
- ½ cup white chocolate chips (optional)
- 2 tablespoons granulated sugar (for topping)
- 1 teaspoon cinnamon (for topping)
- 1 tablespoon butter, melted (for topping)
Instructions
- Preheat oven to 350°F (175°C). Grease a 9×13 inch baking pan and line with parchment paper.
- Melt butter in a medium saucepan over medium heat. Stir frequently until it foams, settles, and turns deep amber with a nutty aroma (about 5-7 minutes).
- Immediately pour brown butter into a heatproof bowl and let cool for 5 minutes.
- In a large bowl, whisk the cooled brown butter, brown sugar, and granulated sugar until smooth.
- Add eggs one at a time, whisking well after each addition. Stir in vanilla extract.
- In a separate bowl, whisk together flour, baking powder, baking soda, cinnamon, and salt.
- Gradually add dry ingredients to wet ingredients, mixing until just combined. Do not overmix. Fold in white chocolate chips if using.
- Spread batter evenly into the prepared pan.
- Mix 2 tablespoons granulated sugar and 1 teaspoon cinnamon. Sprinkle evenly over the batter.
- Bake for 25-30 minutes until edges are golden and a toothpick inserted in the center comes out with moist crumbs.
- Cool in the pan for at least 15 minutes before lifting out and cutting into squares.
Notes
Do not burn the butter; remove from heat as soon as it smells like hazelnuts. Ensure butter cools for 5 minutes before adding eggs to prevent scrambling. Do not overmix the dough to maintain a tender texture. Bars keep well in an airtight container at room temperature for up to 5 days or frozen for up to 3 months.
- Prep Time: 15 minutes
- Cook Time: 30 minutes
- Category: Dessert
- Cuisine: American
Nutrition
- Serving Size: 1 bar
- Calories: 280
- Sugar: 24
- Sodium: 180
- Fat: 14
- Saturated Fat: 8
- Carbohydrates: 38
- Fiber: 1
- Protein: 3
Keywords: brown butter, cinnamon bars, fall dessert, autumn baking, easy dessert, chewy bars, homemade bars


