I still remember the exact moment I panicked. It was last Saturday, and my sister-in-law’s family was arriving in forty-five minutes. I had spent the morning prepping appetizers, grilling ribs (I’m talking about those brown sugar bourbon glazed grilled ribs that take all afternoon), and cleaning the house until it sparkled. I thought I was on top of things.
Then I looked at the clock. I hadn’t started dessert. Not even a little. I stared into the pantry like it owed me money. No baked goods sitting around. No ice cream in the freezer because I’d bought the last pint two days prior. I was staring at a empty counter, a box of vanilla wafers, a bag of bananas that were getting a little too brown, and a tub of Cool Whip. Desperation sets in fast when you’re hosting.
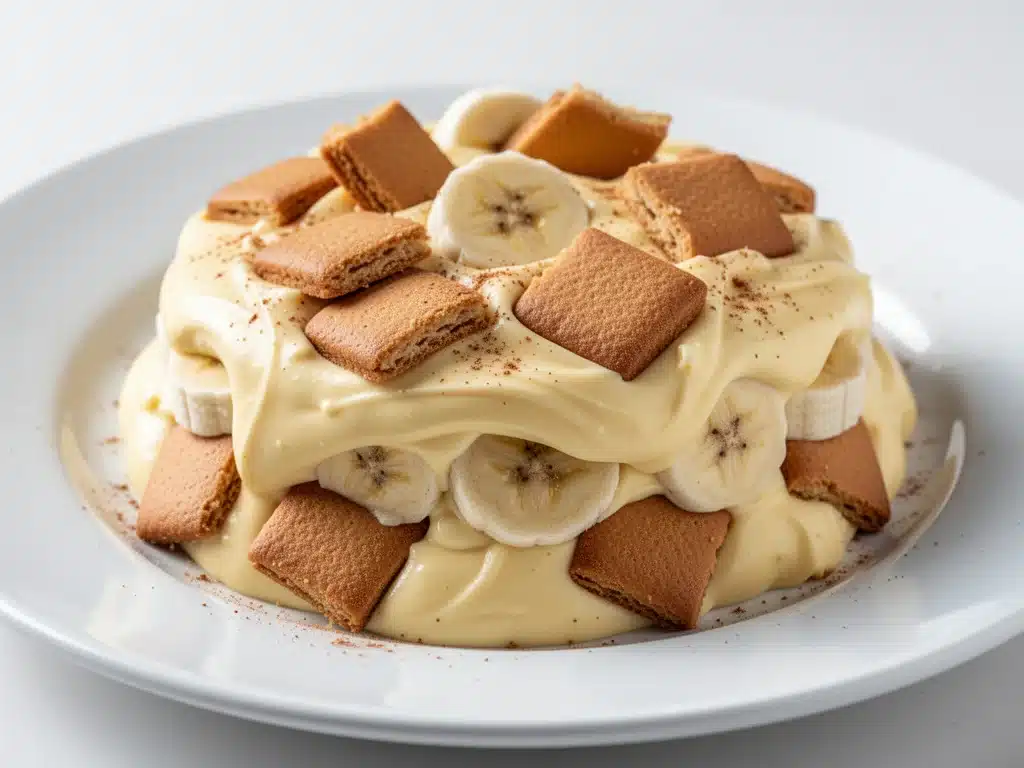
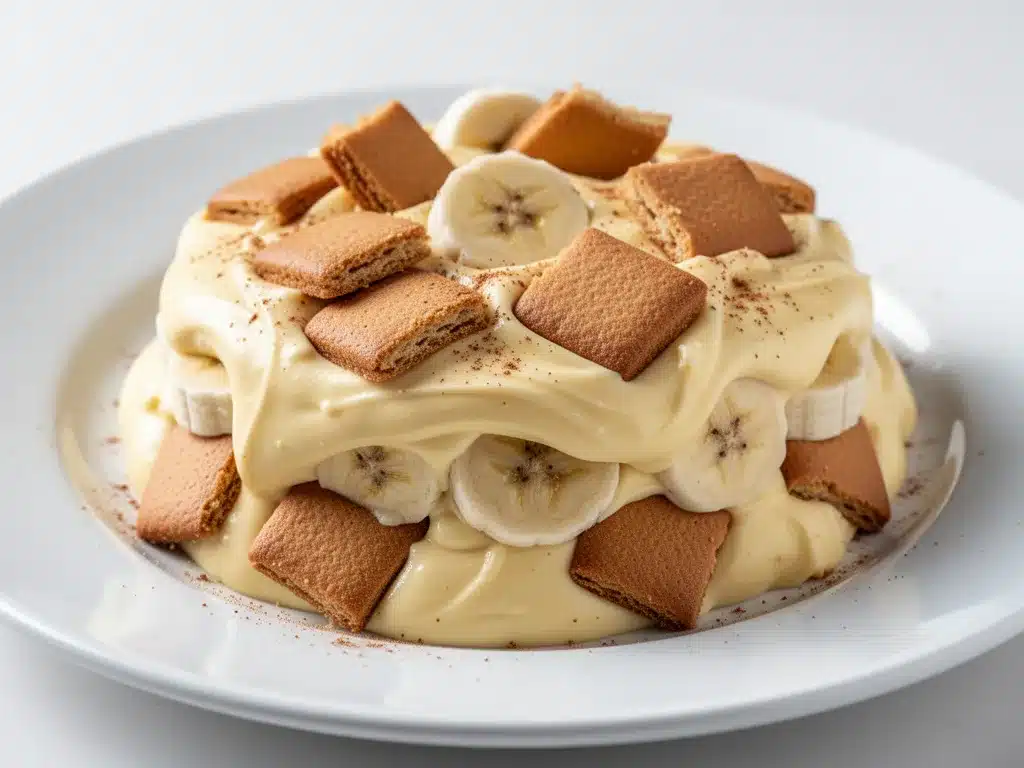
But here’s the thing about desperation: it’s creative. I didn’t have time to bake a pie or make a complicated trifle. I needed something creamy, sweet, and comforting that I could throw together with my hands while the doorbell rang. That’s when I decided to make this creamy no-bake banana pudding. I whipped up a quick custard base using just a few pantry staples, layered it with the wafers and bananas, and let it chill while I set the table.
When my sister-in-law took one bite, she stopped chewing. She just looked at me and said, “Is this from the bakery?” I laughed and told her it was from my panic. But honestly? This creamy no-bake banana pudding is better than anything you’ll buy at a store. It’s rich, it’s velvety, and it comes together so fast that you’ll wonder why you ever stressed about dessert in the first place. I’ve made this at least a dozen times since that Saturday, and it has officially become my go-to “save the day” dessert.
Why You’ll Love This 5-Minute Dessert
Look, I’m not going to lie to you. There are a hundred banana pudding recipes out there. Some require a stove. Some require a water bath. Some take hours to set. But this creamy no-bake banana pudding? It’s different. It’s the kind of recipe that feels like a cheat code for your kitchen.
Here’s why this is the only banana pudding recipe you’ll ever need:
Stupid Simple — Seriously, if you can open a can and slice a banana, you can make this. I’ve made this while my kids were doing homework at the table. There’s no baking, no cooling racks, and no fancy techniques. It’s literally just mixing, layering, and waiting.
Lightning Fast — The active time is about five minutes. That’s it. Five minutes of stirring and assembling. The rest is just passive chilling time. I can make this in the time it takes to scroll through social media. If you’re looking for quick desserts, this is at the top of the list.
Pantry-Friendly — You probably have 90% of these ingredients already. Vanilla wafers, bananas, heavy cream, condensed milk. These aren’t obscure items you need to drive to three different stores to find. It’s comfort food made from what you already own.
Texture Perfection — This is the big one. Store-bought pudding is often too stiff or too gelatinous. This version uses whipped cream and condensed milk to create a light, airy, cloud-like texture that melts in your mouth. It’s not dense. It’s not heavy. It’s just perfect.
Makes Amazing Leftovers — Unlike fresh fruit salads that get soggy, this pudding actually gets better after sitting in the fridge for a few hours. The wafers soften into a cake-like layer, and the flavors meld together. I deliberately make extra for the next day’s breakfast snack. Don’t judge me.
This is my answer to “what’s for dessert” when I’m tired, don’t want to turn the oven on, and still want something that tastes indulgent. It’s reliable, it’s delicious, and it makes everyone happy. No complicated techniques, no weird ingredients, just pure, creamy goodness.
Ingredients You’ll Need
Here’s the best part: you probably have most of this already in your kitchen. I’m particular about three ingredients here, and I’ll tell you exactly why. Don’t skip the quality checks, or you’ll end up with a runny mess.
Heavy Cream (2 cups / 480ml) — This is the foundation of the light texture. You need full-fat heavy whipping cream. Half-and-half won’t whip up stiff enough, and skim milk will make it watery. Chill your bowl and beaters in the fridge for 15 minutes before starting; it helps the cream whip faster and hold its shape. I use organic heavy cream because it tastes richer, but any brand works.
Sweetened Condensed Milk (1 can / 14 oz / 397g) — This isn’t evaporated milk. It’s the thick, syrupy, sweet stuff. It adds that classic pudding sweetness and helps stabilize the whipped cream. Don’t try to substitute this with sugar and milk; the texture will be completely different. It’s the secret weapon that makes this no-bake version so creamy.
Vanilla Extract (2 teaspoons / 10ml) — Use real vanilla extract, not imitation. I know imitation is cheaper, but in a recipe with only five ingredients, the vanilla flavor is front and center. Bad vanilla ruins the whole thing. I keep a bottle of Nielsen-Massey in my pantry because it’s potent and aromatic.
Vanilla Wafers (1 package / 15 oz) — This is non-negotiable. Do not use shortbread cookies. Do not use vanilla ice cream sandwiches. You need standard Nilla Wafers or a generic store-brand vanilla wafer. They are crisp enough to hold up initially but soft enough to absorb the pudding. I buy the big box because I use them for other things too, like buffalo chicken sliders crumbles (yes, really, try it).
Ripe Bananas (4 large / about 600g) — This is where technique matters. You need bananas that are yellow with a few brown speckles. Not green (too starchy, not sweet enough) and not completely black (mushy, fermented taste). The perfect banana is sweet but still holds its shape when sliced. I buy them a day or two before I plan to make this so they hit that perfect ripeness window.
Optional: Whipped Topping (1 tub / 8 oz) — Some people like to fold in a tub of Cool Whip for extra lightness. I usually skip it because the heavy cream and condensed milk are rich enough, but if you want that classic diner-style flavor, go for it. Just note that it will make the dessert sweeter.
Shopping Shortcuts & Substitutions
Lazy Mode: Want to save time? Buy pre-sliced bananas. I know, purists will scream, but honestly, pre-sliced bananas oxidize (turn brown) faster than home-sliced ones because they’ve been exposed to air longer. If you use pre-sliced, squeeze a little lemon juice on them immediately to keep them bright.
Gluten-Free: Use gluten-free vanilla wafers. They are getting better every year. I’ve tried several brands, and the texture is almost identical. Just be aware that gluten-free wafers tend to get soggy faster, so eat this within 24 hours.
Dairy-Free: You can use coconut cream (the hard part from a can of full-fat coconut milk) instead of heavy cream, and dairy-free condensed milk (made from coconut or oat milk). It changes the flavor profile slightly, adding a coconut note, but it still tastes amazing. My lactose-intolerant friend loves this version.
Equipment Needed
You don’t need fancy equipment for this. Here’s what I actually use. If you don’t have these, don’t worry—there are easy alternatives.
Large Mixing Bowl — I use a 5-quart stainless steel bowl. Glass works too, but metal stays colder, which helps the cream whip. If you don’t have a big bowl, use two medium ones.
Electric Hand Mixer or Stand Mixer — You *can* whip cream by hand, but it takes about 10 minutes of arm workout. I’m not a masochist. An electric mixer takes 2-3 minutes. If you only have a whisk, be prepared for a workout.
Spatula — A rubber or silicone spatula is essential for folding the whipped cream into the condensed milk without deflating it. I have a set of different sizes, but a medium one works best here.
Serving Dish — A 9×13 inch glass baking dish is traditional and looks great. It lets you see the layers. But a large trifle bowl works if you want to show off the strata effect. Or just individual mason jars for a cute party presentation.
Knife and Cutting Board — For slicing the bananas. A serrated knife works best if your bananas are very ripe and soft. A regular chef’s knife is fine for firmer bananas.
Measuring Cups and Spoons — Standard stuff. Dollar store versions work fine. Accuracy doesn’t matter as much here as in baking, but it helps keep the ratios balanced.
Plastic Wrap — To cover the dish while it chills. This prevents a skin from forming on top and keeps fridge smells out. I always keep a roll handy.
How to Make It: Step-by-Step
Alright, let’s make this! I’m walking you through exactly how I do it, including the little tricks I’ve picked up over the years. This creamy no-bake banana pudding is so easy that you’ll feel like a pro in no time.
Step 1: Prep Your Bananas (5 minutes)
Peel your bananas and slice them into half-inch rounds. I like to slice them directly into a bowl and toss them with a teaspoon of lemon juice. This isn’t strictly necessary, but it keeps the bananas from turning brown while you assemble the pudding. It looks prettier, and let’s be honest, we eat with our eyes first. Set the bananas aside.
Step 2: Whip the Heavy Cream (3 minutes)
In your chilled large bowl, pour in the cold heavy cream. Using your electric mixer on medium-high speed, whip the cream until you form stiff peaks. This means when you lift the beaters, the cream stands up straight and doesn’t droop. Be careful not to over-whip! If you keep going, the cream will turn into butter. It happens faster than you think. I usually stop just as the peaks form.
Step 3: Make the Pudding Base (2 minutes)
In a separate medium bowl, combine the sweetened condensed milk and vanilla extract. Whisk them together until smooth. It’s thick and syrupy, so it takes a little effort, but it’s quick. Now, here’s the crucial step: gently fold the whipped cream into the condensed milk mixture. Use your spatula. Cut down the middle, scrape the bottom, and fold over. Do this gently to keep the air in the cream. If you stir too vigorously, you’ll deflate the cream and end up with a dense, heavy pudding. You want it light and fluffy.
Step 4: Assemble the Layers (5 minutes)
Start your layering in your serving dish. Here’s my method:
First, place a layer of vanilla wafers to cover the bottom. Don’t worry if they don’t fit perfectly; break the ones that are too big to fill gaps. Next, spoon a generous layer of the pudding mixture over the wafers. Spread it out evenly. Then, add a layer of banana slices. Try to distribute them evenly so every bite has banana.
Repeat the layers: wafers, pudding, bananas. I usually do three layers of each, ending with pudding on top. If you’re using a trifle bowl, you can get fancy with the layers. If you’re using a 9×13 dish, just make sure the top layer is covered with pudding so the wafers on top don’t dry out.
Step 5: Chill and Set (At least 2 hours)
Cover the dish tightly with plastic wrap. Put it in the fridge. This is the hardest part—waiting. The pudding needs time to set so the wafers soften and the flavors meld. I usually make it the night before, but if you’re in a rush, two hours is the minimum. Four hours is better. Overnight is best. If you serve it immediately, the wafers will be crunchy and hard, and it won’t have that pudding-like texture.
Step 6: Serve
Just before serving, I like to garnish with a few extra banana slices and a sprinkle of crushed vanilla wafers on top. It looks professional and adds a nice crunch. Slice it with a sharp knife. If the knife sticks, dip it in hot water and wipe it dry between cuts. Serve cold.
Expert Tips & Tricks
Here’s everything I’ve learned from making this dozens of times. These tips will save you from my mistakes.
Cold Cream is King
I cannot stress this enough. If your heavy cream is warm, it will not whip. Keep it in the fridge until the second you pour it. If you live in a hot climate, chill your bowl and beaters in the freezer for 10 minutes before starting. This is the difference between fluffy clouds and sad soup.
Don’t Skip the Lemon Juice
Bananas oxidize quickly. Even if you cover the pudding well, the bananas near the top might turn brown. A little lemon juice (or even pineapple juice) slows down the browning process. It doesn’t make the pudding taste sour; you can’t taste it. It just keeps the bananas looking bright and yellow.
The Wafer Ratio
Some people like more pudding, some like more wafers. I like a balance. If you’re feeding a crowd, buy an extra box of wafers. They absorb moisture, so you want enough to create that cake-like texture. If you run out of wafers mid-layer, you’ll end up with a puddle of pudding at the bottom. Better to have too many wafers than too few.
Storage Matters
Always cover the pudding tightly. Bananas release moisture, and if the pudding is exposed to air, it will dry out and form a skin. Plastic wrap pressed directly onto the surface of the pudding is the best method. If you don’t have that, just cover the whole dish well.
Common Mistakes (and how to avoid them)
Mistake: Pudding is too runny
Fix: You probably under-whipped the cream. Make sure you get stiff peaks. Also, check that you used sweetened condensed milk, not evaporated milk. Condensed milk is thick; evaporated milk is thin.
Mistake: Wafers are too hard
Fix: You didn’t chill it long enough. The wafers need time to absorb the moisture from the pudding. Give it at least 2 hours, preferably longer.
Mistake: Bananas are brown and mushy
Fix: You used overripe bananas or didn’t use lemon juice. Use bananas that are yellow with a few spots, not black. Toss them in lemon juice immediately after slicing.
Pro Tricks I’ve Learned:
For Extra Flavor
Add a teaspoon of almond extract along with the vanilla. It pairs beautifully with banana. It’s a subtle change, but it makes the pudding taste more sophisticated.
For Better Texture
Crush a few wafers and sprinkle them on top right before serving. It adds a nice crunch contrast to the soft pudding.
Make-Ahead Strategy
This pudding is actually better the next day. The flavors meld together overnight. I make it on Sunday for a Wednesday dinner party. It’s the ultimate make-ahead dessert.
Variations & Substitutions
Once you’ve nailed the basic version, here’s how you can mix it up. I’ve tried all of these, and they all work.
Chocolate Banana Pudding
Add ¼ cup of cocoa powder to the condensed milk mixture. It turns the pudding a light brown color and adds a chocolate-banana combo that’s like a Reese’s cup in dessert form. My kids love this version.
Caramel Banana Pudding
Drizzle salted caramel sauce between the layers. It adds a salty-sweet kick that elevates the dessert. I use store-bought caramel for speed, but homemade is nice too.
Strawberry Banana Pudding
Swap half the bananas for sliced strawberries. It adds a nice tartness and color. It looks beautiful with the red and yellow layers.
Nutty Banana Pudding
Add a layer of crushed peanuts or pecans between the pudding and wafers. It adds crunch and richness. It’s like a banana split without the ice cream.
Dietary Modifications:
Gluten-Free
Use gluten-free vanilla wafers. As mentioned earlier, they work well. Just eat it within 24 hours.
Dairy-Free
Use coconut cream instead of heavy cream, and dairy-free condensed milk. It changes the flavor slightly but is still delicious.
Lower-Sugar
This is hard because condensed milk and wafers are both high in sugar. You can use unsweetened condensed milk (which is very thick and not sweet) and add your own sweetener, but it changes the texture. It’s not recommended for beginners.
Serving & Storage
How to Serve:
I usually serve this straight from the baking dish with a nice spoon. It looks rustic and stays cold. But here are other ways I’ve enjoyed it:
Side Dishes:
Since this is a dessert, it’s usually the end of the meal. But if you’re serving it as part of a buffet, pair it with something savory. Like charred corn and black bean dip for a summer BBQ, or those grilled peaches for a warm contrast.
Toppings Bar:
When I have guests, I put out: crushed peanuts, chocolate chips, whipped cream, and fresh berries. Everyone customizes their bowl.
Wine Pairing:
Not a wine expert, but a sweet Riesling or a Moscato works great with this. It cuts through the richness of the cream.
Storage Instructions:
Refrigerator:
Store in an airtight container or covered with plastic wrap for up to 3 days. The wafers will continue to soften, so it might get mushier after day 2. Eat it within 3 days for best texture.
Freezing:
Honestly, this doesn’t freeze well. The bananas turn brown and mushy when thawed, and the cream separates. Make it fresh or store in the fridge for up to 3 days.
Pro tip:
If leftovers are drying out, stir in a tablespoon of milk or cream when reheating. But this is usually eaten cold, so just keep it covered.
Nutrition Information
I’m not a nutritionist, but here’s the breakdown if you’re tracking. Keep in mind that this is a rich dessert, so portion control is key.
Per Serving (based on 12 servings, 1/12 of the dish):
– Calories: 280
– Protein: 4g
– Carbs: 42g
– Fiber: 2g
– Sugar: 32g
– Fat: 12g
– Saturated Fat: 7g
– Cholesterol: 35mg
– Sodium: 180mg
– Calcium: 100mg
What’s Good:
– Calcium from the dairy
– Potassium from the bananas
– It’s a treat, so enjoy it guilt-free
What to Know:
– Higher in sugar from condensed milk and wafers
– Contains dairy and gluten
– Moderate sodium
My Take:
Look, this is comfort food with cream and sugar. It’s not a diet recipe. But it’s way better than store-bought pudding, and it’s fun to make. When I want to make it lighter, I use less condensed milk and more fruit. But usually? I just eat a reasonable portion and enjoy it.
Final Thoughts
So that’s my creamy no-bake banana pudding! I’ve probably talked your ear off at this point, but when you make a recipe this often, you have a lot to say about it.
This has saved weeknight desserts more times than I can count. It’s my answer to “what’s for dessert” when I’m tired, don’t want to turn the oven on, and still want something that tastes really good. My family is happy, my guests are happy, and I’m happy because I’m not stressed about cooking.
Make it yours! Try different add-ins, swap in your favorite fruits, adjust the sweetness. The best recipes are the ones you adapt to your family’s tastes. If you make this, drop a comment and let me know what you think! I love hearing how recipes turn out in your kitchen. And if something doesn’t work, tell me that too—I’m here to help troubleshoot.
Happy cooking! And I hope your kitchen smells half as good as mine does right now.
Frequently Asked Questions
Can I use fresh bananas instead of canned?
Yes! This recipe calls for fresh bananas. Canned bananas are usually too soft and mushy for this. You want fresh bananas that are ripe but firm. Peel and slice them yourself for the best texture.
Why did my pudding turn out watery?
This usually happens if you under-whipped the heavy cream. Make sure you whip it to stiff peaks. Also, check that you used sweetened condensed milk, not evaporated milk. Condensed milk is thick and sweet; evaporated milk is thin and unsweetened.
Can I make this ahead for a party?
Absolutely! This is actually better when made ahead. Make it the night before and let it chill overnight. The wafers will soften and the flavors will meld together. It’s perfect for meal prep.
Why did my bananas turn brown?
Bananas oxidize quickly. To prevent this, toss the sliced bananas in a little lemon juice immediately after slicing. Also, make sure the pudding is fully covered with plastic wrap to limit air exposure.
Can I use shortbread cookies instead of vanilla wafers?
You can, but the texture will be different. Shortbread is richer and butterier, but it doesn’t absorb the pudding as well. Vanilla wafers are traditional for a reason—they get soft and cake-like. If you use shortbread, the layers might stay crunchy.
How long does this pudding last in the fridge?
It lasts for up to 3 days in the fridge. After that, the bananas may start to break down and the wafers may get too mushy. It’s best eaten within 2 days for optimal texture.
Can I freeze this pudding?
I don’t recommend it. The bananas turn brown and mushy when thawed, and the cream can separate. Make it fresh or store it in the fridge for up to 3 days.
Pin This Recipe!
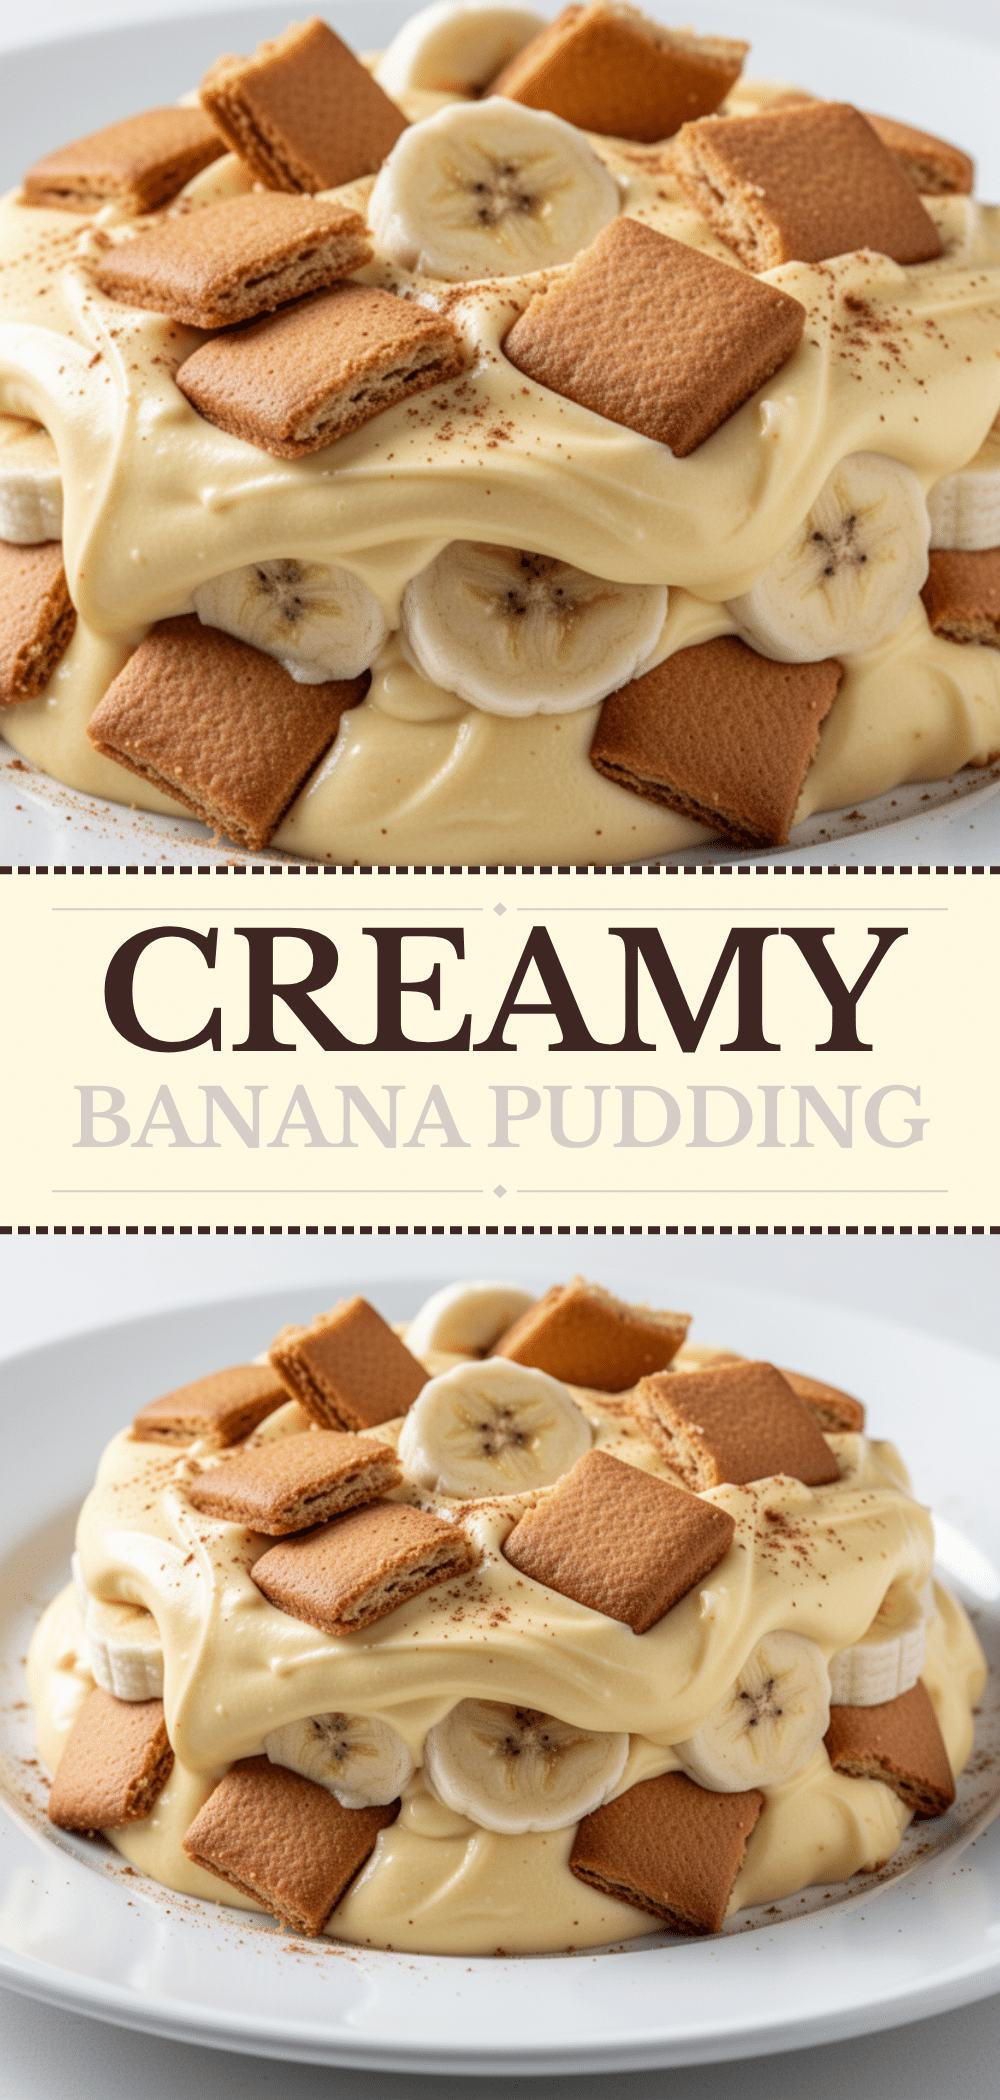
Creamy No-Bake Banana Pudding: Best Easy 5-Minute Dessert
- Total Time: 2 hours 15 minutes
- Yield: 12 servings 1x
Description
A quick, no-bake banana pudding that comes together in just five minutes of active time. This dessert uses pantry staples like heavy cream, condensed milk, and vanilla wafers to create a light, airy, and velvety texture that is perfect for last-minute hosting or meal prep.
Ingredients
- 2 cups heavy whipping cream (chilled)
- 1 can (14 oz / 397g) sweetened condensed milk
- 2 teaspoons vanilla extract
- 1 package (15 oz) vanilla wafers
- 4 large ripe bananas
- 1 teaspoon lemon juice (optional, to prevent browning)
- 1 tub (8 oz) whipped topping (optional)
Instructions
- Peel and slice bananas into half-inch rounds. Toss with lemon juice if desired to prevent browning, then set aside.
- In a chilled large mixing bowl, whip the heavy cream using an electric mixer on medium-high speed until stiff peaks form. Be careful not to over-whip.
- In a separate medium bowl, whisk together the sweetened condensed milk and vanilla extract until smooth.
- Gently fold the whipped cream into the condensed milk mixture using a spatula until fully combined and airy.
- In a 9×13 inch serving dish, create layers: start with a layer of vanilla wafers, followed by a layer of the pudding mixture, and then a layer of banana slices. Repeat these layers three times, ending with pudding on top.
- Cover the dish tightly with plastic wrap and refrigerate for at least 2 hours, preferably overnight, to allow the wafers to soften and flavors to meld.
- Before serving, garnish with extra banana slices and crushed vanilla wafers if desired. Slice and serve cold.
Notes
Ensure heavy cream is very cold for best whipping results. Do not substitute sweetened condensed milk with evaporated milk. For gluten-free, use gluten-free vanilla wafers. For dairy-free, use coconut cream and dairy-free condensed milk. The pudding improves in flavor after sitting overnight.
- Prep Time: 15 minutes
- Cook Time: 0 minutes
- Category: Dessert
- Cuisine: American
Nutrition
- Serving Size: 1/12 of the dish
- Calories: 280
- Sugar: 32
- Sodium: 180
- Fat: 12
- Saturated Fat: 7
- Carbohydrates: 42
- Fiber: 2
- Protein: 4
Keywords: banana pudding, no-bake dessert, easy dessert, 5-minute dessert, creamy pudding, vanilla wafers, make-ahead dessert, comfort food


