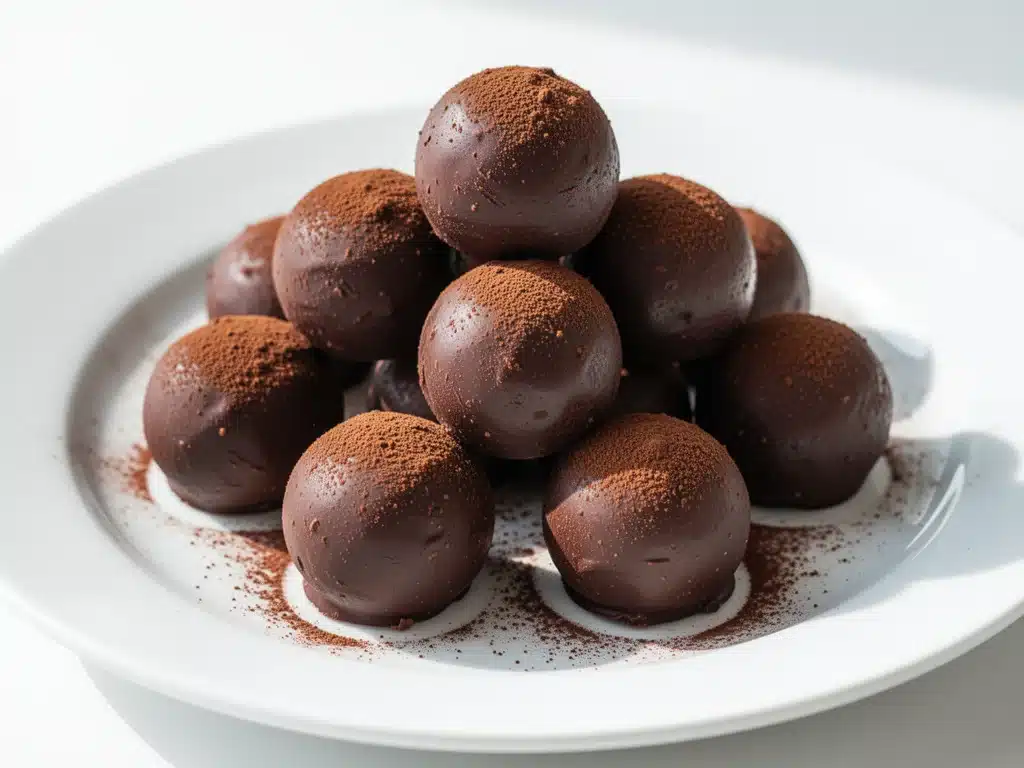
It was 2 AM on a Tuesday, and I was staring into the abyss of my pantry, wondering if I could survive on nothing but dark chocolate and sheer willpower. I had just come from a late-night dinner party where the dessert course had been… let’s call it “ambitious” but ultimately dry. The host had tried to make homemade truffles, but they ended up looking like little rocks that might chip a tooth. I felt bad for everyone who politely took a bite. So, I did what any self-respecting home cook would do: I raided my own kitchen, grabbed the good chocolate, a strong cup of espresso, and a stick of butter, and threw together a quick batch of no-bake truffles to save the night.
Thirty minutes later, the plate was empty. Not a crumb left. My friends asked for the recipe, and I gave it to them with a smirk, claiming it was some secret family heirloom. It wasn’t. It was just really good chocolate, a little caffeine kick, and zero oven time. Since that night, I’ve made these dark chocolate espresso truffles at least a dozen times. They’ve become my go-to for everything from last-minute host gifts to quiet Friday night indulgences. And honestly? They’re way better than the dry rocks I encountered that night.
The best part? You don’t need a candy thermometer, you don’t need to turn on your oven (which is great for keeping the house cool in summer), and you only need five ingredients. Seriously. Five. If you can melt chocolate and roll balls, you can make these. I’ve tested this recipe with different types of dark chocolate and different brands of espresso powder, and I’ve finally nailed down the exact ratios that give you that perfect snap, that creamy center, and that rich coffee flavor without tasting bitter. These are the real deal. No fancy techniques, no weird gadgets, just pure, indulgent chocolate magic.
Why You’ll Love This 5-Ingredient No-Bake Dessert
Look, I love baking. I really do. But sometimes, I don’t want to spend an hour preheating the oven, washing a dozen bowls, and worrying about whether my cookies spread correctly. Sometimes, I just want chocolate. And that’s exactly why these dark chocolate espresso truffles have taken over my kitchen. Here’s why they’re in my regular rotation:
- Zero Oven Required — This is huge for me. In the summer, I refuse to turn on the oven unless I’m making pizza. These truffles are made in the microwave or a double boiler, and then you just chill them. No heat, no stress, no mess. It’s literally the easiest dessert I make.
- Five Ingredients Max — I’m not exaggerating. Dark chocolate, heavy cream, butter, espresso powder, and something for coating. That’s it. You probably have half of these in your pantry right now. If you don’t, it’s a ten-minute grocery run. No hunting for obscure spices or specialty items.
- Make-Ahead Friendly — I make these at least three days before I need them. They actually get better as they sit in the fridge, letting the flavors meld and the texture firm up. I can whip them up on Sunday and have gourmet gifts ready for the week. It’s my secret weapon for last-minute events.
- Restaurant-Quality Flavor — These taste like they came from a high-end chocolate shop, not my kitchen. The espresso cuts through the richness of the chocolate, making it taste sophisticated and complex. My husband says they taste like a fancy coffee shop dessert, but better because they’re homemade.
- Gluten-Free by Default — If you’re hosting friends with gluten sensitivities, these are a lifesaver. As long as you check your chocolate and coating ingredients, there’s zero gluten involved. I’ve made these for gluten-free neighbors, and they’ve been thrilled.
- Perfect for Gifting — I’ve packaged these in little wax paper cups and tied them with ribbon, and they look incredibly professional. I’ve given them to teachers, neighbors, and coworkers, and the compliments never stop. It’s a gift that says, “I care,” without costing a fortune or taking all weekend.
So basically, if you want a dessert that looks fancy, tastes incredible, takes almost no effort, and makes everyone happy, these are it. I’ve made them for game day snacks (paired with buffalo chicken sliders for a sweet-and-spicy contrast), for holiday gifts, and just for myself on bad days. They work for every occasion.
Ingredients You’ll Need
Here’s the thing about truffles: because there are so few ingredients, quality matters. You can’t hide behind spices or vanilla extract. You need good chocolate. Here’s what I use and why it matters.
For the Truffle Center
Dark Chocolate Chips or Chopped Bar (12 ounces / 340g) — This is the star. I use 60-70% cocoa dark chocolate. It’s sweet enough to be enjoyable but bitter enough to balance the coffee. I prefer chopping up a chocolate bar because it melts more evenly than chips, which often contain stabilizers that can make the texture slightly waxy. But chips work in a pinch. Just make sure they’re high quality. Ghirardelli or Lindt are my go-to brands.
Heavy Cream (½ cup / 120ml) — This creates the ganache base. Full-fat heavy cream is non-negotiable here. It provides the richness and the smooth texture. If you use half-and-half, the truffles might be too soft. If you use milk, they’ll be too runny. Stick with heavy cream.
Unsalted Butter (2 tablespoons / 30g) — This adds shine and a silky mouthfeel. It also helps stabilize the ganache. I use unsalted so I can control the saltiness. Room temperature butter melts faster, which is helpful if you’re using the microwave method.
Instant Espresso Powder (1 tablespoon / 8g) — This is the “espresso” part of the truffles. Do not use instant coffee granules—they’re too gritty and don’t dissolve as well. Espresso powder is finely ground and dissolves instantly into the hot cream. It enhances the chocolate flavor rather than making it taste like coffee. If you’re sensitive to caffeine, you can skip it, but I highly recommend keeping it. It makes the chocolate taste more like chocolate.
Salt (¼ teaspoon) — A pinch of salt is crucial. It balances the sweetness and makes the chocolate flavor pop. I use fine sea salt.
For the Coating
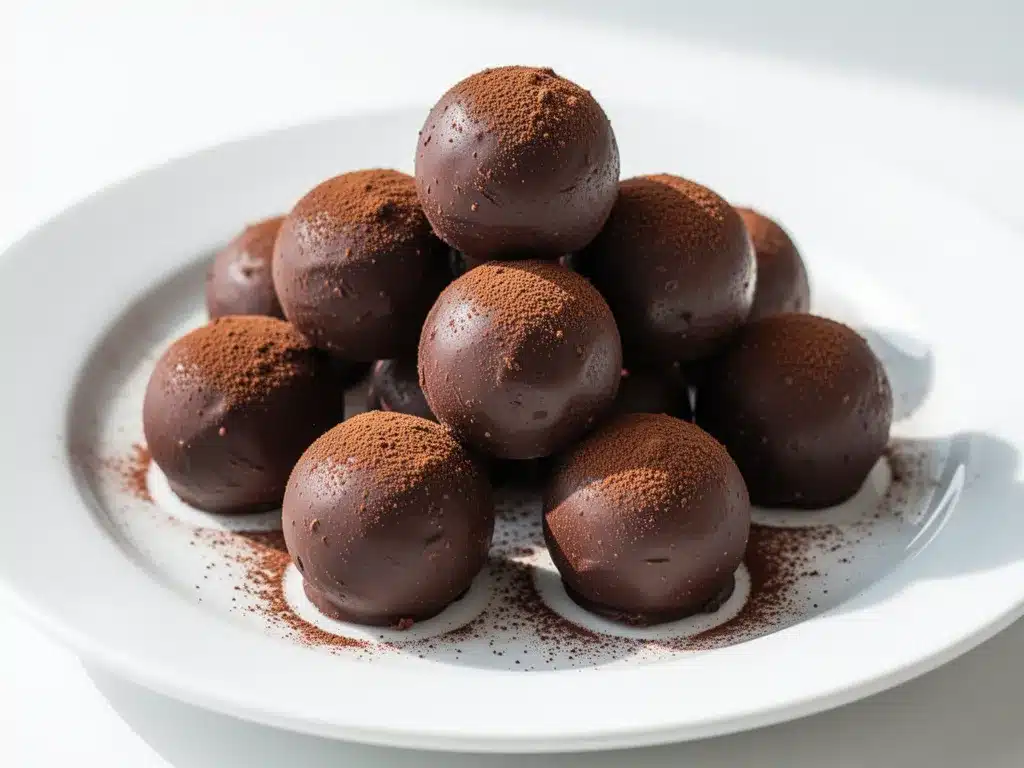
Dusted Cocoa Powder (½ cup / 50g) — Traditional and elegant. I use unsweetened cocoa powder, preferably Dutch-processed for a darker color and smoother taste. It gives that classic truffle look.
Or: Mini Chocolate Chips (1 cup / 150g) — For a sweeter, crunchier coating. I roll some in cocoa and some in mini chips. It adds a nice texture contrast.
Or: Crushed Nuts (½ cup / 60g) — Toasted pecans, almonds, or hazelnuts add a wonderful crunch and nutty flavor. I love pairing this with the espresso flavor.
Pro Tip: I always keep a small bowl of room-temperature water nearby. If the chocolate feels too sticky to roll, wet your hands slightly, and it will glide smoothly. Dry hands = sticky mess.
Equipment Needed
You don’t need a fancy kitchen for this. Here’s what I actually use:
Microwave-Safe Bowl — I use a large glass bowl. If you’re using the stove method, a small saucepan works too. Just make sure it’s big enough to hold the chocolate and cream without spilling.
Silicone Spatula — Essential for stirring the ganache until it’s smooth. I love silicone because it scrapes the bowl clean and doesn’t scratch the surface.
Parchment Paper or Silpat Mat — To line a baking sheet. This keeps the truffles from sticking and makes cleanup a breeze. I never skip this step.
Small Bowl for Coatings — I use three small bowls if I’m rolling in different coatings. It keeps everything organized.
Teaspoon or Melon Baller — For scooping uniform portions. I don’t measure these strictly—I just eyeball it—but a teaspoon helps keep them consistent. If you want perfect spheres, a melon baller is great.
Optional: Double Boiler — If you’re nervous about burning chocolate in the microwave, a double boiler is safer. But honestly, the microwave is faster and easier if you do it in short bursts.
How to Make Dark Chocolate Espresso Truffles
Alright, let’s make these! It’s surprisingly simple. I’m walking you through exactly how I do it, including the little tricks I’ve picked up over the years.
Step 1: Prep Your Station (5 minutes)
Before you start melting chocolate, get everything ready. Line a baking sheet with parchment paper. Place your coating options (cocoa powder, crushed nuts, mini chips) in small bowls. Set them next to your workstation. Once the chocolate is melted, you need to work quickly, so having everything within arm’s reach is key. I also make sure my hands are clean and dry—or have a bowl of water ready if you’re prone to sticky hands.
Step 2: Melt the Chocolate (2-3 minutes)
Chop your dark chocolate into small, even pieces if you’re using a bar. Place the chocolate in a microwave-safe bowl. If you’re using chips, you can skip this step. Microwave on medium power (50%) in 30-second intervals. After each interval, stir well. This is crucial—stirring distributes the heat and prevents burning. Continue until the chocolate is mostly melted, then stir until smooth. The residual heat will finish melting any remaining chunks. If you’re using a double boiler, place the bowl over simmering water and stir until smooth. Do not let the bowl touch the water.
Step 3: Make the Ganache (2 minutes)
Heat the heavy cream in a small saucepan until it just begins to simmer (small bubbles around the edges). Do not let it boil vigorously. Pour the hot cream over the melted chocolate. Let it sit for 1 minute without stirring. This allows the cream to melt the chocolate gently. After 1 minute, add the softened butter and instant espresso powder. Stir slowly but thoroughly until the mixture is completely smooth and glossy. This should take about 1-2 minutes. If there are any lumps, keep stirring. The mixture should look like thick, shiny pudding.
Step 4: Chill the Ganache (2-4 hours)
Cover the bowl with plastic wrap, pressing it directly onto the surface of the ganache to prevent a skin from forming. Refrigerate for at least 2 hours, or until the ganache is firm enough to scoop. I usually make this the night before. If you rush this step, the truffles will be too soft to roll. If you’re in a hurry, you can put it in the freezer for 30 minutes, but watch it closely—it can harden too fast.
Step 5: Roll the Truffles (15-20 minutes)
Once the ganache is firm, use a teaspoon or melon baller to scoop out portions. Roll each portion between your palms to form a smooth ball. If the chocolate feels too sticky, dip your hands in cold water for a second and dry them. Place the rolled truffles on the prepared baking sheet. Work quickly so the chocolate doesn’t get too warm. If your kitchen is hot, put the baking sheet in the fridge for 10 minutes between batches.
Step 6: Coat and Serve (10 minutes)
Roll each truffle in your chosen coating. For cocoa powder, I like to sift it into a bowl first to remove lumps, then gently roll the truffles until coated. For nuts or mini chips, just press them on. Place the coated truffles back on the baking sheet. Refrigerate for at least 30 minutes before serving to set the coating. This step ensures the coating sticks and doesn’t rub off.
Visual Cue: Your truffles should look like little, shiny jewels. They should hold their shape perfectly when you pick them up. If they melt in your hands, your kitchen is too warm, or the ganache wasn’t chilled enough.
Expert Tips & Tricks
Here’s everything I’ve learned from making these dozens of times. These tips will save you from my mistakes.
Quality Chocolate Matters
I cannot stress this enough. Cheap chocolate chips with palm oil will make your truffles grainy and waxy. Use real dark chocolate. It’s worth the extra few dollars. I’ve used Ghirardelli 60% and Lindt 70%, and both are fantastic. Avoid chocolate labeled “baking chips” if possible—they often have stabilizers.
Don’t Skip the Chill
I know it’s tempting to roll them right away. Don’t. The ganache needs to be firm. If it’s too soft, you’ll end up with a bowl of chocolate goo instead of truffles. Patience pays off.
Use Cold Hands
Chocolate melts at body temperature. If your hands are warm, the truffles will melt. Keep a bowl of ice water nearby to cool your hands between rolling. It sounds silly, but it makes a huge difference.
Espresso Powder, Not Coffee
Instant espresso powder dissolves completely. Instant coffee granules do not. If you use granules, you’ll get gritty bits in your truffles. Espresso powder is smoother and more intense.
Store Properly
Keep truffles in an airtight container in the fridge. They last up to two weeks. If you freeze them, they last up to three months. Thaw in the fridge overnight before eating.
Variations & Substitutions
Once you’ve nailed the basic version, here’s how you can mix it up. I’ve tried all of these.
Peppermint Truffles
Add ½ teaspoon peppermint extract to the ganache. Roll in crushed peppermint candies. Perfect for holidays.
Orange Zest Truffles
Add the zest of one orange to the ganache. Roll in cocoa powder. The citrus pairs beautifully with dark chocolate.
Sea Salt Caramel
Add a tiny drizzle of caramel sauce to the ganache before chilling. Sprinkle flaky sea salt on top after coating. This is my favorite variation.
Coffee Lovers
Double the espresso powder to 2 tablespoons. Roll in finely ground coffee beans for an extra kick.
Gluten-Free
This recipe is naturally gluten-free. Just ensure your chocolate and coatings are certified gluten-free. I use Enjoy Life chocolate chips for this.
Dairy-Free
Replace heavy cream with full-fat coconut cream and butter with coconut oil. The flavor will be slightly coconutty, but still delicious. Roll in coconut flakes for extra flavor.
Serving & Storage
These truffles are best served chilled. I usually take them out of the fridge 10 minutes before serving to let them soften slightly. They’re perfect with a cup of black coffee or a glass of red wine. I also love pairing them with spiked apple cider margaritas for a cozy autumn vibe.
Storage: Keep in an airtight container in the refrigerator for up to 2 weeks. Layer them with parchment paper to prevent sticking. They can also be frozen for up to 3 months. Thaw in the fridge overnight.
Serving Suggestions: Serve on a platter with fresh berries or a dusting of powdered sugar. They make beautiful centerpieces for dessert tables. I also package them in small boxes for gifts.
Nutrition Information
I’m not a nutritionist, but here’s the breakdown if you’re tracking. These are rich, so a little goes a long way.
Per Truffle (approx. 10g):
- Calories: 50
- Fat: 3g
- Carbs: 5g
- Sugar: 4g
- Protein: 1g
These are high in fat and sugar, as expected for chocolate truffles. But they’re also rich in antioxidants from the dark chocolate. Enjoy in moderation! I usually limit myself to 2-3 truffles at a time. They’re intense!
Final Thoughts
So that’s my dark chocolate espresso truffle recipe! I’ve probably talked your ear off at this point, but when you make a recipe this often, you have a lot to say about it. These truffles have saved me more times than I can count. They’re my answer to “I need a quick dessert” or “I need a last-minute gift.” They’re easy, delicious, and always a crowd-pleaser.
Make them your own! Try different coatings, add different extracts, or play with the chocolate percentage. The best recipes are the ones you adapt to your tastes. If you make these, drop a comment and let me know what you think! I love hearing how recipes turn out in your kitchen. And if something doesn’t work, tell me that too—I’m here to help troubleshoot.
Happy cooking! And I hope your kitchen smells half as good as mine does right now.
Frequently Asked Questions
Can I use milk chocolate instead of dark chocolate?
You can, but the truffles will be much sweeter and less complex. Dark chocolate (60-70% cocoa) provides the best balance with the espresso. If you use milk chocolate, reduce the espresso powder slightly to avoid bitterness. I prefer dark chocolate for its richer flavor.
Why are my truffles too soft to roll?
Usually, this means the ganache wasn’t chilled long enough. Put it back in the fridge for another hour. If they’re still too soft, add a tablespoon of sifted cocoa powder to the mixture and chill again. This can help absorb excess moisture.
Can I freeze these truffles?
Yes! Place them in an airtight container with parchment paper between layers. They’ll last up to 3 months. Thaw in the fridge overnight before eating. Do not thaw at room temperature, as condensation can ruin the texture.
What if I don’t have instant espresso powder?
You can skip it, but the flavor won’t be as rich. You could use a teaspoon of instant coffee granules, but grind them finely first. Espresso powder is preferred because it dissolves completely. If you don’t have either, just make plain chocolate truffles—they’re still delicious!
How long do these last?
In the fridge, up to 2 weeks. In the freezer, up to 3 months. They’re best eaten within the first week for optimal texture and flavor.
Can I make these ahead of time?
Absolutely! In fact, they taste better after a day or two in the fridge. I usually make them 3-4 days before an event. Just store them properly in an airtight container.
Do I need a candy thermometer?
No! This is a no-bake recipe. You just need to melt the chocolate and cream gently. A thermometer is unnecessary and complicates things. Just use the microwave or double boiler method.
Pin This Recipe!
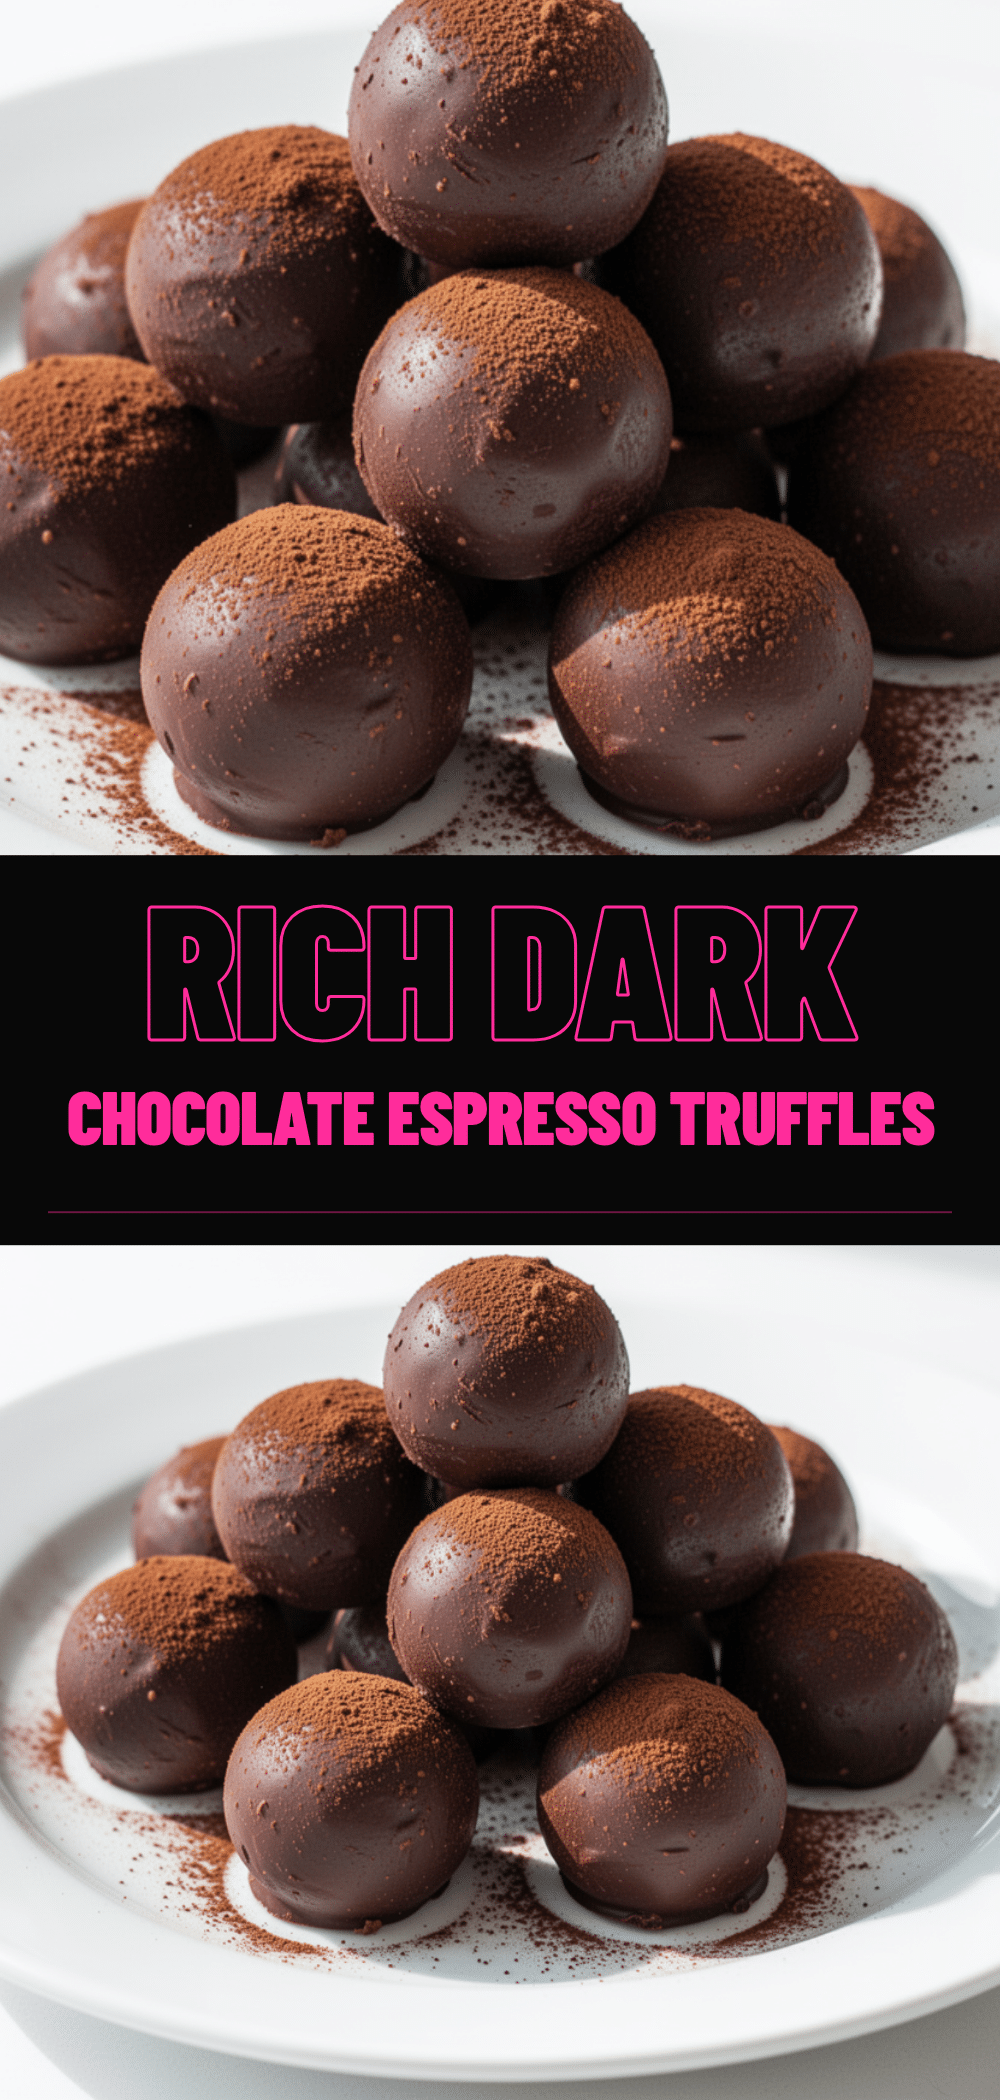
Dark Chocolate Espresso Truffles: 5-Ingredient No Bake
- Total Time: 2 hours 10 minutes
- Yield: Approximately 30-40 truffles 1x
Description
Rich, creamy dark chocolate truffles infused with espresso powder, made with just five ingredients and no oven required. Perfect for gifting or last-minute indulgence.
Ingredients
- 12 ounces (340g) dark chocolate chips or chopped bar (60-70% cocoa)
- ½ cup (120ml) heavy cream
- 2 tablespoons (30g) unsalted butter, softened
- 1 tablespoon (8g) instant espresso powder
- ¼ teaspoon fine sea salt
- Coating options: ½ cup unsweetened cocoa powder, 1 cup mini chocolate chips, or ½ cup crushed toasted nuts
Instructions
- Line a baking sheet with parchment paper and prepare coating bowls.
- Chop dark chocolate into small pieces if using a bar. Place in a microwave-safe bowl.
- Microwave chocolate on medium power (50%) in 30-second intervals, stirring well after each interval, until mostly melted. Stir until smooth.
- Heat heavy cream in a small saucepan until it just begins to simmer. Pour hot cream over melted chocolate and let sit for 1 minute.
- Add softened butter and instant espresso powder. Stir slowly until the mixture is completely smooth and glossy.
- Cover the bowl with plastic wrap pressed directly onto the surface. Refrigerate for at least 2 hours until firm.
- Scoop portions of ganache using a teaspoon or melon baller. Roll between palms to form balls. If sticky, dip hands in cold water.
- Roll truffles in chosen coating (cocoa powder, mini chips, or nuts).
- Place coated truffles on the baking sheet and refrigerate for at least 30 minutes before serving to set the coating.
Notes
Quality chocolate matters; avoid baking chips with stabilizers. Do not skip the chilling step as the ganache must be firm to roll. Use cold hands to prevent melting. Instant espresso powder is preferred over instant coffee granules for smooth texture. Store in an airtight container in the fridge for up to 2 weeks or freeze for up to 3 months.
- Prep Time: 5 minutes
- Cook Time: 5 minutes
- Category: Dessert
- Cuisine: American
Nutrition
- Serving Size: 1 truffle (approx. 1
- Calories: 50
- Sugar: 4
- Sodium: 15
- Fat: 3
- Saturated Fat: 2
- Carbohydrates: 5
- Fiber: 1
- Protein: 1
Keywords: dark chocolate truffles, espresso truffles, no bake dessert, 5 ingredient recipe, gluten free dessert, chocolate ganache, holiday gifts, easy truffles


