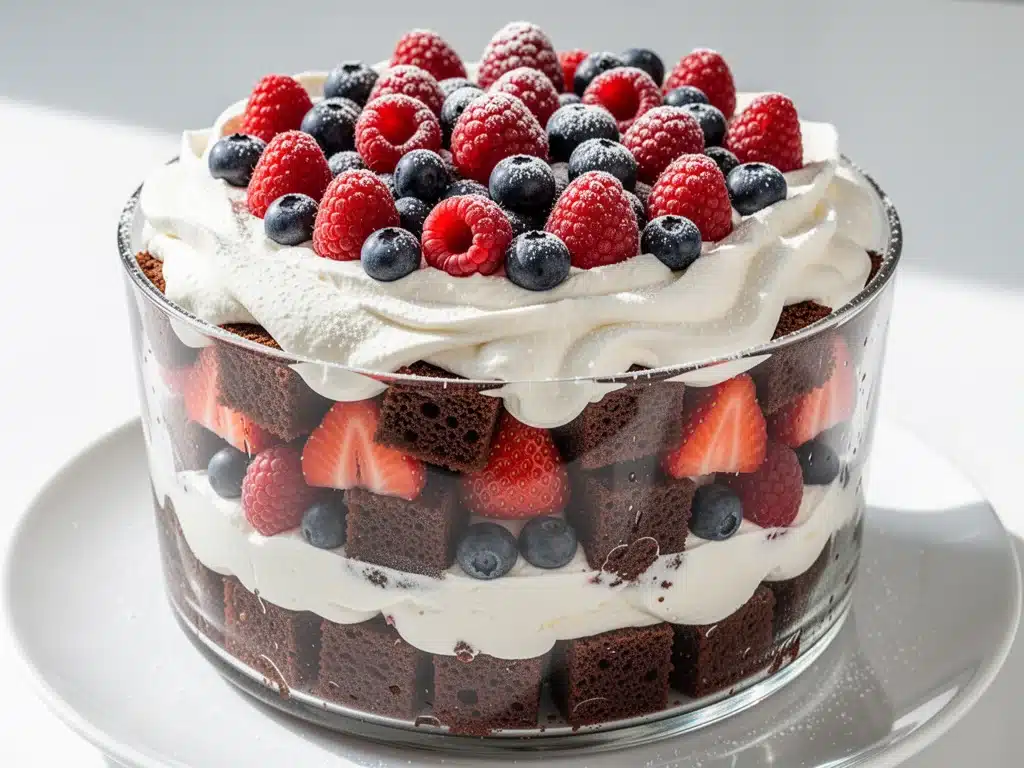
Last July, I was standing in my kitchen at 6:30 PM on a Friday, sweating through my shirt because the AC had decided to take a vacation. My family was due back from the beach in two hours, and I had zero dessert plans. I was exhausted, the grocery store was a nightmare, and the idea of turning on the oven felt like climbing Mount Everest in the middle of a heatwave. I didn’t want a heavy cake. I didn’t want to bake. I just wanted something cold, sweet, and impressive that wouldn’t turn my kitchen into a sauna.
I looked at the counter. There was a half-empty tub of heavy cream, a bag of strawberries that were getting a little soft, a punnet of blueberries that looked innocent enough, and a box of pound cake I’d bought for a brunch that never happened. It was a disaster waiting to happen, or the start of something delicious. I chose delicious.
I whipped the cream, mashed the strawberries with sugar, and started layering. I wasn’t aiming for restaurant perfection; I was aiming for “please let us eat something sweet before we melt.” But when I pulled it out of the fridge an hour later, the colors were vibrant, the layers were distinct, and the scent of vanilla and berries filled the whole house. My kids devoured it. My husband asked if I’d bought it from a fancy bakery. I laughed and told him it took me twenty minutes to throw together.
That accidental creation became the Summer Berry Dessert Trifle. It’s become my go-to for every gathering since. Whether it’s a backyard barbecue, a last-minute dinner party, or just a Tuesday night treat, this no-bake trifle is the hero I didn’t know I needed. It’s refreshing, it’s gorgeous, and it’s stupidly easy. I’ve made this trifle for over a dozen different events now, tweaking the ratios and swapping berries as the seasons change, but the core magic remains the same: it’s cold, creamy, and full of fresh fruit.
If you’re tired of complicated desserts that require a stand mixer and three hours of your life, this is your answer. It’s the kind of recipe that makes people think you’re a professional pastry chef, when really, you just know how to layer things nicely. Let me show you how to make it.
Why You’ll Love This Recipe
I don’t say this lightly, but this Summer Berry Dessert Trifle has completely changed my dessert game. It solves the biggest problem of summer cooking: heat. No oven, no stress, no sweat. Here’s why this specific trifle keeps me coming back to it every single time:
- Zero Baking Required — Seriously. If you can whisk cream and layer fruit, you can make this. I’ve made this while hosting guests in the other room. It’s the ultimate multitasker. No preheating, no timer watching, no cleanup from baking pans.
- Make-Ahead Friendly — This is the secret weapon. The flavors actually get better after sitting in the fridge for a few hours. The cake absorbs the juices, the cream sets up, and everything melds together. I can make this the night before a party and just pull it out when people arrive. It looks like I planned it all day.
- Visually Stunning — People stop. They take photos. They ask, “How long did this take?” It’s incredibly photogenic with those bright red strawberries and deep purple blueberries against the white cream. It looks like a professional patisserie creation, but it’s rustic and homey.
- Customizable — Ran out of raspberries? Use blackberries. Don’t like pound cake? Use sponge cake or even ladyfingers. This recipe is a framework, not a strict rulebook. I’ve made it with peaches in late summer (check out my grilled peach cobbler if you want something baked, but this trifle is faster), and it’s just as good.
- Light and Refreshing — Unlike heavy cheesecakes or dense brownies, this feels like a treat, not a meal. The acidity from the berries cuts through the richness of the cream. It’s the perfect end to a heavy summer meal.
- Feed a Crowd Easily — I made this for a Labor Day party last year, and it disappeared in minutes. I’ve learned from making my charred corn and black bean dip that parties need easy-to-serve foods. This trifle is perfect for that—just scoop and serve. No slicing required.
This is my answer to “what’s for dessert?” when I want to impress but don’t want to work. It’s reliable, delicious, and always a hit.
Ingredients You’ll Need
Here’s the best part: you probably have most of this already. This trifle relies on simple, high-quality ingredients. Because there aren’t many of them, each one matters. I’m particular about the fruit and the cream, so here’s exactly what I use and why.
For the Berry Compote
Strawberries (1 pound / 450g) — The star of the show. Use ripe, red strawberries. If they’re pale or hard, they’ll be sour. I buy extra because I usually eat a few while prepping. Wash them and hull them (remove the green tops).
Raspberries (1 cup / 150g) — Adds a tart balance to the sweet strawberries. If raspberries are too expensive or out of season, swap them for blackberries or blueberries. I love the mix of textures.
Granulated Sugar (½ cup / 100g) — This draws out the juices from the fruit to make a natural syrup. Adjust based on how sweet your berries are. If they’re super sweet, cut it to ⅓ cup.
Lemon Juice (1 tablespoon / 15ml) — Freshly squeezed. It brightens the flavor and keeps the strawberries from turning brown. Don’t skip it; it adds that “zing” that makes it taste fresh.
Cornstarch (1 teaspoon) — Optional, but helpful. It thickens the berry juices so they don’t make the cake soggy too quickly. Mix it with a tablespoon of cold water first to make a slurry.
For the Cream Layer
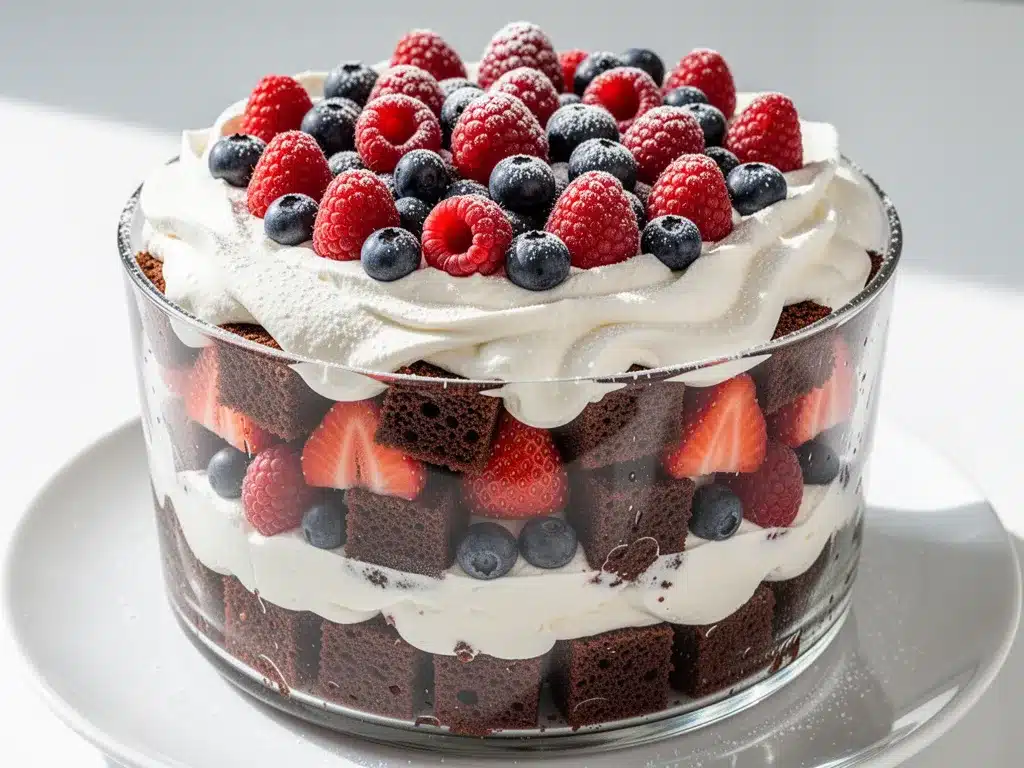
Heavy Cream (2 cups / 480ml) — Must be cold. I keep mine in the fridge until the last second. This is what gives the trifle its structure. Do not use half-and-half; it won’t whip.
Confectioners’ Sugar (½ cup / 60g) — Also called powdered sugar. It dissolves better than granulated sugar in cold cream. Adds sweetness without graininess.
Vanilla Extract (2 teaspoons) — Use real vanilla, not imitation. It makes a huge difference in flavor. I use a dark vanilla for a richer taste.
Cream Cheese (4 oz / 115g) — This is my secret ingredient. Softened. It stabilizes the whipped cream so it doesn’t deflate, and adds a slight tang that balances the sweet berries. It makes the texture richer and more mousse-like.
For the Cake Layer
Pound Cake (1 loaf / about 12 slices) — I use plain or vanilla pound cake. It’s sturdy enough to hold up to the fruit juices without disintegrating immediately. You can also use angel food cake for a lighter option, or sponge cake. I’ve even used leftover buffalo chicken sliders buns in a pinch (don’t judge me, it was a weird experiment), but pound cake is best.
Optional Garnish — Fresh mint leaves, extra whole berries, or a dusting of powdered sugar. I usually just leave it naked for that rustic look, but mint adds a nice color pop.
Equipment Needed
You don’t need fancy gadgets for this. Here’s what I actually use in my kitchen:
Large Trifle Bowl or Glass Dish — I use a 3-quart glass trifle bowl with stems. It’s beautiful for serving. If you don’t have one, a large glass mixing bowl or even a deep casserole dish works. Glass is best because you can see the pretty layers.
Electric Hand Mixer or Stand Mixer — Whipping cream by hand is possible, but it takes forever and your arm gets tired. A hand mixer is perfect for this. I use my KitchenAid attachment most of the time.
Large Bowl — For whipping the cream. Make sure it’s cold if possible.
Medium Saucepan — For cooking down the berries. If you’re skipping the cornstarch step, you can use a microwave-safe bowl, but the stove gives better control.
Sharp Knife and Cutting Board — For slicing the strawberries and cube-ing the cake.
Measuring Cups and Spoons — Standard stuff. Precision matters less here than with baking, but it helps to be close.
Spatula — For folding the cream and layering. A rubber spatula is best to get every bit of cream out of the bowl.
How to Make It: Step-by-Step
Alright, let’s make this! I’m walking you through exactly how I do it. It’s simple, but there are a few tricks to get those perfect layers.
Step 1: Make the Berry Compote (10 minutes)
Start with the fruit. Wash and hull your strawberries, then slice them into quarters or halves, depending on size. Put them in a medium saucepan along with the raspberries, sugar, lemon juice, and cornstarch slurry. Heat over medium heat, stirring occasionally. Let it bubble gently for about 5-7 minutes. The berries will break down and release their juices. The mixture will thicken slightly as it cools. Remove from heat and let it cool completely to room temperature. If you rush this step, the warm berries will melt the cream. Patience pays off.
Step 2: Whip the Cream (5 minutes)
In a large, cold bowl, combine the heavy cream, cream cheese, confectioners’ sugar, and vanilla extract. Beat on medium-high speed until stiff peaks form. This means when you lift the beaters, the cream stands up straight. Don’t over-whip, or it’ll turn into butter. It should be thick, smooth, and glossy. Taste it—it should be sweet and vanilla-y. If it’s too bland, add a little more sugar.
Step 3: Prep the Cake (5 minutes)
Take your pound cake and slice it into 1-inch cubes. You don’t need to be perfect; rustic cubes look best. If your cake is very fresh and soft, you might want to toast it lightly in the oven for 5 minutes to dry it out slightly. This helps it absorb the juices without getting mushy. If it’s day-old cake, it’s perfect as is.
Step 4: Assemble the Trifle (10 minutes)
This is the fun part. Start with a base layer of cake cubes at the bottom of your trifle bowl. Don’t pack them too tightly; leave some air gaps. Next, spoon a generous layer of the cooled berry mixture over the cake. Make sure to get some of the juicy syrup. Then, dollop large spoonfuls of the whipped cream over the berries. Use your spatula to gently spread it, or just leave it in peaks for a more rustic look. Repeat the layers: cake, berries, cream. Usually, two or three layers are enough. Finish with a final layer of cream on top.
Step 5: Chill and Serve (2+ hours)
Cover the trifle with plastic wrap and refrigerate for at least 2 hours, but overnight is best. This allows the cake to soak up the berry juices and the cream to set. Just before serving, garnish with fresh berries and mint leaves. Scoop it out with a large spoon, trying to get a bit of everything in each serving. The best part? The bottom layer of cake will be soaked and delicious.
Expert Tips & Tricks
Here’s everything I’ve learned from making this trifle dozens of times. These tips will save you from my mistakes.
Keep Everything Cold
When whipping cream, temperature is key. If your kitchen is hot, put your bowl and beaters in the freezer for 10 minutes before starting. Cold cream whips faster and holds its shape better. I learned this the hard way when my cream turned to soup in July.
Cool the Berries Completely
I cannot stress this enough. If the berry compote is even slightly warm, it will melt the whipped cream and make the whole trifle a soupy mess. I usually make the compote the night before. If you’re in a hurry, spread it on a baking sheet to cool it down faster.
Don’t Skip the Cream Cheese
I know it sounds weird in a sweet dessert, but the cream cheese adds stability and tang. It prevents the cream from deflating and adds a cheesecake-like richness. If you’re lactose intolerant, you can use a dairy-free cream cheese alternative, but the texture will be slightly different.
Use Day-Old Cake
Fresh cake is too soft and will disintegrate. Day-old cake has a firmer texture that holds up to the moisture. If you only have fresh cake, toast the cubes briefly. Or, buy a pre-sliced loaf from the bakery that’s been sitting out.
Layer Generously
Don’t be shy with the layers. A trifle should be full of fruit and cream. If you have too much cake, add more berries. If you have too much cream, add more cake. Aim for a balance, but err on the side of more fruit.
Make It Ahead
This trifle is better the next day. The flavors meld, the cake softens, and everything tastes more cohesive. I usually assemble it the night before a party. It saves me so much stress on the day of.
Variations & Substitutions
Once you’ve nailed the basic version, here’s how you can mix it up. I’ve tried all of these.
Tropical Berry Twist
Swap strawberries and raspberries for mango and passion fruit. Use a coconut cream instead of dairy cream. It’s a completely different vibe but just as delicious. Great for summer picnics.
Lemon Blueberry Trifle
Use blueberries and add lemon zest to the cream. Add a layer of lemon curd between the cake and cream. It’s bright and tart. I love this version in early summer when blueberries are just starting to come in.
Chocolate Berry Trifle
Drizzle melted chocolate over the cake layer before adding the berries. Or use chocolate cake instead of pound cake. It’s richer and more indulgent. My kids go crazy for this version.
Gluten-Free Option
Use gluten-free pound cake or even gluten-free sponge cake. Most other ingredients are naturally gluten-free, so just check your labels. I’ve used gluten-free ingredients in other recipes, and it works just as well here.
Dairy-Free Option
Use coconut cream (the thick part from a can of full-fat coconut milk) and dairy-free cream cheese. It’s richer and has a coconut flavor, which pairs well with berries. It won’t whip as stiffly, so chill the can overnight.
Serving & Storage
How to Serve:
I serve this straight from the bowl with large spoons. It’s rustic and communal. But for dinner parties, I scoop individual portions into small glasses or bowls. It looks more elegant and makes portion control easier. Pair it with a simple green salad or grilled meats as a light finish to a meal. It’s also great alongside my spiked apple cider margaritas for a festive drink pairing.
Storage:
Store in the refrigerator, covered with plastic wrap, for up to 3 days. The cream will hold up well, and the berries will stay fresh. Don’t freeze it—the cream will separate and become grainy when thawed. If you have leftovers, just eat them straight from the fridge. It’s that good.
Reheating:
Do not reheat. This is a cold dessert. Reheating will melt the cream and make the texture weird. Just eat it cold.
Nutrition Information
I’m not a nutritionist, but here’s the breakdown if you’re tracking. This is a rich dessert, so portion control is key.
Per Serving (based on 8 servings):
- Calories: 380
- Protein: 4g
- Carbs: 35g
- Fiber: 2g
- Sugar: 28g
- Fat: 24g
- Saturated Fat: 14g
What’s good: It has some vitamin C from the berries. What to know: It’s high in sugar and fat from the cream and cake. But it’s homemade, so you know exactly what’s in it. Much better than store-bought trifle, which is often full of preservatives.
Final Thoughts
So that’s my Summer Berry Dessert Trifle! I’ve probably talked your ear off at this point, but when you make a recipe this often, you have a lot to say about it. This trifle has saved me more times than I can count. It’s my answer to “what’s for dessert?” when I’m tired, hot, and don’t want to bake. My family loves it, my friends beg for the recipe, and I love that it’s so easy to make.
Make it yours! Try different berries, swap the cake, add some liqueur if you’re feeling fancy. The best recipes are the ones you adapt to your tastes. If you make this, drop a comment and let me know what you think! I love hearing how recipes turn out in your kitchen. And if something doesn’t work, tell me that too—I’m here to help troubleshoot.
Happy cooking! And I hope your kitchen smells half as good as mine does right now.
Frequently Asked Questions
Can I use frozen berries?
Yes, you can, but thaw them first and drain off the excess liquid. Frozen berries can be watery, so you might need to cook them longer to get the right consistency. Fresh berries are best for their texture and flavor, but frozen works in a pinch.
Why did my trifle turn out soupy?
This usually happens if the berry compote wasn’t cooled completely before layering, or if the cake was too fresh and absorbed too much liquid too quickly. Make sure your compote is room temperature or cold, and use day-old cake. Also, don’t skip the cornstarch—it helps thicken the juices.
Can I make this ahead of time?
Absolutely. This trifle is actually better the next day. Assemble it up to 24 hours in advance and store it in the fridge. The flavors will meld, and the cake will soften perfectly. Just add fresh garnish right before serving.
What kind of cake is best for trifle?
Pound cake is my favorite because it’s sturdy and slightly sweet. Sponge cake is lighter and absorbs juices quickly. Angel food cake is very light but can fall apart if it gets too wet. Ladyfingers are traditional for tiramisu but work here too. Avoid very soft or moist cakes like banana bread.
Can I add alcohol to this?
Yes! A splash of Chambord, Kirsch, or even champagne in the berry compote adds a nice adult touch. You can also brush the cake layers with a little liqueur. Just be careful not to make it too wet.
How do I store leftovers?
Store in an airtight container in the fridge for up to 3 days. The cream will hold up well, but the cake will continue to soften. It’s still delicious on day two, maybe even better.
Can I freeze this trifle?
No, I don’t recommend it. The whipped cream will separate and become grainy when thawed. The texture will be ruined. It’s best made fresh or stored in the fridge for a day or two.
Pin This Recipe!
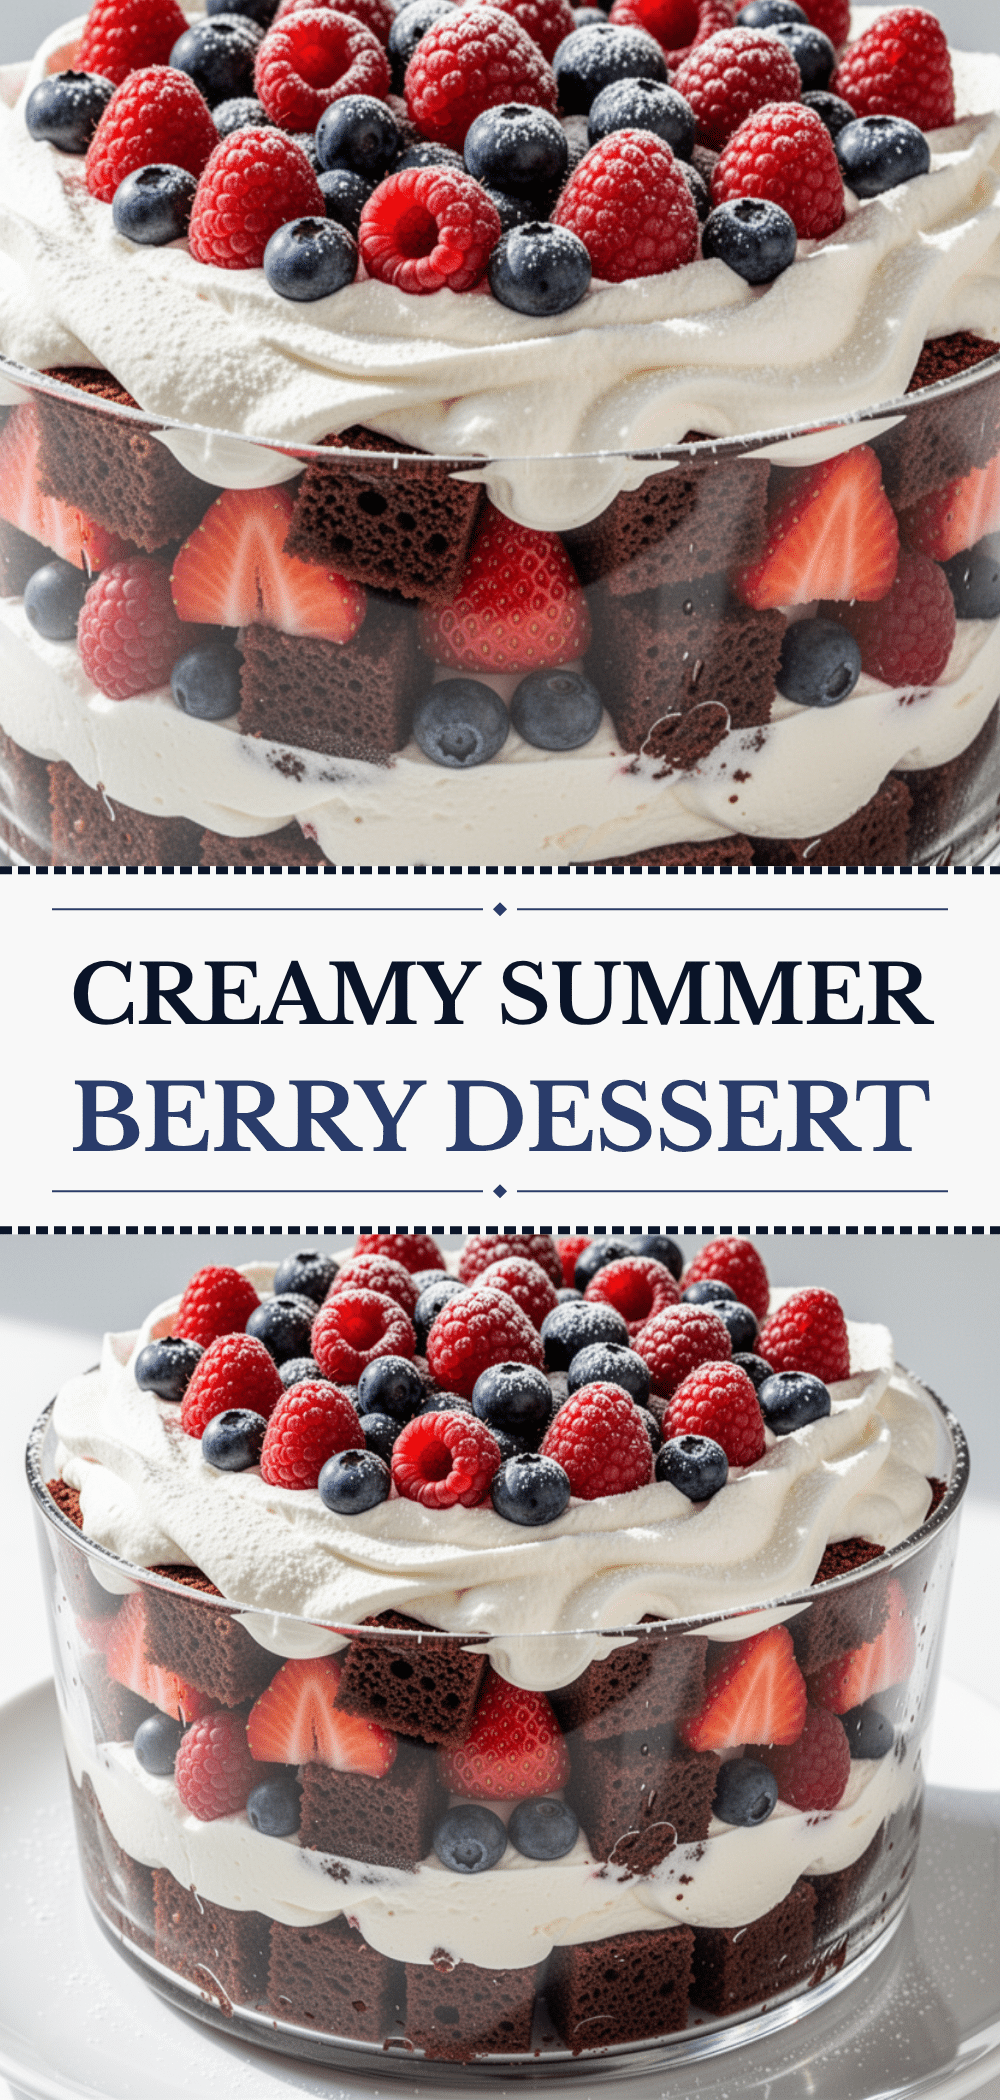
Summer Berry Dessert Trifle: Easy No Bake Party Recipe
- Total Time: 30 minutes
- Yield: 8 servings 1x
Description
A refreshing, no-bake summer dessert featuring layers of pound cake, fresh berry compote, and stabilized whipped cream. This easy-to-make trifle is perfect for parties, requires minimal effort, and tastes like a professional patisserie creation.
Ingredients
- 1 pound (450g) strawberries, washed, hulled, and sliced
- 1 cup (150g) raspberries
- 1/2 cup (100g) granulated sugar
- 1 tablespoon (15ml) fresh lemon juice
- 1 teaspoon cornstarch mixed with 1 tablespoon cold water
- 2 cups (480ml) heavy cream, cold
- 1/2 cup (60g) confectioners’ sugar
- 2 teaspoons vanilla extract
- 4 oz (115g) cream cheese, softened
- 1 loaf (about 12 slices) pound cake, cut into 1-inch cubes
- Fresh mint leaves and extra berries for garnish (optional)
Instructions
- Make the berry compote: In a medium saucepan, combine strawberries, raspberries, granulated sugar, lemon juice, and cornstarch slurry. Heat over medium heat, stirring occasionally, until the mixture bubbles and thickens slightly (5-7 minutes). Remove from heat and let cool completely to room temperature.
- Whip the cream: In a large, cold bowl, combine heavy cream, softened cream cheese, confectioners’ sugar, and vanilla extract. Beat on medium-high speed until stiff peaks form. Be careful not to over-whip.
- Prep the cake: Cut pound cake into 1-inch cubes. If the cake is very fresh, toast the cubes lightly for 5 minutes to dry them out slightly; otherwise, use day-old cake for best results.
- Assemble the trifle: In a large trifle bowl or glass dish, create a base layer of cake cubes. Top with a layer of the cooled berry compote, ensuring some syrup is included. Dollop and spread the whipped cream over the berries. Repeat layers (cake, berries, cream) two or three times, finishing with a final layer of cream on top.
- Chill and serve: Cover the trifle with plastic wrap and refrigerate for at least 2 hours, or overnight for best results. Garnish with fresh mint and berries before serving.
Notes
Keep all ingredients cold, especially the cream and bowl, to ensure the cream whips properly. Ensure the berry compote is completely cooled before layering to prevent the cream from melting. For a gluten-free option, use gluten-free pound cake. For a dairy-free option, use coconut cream and dairy-free cream cheese.
- Prep Time: 20 minutes
- Cook Time: 10 minutes
- Category: Dessert
- Cuisine: American
Nutrition
- Serving Size: 1 serving
- Calories: 380
- Sugar: 28
- Fat: 24
- Saturated Fat: 14
- Carbohydrates: 35
- Fiber: 2
- Protein: 4
Keywords: summer dessert, no bake trifle, berry trifle, easy party dessert, pound cake trifle, whipped cream dessert, make ahead dessert


