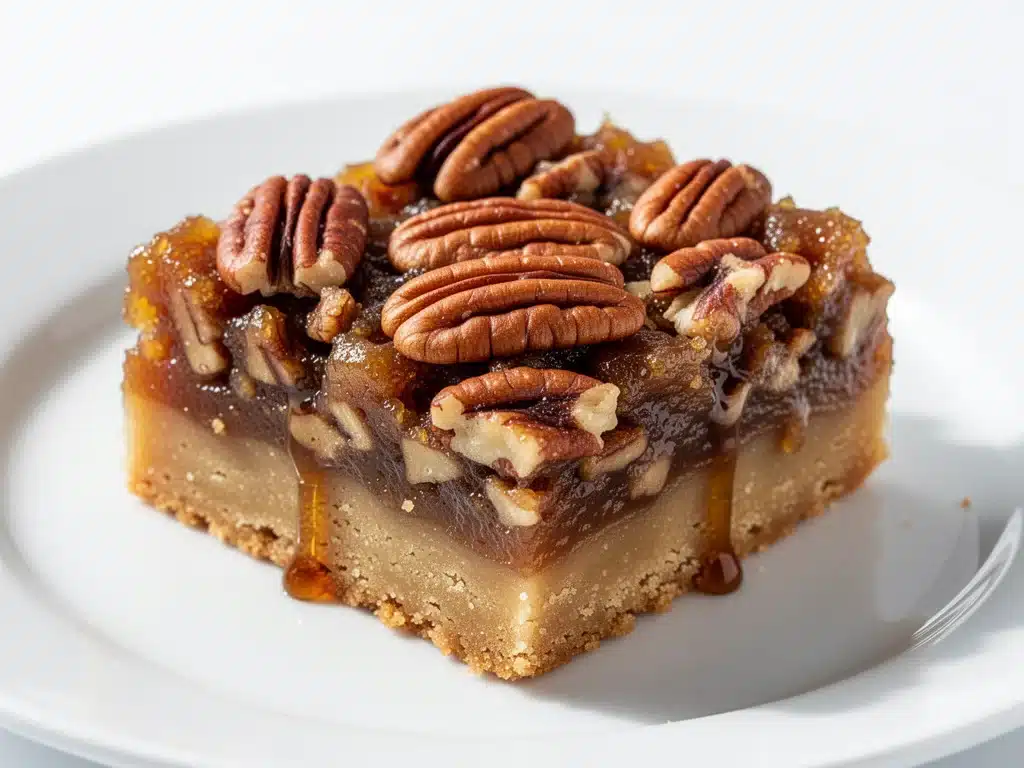
There was a specific Tuesday in November about three years ago when I almost gave up on dessert entirely. I had just come home from a exhausting week at work, my husband had mentioned he was craving something “sweet and nutty,” and my kitchen counter looked like a battlefield of failed baking attempts. I had tried making traditional pecan pie, but the crust was soggy, the filling was too runny, and honestly? I was just too tired to watch a pie for an hour. So, I did what any desperate home cook does: I opened the pantry, grabbed a box of butter cookies, some maple syrup, and a bag of pecans, and threw them together in a square pan. I called it “emergency dessert.”
It wasn’t supposed to be good. It was supposed to be edible. But when I pulled that pan out of the oven, the smell hit me first—that deep, caramelized maple scent mixed with toasted nuts. It smelled like autumn. It smelled like comfort. I cut a warm square, let it cool for exactly two minutes (which felt like two hours), and took a bite. The texture was everything I wanted: a buttery, crisp shortbread base that gave way to a sticky, chewy, maple-pecan topping that clung to my teeth in the best possible way.
That “emergency” dessert became the most requested recipe in our house. My kids ask for these sticky maple pecan bars more than any other treat. They’re easier than pie, more interesting than a standard bar cookie, and they make your entire kitchen smell like a high-end bakery. I’ve made these at least a dozen times since that Tuesday—sometimes with real pecans, sometimes with walnuts when pecans were too expensive, and always with a little extra maple syrup because, well, it’s maple. This recipe is my go-to for weeknight cravings, holiday potlucks, and those moments when I need to feel like I’m a competent baker without actually trying hard.
Why You’ll Love This Recipe
Look, I’m not going to sit here and tell you these are the most complicated bars in the world. They aren’t. But they deliver that complex, gourmet flavor profile that usually takes hours of fussing, all in under an hour. Here’s why these sticky maple pecan bars have completely replaced my other dessert recipes:
Two Doughs, Zero Stress — Most bar recipes use one dough. These use a buttery shortbread crust and a sweet, sticky topping. It sounds like more work, but it’s actually easier because you’re just pressing dough into a pan and pouring topping over it. No rolling pins, no pie crusts that crack and weep. If you can press dough with your fingers, you can make this.
Shortbread Base That Actually Stays Crisp — The secret to these bars is the shortbread crust. It’s rich, buttery, and holds up against the wet maple filling without getting soggy. I’ve tested this ratio multiple times, and the cornstarch in the crust is the key—it tenderizes the butter without making it cakey. You get that melt-in-your-mouth texture that pairs perfectly with the chewy topping.
Pantry-Friendly Ingredients — You probably already have everything you need. Butter, flour, sugar, eggs, maple syrup, and pecans. No exotic spices or hard-to-find extracts. The only thing you might need to grab is pure maple syrup (not pancake syrup, trust me), but that’s a staple for me.
Makes Amazing Leftovers — These bars actually improve after sitting overnight. The flavors meld, the sticky topping sets into a perfect chew, and they stay moist for days. I keep a pan in the fridge at all times. When I need a snack or a quick treat for unexpected guests, these are always ready to go.
Budget-Smart — Pecans can be pricey, but you don’t need a ton for this recipe. One bag of pecans stretches across two batches if you’re careful. Plus, making these at home costs about $10, whereas buying a similar dessert at a bakery or café will set you back $25 or more.
This is my answer to “what’s for dessert?” when I don’t want to make a big fuss but still want something that feels special. It’s reliable, delicious, and always gets compliments. Even my picky-eater nephew, who usually turns his nose up at “sweet bars,” asks for seconds.
Ingredients You’ll Need
I’m particular about a few things in this recipe, mainly because I’ve learned the hard way that shortcuts can ruin the texture. Here’s what you need to get that perfect balance of buttery crust and sticky topping.
For the Shortbread Crust
Unsalted butter (1 cup / 226g, softened) — This is non-negotiable. Use good quality butter. Salted butter can work, but you’ll need to reduce the added salt in the recipe. I prefer unsalted because it lets the pure butter flavor shine through in the shortbread. Soften it on the counter for 30 minutes before you start.
Granulated white sugar (½ cup / 100g) — This sweetens the crust without making it too cakey. Some people use brown sugar here, but I find it makes the crust too dense. White sugar keeps it light and crumbly.
All-purpose flour (2 cups / 250g) — Standard flour works fine. Don’t try to swap this for cake flour or whole wheat unless you want a very different texture. I use Gold Medal all-purpose flour because it’s consistent.
Cornstarch (2 tablespoons / 16g) — This is the secret weapon. Cornstarch tenderizes the shortbread, giving it that melt-in-your-mouth quality. It also helps the crust stay crisp under the wet topping. Don’t skip it.
Salt (½ teaspoon) — Just a pinch to balance the sweetness. If you’re using salted butter, reduce this to a quarter teaspoon.
For the Sticky Maple Pecan Topping
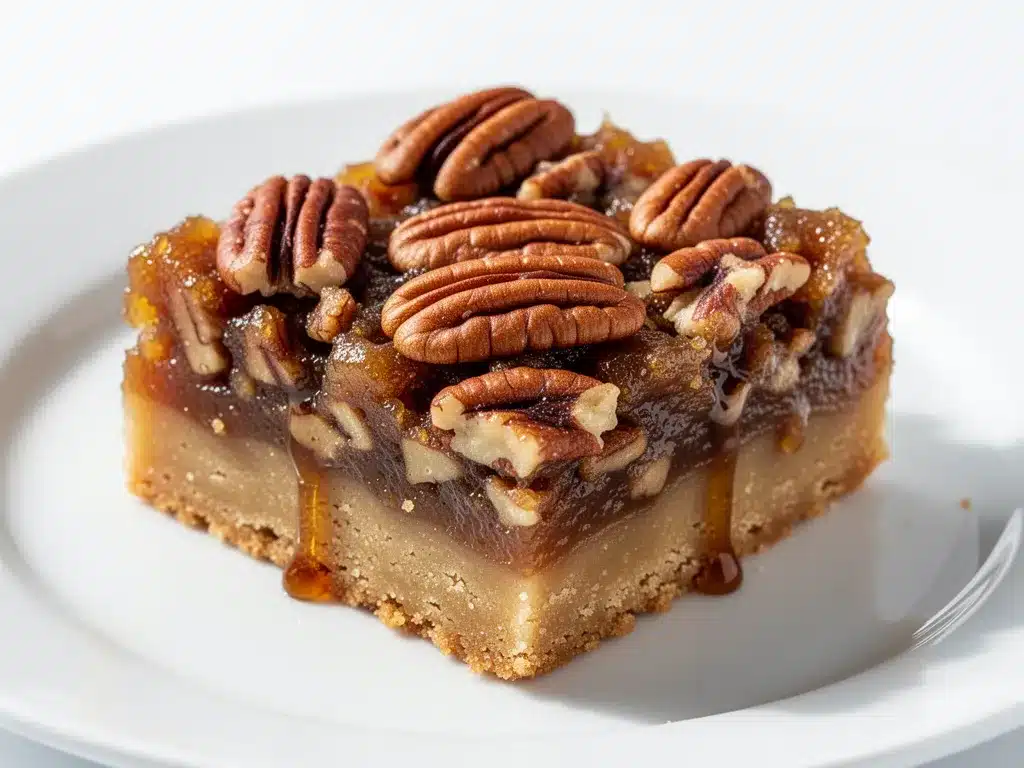
Pure maple syrup (1 cup / 240ml) — Please, I beg you, use real maple syrup. The stuff in the pancake bottle is corn syrup with flavoring, and it tastes nothing like this. Look for Grade A Amber or Dark. Dark has a stronger maple flavor, which I prefer. It’s worth the extra cost.
Packed brown sugar (1 cup / 200g) — This adds moisture and a caramel-like depth. Light or dark brown sugar both work, but dark has more molasses, which complements the maple beautifully.
Unsalted butter (½ cup / 113g, melted) — This binds the topping together. Melt it in the microwave or on the stove. Don’t use oil; it changes the flavor profile completely.
Eggs (2 large) — Room temperature eggs mix better into the topping. If you’re in a rush, just crack them into a bowl and let them sit for 10 minutes while the oven preheats.
All-purpose flour (½ cup / 60g) — Just a little flour to stabilize the filling so it sets properly and doesn’t run off the sides.
Pure vanilla extract (1 teaspoon) — Enhances the maple flavor. Don’t use imitation vanilla; it tastes chemical and clashes with the maple.
Pecan halves (1½ cups / 150g) — Use whole halves for that beautiful presentation. If pecans are too expensive or you’re out, you can use walnuts, or a mix of both. I’ve made these with walnuts before, and they’re still delicious, but pecans are traditional and look stunning.
Optional: Flaky sea salt — A sprinkle on top after baking adds a gorgeous contrast to the sweet sticky topping. I love the salty-sweet combo.
Equipment Needed
You don’t need fancy gadgets for this. Here’s what I actually use in my kitchen:
9×9-inch baking pan — This is the standard size for these bars. If you only have an 8×8, you can use it, but the bars will be thicker and might need 5-10 extra minutes in the oven. I use a metal pan because it conducts heat evenly and gives the crust a nice golden edge.
Mixing bowls — Two medium bowls. One for the crust, one for the topping. I usually use glass bowls because I can see the consistency better.
Fork or pastry cutter — For mixing the crust. I just use a fork because it’s faster and I don’t want to overwork the dough. A pastry cutter works too, but it’s more cleanup.
Whisk — Essential for the topping. You need to whisk the syrup, sugar, and eggs together until smooth. A whisk ensures there are no lumps of sugar or unmixed eggs.
Parchment paper — This is my best friend. Line the pan with parchment, leaving an overhang on the sides. It makes lifting the bars out of the pan so much easier. You won’t have to dig them out with a knife, and cleanup is a breeze.
Measuring cups and spoons — Standard stuff. For the syrup, I use a liquid measuring cup. For the flour, I spoon it into the cup and level it off. Don’t scoop directly from the bag, or you’ll pack in too much flour and the bars will be dry.
Spatula — For spreading the crust evenly and scraping the topping into the pan. A silicone spatula works best because it flexes and gets into the corners.
How to Make It: Step-by-Step
Alright, let’s make these! I’m walking you through exactly how I do it, including the little tricks I’ve picked up over the years.
Step 1: Prep the Pan and Oven (5 minutes)
Preheat your oven to 350°F (175°C). Line your 9×9-inch baking pan with parchment paper. I like to cross two sheets of parchment over each other so you have an overhang on all four sides. This makes it super easy to lift the entire slab of bars out of the pan once they’re baked. If you don’t have parchment, grease the pan generously with butter or cooking spray, but parchment is much better for cleanup.
Step 2: Make the Shortbread Crust (5 minutes)
In a medium bowl, combine the softened butter, granulated sugar, flour, cornstarch, and salt. Use a fork to mix everything together. You’re not making a dough like bread; you’re just combining ingredients until it looks like coarse crumbs. It should hold together when you pinch it. If it’s too dry, add a teaspoon of water. If it’s too wet, add a little more flour.
Press the mixture evenly into the bottom of your prepared pan. Use your fingers or the bottom of a measuring cup to press it down firmly. You want a solid, even layer. Don’t worry if it’s not perfect; it will bake up evenly. This crust needs to be pressed well so it doesn’t crumble apart later.
Step 3: Blind Bake the Crust (15-18 minutes)
Place the pan in the preheated oven and bake the crust for 15-18 minutes. You want it to turn a light golden brown around the edges. It won’t be fully cooked through yet, but it needs this head start so it doesn’t get soggy when you add the wet topping. When you take it out, it should smell buttery and toasted. Set the pan on a wire rack while you make the topping.
Step 4: Make the Maple Pecan Topping (5 minutes)
In a large bowl, whisk together the maple syrup, packed brown sugar, and melted butter until smooth. The sugar should mostly dissolve. Then, add the eggs and vanilla extract. Whisk vigorously until the mixture is glossy and well combined. This is crucial—if you don’t whisk enough, you’ll get streaks of egg in the final bars.
Stir in the ½ cup of flour until just combined. Don’t overmix; a few small lumps are fine. Finally, fold in the pecan halves. Use a spatula to gently mix them in so you don’t break the nuts. The topping should be thick and syrupy, not runny like water.
Step 5: Assemble and Bake (25-30 minutes)
Pour the maple pecan topping over the partially baked crust. Use a spatula to spread it evenly, making sure it reaches all the corners. Sprinkle any extra pecans on top if you want a nutty crust.
Return the pan to the oven and bake for 25-30 minutes. The topping should be bubbly and set around the edges, but the center might still jiggle slightly. It will continue to set as it cools. Do not overbake, or the topping will become hard and brittle instead of chewy. You want it to have a slight give when you press the center gently.
Step 6: Cool and Cut (1 hour)
This is the hardest part: waiting. Let the bars cool in the pan on a wire rack for at least 30 minutes. Then, lift the entire slab out of the pan using the parchment overhang. Let it cool completely, which takes about another 30 minutes. If you try to cut them warm, they will be a sticky mess. Once they’re cool, use a sharp knife to cut them into squares. I usually cut them into 16 bars, but you can make them smaller or larger depending on your appetite.
Expert Tips & Tricks
Here’s everything I’ve learned from making these dozens of times. These tips will save you from my mistakes.
Don’t Skip the Blind Bake
I know it’s tempting to just dump the topping on raw dough, but the crust needs to set first. If you skip this step, the bottom will be undercooked and gummy. The 15-minute blind bake ensures a crisp, buttery base that can handle the wet syrup.
Use Real Maple Syrup
I cannot stress this enough. The flavor of these bars depends entirely on the quality of the maple syrup. If you use pancake syrup, it will taste like artificial vanilla and corn. Buy the real stuff, even if it’s a bit more expensive. Your taste buds will thank you.
Room Temperature Eggs
Cold eggs can seize up when mixed with warm syrup. Let your eggs sit out for 10-15 minutes before you start. This ensures a smooth, emulsified topping without lumps.
Patience is Key
I know you want to eat these immediately. But cutting them warm is a disaster. The topping is liquid gold when hot, and it will stick to your knife and your fingers. Let them cool completely for clean cuts and the right texture.
Storage is Simple
These bars keep well at room temperature for up to 3 days in an airtight container. If it’s hot outside, store them in the fridge. They taste great cold or at room temperature. You can also freeze them for up to 3 months. Just wrap them tightly in plastic wrap and foil.
Variations & Substitutions
Once you’ve nailed the basic version, here’s how you can mix it up. I’ve tried all of these.
Walnut Pecan Mix
If pecans are too expensive or you want a different flavor, swap half the pecans for walnuts. Walnuts have a slightly bitter edge that balances the sweetness well. I love this combo for holiday gatherings.
Maple Bourbon Glaze
For an adult twist, add 1 tablespoon of bourbon to the topping mixture. It adds a deep, rich flavor that pairs beautifully with the maple. This is similar to the flavors in my brown sugar bourbon glazed ribs, where the bourbon adds a savory-sweet depth. In these bars, it adds a warm, spicy note.
Coconut Version
Swap the pecans for toasted coconut flakes. It’s a tropical twist that’s still sweet and chewy. Add a teaspoon of coconut extract to the topping for extra flavor.
Gluten-Free Option
Use a 1-to-1 gluten-free flour blend for both the crust and the topping. Most blends work well, but I’ve had the best luck with King Arthur Measure for Measure. The texture might be slightly denser, but it’s still delicious.
Vegan Version
Replace the butter with vegan butter (like Miyoko’s or Earth Balance) and use a flax egg (1 tablespoon ground flaxseed mixed with 3 tablespoons water per egg) in the topping. The texture will be slightly different, but the flavor will still be great. I’ve made this for my vegan friend, and she loved it.
Serving & Storage
How to Serve:
I usually serve these bars at room temperature. They’re perfect with a cup of coffee or tea. For a more elegant presentation, dust them with powdered sugar or drizzle with a little extra maple syrup. I also like to serve them with a scoop of vanilla ice cream or whipped cream. The cold cream contrasts nicely with the warm, sticky bars.
Side Dishes:
Since these are rich and sweet, I pair them with something light. A simple green salad with a citrus vinaigrette cuts through the sweetness. Or serve them alongside my spiked apple cider margaritas for a cozy autumn party. The apple and maple flavors complement each other perfectly.
Storage Instructions:
Refrigerator: Store in an airtight container for up to 4 days. The bars will firm up in the fridge, so let them sit at room temperature for 15 minutes before eating for the best texture.
Freezer: Wrap individual bars tightly in plastic wrap, then place them in a freezer-safe bag. They’ll last for up to 3 months. Thaw at room temperature before eating.
Reheating: You don’t need to reheat these, but if you want them warm, microwave a single bar for 10-15 seconds. Just be careful not to overheat, or the topping will melt into a puddle.
Pro Tip: If you’re making these for a party, cut them into smaller squares. They’re rich, and people tend to eat more than they realize. I usually make a double batch for gatherings because they disappear fast.
Nutrition Information
I’m not a nutritionist, but here’s the breakdown if you’re tracking. Keep in mind that these are dessert bars, so they’re higher in sugar and fat than a typical snack.
Per Serving (based on 16 bars):
- Calories: 280
- Protein: 3g
- Carbs: 38g
- Fiber: 1g
- Sugar: 28g
- Fat: 14g
- Saturated Fat: 7g
- Cholesterol: 35mg
- Sodium: 120mg
What’s Good:
- Pecans provide healthy fats and protein.
- Maple syrup has antioxidants (though it’s still sugar).
- Easy to portion control if you cut them small.
What to Know:
- High in sugar due to the maple syrup and brown sugar.
- Contains gluten and dairy.
- Can be modified for gluten-free or vegan diets (see variations).
My Take:
Look, these are sweet bars. They’re not a health food. But they’re made with real ingredients, and they’re so much better than anything from a box. When I make these, I enjoy one or two squares with a good cup of coffee. It’s a treat, not a meal. And honestly, life’s too short to skip the good dessert.
Final Thoughts
So that’s my go-to sticky maple pecan bars recipe! I’ve probably talked your ear off at this point, but when you make a recipe this often, you have a lot to say about it. These bars have saved my dessert game more times than I can count. They’re my answer to “what’s for dessert?” when I’m tired, don’t want to bake a whole pie, and still want something that tastes amazing. My kids are happy, my husband’s happy, and I’m happy because I’m not stressed about cooking.
Make it yours! Try different nuts, add a dash of cinnamon to the topping, or drizzle some chocolate over the top. The best recipes are the ones you adapt to your family’s tastes. And if you want to pair these with a drink, check out my labor day charred corn and black bean dip for a savory contrast at your next gathering.
If you make this, drop a comment and let me know what you think! I love hearing how recipes turn out in your kitchen. And if something doesn’t work, tell me that too—I’m here to help troubleshoot. Happy baking! And I hope your kitchen smells half as good as mine does right now.
Frequently Asked Questions
Can I use pancake syrup instead of maple syrup?
You can, but I wouldn’t recommend it. Pancake syrup is mostly corn syrup with artificial flavoring, and it lacks the depth and complexity of real maple syrup. The bars will taste flat and overly sweet. If you must use it, mix it with a little vanilla extract to mimic the flavor, but real maple syrup is worth the investment.
Why are my bars too soft and not set?
This usually means they weren’t baked long enough or the oven temperature was too low. The topping should be bubbly and set around the edges, with a slight jiggle in the center. It will firm up as it cools. If they’re still too soft after cooling, try baking the next batch for 5 extra minutes. Also, make sure your oven is calibrated correctly; an oven thermometer can help.
Can I make these ahead of time?
Yes! These bars actually taste better the next day. You can make them up to 3 days in advance and store them in an airtight container at room temperature. For longer storage, freeze them for up to 3 months. Just thaw at room temperature before serving.
Can I use walnuts instead of pecans?
Absolutely. Walnuts have a slightly different flavor profile—they’re a bit more bitter and earthy. I love using a mix of pecans and walnuts for this reason. If you use only walnuts, the bars will still be delicious, just with a different nutty character.
How do I cut the bars without them sticking?
Make sure the bars are completely cool before cutting. Use a sharp knife, and wipe it clean between cuts. If they’re still sticky, dip the knife in hot water and dry it off before each cut. The heat helps slice through the sticky topping cleanly.
Can I double this recipe?
You can, but you’ll need a larger pan. Use a 9×13-inch pan instead of a 9×9-inch. The baking time will be the same, but keep an eye on it because the bars might brown faster on the edges. I usually make a double batch for parties, and it works great.
Why did my topping separate or look grainy?
This can happen if the eggs weren’t fully incorporated or if the syrup was too hot when you mixed it with the eggs. Always whisk the topping vigorously until it’s smooth and glossy. If the syrup is too hot, it can cook the eggs slightly, causing curdling. Let the melted butter and syrup cool slightly before adding the eggs.
Pin This Recipe!
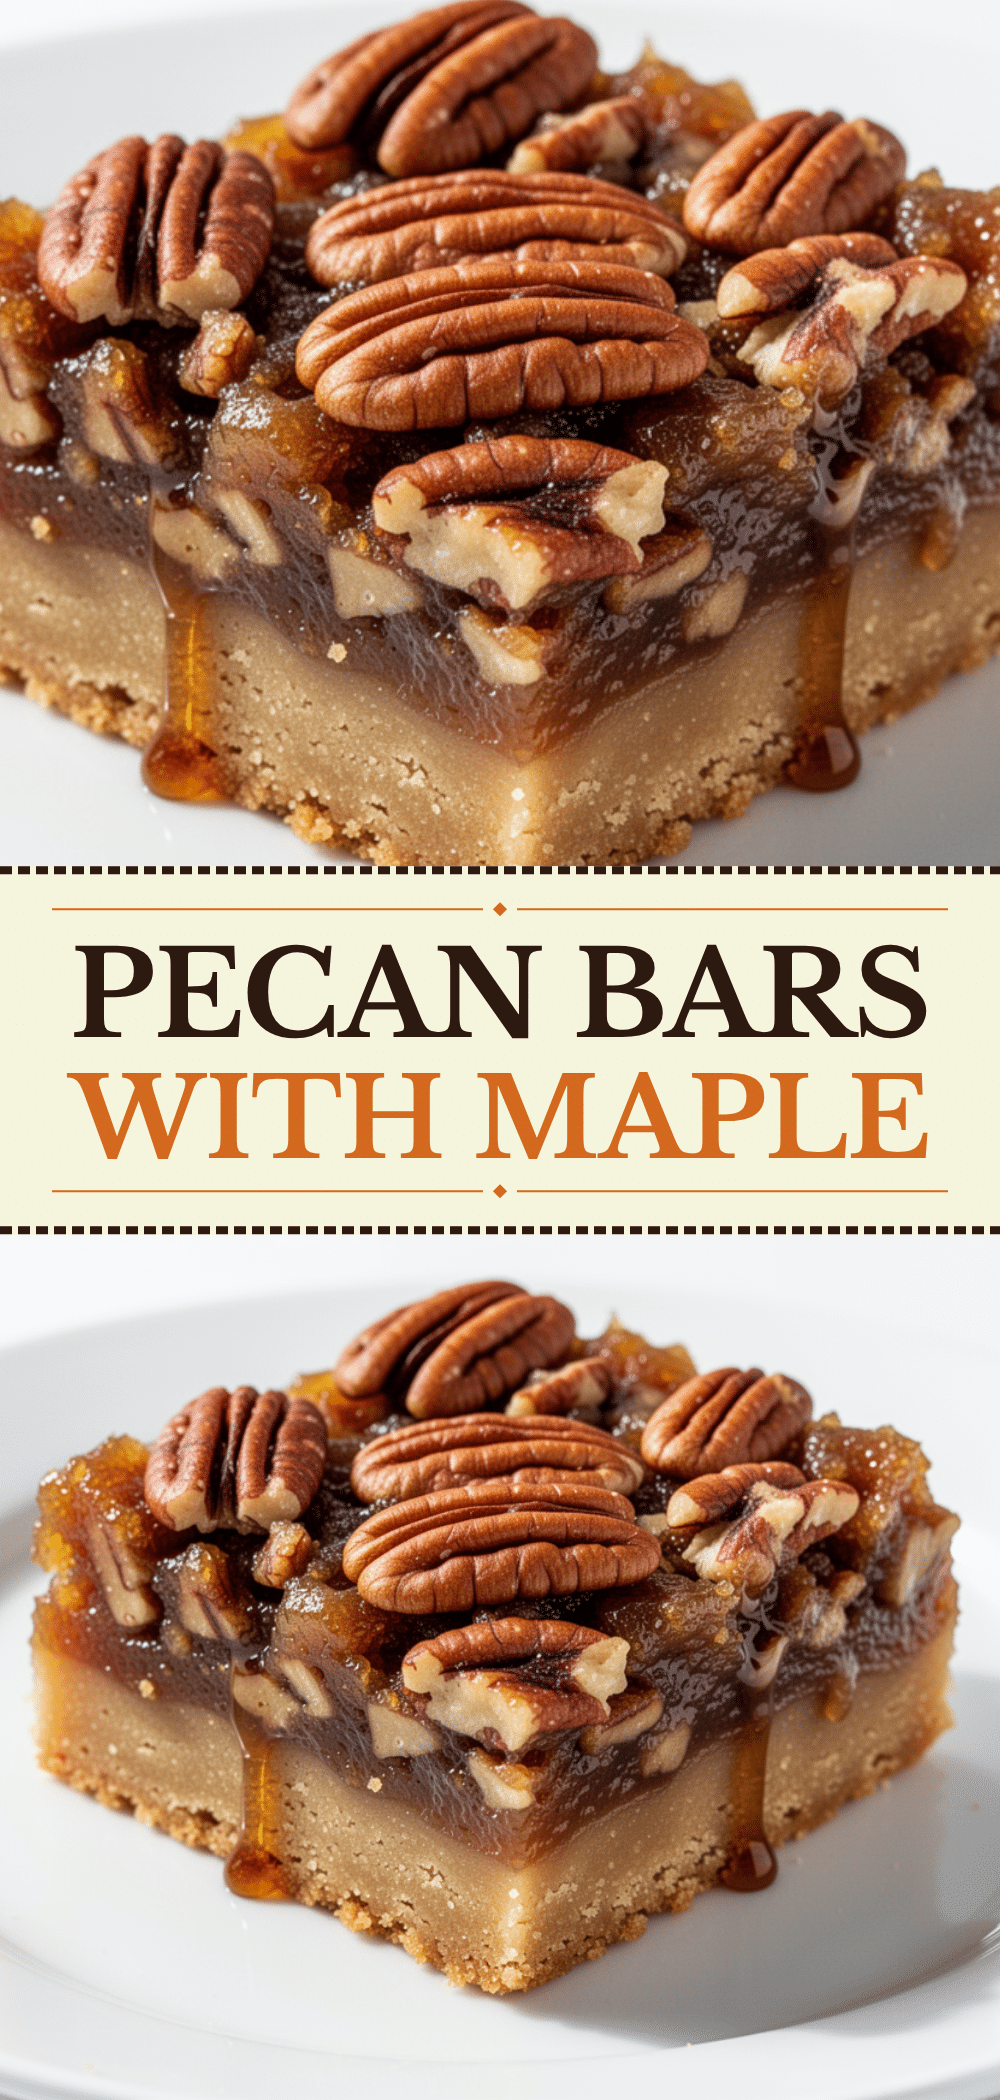
Sticky Maple Pecan Bars: 5-Step Easy Homemade Shortbread
- Total Time: 1 hour 15 minutes
- Yield: 16 servings 1x
Description
These sticky maple pecan bars feature a buttery shortbread crust and a chewy, caramelized maple-pecan topping. They are easy to make, pantry-friendly, and perfect for weeknight cravings or holiday gatherings.
Ingredients
- 1 cup (226g) unsalted butter, softened
- ½ cup (100g) granulated white sugar
- 2 cups (250g) all-purpose flour
- 2 tablespoons (16g) cornstarch
- ½ teaspoon salt
- 1 cup (240ml) pure maple syrup
- 1 cup (200g) packed brown sugar
- ½ cup (113g) unsalted butter, melted
- 2 large eggs, room temperature
- ½ cup (60g) all-purpose flour
- 1 teaspoon pure vanilla extract
- 1½ cups (150g) pecan halves
- Flaky sea salt (optional, for garnish)
Instructions
- Preheat oven to 350°F (175°C). Line a 9×9-inch baking pan with parchment paper, leaving an overhang on the sides.
- In a medium bowl, combine softened butter, granulated sugar, flour, cornstarch, and salt. Mix with a fork until it resembles coarse crumbs.
- Press the mixture firmly and evenly into the bottom of the prepared pan.
- Blind bake the crust for 15-18 minutes until light golden brown around the edges. Remove and set on a wire rack.
- In a large bowl, whisk together maple syrup, packed brown sugar, and melted butter until smooth.
- Add eggs and vanilla extract, whisking vigorously until glossy and well combined.
- Stir in ½ cup flour until just combined, then fold in pecan halves.
- Pour the topping over the partially baked crust and spread evenly.
- Bake for 25-30 minutes until the topping is bubbly and set around the edges but slightly jiggly in the center.
- Cool completely in the pan on a wire rack (about 1 hour) before lifting out and cutting into 16 bars.
Notes
Use real maple syrup, not pancake syrup, for authentic flavor. Ensure eggs are at room temperature to prevent seizing. Do not skip the blind bake step to ensure a crisp crust. Bars must cool completely before cutting to prevent sticking. Can be stored in an airtight container at room temperature for 3 days or frozen for 3 months.
- Prep Time: 15 minutes
- Cook Time: 45 minutes
- Category: Dessert
- Cuisine: American
Nutrition
- Serving Size: 1 bar
- Calories: 280
- Sugar: 28
- Sodium: 120
- Fat: 14
- Saturated Fat: 7
- Carbohydrates: 38
- Fiber: 1
- Protein: 3
Keywords: maple pecan bars, shortbread bars, easy dessert, homemade bars, maple syrup dessert, nut bars, holiday baking


