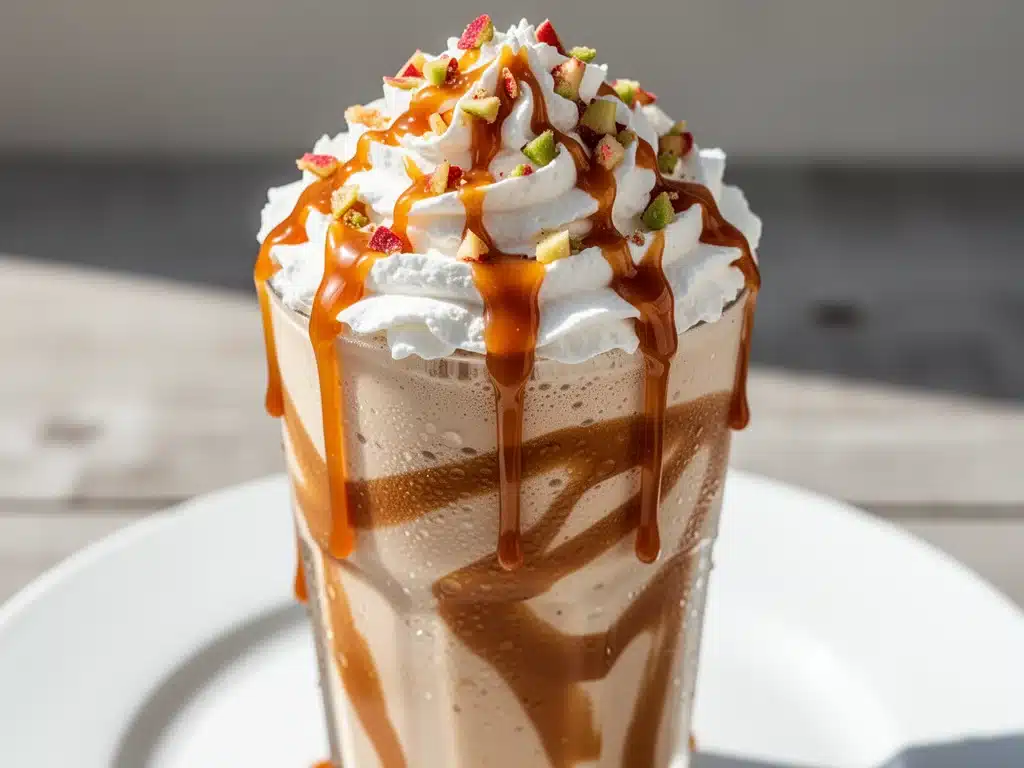
There’s a specific kind of magic that happens in October. You know the one. It’s not just the changing leaves or the fact that your morning coffee suddenly tastes like it needs a cinnamon stick. It’s the sudden, overwhelming urge to eat dessert for breakfast. Or dinner. Or 3 PM snack time. For me, that urge always leads to one thing: apples and caramel.
Last weekend, I was standing in my kitchen, staring at a bag of Honeycrisp apples and a jar of homemade caramel sauce, trying to figure out what to do with them. I didn’t want to bake. I didn’t want to cook. I just wanted something cold, sweet, and indulgent that would make me feel like I was sitting on a porch in Vermont instead of my cramped apartment kitchen. So I threw apples, caramel, vanilla ice cream, and a splash of milk into the blender. I hit “pulse.” I tasted. And honestly? I almost cried. It was like drinking a warm apple pie that had been chilled to perfection.
I’ve made this Caramel Apple Milkshake at least six times in the last three weeks. My partner thinks I’m addicted. My kids think I’m a genius. And I’m not even sorry about it. This isn’t just a milkshake; it’s a cozy fall drink idea that captures the entire season in a glass. It’s thick, it’s creamy, it’s got chunks of real apple in it, and it tastes like autumn in liquid form.
What I love most about this recipe is how forgiving it is. You don’t need fancy equipment. You don’t need hours of prep. You just need good apples, decent caramel, and a blender. Whether you’re hosting a game day party and need a non-alcoholic option that still feels special, or you just want to treat yourself on a rainy Tuesday afternoon, this shake is the answer. It’s basically dessert, but it feels like a hug.
Why You’ll Love This Caramel Apple Milkshake
Look, there are a thousand milkshake recipes out there. But this one? This one is different. It’s not just sweetened milk and ice cream. It’s complex. It’s textured. It’s the kind of drink that makes you slow down and actually enjoy it.
Here’s why this Caramel Apple Milkshake has taken over my fall rotation:
- It Uses Real Fruit — No artificial flavoring here. We’re using fresh, crisp apples. I use Granny Smith because the tartness cuts through the sweetness of the caramel perfectly. If you prefer sweeter apples, Honeycrisp or Fuji work great too. The key is that you get actual apple flavor, not just “apple candy” flavor.
- Ready in 5 Minutes — Seriously. From pulling out the ingredients to sipping the last drop, it takes about five minutes. I make this after work when I’m too tired to cook but too hungry for takeout. It’s faster than ordering Uber Eats and tastes way better.
- Thick and Creamy Texture — Nothing ruins a milkshake faster than a watery, soupy consistency. This recipe uses a specific ratio of ice cream to milk to ensure it’s thick enough to hold a spoon but smooth enough to drink through a straw. I’ve tested it with frozen yogurt, regular ice cream, and even homemade custard. The regular vanilla ice cream wins every time for that classic, creamy mouthfeel.
- Customizable Sweetness — Some people love their shakes cloyingly sweet. Others prefer a hint of tartness. Because we’re using fresh apples and making the caramel ratio ourselves, you control the balance. Want it sweeter? Add more caramel. Want it more sophisticated? Add a pinch of sea salt or a dash of cinnamon.
- Perfect for Sharing (or Not) — This recipe makes two generous shakes. I usually make a double batch because my kids will fight over the last few sips. But if you’re eating alone, just enjoy the whole thing. No judgment here. I’ve been known to eat this for breakfast.
This shake is my go-to when I need a little comfort. It’s nostalgic but elevated. It feels like something you’d order at a fancy farm-to-table café, but you’re making it in your own kitchen with ingredients you actually recognize. That’s the win.
Ingredients You’ll Need
One of the best parts about this Caramel Apple Milkshake is the simplicity. You probably have most of these items in your fridge or pantry right now. Here’s exactly what you need, and more importantly, why each ingredient matters.
For the Shakes
Vanilla Ice Cream (3 cups / ~600g) — This is your base. I recommend a high-quality vanilla bean ice cream if you can find it. The little black specks of vanilla add a nice visual touch and a deeper flavor than plain vanilla extract. If you’re on a budget, a standard brand like Blue Bunny or store brand works fine. Just avoid the super light or low-fat versions—they don’t have enough fat to create that creamy texture.
Whole Milk (½ cup / 120ml) — We need just enough liquid to get the blender moving. Whole milk is best because it adds creaminess without thinning the shake too much. If you’re using almond milk or oat milk, you might need slightly more, but the shake will be less rich. I stick to dairy for that authentic milkshake taste.
Fresh Apples (2 medium apples, peeled and diced / ~300g) — This is the star. I use Granny Smith apples for their tartness, which balances the caramel. But you can use Honeycrisp, Fuji, or Gala. The key is that they need to be peeled and diced into small cubes. If you leave the skin on, it can get stringy in the shake. Peeled and diced ensures every sip has a soft, apple-y bite.
Caramel Sauce (½ cup / 120ml) — You can buy high-quality bottled caramel (I like Smucker’s or store-brand gourmet caramel) or make your own. Homemade is better, but store-bought is totally acceptable for a quick shake. Look for a sauce that’s thick, not runny. If it’s too thin, your shake will be soupy. If you want to try a homemade version, you can check out my grilled peach cobbler recipe for inspiration on how I handle fresh fruit in desserts—though this caramel is much simpler!
Ice (½ cup / ~60g) — Optional, but recommended if you live in a warm climate or if your ice cream isn’t rock-hard. If your ice cream is frozen solid, you might not need any ice. Just add it if the blender is struggling to get everything smooth.
For the Toppings
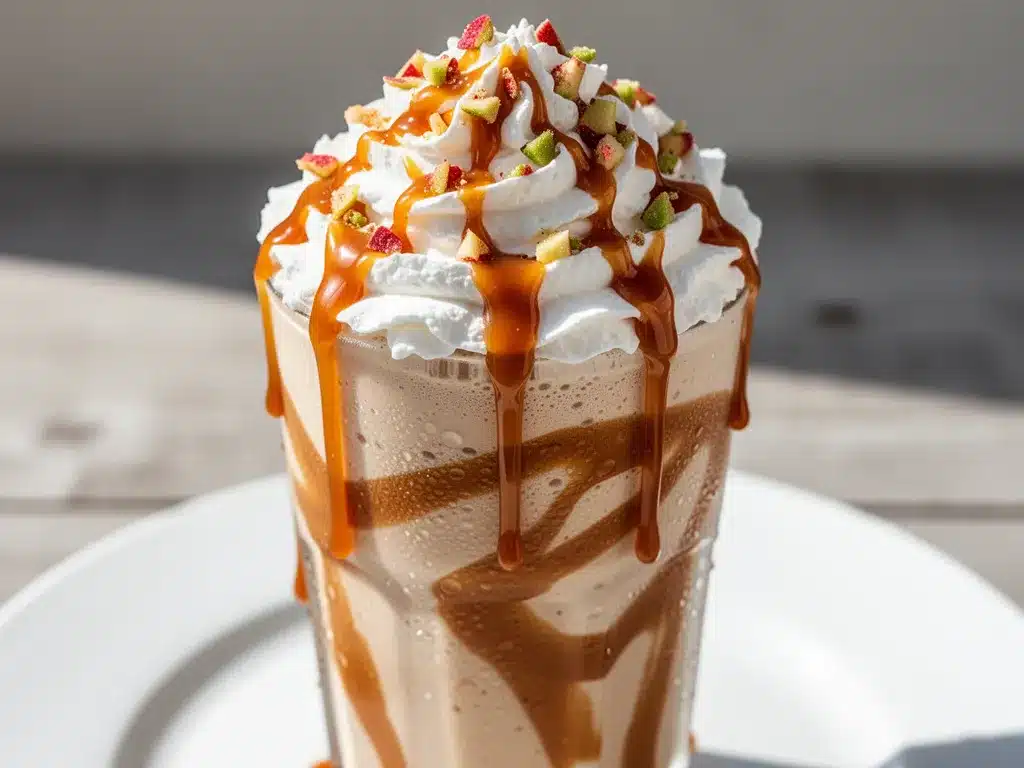
Whipped Cream — Store-bought or homemade. I’m lazy, so I usually use the aerosol can. But homemade whipped cream with a little powdered sugar is nicer. Don’t skip it.
Chopped Apples — A few extra diced apples for garnish. It makes it look fancy.
Caramel Drizzle — Extra caramel sauce to drizzle over the whipped cream.
Sea Salt — A tiny pinch of flaky sea salt on top. This is the secret weapon. Salt enhances the sweetness of the caramel and the tartness of the apples. It’s a game-changer.
Equipment Needed
You don’t need a fancy kitchen for this. Here’s what I actually use:
High-Speed Blender — I use a Vitamix, but any blender that can crush ice and puree fruit will work. If you have a cheap blender, you might need to chop the apples smaller or soak them in the milk for 10 minutes before blending.
Large Measuring Cups and Spoons — Standard stuff. I keep these on the counter.
Knife and Cutting Board — For peeling and dicing the apples. A paring knife is fine, but a chef’s knife is faster.
Two Tall Glasses — I like to use hurricane glasses or tall pint glasses. They look great for photos and hold the shake well. If you don’t have fancy glasses, regular drinking glasses work fine.
Peeler — For peeling the apples. I use a Y-peeler because it’s fast and safe.
How to Make It: Step-by-Step
Alright, let’s make this! I’m walking you through exactly how I do it, including the little tricks I’ve picked up over the years.
Step 1: Prep the Apples (3 minutes)
Wash your apples thoroughly. Peel them. I know some people like the skin for the color, but in a blended shake, the skin can add a bitter or stringy texture. So, peel them. Then, dice them into small, ½-inch cubes. Smaller cubes blend easier and distribute the apple flavor more evenly. If you like big chunks of apple, leave some cubes larger, but I recommend keeping most of them small for a smoother shake.
Step 2: Scoop the Ice Cream (1 minute)
Take your vanilla ice cream out of the freezer. If it’s rock-hard, let it sit on the counter for 5-10 minutes. This makes it easier to scoop and blend. Scoop three cups of ice cream into your blender. Don’t worry about being precise, but try to keep the ratio right. More ice cream means a thicker shake.
Step 3: Add the Wet Ingredients (1 minute)
Pour in the whole milk and half of the caramel sauce. The milk helps the blades spin, and the caramel adds that base sweetness. If you’re using ice, add it now. If your ice cream is soft, you might skip the ice.
Step 4: Blend Until Smooth (30-60 seconds)
Put the lid on tight. Start the blender on low speed to get the ingredients moving, then gradually increase to high. Blend for 30-60 seconds. You want the mixture to be completely smooth and creamy. If you see chunks of apple, blend longer. If the blender is struggling, stop it, add a splash more milk, and try again. Don’t force it—give it a minute.
Step 5: Taste and Adjust
Stop the blender and taste the shake. Is it sweet enough? Add more caramel. Is it too thick? Add a splash more milk. Is it too thin? Add a scoop more ice cream. This is the beauty of homemade—you control the balance. I usually add a pinch of cinnamon at this stage if I want extra fall flavor.
Step 6: Pour and Top
Pour the shake into your glasses. Top with a generous swirl of whipped cream. Drizzle with the remaining caramel sauce. Sprinkle with chopped apples and a tiny pinch of sea salt. Serve immediately with a straw and a spoon. You’ll want the spoon for the whipped cream and caramel at the bottom.
Expert Tips & Tricks
Here’s everything I’ve learned from making this dozens of times. These tips will save you from my mistakes.
Freeze Your Apples (Optional) — For an extra-thick shake, freeze your diced apples for an hour before blending. This acts like ice but adds apple flavor instead of diluting it. I do this when I want a frosty, slushy-like texture.
Don’t Skimp on the Caramel — The caramel is the soul of this shake. If you use a watery sauce, the shake will be thin and flavorless. Use a thick, syrupy caramel. If you’re making your own, cook it until it reaches a soft-ball stage for the best consistency.
Use Cold Ingredients — If your milk, ice cream, and apples are cold, the shake will stay thick longer. Warm ingredients will melt the ice cream faster, resulting in a soupy shake. Keep everything in the fridge until the last minute.
Blend in Pulses — If you have a powerful blender, blend in pulses to avoid overheating the mixture. Overheating can melt the ice cream and make the shake thin. Pulse until smooth, then blend briefly to finish.
Add a Pinch of Salt — I can’t stress this enough. A tiny pinch of sea salt enhances the caramel and apple flavors. It’s not salty; it’s just… better. It’s the difference between a good shake and a great one.
Variations & Substitutions
Once you’ve nailed the basic version, here’s how you can mix it up. I’ve tried all of these.
Spiced Apple Version — Add ½ teaspoon of cinnamon, ¼ teaspoon of nutmeg, and a pinch of ginger to the blender. This tastes like apple pie in a glass. Perfect for Thanksgiving.
Caramel Apple Pie Shake — Add a scoop of apple pie filling to the blender. This makes it extra chunky and flavorful. I use store-bought pie filling for convenience, but homemade is better.
Lighter Version — Use vanilla frozen yogurt instead of ice cream, and skim milk instead of whole milk. It’s lighter but still tasty. I make this when I’m trying to be “healthy,” though let’s be real, it’s still a dessert.
Gluten-Free — This recipe is naturally gluten-free, as long as your caramel sauce and ice cream don’t contain gluten-based additives. Check your labels to be sure. Most vanilla ice creams and caramel sauces are safe.
Dairy-Free — Use dairy-free vanilla ice cream (like Coconut Milk or Almond Milk ice cream) and oat milk or almond milk. The texture might be slightly different, but it’s still delicious. I’ve tried Oatly ice cream and it works surprisingly well.
Adult Version — Add a shot of bourbon or apple brandy (Calvados) for a grown-up twist. This pairs beautifully with the caramel and apple. Just add it at the end and blend briefly.
Serving & Storage
I usually serve this straight away, right after blending. It’s best fresh and cold. But here are some other ways I’ve enjoyed it.
How to Serve: I like to serve this in tall glasses with a thick straw. It looks great on Instagram and Pinterest. Add a cinnamon stick as a stirrer for extra coziness.
Side Dishes: This shake pairs well with savory snacks like charred corn and black bean dip or buffalo chicken sliders if you’re hosting a party. The sweetness of the shake balances the salt and spice of savory foods.
Storage: Milkshakes don’t store well. They melt and separate. If you have leftovers, store them in an airtight container in the freezer for up to 2 hours. After that, they’ll become a solid block of ice cream. Re-blend with a splash of milk if you want to restore the texture, but it’s not ideal. Best to drink it fresh.
Make-Ahead Strategy: You can prep the diced apples and measure out the caramel the night before. Store the apples in a bowl of water to prevent browning, then drain before blending. This saves time in the morning.
Nutrition Information
I’m not a nutritionist, but here’s the breakdown if you’re tracking. This is a indulgent treat, so keep that in mind.
Per Serving (based on 2 servings):
- Calories: 650
- Protein: 12g
- Carbs: 85g
- Fiber: 3g
- Sugar: 75g
- Fat: 28g
- Saturated Fat: 16g
- Cholesterol: 80mg
- Sodium: 150mg
What’s Good: It has some protein from the ice cream and milk. The apples add fiber and vitamins. It’s a better option than a fast-food shake because you control the ingredients.
What to Know: It’s high in sugar and calories. This is dessert, people. Enjoy it in moderation. If you want to lighten it up, use less caramel and lighter ice cream.
My Take: Look, this is a cozy fall drink idea. It’s not a diet recipe. It’s a treat. But it’s way better than store-bought because you know exactly what’s in it. When I make this, I savor it. I don’t rush. I enjoy every sip.
Final Thoughts
So that’s my Caramel Apple Milkshake! I’ve probably talked your ear off at this point, but when you make a recipe this often, you have a lot to say about it.
This shake has saved my fall evenings. It’s my answer to “I want something sweet” when I’m tired, don’t want to bake, and still want something that tastes really good. My kids are happy, my partner is happy, and I’m happy because I’m not stressed about cooking.
Make it yours! Try different apples, swap in your favorite caramel, or add a splash of bourbon. The best recipes are the ones you adapt to your tastes. If you make this, drop a comment and let me know what you think! I love hearing how recipes turn out in your kitchen. And if something doesn’t work, tell me that too—I’m here to help troubleshoot.
Happy blending! And I hope your kitchen smells half as good as mine does right now.
Frequently Asked Questions
Can I use frozen apples instead of fresh?
Yes! In fact, I recommend it. Frozen apples blend easier and make the shake thicker. Just make sure they’re thawed slightly so the blender doesn’t struggle. If you use frozen apples, you don’t need to add ice.
Why is my shake too watery?
This usually means you used too much milk or the ice cream was too soft. Add more ice cream or a handful of ice to thicken it. Next time, reduce the milk by 2 tablespoons.
Can I make this ahead for a party?
Not really. Milkshakes are best fresh. If you’re hosting a party, make them in batches. Keep the ingredients cold and blend them just before serving. It’s quick enough that you won’t fall behind.
Can I use apple juice instead of milk?
You can, but it will be thinner and sweeter. Milk adds creaminess that apple juice doesn’t. If you want a non-dairy option, try oat milk or coconut milk. They add more creaminess than juice.
How do I store leftover caramel sauce?
Store it in an airtight container in the fridge for up to 2 weeks. It will thicken in the fridge. To use it, microwave it for 15-20 seconds to thin it out. You can also freeze it for longer storage.
Can I use sugar-free caramel?
Yes, but it might be thinner and less flavorful. Look for a sugar-free caramel that’s thick and syrupy. It will work, but the taste won’t be as rich as regular caramel.
What kind of apples are best for milkshakes?
Granny Smith apples are my favorite because they’re tart and firm. Honeycrisp and Fuji are also great because they’re sweet and juicy. Avoid Red Delicious—they’re mealy and don’t blend well.
Pin This Recipe!
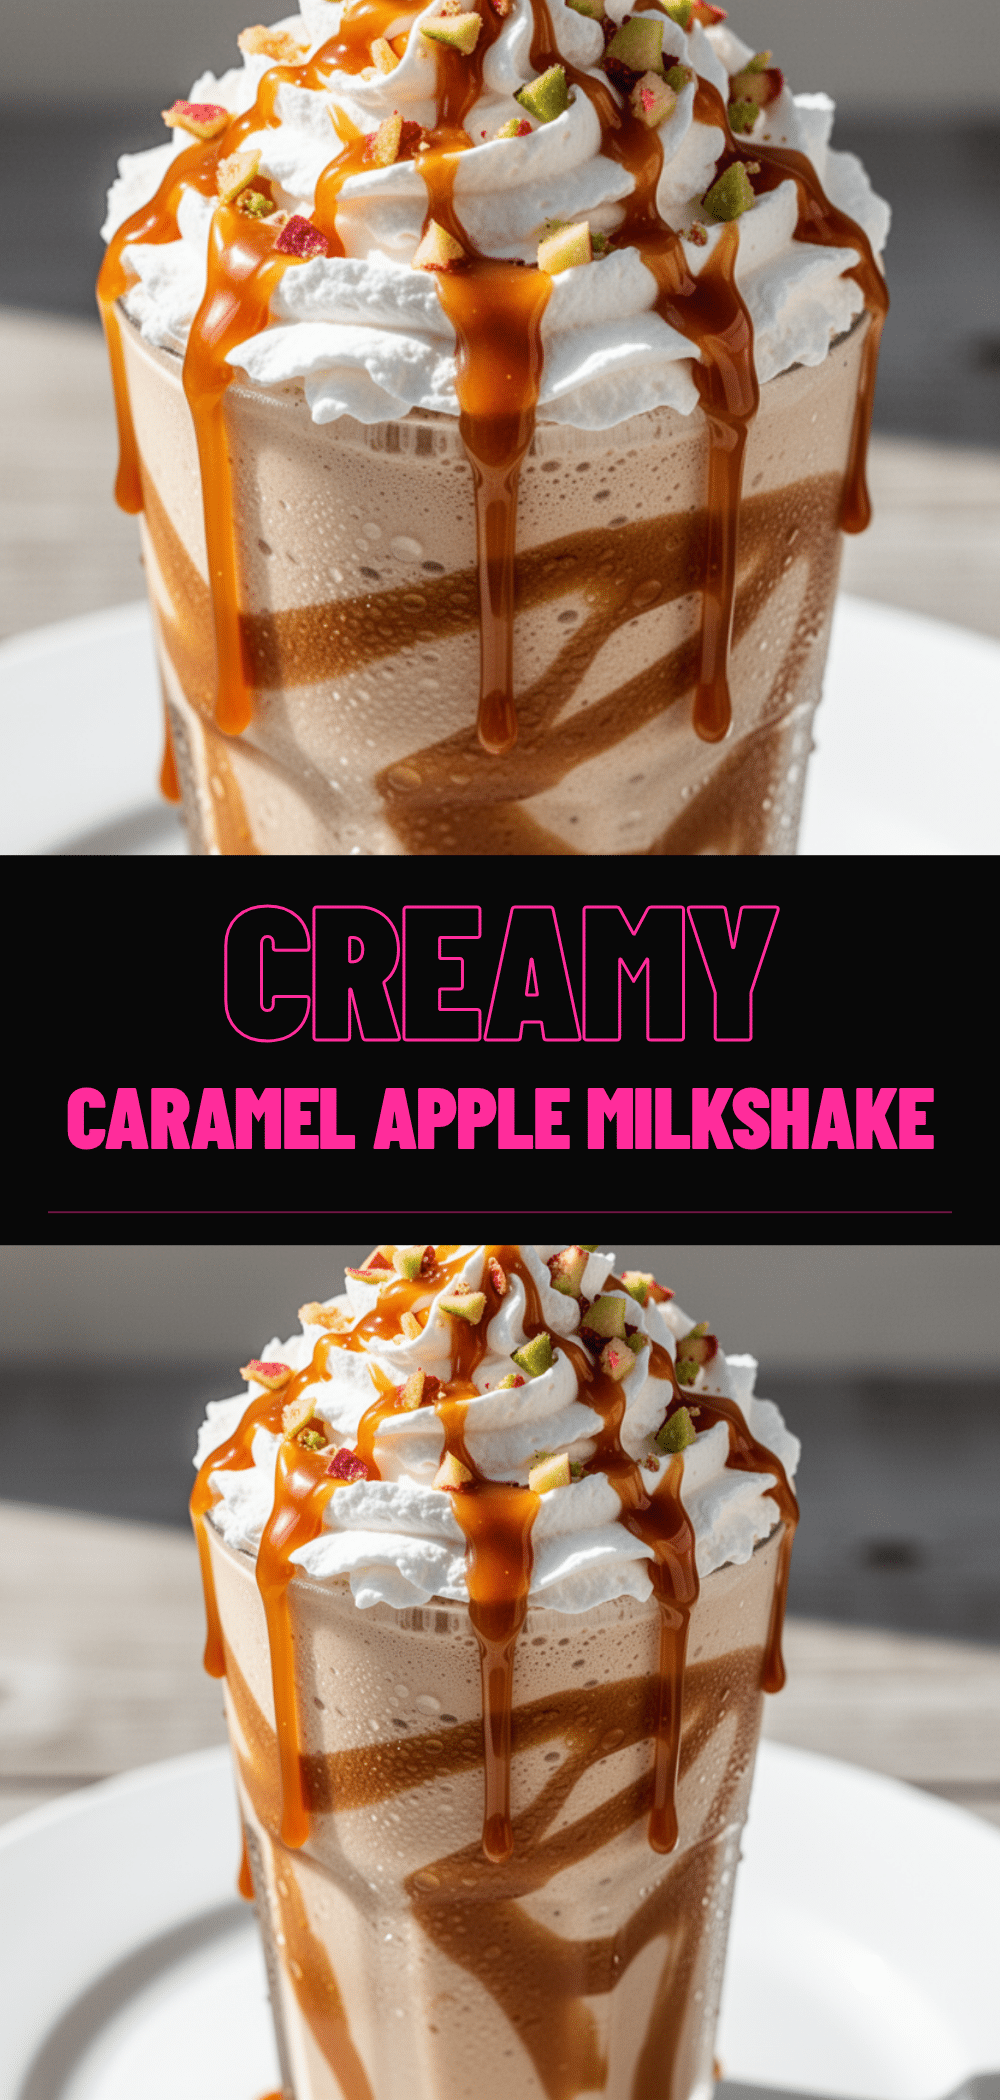
Caramel Apple Milkshake: 5-Min Easy Cozy Fall Drink
- Total Time: 5 minutes
- Yield: 2 servings 1x
Description
A thick, creamy, and indulgent milkshake that captures the flavors of autumn with fresh apples, rich caramel sauce, and vanilla ice cream. Ready in just 5 minutes, this cozy fall drink is perfect for any time of day.
Ingredients
- 3 cups vanilla ice cream
- 1/2 cup whole milk
- 2 medium apples (peeled and diced)
- 1/2 cup caramel sauce
- 1/2 cup ice (optional)
- Whipped cream (for topping)
- Chopped apples (for garnish)
- Sea salt (for garnish)
Instructions
- Wash, peel, and dice the apples into small 1/2-inch cubes.
- Scoop 3 cups of vanilla ice cream into a blender.
- Add the whole milk, half of the caramel sauce, and ice (if using) to the blender.
- Blend on low speed, then gradually increase to high, blending for 30-60 seconds until smooth and creamy.
- Taste the shake and adjust sweetness or thickness by adding more caramel or milk as needed.
- Pour the shake into tall glasses.
- Top with whipped cream, remaining caramel sauce, chopped apples, and a pinch of sea salt.
- Serve immediately with a straw and spoon.
Notes
For an extra-thick shake, freeze the diced apples for an hour before blending. Ensure ingredients are cold to prevent the shake from becoming watery. A pinch of sea salt enhances the flavor of the caramel and apples. This recipe is naturally gluten-free if using certified gluten-free caramel and ice cream.
- Prep Time: 5 minutes
- Cook Time: 0 minutes
- Category: Dessert
- Cuisine: American
Nutrition
- Serving Size: 1 large glass
- Calories: 650
- Sugar: 75
- Sodium: 150
- Fat: 28
- Saturated Fat: 16
- Carbohydrates: 85
- Fiber: 3
- Protein: 12
Keywords: caramel apple milkshake, fall drink, easy dessert, 5 minute recipe, apple shake, cozy fall drinks, homemade milkshake


