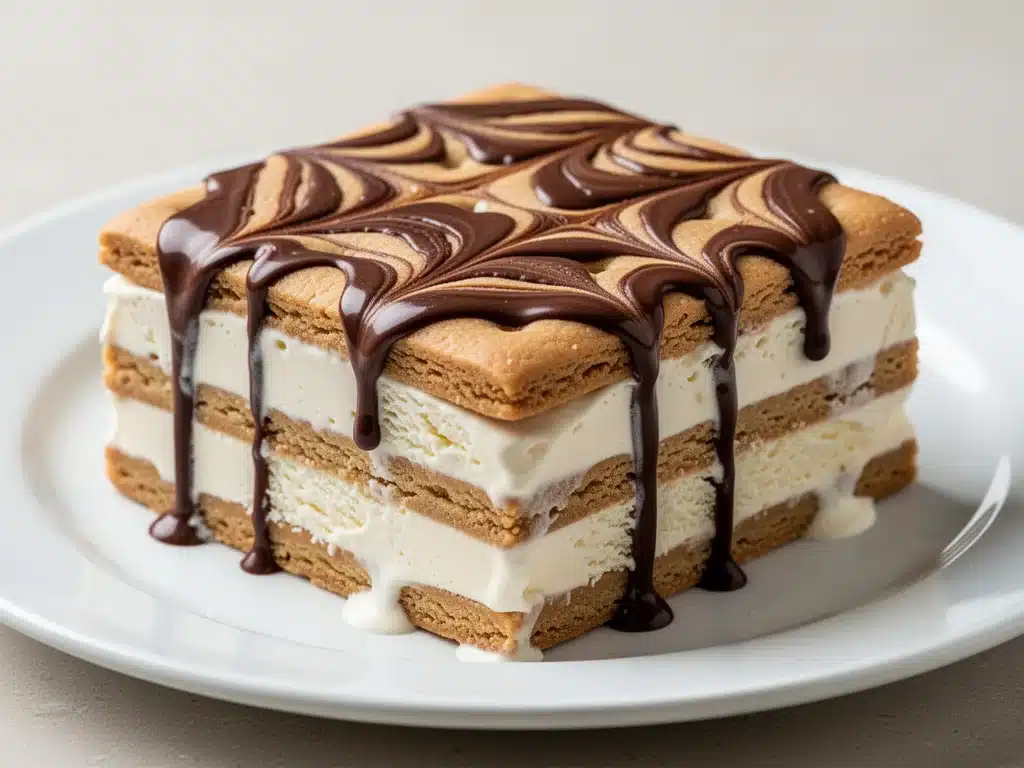
It was 6:00 PM on a Sunday in September, and I was staring at a half-frozen tub of vanilla ice cream like it held the secrets to the universe. My husband had just announced, “Why don’t we invite the in-laws over for Labor Day?” while I was still trying to decide if I was wearing jeans or shorts to my own party. The clock was ticking, the grill was already smoking from earlier ribs, and my dessert plan was… well, there wasn’t one.
I didn’t have time to bake. I didn’t have energy to whip cream. And I definitely didn’t want to serve store-bought cookies that tasted like cardboard. So I did what any desperate, slightly sleep-deprived home cook does: I threw together something ridiculously simple that looked like I’d spent hours on it. It became my Labor Day Ice Cream Sandwich Cake.
Here’s the thing about this dessert: it’s not just easy. It’s a miracle worker. It’s the perfect festive summer dessert because it requires zero oven time, zero stress, and tastes like a childhood dream wrapped in chocolate. I’ve made this for three Labor Day parties now, and every year, someone asks for the recipe before they’ve even finished their second slice. It’s become my secret weapon for last-minute entertaining.
If you’re looking for a way to cap off your summer BBQs without breaking a sweat, this is it. It’s creamy, it’s crunchy, it’s patriotic, and it’s going to make you look like a genius chef. Let me walk you through how I make this magic happen, so you can spend your holiday actually enjoying it instead of hiding in the kitchen.
Why You’ll Love This Ice Cream Sandwich Cake
I’ve tried my share of elaborate desserts that require tempering chocolate, folding egg whites, and a degree in pastry arts. This one? This one is for the rest of us. Here’s why this Labor Day Ice Cream Sandwich Cake has earned a permanent spot in my rotation:
Zero Baking Required — Seriously. No oven, no stove, no standing over a boiling pot. If you can open a package of cookies and scoop ice cream, you can make this. I’ve made it while my kids were doing homework and my husband was grilling. It happens in the freezer.
Makes a Huge Crowd-Pleaser — This cake feeds 12-15 people easily. I served it to a group of 20 last year (yes, I cut extra slices) and everyone was happy. It’s the perfect festive summer dessert for large gatherings because it’s visually impressive but practically effortless.
Customizable to Any Taste — Love mint chocolate chip? Go for it. Obsessed with peanut butter cups? Throw them in. I’ve made this with everything from Oreo cookies to animal crackers. It’s a blank canvas for your favorite flavors.
Freezer-Friendly Make-Ahead — This is the ultimate party hack. You can make it three days in advance. I actually prefer making it the night before, so it’s fully set when guests arrive. No last-minute panic, no stress.
Looks Fancy, Costs Little — It looks like something from a high-end bakery, but it costs about $15 to make. That’s a fraction of what you’d pay at a restaurant. Plus, you get the satisfaction of making it yourself, which is always a nice bonus.
This is my go-to when I need a dessert that just works. It’s reliable, delicious, and makes everyone happy. No complicated techniques, no weird ingredients, just pure, frozen joy.
Ingredients You’ll Need
Here’s the best part: you probably have most of this already. This isn’t a recipe that requires a special trip to three different stores. It’s pantry-friendly and freezer-staple based.
The Base
Chocolate Sandwich Cookies (2 packages, about 40 cookies) — I use Oreos because they’re the gold standard. They’re sturdy, they’re chocolatey, and they hold up well in the freezer. Do not use thin sandwich cookies; they’ll get soggy. You want something substantial. If you can’t find Oreos, any chocolate sandwich cookie works, but the texture will be slightly different.
Vanilla Ice Cream (1 quart / 950ml) — Full-fat, premium vanilla is key here. I use Häagen-Dazs or Ben & Jerry’s. The higher the fat content, the creamier the cake. Low-fat ice cream will be icy and crystalline. Don’t cheap out on the ice cream; it’s the star of the show.
The Coating
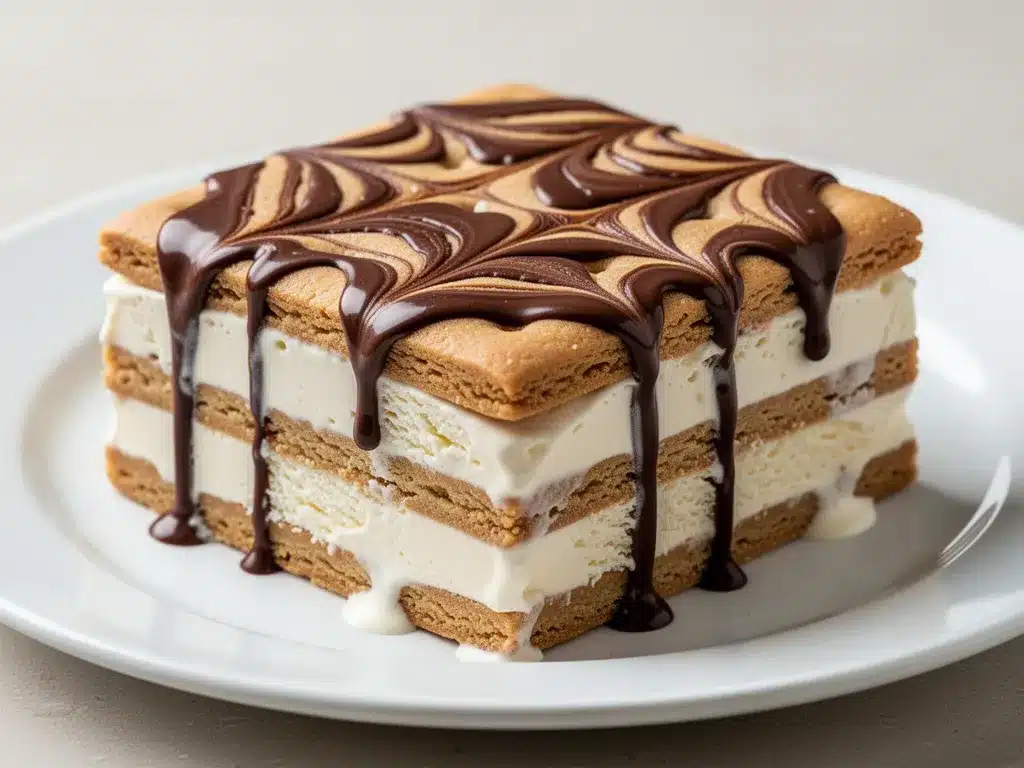
Dark Chocolate Chips (1 cup / 170g) — I prefer 60% dark chocolate for the coating. It’s not too sweet and has a nice snap. Semi-sweet works too, but dark gives a richer flavor that contrasts with the sweet ice cream. Avoid milk chocolate for the coating; it’s too sweet and doesn’t set as firmly.
Coconut Oil (2 tablespoons) — This is the secret weapon. Adding coconut oil to the melted chocolate makes the coating smoother, shinier, and easier to dip. It also helps the chocolate set with a nice snap rather than staying soft. You won’t taste the coconut; I promise.
Flaked Sea Salt (optional) — A sprinkle of flaky salt on top of the chocolate coating elevates the flavor profile massively. It’s the sweet-salty combo that keeps people coming back. If you don’t have flaky salt, regular sea salt works, but flaky is prettier.
The Optional Add-Ins
White Chocolate Chips (½ cup) — For the patriotic red, white, and blue look. Melt these separately and drizzle them over the dark chocolate coating. It’s purely decorative but adds a nice visual touch.
Red Food Coloring (a few drops) — Mix this into the white chocolate for a true red drizzle. Or skip it and just use white chocolate for a simpler look.
Chopped Nuts (½ cup) — Pecans or walnuts add crunch. I sprinkle them on the chocolate coating before it sets. It’s optional, but it adds a nice texture contrast.
Sprinkles — Red, white, and blue sprinkles for that festive Labor Day vibe. I use them sparingly because I don’t want to mask the chocolate flavor, but they’re fun for kids.
Shopping Tips
Buy Extra Cookies — You’ll need about 40 cookies for a standard 9×13 cake. If you’re making a bigger one, buy more. It’s better to have leftovers than to run out.
Softened Ice Cream — The ice cream needs to be soft enough to scoop but not melted. Take it out of the freezer 15-20 minutes before you start assembling. If it’s too hard, you’ll break the cookies. If it’s too soft, it’ll be messy.
Chocolate Quality — Don’t use candy bars for melting. Use actual chocolate chips or baking chocolate. Candy bars have stabilizers that make them grainy when melted. This is one place where quality matters.
Equipment Needed
You don’t need fancy equipment for this. Here’s what I actually use:
9×13 Inch Baking Pan — This is the standard size for the cake. I line it with parchment paper for easy removal, but it’s not strictly necessary. Just make sure the pan is deep enough to hold the ice cream layer.
Parchment Paper — Essential for lining the pan. It prevents sticking and makes cleanup a breeze. I also use it to line a baking sheet for dipping the cookies.
Microwave-Safe Bowl — For melting the chocolate. I use a large glass bowl because it doesn’t get as hot to the touch. A microwave-safe ceramic bowl works too.
Spatula — A silicone spatula is perfect for stirring the chocolate and spreading the ice cream. Don’t use a wooden spoon; it’s too bulky for smooth mixing.
Offset Spatula — This is my secret tool for spreading the ice cream evenly. It makes the surface smooth and professional-looking. A regular spatula works, but the offset is easier.
Piping Bag or Ziploc Bag — For drizzling the chocolate and white chocolate. Just snip a tiny corner off the bag and use it like a squeeze bottle. It’s easier than dipping the whole cake.
Freezer — Obviously. But make sure it’s cold enough. If your freezer is weak, the ice cream might not set properly. I keep mine at 0°F (-18°C) for best results.
Knife — For cutting the cake. I use a sharp chef’s knife and wipe it between cuts for clean slices.
Optional but Nice:
– Bench Scraper — For smoothing the ice cream layer. It’s like an offset spatula but wider.
– Food Processor — If you want to crush cookies for a crust, but I skip this step for simplicity.
How to Make It: Step-by-Step
Alright, let’s make this! I’m walking you through exactly how I do it, including the little tricks I’ve picked up over the years.
Step 1: Prep Your Pan (2 minutes)
Line your 9×13 inch baking pan with parchment paper, leaving an overhang on the long sides. This is crucial for removing the cake later. Press the parchment into the corners so it’s flat. If you don’t have parchment, use plastic wrap, but parchment is easier to work with. Set aside.
Step 2: Soften the Ice Cream (15-20 minutes)
Take your quart of vanilla ice cream out of the freezer. Let it sit on the counter until it’s soft enough to scoop but still holds its shape. This is the sweet spot. If it’s too hard, you’ll crack the cookies. If it’s too soft, it’ll be soupy. I usually set a timer for 15 minutes and check it. If it’s still too hard, give it 5 more minutes.
Step 3: Build the First Cookie Layer (5 minutes)
Arrange a single layer of chocolate sandwich cookies in the bottom of the prepared pan. You’ll need about 20 cookies. Press them down gently so they’re flat and even. Don’t worry if there are small gaps; the ice cream will fill them. This is your base, so make it sturdy.
Step 4: Add the Ice Cream Layer (5 minutes)
Scoop the softened ice cream over the cookie layer. Use your offset spatula to spread it evenly. You want a smooth, flat surface. If there are lumps, press them down with the spatula. The ice cream should be about 1 inch thick. Once it’s spread, smooth the top with the spatula. Place the pan in the freezer for 30 minutes to set the ice cream. This prevents the next layer of cookies from sinking.
Step 5: Add the Second Cookie Layer (5 minutes)
After 30 minutes, take the pan out. Arrange another layer of 20 cookies on top of the set ice cream. Press them down gently. They should stick to the ice cream. If they don’t, give it another 10 minutes in the freezer. This creates the classic sandwich effect.
Step 6: Freeze Again (1 hour)
Place the pan back in the freezer for at least 1 hour, or until the cake is completely firm. This is important for the coating step. If the cake is soft, the chocolate will melt and make a mess. I usually let it freeze for 2 hours to be safe.
Step 7: Melt the Chocolate (5 minutes)
While the cake is freezing, melt the dark chocolate chips in a microwave-safe bowl. Heat in 30-second intervals, stirring between each interval, until smooth. This usually takes about 1-2 minutes total. Stir in the coconut oil until fully incorporated. The mixture should be glossy and fluid. If it’s too thick, add a tiny bit more coconut oil. If it’s too thin, add a few more chocolate chips.
Step 8: Coat the Cake (10 minutes)
Take the cake out of the freezer. Invert it onto a parchment-lined baking sheet. The bottom cookie layer is now on top. This makes it easier to coat the sides. Pour the melted chocolate over the top, using an offset spatula to spread it evenly over the top and down the sides. You want full coverage. Don’t worry if it’s not perfect; it’s rustic and homemade.
Step 9: Add Toppings (5 minutes)
If you’re using white chocolate and red food coloring, melt the white chocolate separately and drizzle it over the dark chocolate coating. Use a piping bag or a Ziploc bag with the corner snipped off. Drizzle in a zigzag pattern. Sprinkle flaky sea salt and red, white, and blue sprinkles while the chocolate is still wet. It will set in about 10 minutes at room temperature, or 5 minutes in the freezer.
Step 10: Slice and Serve (5 minutes)
Once the coating is set, lift the cake out of the pan using the parchment overhang. Place it on a cutting board. Use a sharp knife to cut into squares. Wipe the knife with a warm, damp cloth between cuts for clean slices. Serve immediately or store in the freezer until ready to serve.
Total Time: About 2 hours 30 minutes (mostly freezing time, 30 minutes active)
Expert Tips & Tricks
Here’s everything I’ve learned from making this dozens of times. These tips will save you from my mistakes.
Keep the Ice Cream Cold
The ice cream needs to be cold when you spread it. If it melts too much, the cake will be icy. Work quickly, and put it back in the freezer as soon as you’re done spreading. I keep a timer handy so I don’t forget.
Chocolate Temperature Matters
Don’t let the chocolate get too hot. If it’s boiling, it’ll seize up. Melt it gently, and keep it fluid. If it thickens as it cools, warm it up briefly in the microwave for 10 seconds.
Use a Cold Knife
For clean slices, dip your knife in hot water and wipe it dry before each cut. The heat helps the chocolate and ice cream glide smoothly. This is a pro tip that makes a huge difference in presentation.
Don’t Skip the Freezer Time
I know it’s tempting to skip the second freeze, but it’s necessary. If the cake is soft, the chocolate coating will slide off. Trust the process. It’s worth the wait.
Customize Your Cookies
While I love Oreos, you can use any sandwich cookie. Peanut butter cookies add a nice twist. Girl Scout cookies (like Thin Mints) are delicious but sweeter. Experiment to find your favorite combo.
Common Mistakes (and how to avoid them):
– Mistake: Coating is too thick
Fix: Thin the chocolate with a bit more coconut oil. You want a smooth, even layer, not a chunky shell.
– Mistake: Ice cream is icy
Fix: Use high-fat ice cream, and make sure it’s fully set before adding the next layer. Also, store the finished cake in an airtight container to prevent freezer burn.
– Mistake: Cookies are soggy
Fix: Use sturdy cookies, and don’t let the ice cream melt before spreading. If you’re in a hot kitchen, work in AC or use ice packs to keep things cold.
Pro Tricks I’ve Learned:
– For Extra Crunch
Sprinkle crushed nuts or pretzels on the chocolate coating before it sets. It adds a nice textural contrast.
– For Better Flavor
Add a layer of chocolate pudding between the cookie and ice cream layers. It’s indulgent and adds moisture.
– For Party Prep
Make the cake a day ahead. Store it in the freezer, wrapped tightly in plastic wrap. It will be perfectly set when you need it.
Variations & Substitutions
Once you’ve nailed the basic version, here’s how you can mix it up. I’ve tried all of these.
Red, White, and Blue Version
Use vanilla ice cream, Oreo cookies, and drizzle white chocolate and red food coloring over the dark chocolate coating. This is the classic Labor Day look. It’s patriotic and pretty.
Chocolate Lovers Version
Use chocolate ice cream instead of vanilla. Add chocolate shavings on top. This is for when you want double chocolate everything. It’s rich and decadent.
Peanut Butter Cup Version
Use peanut butter ice cream and sandwich cookies. Drizzle with melted peanut butter chips. It’s like a Reese’s cup in cake form. My kids love this version.
Mint Chip Version
Use mint chocolate chip ice cream and Oreos. Drizzle with white chocolate and green sprinkles. It’s refreshing and perfect for summer.
Shortbread Version
Instead of cookies, use shortbread biscuits. They’re buttery and crisp. Layer with vanilla ice cream and white chocolate drizzle. It’s more elegant and less sweet.
Gluten-Free Option
Use gluten-free sandwich cookies. Most brands work well, but check the texture. Some are more fragile than others. The rest of the recipe is naturally gluten-free.
Dairy-Free Option
Use dairy-free ice cream (like coconut milk or almond milk based) and dairy-free chocolate chips. There are many good options now. The technique is the same.
Low-Sugar Option
Use sugar-free ice cream and sugar-free chocolate chips. It’s not as creamy, but it works if you’re watching your sugar intake. I’ve tried it, and it’s decent.
Serving & Storage
How to Serve:
I usually serve this straight from the freezer, cut into squares. It’s rustic and easy. But here are other ways I’ve enjoyed it:
Side Dishes:
– Fresh berries (strawberries, raspberries) to cut the sweetness
– Whipped cream for extra indulgence
– Hot fudge sauce for a chocolate lover’s dream
– A simple green salad to balance the meal
Wine Pairing:
Not a wine expert, but my wine-snob friend says a chilled Riesling or a light Pinot Noir works great with this. It’s sweet but not too heavy.
Storage Instructions:
Refrigerator:
Do not store this in the fridge. It will melt. Keep it in the freezer.
Freezer:
Store in an airtight container or wrap tightly in plastic wrap and foil. It will last for up to 2 weeks in the freezer. The texture might change slightly after the first week, but it’s still good.
Reheating:
Don’t reheat this. Serve it cold. If it’s too hard to cut, let it sit at room temperature for 5 minutes. That’s it.
Meal Prep:
Make the cake a day or two ahead. It’s best when fully set. I usually make it on Saturday for a Sunday Labor Day party. It’s stress-free and delicious.
Pro tip:
If the cake is sticking to the knife, dip the knife in hot water and wipe it dry. This ensures clean slices every time.
Nutrition Information
I’m not a nutritionist, but here’s the breakdown if you’re tracking. This is a rich dessert, so portion control is key.
Per Serving (based on 12 servings):
– Calories: 350
– Protein: 4g
– Carbs: 45g
– Fiber: 2g
– Sugar: 30g
– Fat: 18g
– Saturated Fat: 10g
– Cholesterol: 35mg
– Sodium: 200mg
– Calcium: 80mg
What’s Good:
– Decent calcium from the ice cream and chocolate
– Can add nuts for healthy fats and protein
– No artificial preservatives if you make it from scratch
What to Know:
– High in sugar and calories due to ice cream and chocolate
– Contains dairy and gluten
– Moderate sodium (varies by cookie brand)
My Take:
Look, this is ice cream cake. It’s not a health food. It’s a treat. Enjoy it in moderation. When I want to make it lighter, I use less chocolate coating and add more fruit on the side. But usually? I just eat one square and enjoy it. It’s a special occasion dessert, after all.
Dietary Notes:
– Contains: gluten, dairy
– Can be made: gluten-free, vegetarian, dairy-free (with substitutions)
– Not suitable for: vegan (without modifications), low-sugar (without substitutions)
Final Thoughts
So that’s my Labor Day Ice Cream Sandwich Cake! I’ve probably talked your ear off at this point, but when you make a recipe this often, you have a lot to say about it.
This has saved summer parties more times than I can count. It’s my answer to “what’s for dessert” when I’m tired, don’t want to bake, and still want something that tastes really good. My family is happy, my guests are happy, and I’m happy because I’m not stressed about cooking.
Make it yours! Try different cookies, swap in your favorite ice cream flavors, adjust the toppings. The best recipes are the ones you adapt to your tastes. And if you’re hosting a big Labor Day party, don’t forget to check out my Labor Day Charred Corn and Black Bean Dip for the main event. It pairs perfectly with this sweet finish.
If you make this, drop a comment and let me know what you think! I love hearing how recipes turn out in your kitchen. And if something doesn’t work, tell me that too—I’m here to help troubleshoot.
Happy cooking! And I hope your kitchen smells half as good as mine does right now (well, except for the chocolate smell, which is pretty great).
Frequently Asked Questions
Q: Can I use a different type of cookie?
A: Absolutely! While Oreos are my go-to, you can use any sandwich cookie. Peanut butter cookies, thin mints, or even graham crackers work. Just make sure they’re sturdy enough to hold up in the freezer. Avoid thin or delicate cookies, as they’ll get soggy.
Q: Why did my chocolate coating crack?
A: This usually happens if the chocolate is too thick or if the cake is too cold. Make sure your chocolate is fluid and smooth before coating. If it’s too cold, let the cake sit at room temperature for 5 minutes before pouring the chocolate. Also, adding coconut oil helps prevent cracking.
Q: Can I make this ahead of time?
A: Yes! In fact, it’s better if you make it ahead. You can make it up to 2 weeks in advance. Store it in the freezer in an airtight container. Just let it sit at room temperature for 5-10 minutes before slicing for the best texture.
Q: Can I use light ice cream?
A: You can, but the texture won’t be as creamy. Light ice cream has more water content, which can lead to icy crystals. For the best results, use full-fat, premium ice cream. If you must use light ice cream, make sure it’s fully set and work quickly.
Q: How do I cut clean slices?
A: Use a sharp knife and dip it in hot water between cuts. Wipe it dry with a clean towel. The heat helps the knife glide through the chocolate and ice cream without sticking. This is the secret to professional-looking slices.
Q: Can I add fruit to this cake?
A: Yes! Fresh berries like strawberries or raspberries are delicious. You can layer them between the cookie and ice cream layers, or serve them on the side. Just make sure the fruit is dry to prevent sogginess.
Q: What if I don’t have a 9×13 pan?
A: You can use a smaller pan, like an 8×8, and adjust the recipe accordingly. You’ll need fewer cookies and less ice cream. Just keep the layers proportional. The freezing time will be the same.
Pin This Recipe!
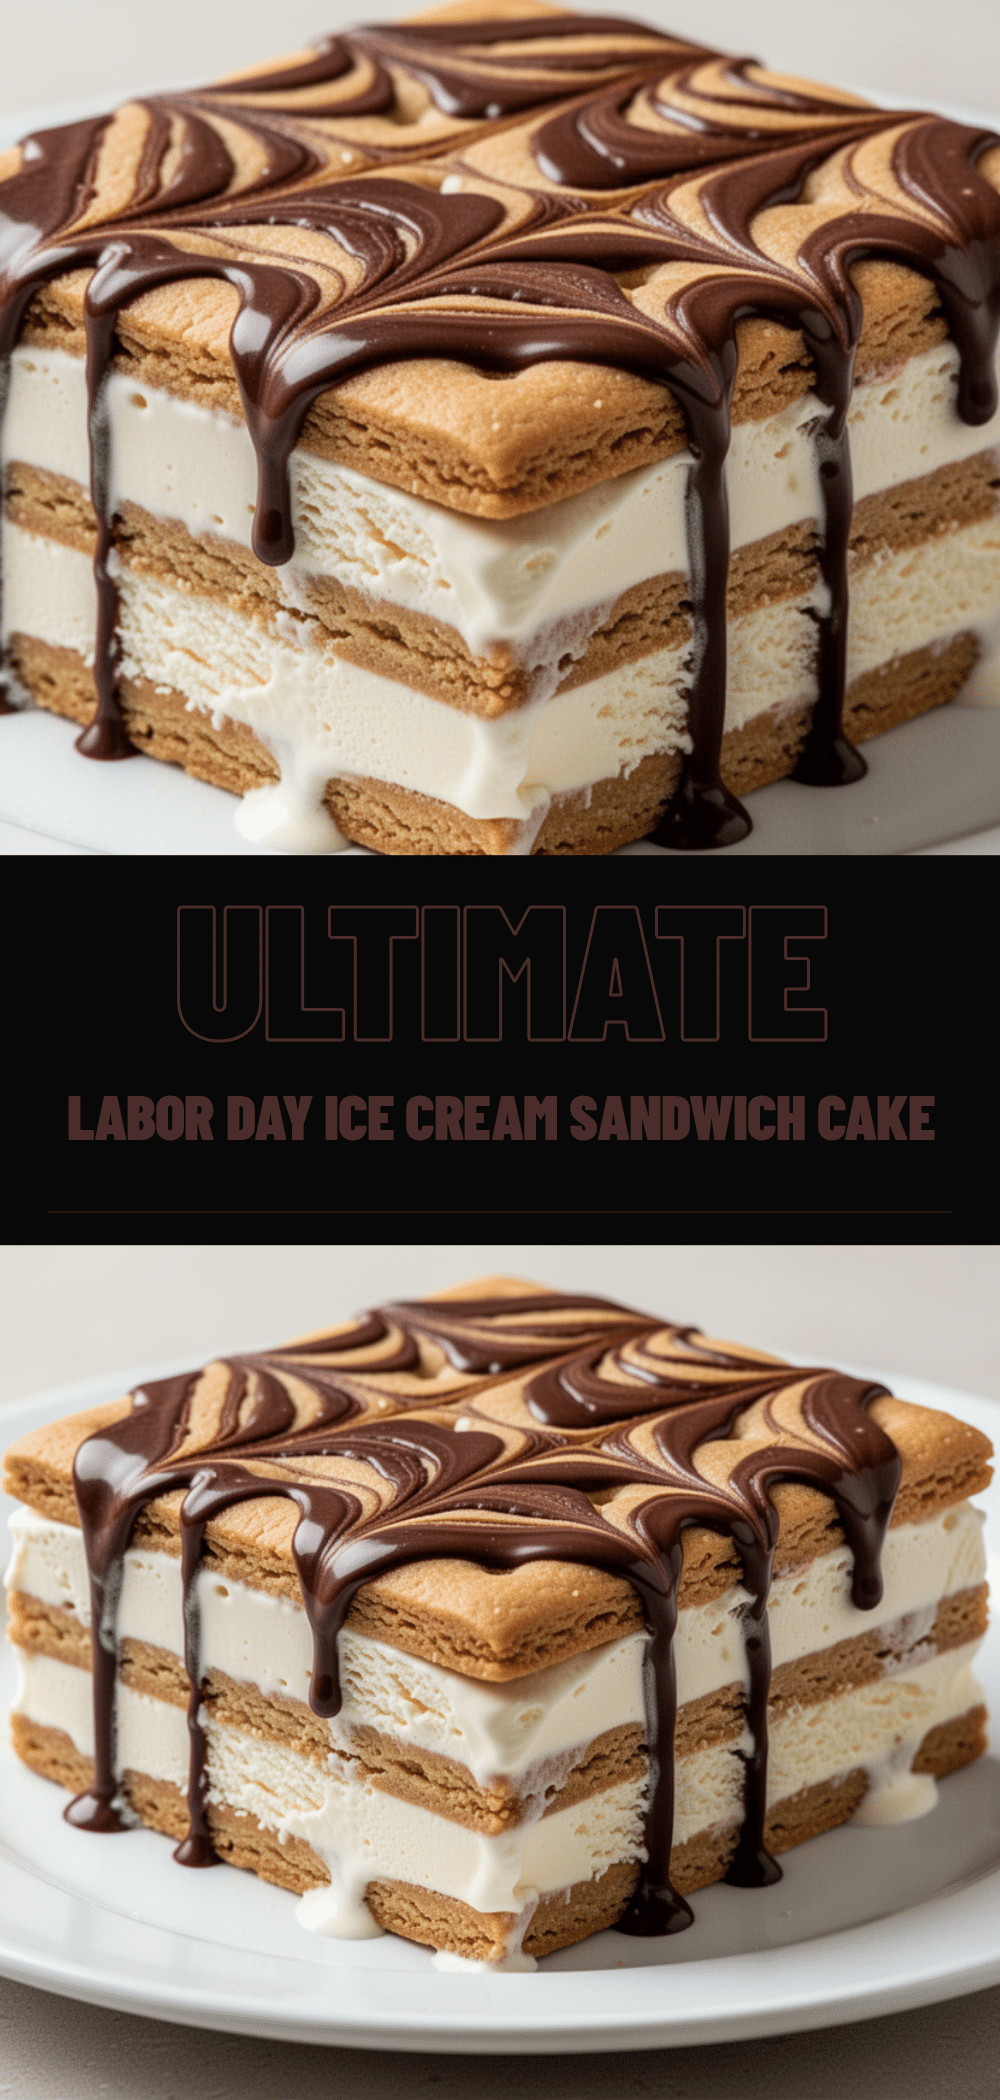
Labor Day Ice Cream Sandwich Cake: 5-Step Perfect Festive Dessert
- Total Time: 2 hours 30 minutes
- Yield: 12 servings 1x
Description
A no-bake, freezer-friendly ice cream sandwich cake that is perfect for summer parties and Labor Day celebrations. It features layers of chocolate sandwich cookies and vanilla ice cream, coated in a smooth dark chocolate shell.
Ingredients
- 2 packages (about 40 cookies) Chocolate Sandwich Cookies (e.g., Oreos)
- 1 quart (950ml) Vanilla Ice Cream (full-fat, premium)
- 1 cup (170g) Dark Chocolate Chips (60% dark preferred)
- 2 tablespoons Coconut Oil
- Flaked Sea Salt (optional, for topping)
- ½ cup White Chocolate Chips (optional, for drizzle)
- Red Food Coloring (a few drops, optional)
- ½ cup Chopped Nuts (pecans or walnuts, optional)
- Red, white, and blue Sprinkles (optional)
Instructions
- Line a 9×13 inch baking pan with parchment paper, leaving an overhang on the long sides for easy removal.
- Take the vanilla ice cream out of the freezer and let it soften on the counter for 15-20 minutes until it is scoopable but not melted.
- Arrange a single layer of 20 chocolate sandwich cookies in the bottom of the prepared pan, pressing them down gently to create a flat base.
- Scoop the softened ice cream over the cookie layer and spread it evenly with an offset spatula to create a smooth, 1-inch thick layer.
- Place the pan in the freezer for 30 minutes to set the ice cream layer.
- Remove the pan and arrange the second layer of 20 cookies on top of the set ice cream, pressing gently so they adhere.
- Return the pan to the freezer for at least 1 hour (or up to 2 hours) until the cake is completely firm.
- While the cake freezes, melt the dark chocolate chips in a microwave-safe bowl in 30-second intervals, stirring between each, until smooth. Stir in the coconut oil until fully incorporated.
- Remove the cake from the freezer and invert it onto a parchment-lined baking sheet so the bottom cookie layer is on top.
- Pour the melted chocolate mixture over the top, using an offset spatula to spread it evenly over the top and down the sides for full coverage.
- If using, melt white chocolate separately and drizzle it over the dark chocolate coating. Sprinkle with flaky sea salt and festive sprinkles while the chocolate is still wet.
- Allow the coating to set at room temperature for 10 minutes or in the freezer for 5 minutes.
- Lift the cake out of the pan using the parchment overhang, place on a cutting board, and slice into squares using a sharp knife dipped in hot water and wiped dry between cuts.
Notes
Ensure ice cream is softened but not melted before spreading to avoid cracking cookies. Use high-fat ice cream for a creamier texture. The cake can be made up to 2 weeks in advance and stored in the freezer. For clean slices, dip the knife in hot water and wipe dry between cuts. Do not store in the refrigerator as it will melt.
- Prep Time: 30 minutes
- Cook Time: 0 minutes
- Category: Dessert
- Cuisine: American
Nutrition
- Serving Size: 1 square slice
- Calories: 350
- Sugar: 30
- Sodium: 200
- Fat: 18
- Saturated Fat: 10
- Carbohydrates: 45
- Fiber: 2
- Protein: 4
Keywords: Labor Day dessert, ice cream cake, no bake dessert, summer party food, chocolate ice cream sandwich, festive dessert, make ahead dessert


