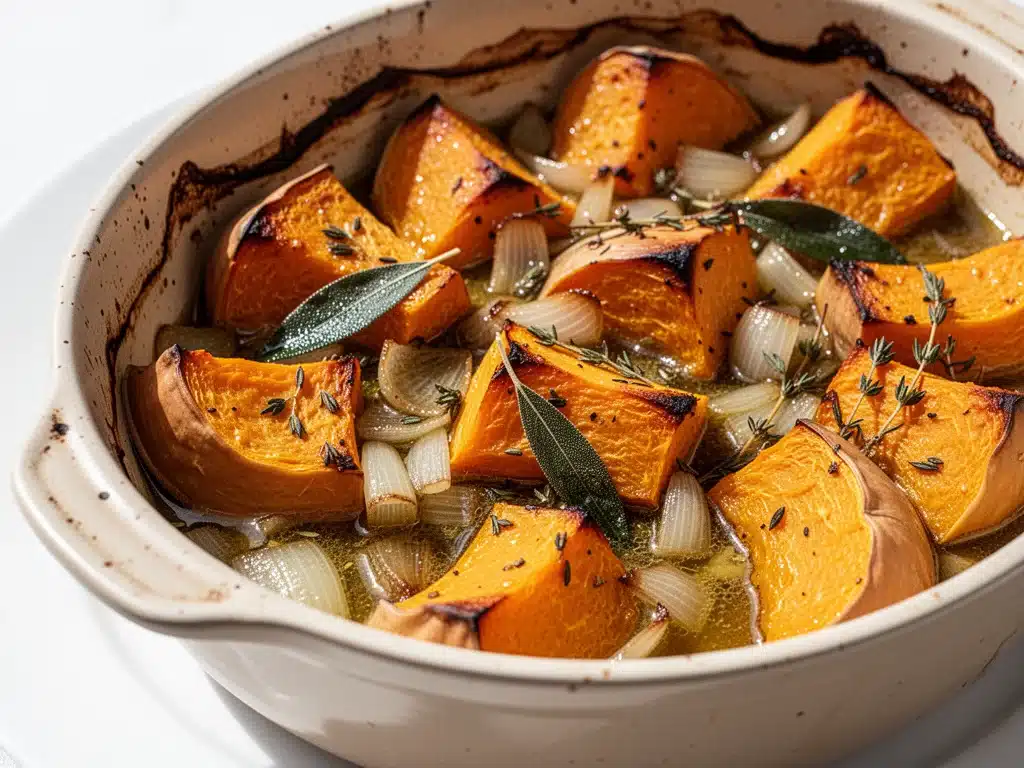
There is a specific kind of magic that happens in my kitchen during January. The days are short, the light is gray, and the last thing I want to do is stand over a hot stove for an hour. I remember one particular Tuesday in February a few years ago—blizzard conditions outside, power flickering briefly, and my fridge containing nothing but a single, sad-looking butternut squash, some leftover rice, and a block of cheddar that was trying its best. I was exhausted. I didn’t want soup. I didn’t want salad. I wanted something warm, comforting, and deeply satisfying without requiring a trip to the grocery store.
So I threw that squash into the oven, let it caramelize until it was sweet and tender, then mashed it right in the skin with butter, brown sugar, and that lonely block of cheese. I topped it with toasted pecans because I had a handful of nuts that were about to expire. The smell that filled the house was unlike anything else—earthy, sweet, savory, and warm all at once. My kids came home from school, sniffed the air, and asked if I had ordered pizza. When I told them it was just “squash bake,” they ate every bite and asked for seconds.
That accidental dinner became a weekly staple. This roasted butternut squash bake isn’t just a side dish anymore; it’s a complete meal solution for those long winter nights. It’s the kind of dish that feels fancy enough for a holiday table but simple enough for a random Tuesday when you’re running on three hours of sleep. I’ve made it with different cheeses, different nuts, and even swapped the squash for sweet potatoes when I’m lazy, but the core method stays the same: roast it until it’s soft, mash it until it’s creamy, and bake it until it’s golden.
What I love most about this recipe is how it transforms a humble vegetable into something luxurious. Butternut squash has this natural sweetness that pairs beautifully with savory herbs and rich fats. It’s versatile, too. You can serve it alongside the slow cooker beef bourguignon for a hearty winter feast, or pair it with roasted chicken for a lighter weeknight dinner. It’s also naturally gluten-free and vegan-friendly if you skip the cheese, making it inclusive for almost any dietary need. After testing this recipe about twenty times (yes, I’m that obsessed), I’ve nailed down the perfect ratio of squash to binder, the ideal roasting temperature, and the secret to getting that crispy top without drying out the center. Let’s talk about why this bake is about to become your new winter best friend.
Why You’ll Love This Roasted Butternut Squash Bake
Once you make this once, you’ll understand why I keep coming back to it. It’s not just about the taste—though the flavor is incredible—it’s about how it fits into your life during the colder months. Here’s why this recipe earns a permanent spot in my rotation:
- It’s Actually Fast — I know, “roasting” sounds like it takes forever. But most of that time is hands-off. You spend about 15 minutes prepping, then let the oven do the work for 45 minutes. I can clean the kitchen, answer emails, or actually relax while this bakes. Total active time is under 20 minutes.
- Uses One Dish (Mostly) — You roast the squash in one pan, mash it in another (or the same one if you’re brave), and bake it in a casserole dish. Cleanup is minimal. I love a recipe that doesn’t leave me with a sink full of dirty bowls.
- Feels Luxurious — The texture is creamy, almost like a soufflé or a rich custard. The top gets crispy and golden, while the inside stays soft and flavorful. It looks like something you’d order at a nice restaurant, but it costs pennies per serving.
- Meal Prep Friendly — This bake reheats beautifully. I often make a double batch on Sunday, store half in the fridge, and reheat it during the week. It tastes just as good on Wednesday as it did on Sunday evening. It’s perfect for meal prepping without sacrificing flavor.
- Kid-Approved — My picky eater, who usually refuses anything orange, asks for this bake. The sweetness masks the “vegetable” taste, and the creamy texture is a hit. It’s my secret weapon for getting more veggies on the table.
- Flexible Ingredients — Don’t have pecans? Use walnuts or skip them. No brown sugar? White sugar works. Out of butter? Olive oil is fine. This recipe is forgiving and adapts to what you have in your pantry.
This isn’t just a recipe; it’s a comfort food hug in a casserole dish. It warms you up from the inside out and makes even the coldest, grayest days feel a little brighter.
Ingredients You’ll Need
Here’s the best part: you probably already have most of these items in your kitchen. This recipe relies on simple, whole-food ingredients that come together to create something complex and delicious. I’m particular about a few things here, so pay attention to the notes below.
For the Squash Base:
Butternut squash (1 large, about 3-4 pounds / 1.5 kg) — This is the star. Look for one that feels heavy for its size and has a matte, tan skin. Avoid shiny or soft spots. You can use pre-cut cubes if you’re short on time, but fresh squash tastes better. Once peeled and seeded, you’ll need about 4 cups of cubed squash.
Unsalted butter (3 tablespoons / 45g) — Butter adds richness and helps the squash caramelize. I use unsalted so I can control the sodium. If you’re vegan, use a high-quality plant-based butter or coconut oil.
Maple syrup (2 tablespoons / 30ml) — I prefer real maple syrup over brown sugar for a more nuanced sweetness. It adds a subtle depth that white sugar just can’t match. Grade A Dark or Grade B works best here.
Heavy cream (1/4 cup / 60ml) — This is what gives the bake its creamy, custard-like texture. Don’t skip it! Half-and-half works in a pinch, but heavy cream makes it luxuriously smooth. For a dairy-free version, use full-fat coconut cream.
Large egg (1) — The egg acts as a binder, holding everything together so the bake doesn’t fall apart when you scoop it. It’s essential for structure.
For the Flavor Boost:
Garlic (2 cloves, minced / about 1 teaspoon) — Fresh garlic is non-negotiable. It adds a savory punch that balances the sweetness. Jarred garlic has a metallic taste that clashes with the delicate squash flavor.
Ground nutmeg (1/4 teaspoon) — Nutmeg is the secret weapon in squash dishes. It adds a warm, aromatic spice that screams “winter.” Freshly grated nutmeg is best, but pre-ground works fine. Don’t substitute with cinnamon; it changes the flavor profile too much.
Ground ginger (1/4 teaspoon) — A little ginger adds a subtle zing that brightens the dish. It’s optional but recommended if you like a bit of spice.
Salt and black pepper (1/2 teaspoon kosher salt, 1/4 teaspoon black pepper) — Season well. Squash can be bland if not seasoned properly. Use kosher salt for even distribution.
For the Topping:
Sharp cheddar cheese (1 cup / 100g, shredded) — Sharp cheddar cuts through the sweetness with a tangy bite. I use a block and shred it myself because pre-shredded cheese has anti-caking agents that prevent it from melting smoothly. If you’re vegan, use a vegan cheddar-style shreds or nutritional yeast.
Toasted pecans or walnuts (1/2 cup / 60g, chopped) — These add crunch and earthiness. Toasting them first (in a dry pan for 2-3 minutes) intensifies their flavor. If you’re nut-free, you can use panko breadcrumbs tossed with a little olive oil.
Fresh thyme leaves (1 tablespoon) — Fresh thyme adds a piney, herbal note that elevates the dish. Dried thyme works but use half the amount. Chopped parsley is a good alternative if you don’t have thyme.
Substitutions & Notes:
- Sweet Potato Swap: You can absolutely use sweet potatoes instead of butternut squash. The cooking time is similar, and the flavor is slightly earthier.
- Dairy-Free: Use coconut oil instead of butter, coconut cream instead of heavy cream, and skip the cheese or use vegan shreds.
- Gluten-Free: This recipe is naturally gluten-free, but check your nuts and cheese to ensure no cross-contamination.
Equipment Needed
You don’t need fancy gadgets for this. Here’s what I actually use, along with alternatives if you don’t have them.
Rimmed baking sheet — I use a half-sheet pan (18×13 inches) to roast the squash. A large rimmed baking sheet works too. The rim catches any drips and prevents mess in the oven.
Large mixing bowl — For mashing the squash and combining ingredients. A 5-quart bowl is ideal. I use a glass bowl because it’s easy to see what’s going on.
Casserole dish — A 9×13-inch baking dish or a 2-quart casserole dish works best. Ceramic or glass is preferred because it heats evenly. If you don’t have one, a large oven-safe skillet works too.
Food processor or potato masher — A food processor makes the squash silky smooth in seconds. If you prefer a chunkier texture, a potato masher is fine. I use a food processor for speed, but mashing by hand gives you more control over the texture.
Vegetable peeler — A Y-peeler is easiest for removing the tough squash skin. A sharp chef’s knife works too, but be careful—squash is hard!
Measuring cups and spoons — Standard stuff. I keep a set on my counter for easy access.
Wooden spoon or spatula — For stirring and spreading the mixture. Silicone spatulas work well because they scrape the bowl clean.
Optional but helpful:
- Microplane grater — For grating fresh nutmeg and ginger.
- Kitchen scale — For precise weighing, especially if you’re adjusting recipes.
How to Make It: Step-by-Step
Alright, let’s make this! I’m walking you through exactly how I do it, including the little tricks I’ve picked up over the years.
Step 1: Prep the Squash (10 minutes)
Start by preheating your oven to 400°F (200°C). Line a large baking sheet with parchment paper for easy cleanup. Peel the butternut squash using a vegetable peeler or a sharp knife. Cut it in half lengthwise, scoop out the seeds and stringy bits (save the seeds if you want to roast them later—they’re tasty!), and cut the flesh into 1-inch cubes. Try to keep the pieces uniform so they cook evenly.
Step 2: Roast the Squash (40-45 minutes)
Place the squash cubes on the prepared baking sheet. Drizzle with 1 tablespoon of olive oil and toss to coat. Season with a pinch of salt and pepper. Spread them out in a single layer—don’t crowd the pan, or the squash will steam instead of roast. Roast for 40-45 minutes, flipping halfway through, until the squash is tender and caramelized at the edges. You should be able to pierce it easily with a fork. Let it cool slightly, but don’t let it get cold.
Step 3: Mash and Mix (5 minutes)
Transfer the roasted squash to a large mixing bowl. Add the melted butter, maple syrup, heavy cream, egg, minced garlic, nutmeg, ginger, salt, and pepper. Use a food processor to blend until smooth and creamy, or mash with a potato masher if you prefer a chunkier texture. Taste and adjust seasoning if needed. The mixture should be sweet, savory, and aromatic.
Step 4: Assemble the Bake (2 minutes)
Preheat the oven to 375°F (190°C). Grease a 9×13-inch casserole dish with a little butter or oil. Pour the squash mixture into the dish and spread it evenly. Sprinkle the shredded cheddar cheese over the top, followed by the toasted pecans and fresh thyme leaves. Press the toppings gently into the mixture so they stick.
Step 5: Bake Until Golden (20-25 minutes)
Bake for 20-25 minutes, or until the top is golden brown and crispy, and the edges are bubbling. If the top starts browning too quickly, cover it loosely with foil. Let it rest for 5-10 minutes before serving—it will firm up slightly and be easier to scoop.
Total Time: About 1 hour (15 minutes active, 45 minutes hands-off)
Expert Tips & Tricks
Here’s everything I’ve learned from making this dozens of times. These tips will save you from my mistakes.
Don’t Skip the Roasting — Boiling the squash might seem faster, but roasting concentrates the flavor and adds a caramelized sweetness that boiling can’t match. It’s worth the extra time.
Toast Your Nuts — Raw nuts can taste bland. Toasting them in a dry skillet for 2-3 minutes brings out their natural oils and adds a deeper, nuttier flavor. It’s a small step that makes a big difference.
Shred Your Own Cheese — Pre-shredded cheese contains cellulose to prevent clumping, which stops it from melting smoothly. Shredding a block yourself ensures a creamy, gooey topping.
Rest Before Serving — This bake is hot and soft straight out of the oven. Letting it rest for 5-10 minutes allows it to set, making it easier to serve neat squares instead of a mushy pile.
Adjust Sweetness — If your squash is very sweet, reduce the maple syrup. If it’s bland, add a bit more. Taste the mixture before baking to get it right.
Make-Ahead Strategy — You can roast the squash and mash it up to 2 days ahead. Store it in an airtight container in the fridge. When ready to bake, let it come to room temperature, add the toppings, and bake as directed. This is great for dinner parties.
Variations & Substitutions
Once you’ve nailed the basic version, here’s how you can mix it up. I’ve tried all of these.
Spicy Version — Add 1/2 teaspoon cayenne pepper or red pepper flakes to the mixture. Top with crispy bacon bits for a sweet-and-spicy kick. This goes well with buffalo chicken sliders for a game day spread.
Herb Garden — Swap thyme for rosemary or sage. These herbs pair beautifully with squash and add a piney, woody aroma.
Vegan & Dairy-Free — Use coconut oil instead of butter, coconut cream instead of heavy cream, and vegan cheese shreds. The texture will be slightly different but still delicious.
Gluten-Free — This recipe is naturally gluten-free. Just ensure your nuts and cheese are processed in a GF facility if you have severe allergies.
Sweet Potato Variation — Replace butternut squash with sweet potatoes. Roast, mash, and proceed as directed. The flavor will be earthier and less sweet.
Cranberry-Orange Twist — Add 1/2 cup dried cranberries and the zest of one orange to the mixture. Top with chopped pecans. This is festive and perfect for holidays.
Serving & Storage
How to Serve:
I usually serve this bake straight from the dish, garnished with a sprinkle of fresh thyme. It pairs beautifully with roasted chicken, grilled steak, or a simple green salad. For a vegetarian meal, serve it with crusty bread and a bowl of soup.
Side Dishes:
- Roasted Brussels sprouts with balsamic glaze
- Garlic sautéed green beans
- Caesar salad with croutons
- Crispy brown sugar bourbon glazed ribs for a hearty feast
Storage Instructions:
Refrigerator: Store leftovers in an airtight container for up to 4 days. The flavors actually meld and improve after a day or two.
Reheating: Reheat in the oven at 350°F (175°C) for 15-20 minutes to restore crispiness. Microwave in 1-minute intervals, stirring between, if you’re in a hurry. Add a splash of milk or cream if it looks dry.
Freezing: This bake does not freeze well. The texture of the squash and cheese can become grainy or watery after thawing. It’s best enjoyed fresh or refrigerated.
Nutrition Information
I’m not a nutritionist, but here’s the breakdown if you’re tracking. This is per serving (based on 8 servings).
| Nutrient | Amount |
|---|---|
| Calories | 280 |
| Protein | 8g |
| Carbs | 32g |
| Fiber | 5g |
| Sugar | 14g |
| Fat | 15g |
| Saturated Fat | 7g |
| Cholesterol | 45mg |
| Sodium | 320mg |
This bake is a good source of fiber, vitamin A, and potassium. It’s higher in calories due to the cheese and butter, but it’s nutrient-dense. For a lighter version, reduce the cheese and use half-and-half instead of heavy cream.
Final Thoughts
So that’s my roasted butternut squash bake! It’s simple, comforting, and incredibly versatile. I’ve made it for family dinners, holiday parties, and quiet nights in, and it never fails to impress. It’s proof that you don’t need complicated techniques or exotic ingredients to make something special. Sometimes, it’s just about roasting a squash, adding a little butter, and letting the oven do the work.
Make it yours! Try different nuts, swap the cheese, or add some spices. The best recipes are the ones you adapt to your taste. If you make this, drop a comment and let me know how it turned out. I love hearing your variations and tips. And if you’re looking for more easy winter dinners, check out some of my other favorites like spiked apple cider margaritas to pair with your meal.
Happy cooking! I hope your kitchen smells as good as mine does right now.
Frequently Asked Questions
Can I use frozen butternut squash?
You can, but fresh tastes better. Frozen squash can be watery and mushy. If you must use frozen, thaw it completely and drain off excess liquid before roasting. Fresh squash gives the best texture.
Why did my bake turn out watery?
This usually happens if the squash wasn’t roasted long enough to evaporate moisture, or if you added too much liquid. Make sure the squash is tender and caramelized before mashing. If the mixture is too wet, bake it longer to dry it out.
Can I make this ahead for a party?
Yes! Roast and mash the squash up to 2 days ahead. Store in the fridge. When ready to serve, let it come to room temperature, add toppings, and bake. This saves time on party day.
What cheese is best for this?
Sharp cheddar is my go-to for its tangy bite. Gruyère or fontina also work well for a milder, creamier flavor. Avoid mild cheddar as it lacks the necessary punch.
Is this recipe gluten-free?
Yes, it’s naturally gluten-free. Just ensure your nuts and cheese are certified gluten-free if you have celiac disease.
Can I double this recipe?
Absolutely. Double all ingredients and use a larger baking dish (like a 9×13 instead of 8×8). Cooking time may increase by 5-10 minutes. Check for doneness with a knife.
How do I reheat leftovers?
Reheat in the oven at 350°F for 15-20 minutes to keep the top crispy. Microwave works in a pinch but may soften the topping. Add a splash of milk if it’s dry.
Pin This Recipe!
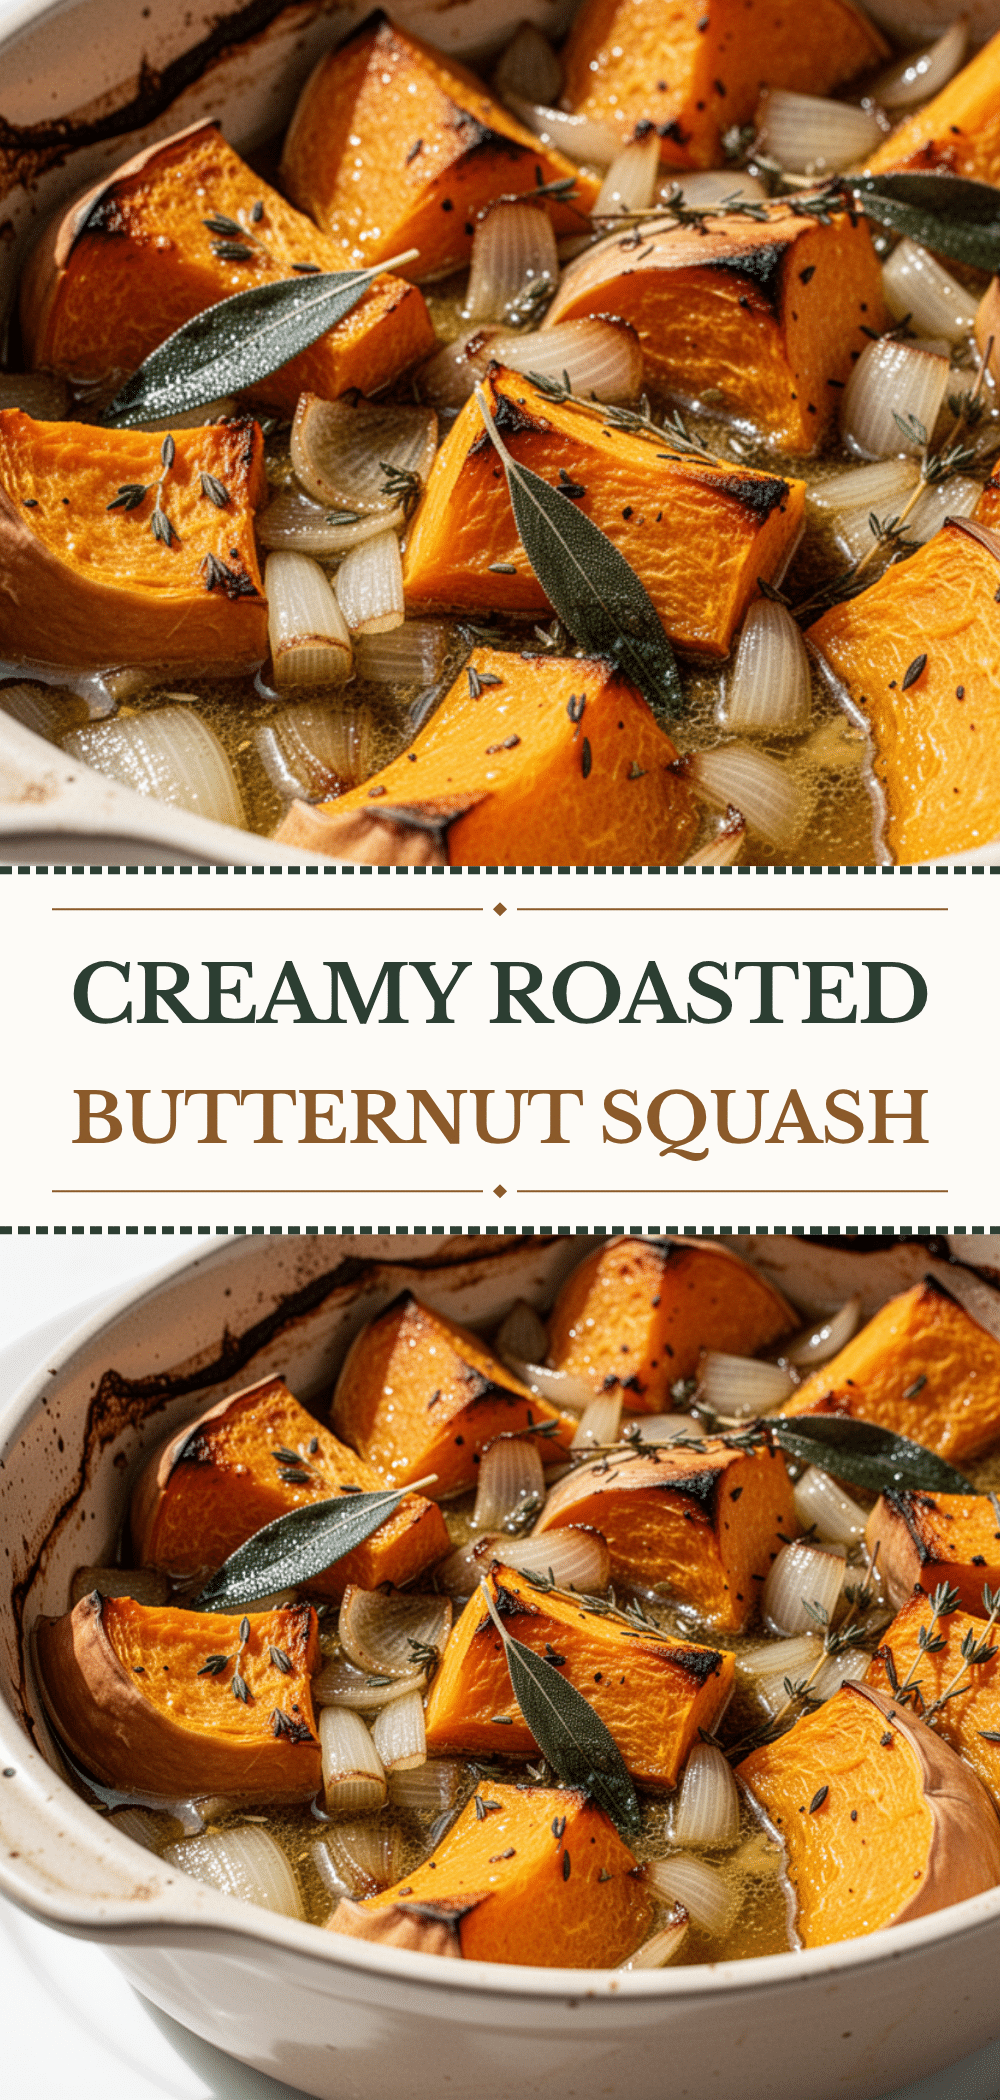

Roasted Butternut Squash Bake
- Total Time: 80 minutes
- Yield: 8 servings 1x
Description
A comforting, creamy winter dish that transforms roasted butternut squash into a luxurious bake with a crispy, cheesy topping. It is naturally gluten-free, versatile, and perfect for weeknight dinners or holiday meals.
Ingredients
- 1 large butternut squash (about 3–4 pounds / 1.5 kg), peeled, seeded, and cubed
- 3 tablespoons unsalted butter, melted
- 2 tablespoons maple syrup
- 1/4 cup heavy cream
- 1 large egg
- 2 cloves garlic, minced
- 1/4 teaspoon ground nutmeg
- 1/4 teaspoon ground ginger
- 1/2 teaspoon kosher salt
- 1/4 teaspoon black pepper
- 1 cup sharp cheddar cheese, shredded
- 1/2 cup toasted pecans or walnuts, chopped
- 1 tablespoon fresh thyme leaves
- 1 tablespoon olive oil (for roasting)
Instructions
- Preheat oven to 400°F (200°C). Line a large rimmed baking sheet with parchment paper.
- Peel the squash, remove seeds, and cut flesh into 1-inch cubes.
- Place squash cubes on the baking sheet, drizzle with olive oil, and toss to coat. Season with salt and pepper.
- Roast for 40-45 minutes, flipping halfway, until tender and caramelized. Let cool slightly.
- Transfer roasted squash to a large mixing bowl. Add melted butter, maple syrup, heavy cream, egg, garlic, nutmeg, ginger, salt, and pepper.
- Blend with a food processor until smooth or mash with a potato masher for a chunkier texture.
- Preheat oven to 375°F (190°C). Grease a 9×13-inch casserole dish.
- Pour squash mixture into the dish and spread evenly.
- Top with shredded cheddar cheese, toasted nuts, and fresh thyme.
- Bake for 20-25 minutes until the top is golden brown and crispy.
- Let rest for 5-10 minutes before serving.
Notes
For a dairy-free version, use coconut oil, coconut cream, and vegan cheese. The bake can be made ahead by roasting and mashing the squash up to 2 days in advance. Do not freeze, as the texture may become grainy. Toast nuts in a dry pan for 2-3 minutes before adding for better flavor.
- Prep Time: 15 minutes
- Cook Time: 65 minutes
- Category: Side Dish
- Cuisine: American
Nutrition
- Serving Size: 1 serving
- Calories: 280
- Sugar: 14
- Sodium: 320
- Fat: 15
- Saturated Fat: 7
- Carbohydrates: 32
- Fiber: 5
- Protein: 8
Keywords: butternut squash, roasted squash, winter recipes, gluten-free, vegetarian, comfort food, holiday sides, healthy dinner


